Main tutorial
Lesson Overview
A dubwise breakdown is one of the most useful arrangement techniques in Drum & Bass when you want a track to breathe, breathe harder, and still hit with authority. In this lesson, you’ll design and arrange a breakdown in Ableton Live 12 that feels rooted in dub culture, but translated into a modern DnB context: deep sub pressure, delayed one-shots, filtered bass call-and-response, ghosted drums, and evolving automation that creates space before the next drop.
This matters because DnB breakdowns are not just “the quiet part.” In rollers, jungle, neuro, and darker bass music, the breakdown is where you reset the listener’s nervous system, introduce a new motif, and build tension without losing the track’s identity. A good dubwise breakdown can make the drop feel twice as heavy because it frames the impact with contrast.
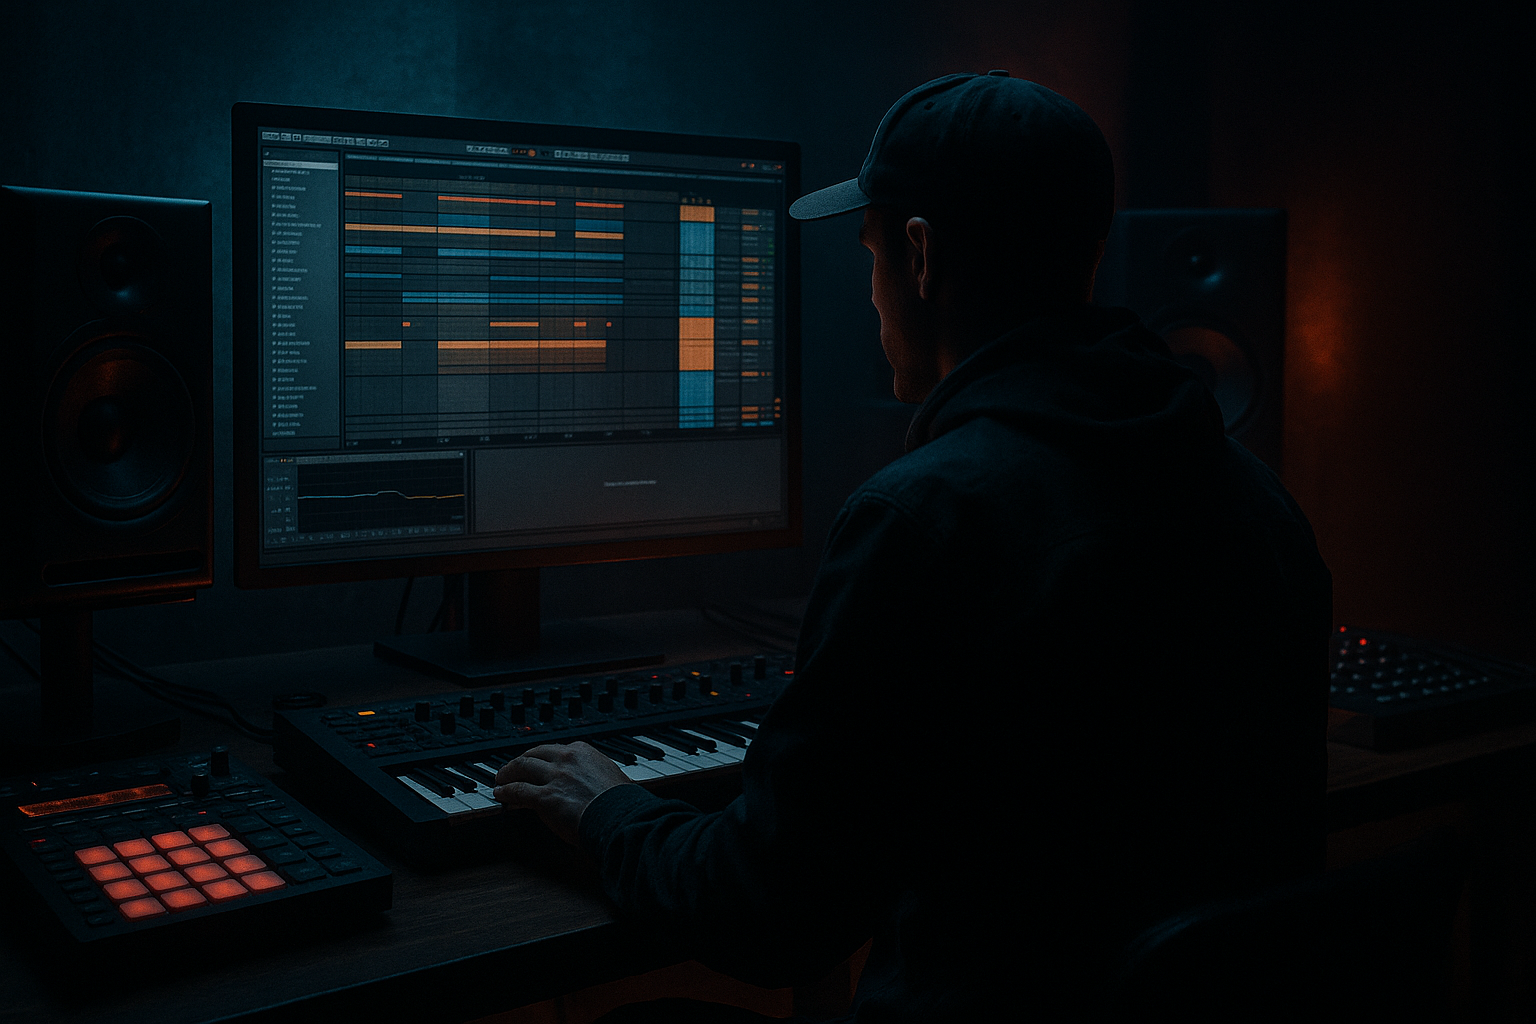
We’ll build this inside Ableton Live 12 using stock devices like Operator, Wavetable, Saturator, Auto Filter, Echo, Reverb, Utility, Drum Buss, and Envelope Follower-style modulation techniques via Max for Live only if already available in your Live setup. The focus is on automation, resampling, and arrangement decisions that feel like real studio work rather than preset browsing. 🔥
What You Will Build
You’ll build a 16-bar dubwise breakdown designed for a dark DnB track at around 172 BPM. The section will include:
- A sub-heavy bass phrase that drops into half-time space
- A detuned reese or wobble layer that answers with filtered movement
- Dub-style echoes and throws on snare hits and vocal chop stabs
- A stripped break edit with ghost notes and tension fills
- Automation that narrows the stereo image, filters the low-mids, and opens into the next drop
- A DJ-friendly arrangement that can sit between a first drop and a second drop switch-up
- Too much reverb on the sub or low bass
- Using delay as a constant wash instead of a phrase tool
- Letting the breakdown lose all rhythmic identity
- Overusing risers and impacts
- Making the bass too busy in the breakdown
- Stereo bass layers leaking into the low end
- Use saturation in stages rather than one brutal stage. A little Saturator before and after filtering can make a bass feel denser without becoming fuzzy.
- Try a parallel Drum Buss return for the break. Blend in a crushed version under the clean break to add grit while preserving transients.
- If the breakdown needs menace, automate a very slight drop in pitch on a filtered bass stab using a Clip Envelope or pitch automation. Keep it subtle.
- For neuro-leaning tension, automate tiny cutoff moves on a mid-bass layer every 1 bar, not sweeping ones. Small changes feel more alive.
- Use call-and-response between the break and bass. For example: snare echo speaks, bass answers two beats later. That conversation is a huge part of dubwise energy.
- Darker tracks often sound better when the breakdown gets slightly narrower before the drop. Use Utility width automation on atmos and FX, but keep the bass centered.
- If the section feels too polished, resample it through light clipping using Saturator or Drum Buss and then edit the audio. Controlled degradation often helps DnB feel more underground.
By the end, you’ll have a breakdown that sounds intentional, not like the track simply “stopped.”
Step-by-Step Walkthrough
1. Set up the breakdown section as a contrast device, not a gap
Start by mapping out a 16-bar area in Arrangement View where the breakdown will live. In DnB, the most effective dubwise breakdowns usually occur after a first drop or before a second drop, often following 8 or 16 bars of energy release.
Build a simple arrangement skeleton:
- Bars 1–4: strip the kick and main snare, leave ghost break elements and atmospheres
- Bars 5–8: introduce dub echoes and filtered bass answers
- Bars 9–12: add a rising tension layer, snare fills, and automation movement
- Bars 13–16: tighten the groove and prepare the drop with a final bass or drum pickup
Why this works in DnB: the listener still feels forward motion even when the track opens up. DnB energy depends on momentum, and a breakdown that keeps micro-rhythm and bass memory intact prevents the track from feeling empty.
In Ableton, create color-coded groups for:
- DRUMS
- BASS
- FX
- ATMOS
- RETURNS
This is not cosmetic. Advanced workflows move faster when arrangement decisions are visible immediately.
2. Design the core dubwise bass response with simple, controllable movement
Build two bass layers in separate MIDI tracks:
- Sub layer: Operator or Wavetable with a sine or near-sine patch
- Mid layer: Wavetable, Analog, or simpler oscillator stack with gentle detune
For the sub:
- Oscillator: sine
- Filter: off or very open
- Volume envelope: short release, no unnecessary tail
- Keep it mono with Utility set to Width 0% if needed
For the mid layer:
- Start with a saw or basic wave
- Add a low-pass filter around 150–300 Hz to tame top-end
- Add Saturator with Drive around 2–5 dB for harmonic presence
- Use Auto Filter with slow cutoff movement
Program a call-and-response phrase over 2 bars, not continuous notes. For example:
- Bar 1: a long note on the root
- Bar 2: a syncopated answer a fifth or octave above
- Leave holes for echo throws
Parameter suggestions:
- Auto Filter cutoff: roughly 180–600 Hz during the breakdown
- Saturator Drive: 2–6 dB, with Soft Clip on if you need density
In a dark roller or dubwise neuro context, the point is not to show off note complexity. It’s to create weight through phrasing and space.
3. Build the delay ecosystem with Send/Return automation
Create a Return track with Echo and another with Reverb if they’re not already there. Echo is particularly strong for dubwise DnB because you can make it react like a performance instrument.
On the Echo return:
- Sync to 1/4, 1/8, or dotted 1/8 depending on the groove
- Feedback around 25–55%
- Filter the delays so repeats don’t clutter the low end
- Use modulation subtly, not like a chorus wash
On the Reverb return:
- Keep decay moderate, roughly 1.5–4 seconds
- High-pass the return so sub doesn’t smear
- Use low wet amounts for depth rather than obvious wash
Now automate Send A or Send B from:
- snare hits
- percussion one-shots
- bass stabs
- vocal chops or atmos stabs
The best dubwise trick in DnB is not constant wetness. It’s selective throw automation. Send only the last hit of a phrase into Echo so the delay “speaks” after the groove leaves space.
Practical move:
- Automate the send up only on the final snare of each 4-bar phrase
- Let the repeat trail into the next bar
- Pull the send down again before the next main kick returns
4. Turn the breakbeat into a living, edited texture
Import or resample a break and work it like an advanced DnB editor, not a loop spammer. If you’re using a classic break, slice it to a Drum Rack or manually edit in Arrangement View.
Focus on:
- ghost notes
- kick/snare replacements
- micro-stutters
- transient control
Use these stock tools:
- Drum Buss: for punch and controlled weight
- Transient shaping through Clip Gain and careful slicing
- EQ Eight: remove muddy low-mids around 200–400 Hz if needed
For the breakdown, strip the break to partials:
- Keep snare ghosts and hats ticking
- Remove or reduce the main kick
- Let a roomier snare or rimshot breathe
- Add one or two reverse slices before key hits
Advanced detail: duplicate the break to a new track and process it differently for the breakdown only.
- Track 1: dry, punchy edit
- Track 2: filtered, echo-heavy, more spacious edit
Then automate Track 2’s volume to rise during bars 5–12. This creates a dubwise “shadow break” that feels deep without overcrowding the main drum identity.
5. Shape the arrangement with phrase-level automation, not random FX
A strong dubwise breakdown in DnB is built from phrases. Use 4-bar and 8-bar automation arcs, not constant movement.
Automate these controls over the section:
- Auto Filter cutoff on bass and atmos
- Reverb send on selected drum hits
- Echo feedback during key throws
- Utility width on atmos and FX layers
- Track volume dips for tension moments
- Drum Buss Drive or Boom very subtly on the last 1–2 bars before the drop
Suggested phrase map:
- Bars 1–4: close the filter slightly, thin out the groove
- Bars 5–8: open the delayed bass answers
- Bars 9–12: introduce a rising texture or filtered noise
- Bars 13–16: increase percussion density and reduce reverb tail slightly to tighten toward impact
Use clip automation for musical phrases that repeat, and arrangement automation for section-wide changes. This keeps the breakdown editable and lets you recycle the same motif in later parts of the track.
Musical example:
If your track is in F minor, keep the sub on F for the anchor, then answer with C or Eb in the mid layer on delayed stabs. That simple root/fifth/minor third relationship sounds deeply “dubwise” while still fitting a DnB sound system context.
6. Add atmospheres and texture layers that imply depth, not clutter
A dubwise breakdown needs air, but the air has to be shaped. Use one or two atmospheric layers only:
- filtered noise swell
- vinyl texture or room tone
- resampled reverse tail
- stretched chord fragment or harmonic drone
Process the atmos track with:
- Auto Filter: low-pass around 3–8 kHz, automate cutoff
- Chorus-Ensemble very lightly if needed for width
- Utility to control stereo width
- Reverb with a long tail, but high-pass the return
If the track is darker or neuro-leaning, a subtle moving texture can replace harmonic chord content entirely. A resampled bass squeal, reversed cymbal, or processed field recording can work better than a pad.
The key is keeping the atmosphere off the low end. Always check mono compatibility and avoid letting the ambience cloud the sub or kick region.
7. Create the pre-drop tension with a controlled, minimal final build
The last 4 bars before the drop should feel like the breakdown is collapsing into the next section, not like a generic EDM riser.
Use these elements:
- snare roll or broken snare pulses
- a filtered noise rise
- faster delay throw activity
- a bass note that becomes shorter or more clipped
- a final bar of near-silence except for echo tail and impact prep
Ableton tools:
- Simplify MIDI notes or manually shorten them for rising urgency
- Auto Filter resonance can be increased slightly, but keep it controlled
- Reverb decay can be shortened as the drop approaches to “dry out” the air before impact
- Utility gain automation can duck or swell the final pre-drop FX layer
Concrete ideas:
- Raise Echo feedback from 30% to 50% over 2 bars, then cut it hard
- Automate a high-pass filter from 120 Hz up to 300 Hz on the mid bass layer
- Reduce drum room send on the last 1 bar so the drop feels more direct
This is a classic DnB tension move: thinning the texture right before the drop makes the downbeat feel larger and more physical.
8. Resample the breakdown for final character and arrangement control
Once the breakdown works musically, resample it. Create a new audio track and record the entire breakdown performance in real time or in chunks.
This gives you:
- committed FX tails
- organic automation movement
- a single audio file you can cut, reverse, and re-contextualize
After resampling:
- slice the best moments
- reverse one echo tail into a new transition
- make a short fill from the last snare echo
- place a muted duplicate under the original for density if needed
Advanced workflow advantage: resampling makes your breakdown easier to arrange and often sounds more cohesive than stacking too many live devices. In DnB, especially darker styles, this can create a more “finished” and authoritative section because the FX and groove feel like one performance.
Common Mistakes
Fix: high-pass the reverb return and keep sub completely dry and mono.
Fix: automate sends only on selected hits, especially snare end-points.
Fix: keep ghost hats, break fragments, or percussion ticks so the groove still breathes.
Fix: dubwise tension comes more from subtraction, echo, and filter motion than from stacked cinematic FX.
Fix: simplify the bass to root notes, answers, and rests. Let space do the work.
Fix: keep anything below roughly 120 Hz mono and check Utility width carefully.
Pro Tips for Darker / Heavier DnB
Mini Practice Exercise
Spend 15 minutes building a 16-bar dubwise breakdown in an existing DnB project at 172 BPM.
1. Choose an 8-bar loop that already has drums, bass, and one atmospheric layer.
2. Duplicate it into a new section and strip out the main kick for 8 bars.
3. Keep only ghost break elements, one bass root note, and one delayed stab.
4. Add Echo on a return track and automate sends on the final snare of each 4-bar phrase.
5. Automate Auto Filter on the bass from darker to slightly more open over 8 bars.
6. Add one reversed FX hit and one short snare fill before the drop.
7. Resample the full breakdown to audio and cut one new transition from the result.
When you finish, listen back with the question: does the breakdown still feel like the same track, just in a more spacious and dangerous form?
Recap
A strong dubwise DnB breakdown is built from phrase control, selective delay throws, stripped drum edits, and bass movement that leaves space without losing identity. Use Ableton stock devices to automate tone, width, sends, and tension across 4-bar and 8-bar arcs. Keep the sub mono, the echoes intentional, and the arrangement DJ-friendly. Above all, make the breakdown feel like part of the tune’s momentum, not a detour.

