Show spoken script
Dub echo sound design fundamentals in Ableton Live, intermediate level. Let’s go.
Dub echo in drum and bass is not just “put a delay on it.” It’s a playable instrument. It’s rhythm, it’s space, it’s vibe, and in a good roller it’s doing a ton of work without you really noticing it. The goal today is to build a dub echo return track that sounds classic and deep, but stays controlled in a heavy mix. Then we’ll talk about how to perform it with throws, feedback lifts, filter sweeps, and tempo-synced rhythm changes, without wrecking your drums or your sub.
First, what you’re building.
You’re going to make one dedicated return track that you can send any sound into. Snare, stab, vocal chop, little bits of foley, whatever. That return will be 100 percent wet, tempo-synced, filtered, saturated, optionally reverbed, sidechained so it breathes with the drums, and protected with a limiter so you can push it safely.
Alright, set it up.
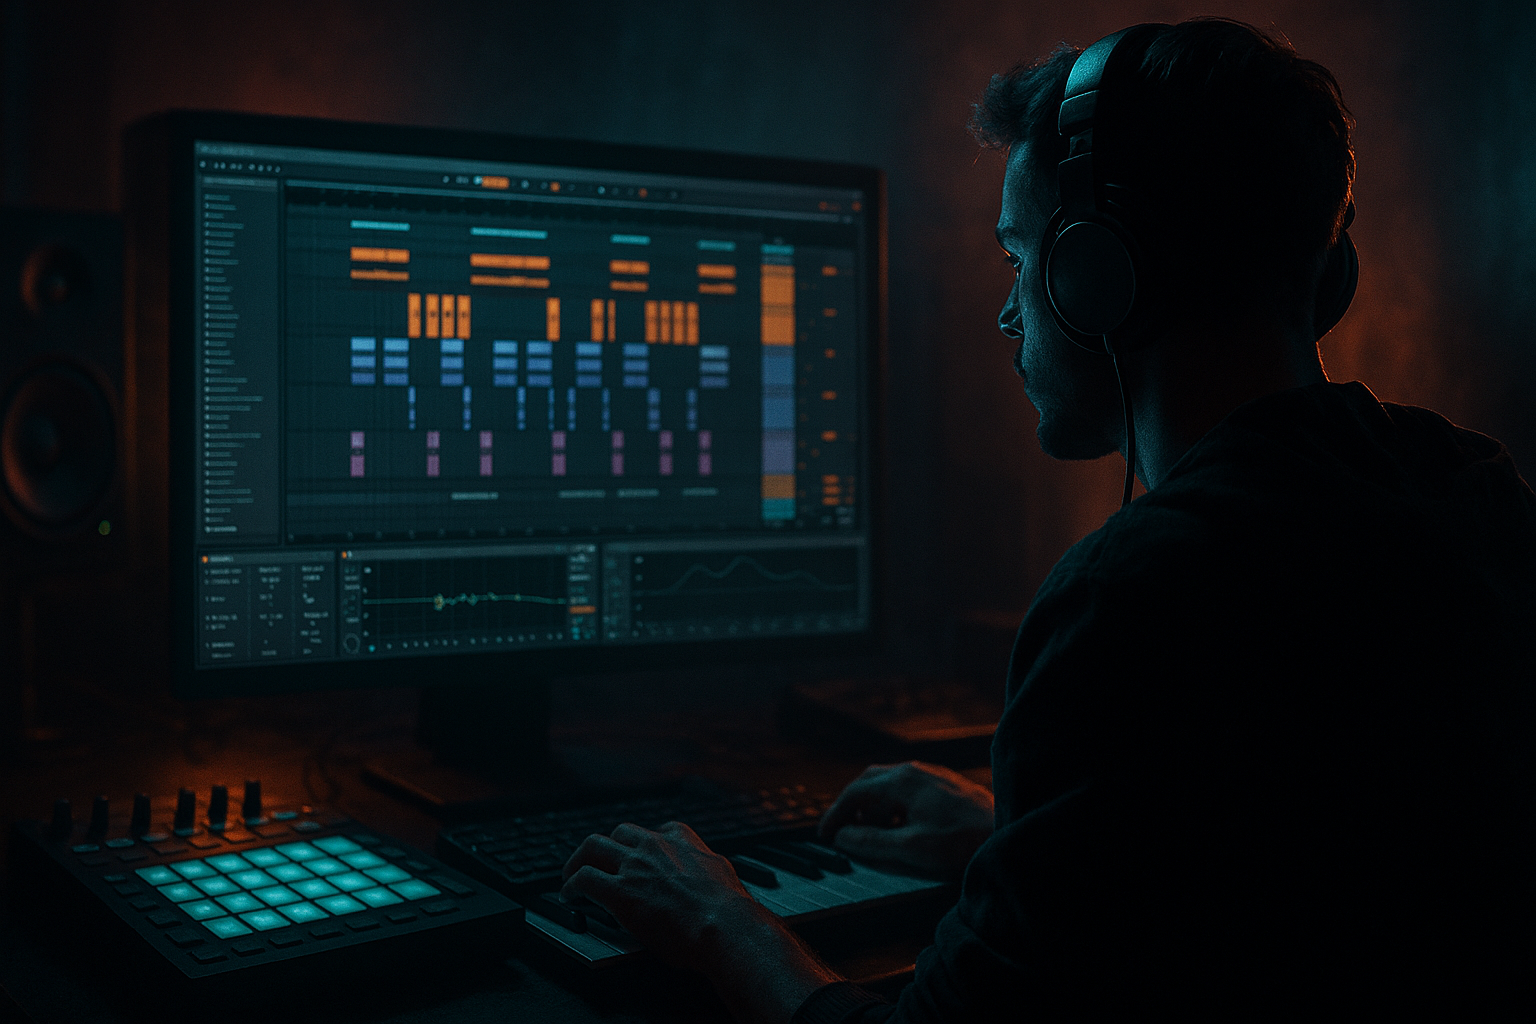
Open Ableton Live, Session or Arrangement view, doesn’t matter. Create a return track from the Create menu, Insert Return Track. Rename it right away so you actually use it: “Rtn A – Dub Echo.”
Set the return fader to 0 dB for now. Important idea here: you’re not riding the return fader as your main control in day-to-day work. You want to control how much echo you get from each source using the send knobs or send automation on those tracks. That’s what makes this feel like a performance tool. It also keeps everything cohesive, because the same echo “world” is shared across your mix.
Now, the core delay.
On that return, drop in Ableton’s Echo device. This is the heart of it.
Turn Sync on so delay time is musical. Set Dry/Wet to 100 percent because we’re on a return. If you leave Dry/Wet lower, you’ll accidentally blend dry signal through the return, which usually makes your phase and levels weird.
For starting times, set Time Left to 1/8 and Time Right to 1/8. That gives you tight, rolling chatter that works great at 172 to 175 BPM.
If you want instant width and a little more dub movement, you can offset them. Try 1/8 on the left and 3/16 on the right. Or use triplet variants like 1/8T when you want that swingy, jungle-ish skip. We’ll do performance stuff with that later.
Set Feedback somewhere safe, like 35 to 55 percent to start. If you’re newer to riding feedback, stay closer to 35 or 40. Remember: feedback isn’t just “more delay.” It’s literally increasing the amount of signal that re-enters the loop, so it can run away.
Add a little modulation, but keep it classy. Mod Amount around 5 to 15 percent, Mod Rate around 0.10 to 0.40 Hz. Slow and subtle. This is “tape movement,” not seasickness.
Noise is optional. Keep it at zero at first, and if you want a hint of grit later, go 0 to 5 percent. In DnB, too much noise builds up fast when you’re doing throws.
Quick coach note on gain staging before we keep adding devices: returns can get out of hand because the feedback path gets too hot. A good target is having Echo’s input hovering around minus 18 to minus 12 dBFS on average. Not a hard rule, but a strong sanity check. If you’re constantly slamming the end limiter, that’s not “more dub,” that’s just a flattened return that eats your mix.
Next, the dub part: filtering.
After Echo, add Auto Filter. Put it after the delay for now, because we’re doing a straightforward, mix-friendly version first.
Choose a Lowpass filter, 24 dB slope. Set the cutoff somewhere between about 2.5 and 6 kHz. Start around 4 kHz and adjust by ear.
Resonance: 0.8 to 1.8. You want character, a little “speak,” but watch out for whistling tones that stab your ear. If you hear a ringing note, back off resonance, or later we’ll tame it with a surgical EQ dip.
You can add a bit of Drive in Auto Filter, 1 to 3 dB, if you want extra bite. But don’t stack drive everywhere yet. We’re going to add saturation in a dedicated way.
Why this matters for DnB: bright echoes compete with hats and snare presence. Darker repeats tuck behind the groove, making the track feel larger without stealing attention.
Now, low end control. This is non-negotiable.
After Auto Filter, add EQ Eight. Put a high-pass filter on it, 24 or even 48 dB per octave. Set the cutoff around 150 to 300 Hz. A great starting point for drum and bass is 200 Hz.
This is the difference between “professional spacious” and “mud city.” Any echo energy down in sub and low-bass range can blur your kick and bass relationship and cause all kinds of phasey nonsense.
If the echo sounds boxy, add a gentle dip around 300 to 600 Hz. If it’s poking too hard, especially on snares or vocals, try a small dip around 2 to 4 kHz. Keep these subtle. You’re shaping a send effect, not mastering it.
Next, add weight: saturation.
After EQ Eight, add Saturator. Choose a mode like Analog Clip or Soft Sine. Set Drive around 2 to 6 dB. Turn on Soft Clip if you want it a bit more controlled and “console-ish.”
Then compensate with Output so it’s not getting louder overall. That’s key. You want more density and harmonics, not a level trick.
At this point you already have a very usable dub echo. Everything after this is enhancement and control.
Optional reverb tail for depth.
After Saturator, add Hybrid Reverb. Keep it small. Think “glue,” not “wash.”
Algorithmic mode is fine, or a small convolution room. Decay around 0.6 to 1.6 seconds. Pre-delay 10 to 25 milliseconds so the reverb doesn’t step on the initial delay taps.
Low Cut on the reverb around 200 to 400 Hz. High Cut around 5 to 9 kHz. Dry/Wet on Hybrid Reverb around 10 to 25 percent, because again, we’re already on a return and we don’t want to drown the rhythm.
Now, the modern DnB move: sidechain ducking.
At the end of the chain, add a Compressor. Turn on Sidechain. Set the input to your Drum Bus, or a group that contains kick and snare. If you don’t have a drum group, you can even sidechain from just the kick, but kick plus snare usually gives more consistent ducking in DnB.
Set Ratio to somewhere between 3:1 and 6:1. Attack 1 to 5 milliseconds. Release 80 to 180 milliseconds.
Then lower the threshold until you hear the echo tuck under the drum hits and reappear in the gaps. That “in the gaps” feeling is the whole point: the echo adds motion without stealing punch.
Sidechain feel tip: if the ducking sounds like it’s sucking the life out of the echo, the release is probably too long. If your echo still masks the drum transients, your attack is probably too slow. Tune this with the full drum groove playing, not in solo. Solo makes you set it wrong.
Now, safety. Put a Limiter at the very end of the return. Ceiling at minus 0.3 dB.
This is your ear-protection and master-bus protection, because dub echo plus feedback automation equals unpredictable peaks. The limiter is not there so you can slam it constantly. It’s there so when you do a feedback lift, you don’t accidentally clip your whole project.
Another coach note: if the limiter is doing heavy gain reduction all the time, pull levels back earlier in the chain. Especially Echo input and Saturator output. You want occasional peak control, not constant squashing.
Cool. Your chain is built:
Echo, then Auto Filter, then EQ Eight high-pass, then Saturator, optional Hybrid Reverb, then Compressor sidechain, then Limiter.
Now let’s make it playable.
If you like working with macros, group the devices into an Audio Effect Rack and map performance controls. The ones that matter in real DnB sessions are Echo Feedback, Auto Filter Cutoff, Saturator Drive, Reverb amount if you used it, and a panic control like return volume.
Echo Time can be mapped too, but here’s the truth: switching delay time can click, pitch-jump, or glitch. Sometimes that’s sick, sometimes it ruins the moment. If you want cleaner time changes, do them only on very short throws, or quickly dip Echo output for a split second during the change so the transition is hidden.
Now let’s talk about the big performance concept: what are you actually “throwing”?
There are two main moves.
Send automation is the clean, predictable one. You decide which sound goes into the space, and when.
Feedback automation is the dramatic one. You’re changing the behavior of the loop itself, which can snowball.
A reliable workflow is: automate sends for musical placement, then ride feedback only for transitions, phrase endings, or special moments.
Let’s do three classic DnB applications.
First: snare throws.
This is a staple. On your snare track, automate Send A so it jumps up for just one hit, usually at the end of a two-bar or four-bar phrase. If you want that big call-and-response tail, use a delay time like 1/4 or 1/4 dotted.
Then, if you want extra drama, briefly lift feedback. For example, you might go from 45 percent up to 65 percent for a moment, then back down. The key is “back down.” Always back down.
Second: stab echoes for jungle or rollers.
On a chord stab track, try times like 1/8 or 3/16 to get that rolling, slightly off-grid feeling. Then do a filter sweep: automate the Auto Filter cutoff down over one to two bars after the stab hits. That creates the classic “dubbing out” effect, where the repeats get darker and feel like they’re disappearing into the system.
Third: vocal chop trails.
These get messy fast, so keep it darker and lighter. Bring the filter cutoff down to around 2 to 3 kHz. Keep feedback more conservative, like 30 to 45 percent. And use sidechain so the vocal tail doesn’t fight the snare presence.
Now, arrangement placements. Where does dub echo shine?
End of 8 or 16 bar sections is perfect. One snare throw into a filtered tail is an instant transition.
Pre-drop tension: slowly bring the filter cutoff down while lifting feedback slightly, and then hard cut the return right before the drop. That hard cut is impact. The drop feels bigger because the space disappears for a moment.
Mid-drop variation: do a quick time switch like 1/8 to 1/8 triplet for one throw only, then go back. That one-bar rhythmic twist reads as variation without adding new elements.
Now let’s cover common mistakes so you can avoid them immediately.
Mistake one: leaving low end in the delay. That’s how you lose sub clarity. High-pass the return. Always.
Mistake two: too much feedback with no limiter. That’s runaway buildup, clipped master, headache. Put the limiter on the return.
Mistake three: over-bright echoes. That’s when it starts sounding like generic EDM delay instead of dub. Darker echoes feel deeper and sit better in DnB.
Mistake four: no sidechain ducking. Then the echo sits on top of the drums and your groove loses punch.
Mistake five: using dub echo everywhere. If it’s constant, it stops being special. Use it like a feature.
Let’s level up with a few pro tips and variations.
First, filtering placement changes the behavior. In our basic chain, filter is after the delay, so you’re tone-shaping the output. If you put filtering into the feedback path, each repeat progressively degrades, more like real tape or a dub desk. Ableton can do this with racks and parallel chains, where one chain is your main echo and another chain is a “degrading layer” that you blend in. It’s a way to get that true dub decay vibe without gambling on runaway feedback.
Next, ping-pong width control. Wide stereo is fun, but it can smear your center image in busy drop sections. Put a Utility after the delay and automate width. Keep it narrower in dense sections, like 70 to 90 percent width, then widen to 110 or 140 percent on phrase endings and transitions. This is one of those subtle pro moves that makes the mix feel intentional.
Another template upgrade: dual-time throws.
Make two returns. One is Tight, set to 1/8, darker, less feedback, mainly for groove chatter. The other is Long, set to 1/4 dotted or even 1/2, heavier ducking, for transitions and big moments. Then you choose which space you throw into depending on the role: groove versus cinematic tail.
Also, you can color what you send without duplicating returns. Put an EQ on the source channel before the send, and shape the signal before it hits the return. For snares, you might emphasize a bit of 1 to 4 kHz so the tail speaks. For vocals, reduce 2 to 5 kHz if sibilant and maybe push a bit around 700 Hz to 1.2 kHz for that radio dub tone. For stabs, roll off highs before the send so it sounds instantly vintage.
And here’s a neat sound design trick: crunch only on later repeats.
If you place a compressor before the saturator and set it so quieter repeats get lifted more, the first echo stays clearer, and later echoes drive into distortion harder. That gives you evolving texture without losing the initial clarity.
Now, a quick practice routine you can do in 15 to 20 minutes.
Load a basic DnB loop around 174 BPM. Kick, snare, hats. Add a stab playing a simple two-bar pattern. Build your dub echo return exactly like we just did.
Then create three throw types.
One snare throw: automate the send on bar 8 only.
One stab throw: automate the send on the last stab of bar 4.
One vocal chop throw: one word every 4 bars.
Then do an automation challenge.
Sweep the filter cutoff down over two bars.
Lift feedback for one beat, then return it to safe.
And do a hard cut of the return volume right before an “imaginary drop” moment.
Your goal is rolling, spacious, and controlled. Not messy. If it starts sounding messy, it’s usually one of three things: too much low end in the return, too much feedback, or not enough sidechain.
Let’s recap the mindset.
Dub echo in DnB is an instrument you play. Build it as a return so it’s fast and cohesive. The character comes from filtered, saturated feedback, not just the delay time. Control is everything: high-pass and sidechain keep your punch and sub clean. And the magic is in throws and automation: one planned gesture per phrase makes the track feel produced, not accidental.
If you tell me what subgenre you’re aiming for, like deep roller, jungle, minimal, or neuro-leaning, I can suggest a tight set of signature time values and a go-to macro layout that matches the groove conventions of that style.