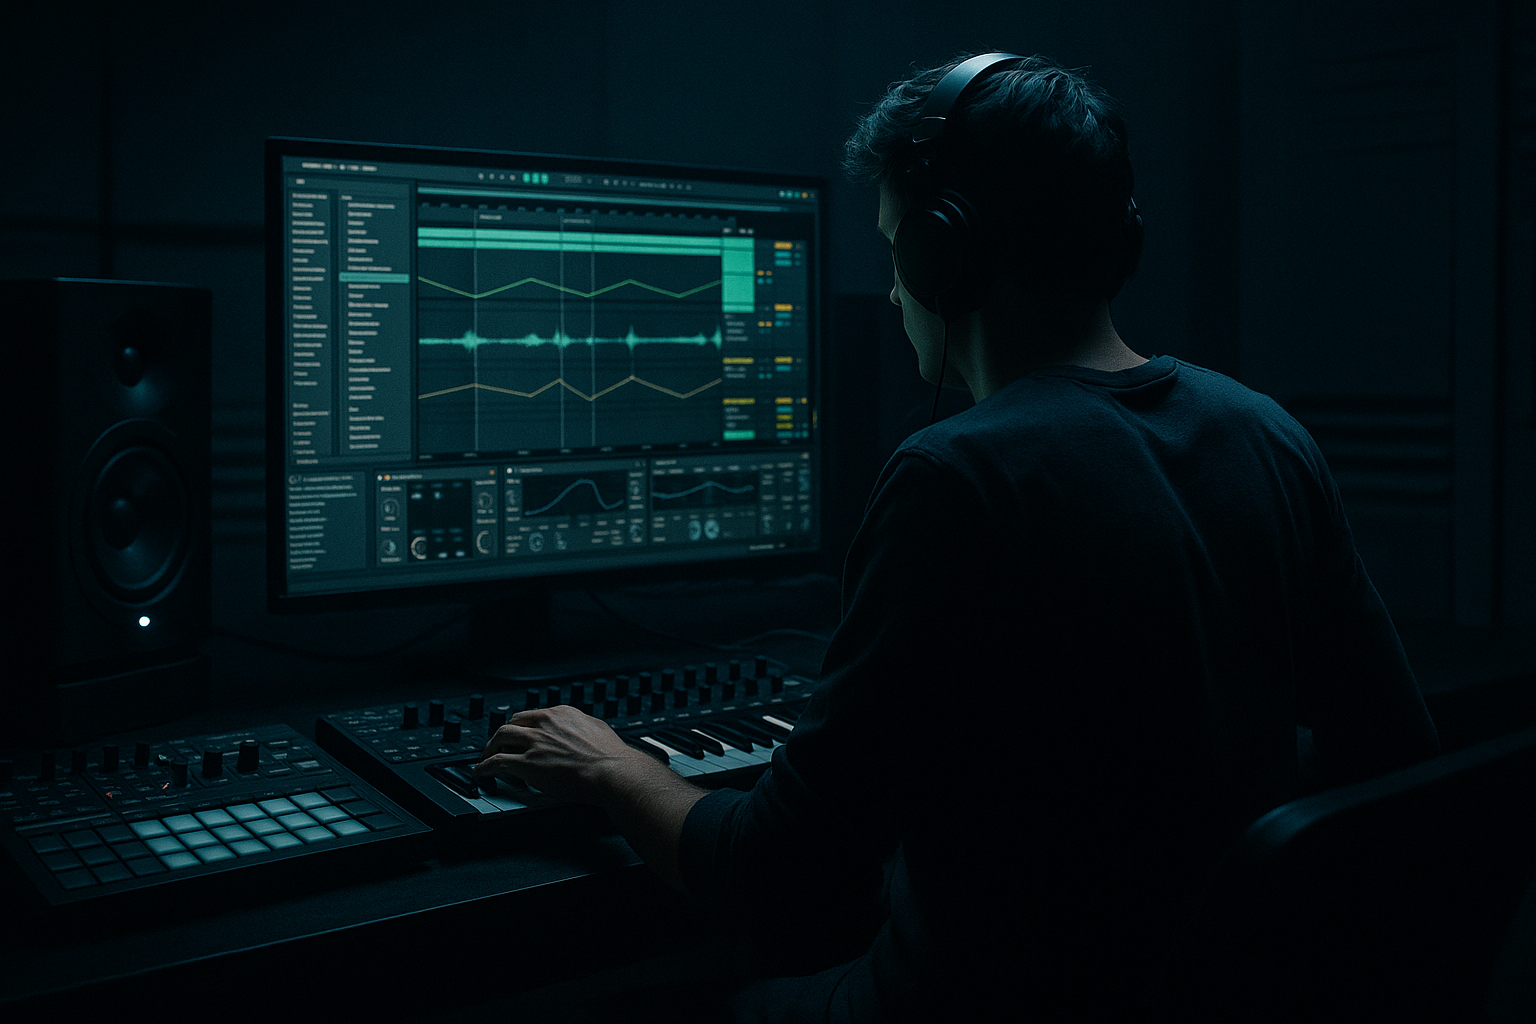
Main tutorial
Drop Pull Lab for VHS-Rave Color in Ableton Live 12
Beginner Tutorial for Jungle / Oldskool DnB DJ Tools 🎛️🔥
1. Lesson overview
In this lesson, you’ll build a drop pull: a short DJ-style transition tool that creates a sense of the drop being “sucked backward” or “pulled away,” then slamming back in with VHS-rave color. In drum and bass, this is perfect for:
- DJ intro tools
- breakdown-to-drop transitions
- fake-outs before a rewind
- jungle and oldskool-style tension moments
- adding character to rolling bass sections
- a rising tension texture
- a pitch/pull effect
- a filtered, lo-fi VHS vibe
- a clean arrangement that lands the drop properly
- drum energy from breakbeat chops
- bass movement that feels like the drop is being dragged backwards
- tape/VHS-style degradation
- filtered reverb and delay tails
- a final impact or re-entry into the main drop
- dusty warehouse jungle tape
- 90s rave VHS playback
- oldskool tension before the bass reloads
- a grimey club intro tool that DJs can mix in and out of
- Tempo: 170–174 BPM
- Time signature: 4/4
- Create a new Audio or MIDI track for drums and another for bass
- Set your project key if you know it, but it’s not essential for this exercise
- Drum Rack
- Simpler for chopped breaks
- Core Library drum hits
- Drum Buss for punch
- kick on 1
- snare on 2 and 4
- extra ghost hits and hat variations between the beats
- a kick
- a snare
- a closed hat
- a ride or shaker
- Kick: beat 1
- Snare: beat 2 and 4
- Ghost snare: just before 2 and 4
- Hats: 16th notes with some velocity variation
- a simple saw or square wave
- low-pass filter slightly closed
- moderate resonance
- short amp envelope
- Oscillator: Saw or Square
- Filter cutoff: around 100–300 Hz depending on tone
- Filter envelope: short and punchy
- Glide/Portamento: subtle, for oldskool slide flavor
- filter cutoff downward
- volume downward
- pitch downward
- or combine all three
- Start the bass bright enough to be heard
- Over 1 or 2 bars, slowly close the filter
- As the drop approaches, make the bass feel like it’s “sinking”
- automate pitch down by 1–2 semitones in the last half-bar
- or use a pitch bend if your synth supports it
- slightly gritty
- mid-focused
- simple waveform
- strong movement from automation
- Reduce sample rate slightly, not extreme
- Bit reduction: subtle
- Mix: 10–30%
- small crackle
- mechanical dirt
- unstable character
- Time: 1/8 or 1/4
- Feedback: 20–40%
- Filter: roll off some highs
- Modulation: slight movement
- Dry/Wet: automate upward during the pull
- Decay: 1.5–4 s
- Low Cut: around 200 Hz
- High Cut: around 4–8 kHz
- Wet: automate up near the transition
- Rate: very slow
- Amount: subtle
- Phase: adjust for motion
- Drums play normally
- Bass plays a restrained pattern
- Keep the mix fairly clean
- Start filtering the bass downward
- Add more echo/reverb to selected hits
- Reduce drum density slightly
- Add a short reverse effect or snare pickup
- Cut or thin the drums briefly
- Let delay/reverb bloom
- Pitch the bass down or mute the low end momentarily
- End on a strong impact, rewind hit, or clean drop return
- stop the drums for a 1/2 beat or full beat
- let a delay tail ring out
- bring the drop back in hard with a kick/snare/bass hit
- Filter cutoff on the bass
- Reverb dry/wet
- Echo feedback
- Bass volume
- Drum group volume
- Saturator drive
- Redux amount
- Utility width
- Master or group mute stops for fake-outs
- a gradual descent
- a brief stall
- then a hard reset or slam
- smooth curves at first
- sharper moves near the drop
- a sudden release back into full energy
- export or consolidate a snare hit
- reverse the audio clip
- fade it in if necessary
- place it right before the drop
- minor 7th, sus, or simple rave chord
- process with Saturator, Reverb, and Echo
- filter it down during the pull
- take a drum/bass section
- render it to audio
- reverse it
- add a little Redux or Vinyl Distortion
- place it as a transition into the next section
- cut the music for a beat
- leave a delay tail
- re-enter with a full drum hit and bass drop
- Strong intro cue
- Clear 1-beat or 2-beat transition point
- No overpacked frequency clash
- Controlled sub-bass
- Reusable loop length like 4 or 8 bars
- 4-bar intro
- 4-bar pull
- 1-bar impact
- 4-bar clean exit
- Make sure the bass and kick don’t fight
- Use Utility to keep sub mono
- Use EQ Eight to clean up muddiness
- Reverb and delay should add atmosphere, not wash out the groove
- If the mix gets blurry, reduce wetness or shorten decay
- Don’t over-limit the whole thing
- For a DJ tool, punch and headroom matter more than extreme loudness
- on headphones
- on small speakers
- in the car if possible
- drum edits
- reverses
- bass filters
- tape-style effects
- choose square waves or detuned saws
- keep the top end controlled
- add saturation instead of harsh brightness
- Drum Buss or Saturator
- just enough to bring out grit
- trigger a short sub note
- automate pitch down slightly
- combine with a snare hit
- 1 drum loop
- 1 bass line
- 1 FX layer
- 1 final impact
- Use at least one filter automation
- Use at least one delay or reverb automation
- Use at least one lo-fi effect like Redux or Vinyl Distortion
- Make the last beat feel like a pull-back or fake-out
- one cleaner and more mix-friendly
- one dirtier and more VHS/grimy
- use drum energy as the foundation
- shape the bass with filter and pitch automation
- add VHS-rave texture with stock lo-fi devices
- use delay, reverb, and reverses to create tension
- arrange it like a real DJ tool so it works in mixes
We’ll keep it practical and Ableton-focused. You’ll use stock Ableton Live 12 devices to create:
This is beginner-friendly, but the result will sound like a real DnB production tool, not a random FX loop.
---
2. What you will build
You’ll make a short 4- to 8-bar drop pull transition with:
The vibe
Think:
Final result
You’ll end up with a small loop or section you can place before a drop, or export as a DJ tool for mixing.
---
3. Step-by-step walkthrough
Step 1: Set up the project
Open Ableton Live 12 and set:
- For jungle: try 172 BPM
Suggested session layout
Create 3 tracks:
1. Drums
2. Bass
3. FX / Atmosphere
This keeps your drop pull clean and easy to manage.
---
Step 2: Program a simple jungle drum foundation
You want something that feels like a real DnB transition, not a generic EDM riser.
Drum source
Use any of these stock options:
Build a breakbeat pattern
Load a break sample into Simpler and try a basic jungle chop:
If you don’t have a break ready, use:
Quick beginner drum pattern idea
In 1 bar:
Processing chain for the drums
Put these on the drum group:
1. EQ Eight
- High-pass anything that doesn’t need sub
- Cut muddy lows around 200–400 Hz if needed
2. Drum Buss
- Drive: 5–15%
- Crunch: subtle
- Boom: only if your kick needs weight
- Damp: adjust so it doesn’t get too bright
3. Glue Compressor
- Ratio: 2:1
- Attack: 3–10 ms
- Release: Auto or 0.1–0.3 s
- Just 1–2 dB of gain reduction
This gives the drums a bit of oldskool glue without killing the punch.
---
Step 3: Create the “drop pull” bass shape
Now we build the central effect: the feeling that the bassline is being dragged backward before the drop.
Option A: MIDI bass with stock synths
Use Wavetable, Operator, or Analog.
#### Good beginner synth choice: Wavetable
Start with:
#### Basic bass settings
Create a pull motion
Make a 1-bar bass phrase and automate either:
#### The best beginner method
Use automation on filter cutoff:
Then add a final trick:
Stock device chain for the bass
Try this chain:
1. EQ Eight
- Cut unnecessary highs
- Keep sub clean
2. Saturator
- Drive: 2–6 dB
- Soft Clip: ON
- This helps the bass feel more “tapey” and aggressive
3. Auto Filter
- Use a low-pass filter
- Automate cutoff for the pull
4. Utility
- Keep sub mono
- Width: 0% below the low end if needed
Bass tone for jungle / oldskool DnB
For VHS-rave color, avoid ultra-modern clean bass. Go for:
---
Step 4: Add VHS-rave color with lo-fi treatment
This is where the texture happens. We want a worn, slightly unstable feel like the audio is coming from a tape or old video dub.
Stock Ableton devices to try
#### 1. Redux
Use this lightly for bit reduction / sample-rate reduction.
Suggested starting point:
This can give your pull a grainy digital-tape edge.
#### 2. Vinyl Distortion
Great for:
Use it subtly. Too much will sound cheesy.
#### 3. Echo
Perfect for rave-style tails and ghost repeats.
Settings to try:
#### 4. Reverb
Use a small-to-medium room or a darker plate:
#### 5. Auto Pan
Use slowly for wobble:
This can make the pull feel unstable, like old tape playback.
---
Step 5: Build the actual drop pull arrangement
Now arrange the section so it works like a DJ tool.
Simple 4-bar arrangement structure
#### Bars 1–2: Groove establishment
#### Bar 3: Tension begins
#### Bar 4: Pull and release
A very usable DJ-tool move
At the end of the pull:
This creates a classic jungle “wait for it… now!” moment.
---
Step 6: Use automation like a DJ tool designer
Automation is the secret sauce here.
Automate these parameters:
Good automation shape
For a drop pull, the curve should feel like:
That means:
---
Step 7: Add oldskool DnB transition tricks
These are easy and very effective in jungle and drum and bass.
1. Reverse snare
Bounce a snare hit, reverse it, and place it before the drop.
How:
2. Rave stab
Use a short chord stab or synth hit:
3. Rewind effect
If you want a classic tape rewind moment:
4. Stop/start fake-out
A classic jungle move:
This works brilliantly in DJ tools.
---
Step 8: Make it mix-friendly
Since this is a DJ Tool, keep it usable in actual mixes.
Keep these elements clear:
Export-friendly arrangement idea
Create:
This gives DJs a tool they can loop, drop, or mix out of easily.
---
Step 9: Final mix checks
Before exporting, do these checks:
Low end
FX balance
Loudness
Bounce a test
Export and listen:
You want the pull to be obvious even at low volume.
---
4. Common mistakes
1. Making the pull too busy
A drop pull should create tension, not confusion. If you add too many effects, the groove disappears.
2. Overdoing lo-fi effects
Too much Redux or Vinyl Distortion can make the section sound broken instead of stylish.
3. Killing the low end
If you filter out the bass too early or too hard, the whole section loses impact. Keep the sub controlled, not absent.
4. No contrast
A pull only works if the return is bigger than the breakdown. Make sure the drop comes back with more energy.
5. Using generic risers
For jungle and oldskool DnB, the best transitions usually come from:
Not generic EDM noise risers.
---
5. Pro tips for darker/heavier DnB
If you want this to hit harder and darker, try these:
Use darker bass timbres
Add subtle distortion on the drum bus
Use band-limited pull effects
High-pass some FX so the sub stays powerful and the transition doesn’t get muddy.
Try short dubby delays
A dark Echo tail with filtered highs can sound huge in jungle.
Layer a pitch-drop sub stab
At the final moment before the drop:
That gives a proper oldskool “falling” feeling.
Keep the arrangement simple
Dark DnB often works best when the transition is confident and stripped back. Less clutter = more impact.
---
6. Mini practice exercise
Build a 4-bar VHS-rave drop pull using only stock Ableton devices.
Your task
Create:
Rules
Suggested workflow
1. Program a simple 2-bar jungle drum loop
2. Add a bass synth line
3. Automate the bass filter downward over 4 bars
4. Add echo to the last snare or stab
5. Insert a reversed snare before the drop
6. Export and listen back
Bonus challenge
Try making two versions:
Compare which one feels more useful as a DJ tool.
---
7. Recap
You’ve now built the foundation of a drop pull lab in Ableton Live 12 for jungle and oldskool DnB. The key ideas were:
Remember:
A great drop pull is not just an effect chain — it’s a musical tension device. In drum and bass, the pull should feel like the room is leaning forward before the bass hits again. That’s the magic. 🔊
If you want, I can also turn this into:
1. a MIDI clip + automation map,
2. a rack preset blueprint, or
3. a more advanced version with jungle break editing and rewind tricks.

