Main tutorial
Lesson Overview
In this lesson, you’ll learn how to drive an Amen-style sub line with groove pool tricks in Ableton Live 12 so the bass feels alive, ragga-leaning, and properly locked into the drums without turning mushy. This is the kind of movement that sits right in the sweet spot between jungle energy, roller pressure, and darker modern DnB discipline.
The goal is not just to write a sub under an Amen break. It’s to make the sub behave like part of the rhythm section: pushing, ducking, answering the drum phrases, and leaving air for the break to speak. That matters in DnB because the low end is doing a lot of emotional work. If your sub is static, the whole tune can feel flat. If it’s too busy, the kick and break lose authority. Groove Pool lets you inject micro-timing and velocity feel into your bass line so the groove breathes like a real performance, while still staying tight enough for club systems.
This technique fits especially well in ragga-influenced DnB, where the bass can feel call-and-response with vocal chops, dubwise stabs, or skanking percussion. Think of it as giving your sub the same swagger as a chopped-up vocal phrase: slightly behind the beat in places, then snapping forward when the drop needs impact.
What You Will Build
You’ll build a compact 8-bar drop section with:
- An Amen-style drum break as the rhythmic spine
- A mono sub patch that follows a syncopated ragga-inspired bass phrase
- Groove Pool timing applied to both bass notes and selected drum hits
- Subtle note-length control so the bass “pops” around the break instead of smearing across it
- A controlled layer of saturation and filtering for presence on smaller systems
- A simple arrangement setup that can expand into a DJ-friendly intro, drop, and switch-up
- Overapplying Groove Pool
- Making the sub too long
- Using too much width on the low end
- Letting saturation distort the kick/snare relationship
- Ignoring note placement around the snare
- Forgetting the arrangement context
- Use groove contrast
- Add subtle harmonic dirt in parallel
- Automate bass filters during fills
- Use ghost notes sparingly
- Try phrase-level swing changes
- Keep the high end of the break under control
- Think in call-and-response
- Use Groove Pool to give your sub line the human feel of the Amen break.
- Keep the true sub clean, mono, and rhythmically simple.
- Shape movement through note placement, note length, and small automation moves.
- Let the bass and break answer each other in a ragga-style call-and-response.
- Use saturation, filtering, and bus shaping carefully to add weight without losing low-end clarity.
Musically, the result is a sub line that feels like it’s dancing with the Amen rather than just sitting underneath it. You’ll hear the bass lean into offbeats, answer the snare, and create movement during gaps in the break. The phrase will have a ragga flavour through short, vocal-like note shapes and rhythmic emphasis, while still hitting like a modern DnB roller.
Step-by-Step Walkthrough
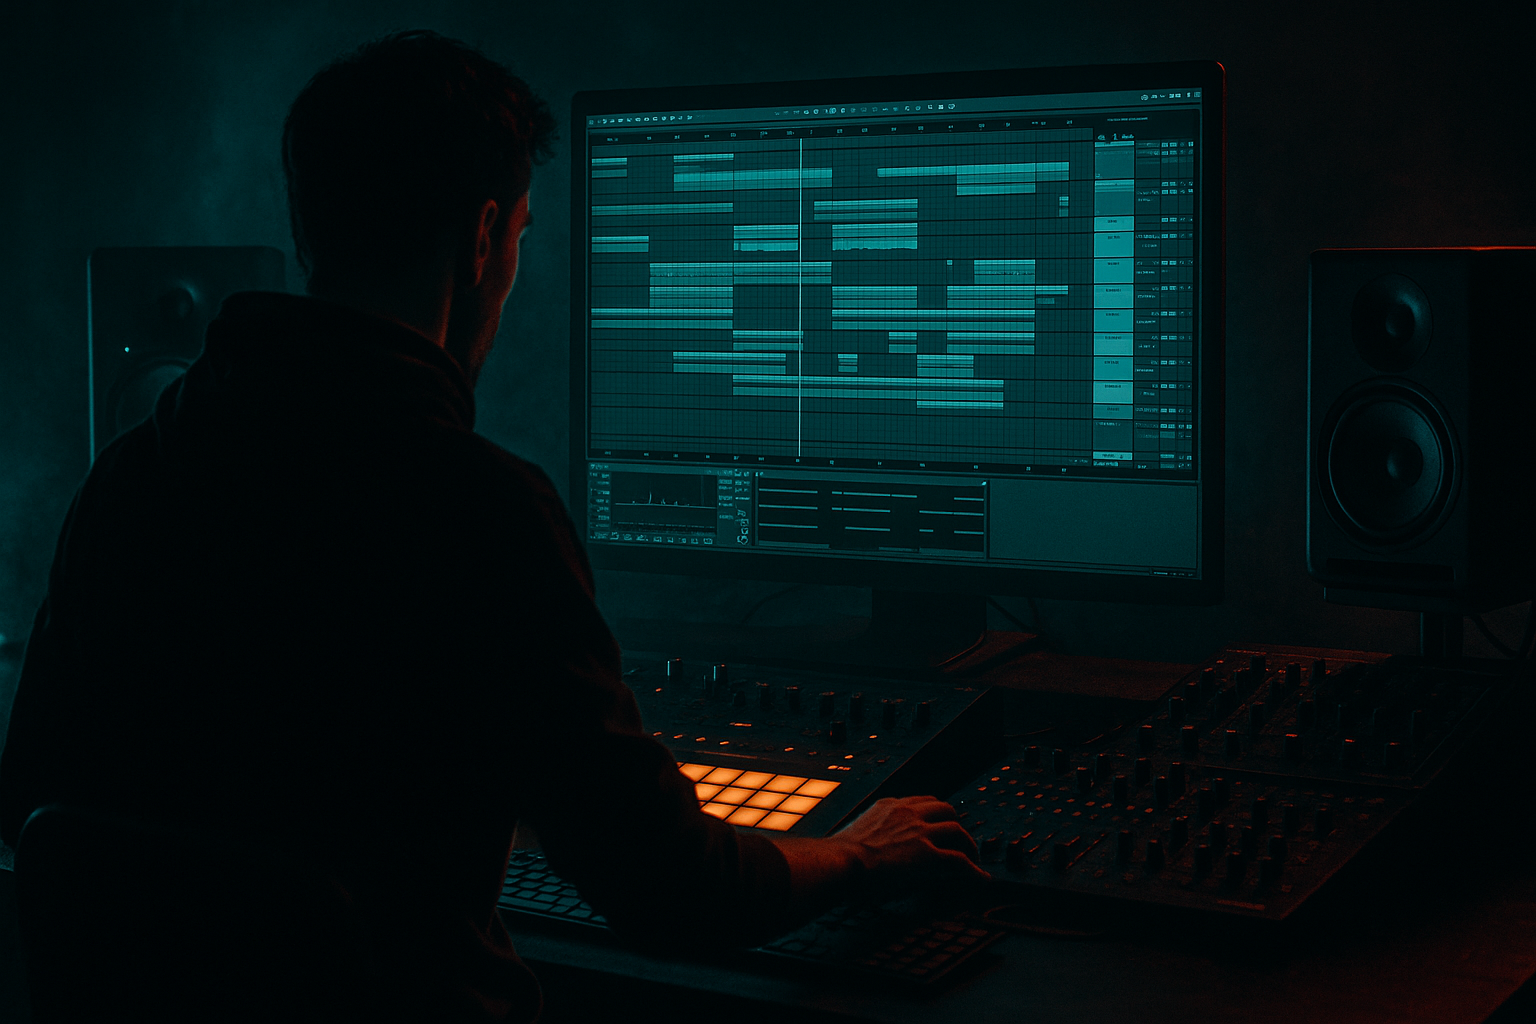
1. Set up a clean drum-and-bass workspace
Start with a fresh Ableton Live 12 set and organize three core tracks:
- Drum track with your Amen break
- Bass track for the sub
- Optional Return track for dub-style delay or ambience
On the drum track, load your Amen loop into Simpler or directly into an audio track if you’re already using chopped audio. For an intermediate workflow, audio is ideal because it gives you better groove, warp, and micro-edit control. Warp the break in Beats mode and set the transient preservation so the kick and snare remain punchy. Keep the loop around 170–175 BPM if you want classic jungle momentum, or 174–176 BPM if you’re aiming for modern DnB pressure.
On the master, keep headroom from the start. Aim for your rough mix peaking around -6 dB. This makes later saturation and bus shaping much easier.
2. Build the sub as a simple, solid foundation first
Create the bass with Wavetable, Operator, or Analog. For this lesson, Operator is excellent because it gives you ultra-clean low-end control. Use a sine wave as the core sound:
- Oscillator A: sine
- Turn off unnecessary harmonics
- Keep the amp envelope short and controlled
- Add a tiny bit of glide only if you want a more vocal, ragga-style slide between notes
Suggested starting settings:
- Attack: 0–5 ms
- Decay: 120–220 ms
- Sustain: around 80–100% if notes are meant to hold
- Release: 50–120 ms
- Glide/Portamento: 40–90 ms for occasional note transitions
Keep this first pass very clean. The groove comes from timing and phrasing, not from overprocessing. Route the bass to a dedicated Bass Group later so you can process it as a unit.
3. Write a ragga-leaning phrase that leaves space for the break
Program an 8-bar MIDI clip with a call-and-response feel. In ragga-influenced DnB, the bass often behaves like a reply to a vocal chop, snare, or drum phrase. Use short notes and strong rests. A good starting shape is:
- Bar 1: root note on the “one,” then a short offbeat answer
- Bar 2: leave space, then hit a low note before the snare
- Bars 3–4: repeat with a variation
- Bars 5–8: add one extra syncopated note or a small pitch movement for lift
Keep note lengths mostly short to medium:
- 1/8 to 1/4 note lengths for punchy movement
- A few longer notes only where you want the sub to anchor the phrase
Why this works in DnB: the Amen break already contains a lot of rhythmic information. If the sub is constantly sustaining, it competes with the break’s ghost notes and snare tail. Shorter, well-placed bass notes create punch and leave room for the break to feel fast and detailed.
4. Capture or create groove from the Amen break itself
This is where the lesson gets powerful. In Live 12, use the groove from the Amen to make the bass feel like it belongs to the drum performance.
If you’re working with an audio break, right-click the clip and extract its groove, or use an existing groove from the Groove Pool that matches the break’s feel. If the break has a strong swing, slightly loose microtiming, or a particular push around the snare, that becomes the DNA for your bassline.
Open the Groove Pool and:
- Drag the extracted groove onto the bass MIDI clip
- Start with 20–35% groove amount
- Keep Timing around 20–40% if the bass needs to move without becoming sloppy
- Keep Random around 0–5% for club-tightness
- Use Velocity lightly, around 10–20%, if you want note accents to follow the drum feel
If the bass suddenly feels too late or too early, back the groove amount down instead of forcing it. The goal is a slight human pull, not swing for its own sake.
5. Tweak note timing manually after applying Groove Pool
After applying groove, zoom in and look at the bass notes against the kick and snare hits. The trick is to let the groove do some of the work, then manually clean up the important transients.
Practical move:
- Keep the bass slightly behind the beat on a few offbeats for a laid-back ragga feel
- Pull any note that lands too close to the snare if it masks the break
- Nudge certain note starts earlier if you want them to “bite” into the groove
In Ableton, you can also use Note Length to shorten specific notes without reprogramming the entire phrase. For example:
- Shorten notes that sit under the snare by 10–30 ms
- Leave the root note longer if it’s the anchor of the bar
- Use small rests between repeated notes to create bounce
This is a very DnB-friendly workflow because it keeps the low end precise while still sounding performed. You’re shaping space around the break instead of forcing everything onto the grid.
6. Add controlled movement with automation, not extra bass notes
To keep the sub from feeling static, use automation on tone and dynamics rather than cluttering the MIDI.
Good stock-device moves:
- Auto Filter on the bass bus with a low-pass or gentle band-pass sweep
- Saturator Drive automation for slightly more edge during the drop peak
- Utility to tighten stereo on the bass if any processing introduces width
- EQ Eight to automate a tiny high-mid lift if you want more audibility on smaller speakers
Suggested settings:
- Auto Filter cutoff movement: subtle, often between 120 Hz and 600 Hz if used as a tone contour on harmonics only
- Saturator Drive: 1–4 dB for mild presence, 5–8 dB if you’re deliberately pushing grime
- Utility Width: keep the sub itself at 0% width; any width should live only in higher bass layers
If you want a proper ragga-adjacent touch, automate a short filter dip or slight saturation bump on the last note of a phrase. That creates a dubwise “answer” without needing a new sound.
7. Layer a quiet mid-bass support for translation, but keep the sub mono
A pure sine sub is powerful, but in a dense Amen arrangement it can disappear on smaller systems. Add a restrained mid layer to help the bass read without losing weight.
Duplicate the bass track and turn the copy into a support layer:
- Use Wavetable, Operator, or Analog
- Add a saw or square-based tone very quietly
- High-pass it around 120–180 Hz with EQ Eight
- Saturate lightly with Saturator or Dynamic Tube
- Keep it mono or near-mono to preserve focus
Blend it so you barely notice it alone, but the bass line becomes more audible in the mix. If the mid layer starts fighting the break’s snare crack, reduce 2–5 kHz with EQ Eight and keep the support layer tucked under the main sub.
This is especially useful in darker DnB where the bass needs to feel huge but still leave room for the Amen’s top-end detail.
8. Shape the drum/bass relationship with bus processing and sidechain discipline
Group the drums and bass separately so you can shape them as systems. The low end in DnB is about relationship, not isolation.
On the Bass Group, try:
- EQ Eight to remove any rumble below 25–30 Hz
- Compressor with gentle sidechain from the kick if needed, using a fast attack and medium release
- Saturator for harmonics if the sub is too pure to translate
Sidechain settings to start:
- Attack: 1–5 ms
- Release: 50–120 ms
- Ratio: 2:1 to 4:1
- Gain reduction: only 1–3 dB for a natural pump
Don’t over-sidechain if the Amen break already contains strong kick punctuation. In many jungle/DnB contexts, groove from note placement is better than big pumping compression. Use sidechain as insurance, not as the main groove source.
For the drum bus, keep transient control tight:
- Drum Buss for weight and snap
- Drive modestly, around 5–20% depending on the source
- Boom carefully, because too much low-end enhancement can blur the bass relationship
9. Build a drop arrangement that showcases the groove changes
Put the phrase into a musical context. A strong DnB drop often works in 16-bar phrases with small changes every 4 or 8 bars.
Example arrangement:
- Bars 1–4: full break + initial bass phrase
- Bars 5–8: repeat with one extra bass pickup and slightly more saturation
- Bars 9–12: remove one drum layer or mute a bass hit for tension
- Bars 13–16: bring the full phrase back with a small fill or reverse crash
For a ragga-style intro into the drop, use:
- A vocal chop or MC-style phrase
- Filtered drums
- Delay throws on the final pre-drop hit
- A half-bar silence or drum fill before the drop hits
This matters because groove is not just note timing — it’s also arrangement timing. Let the listener feel when the bass is about to speak again.
10. Print, edit, and compare versions quickly
Once the groove feels good, resample the bass and break together if you want to commit to the sound. This is a classic move in DnB because printing audio lets you make faster decisions and get more aggressive with edits.
Use Resampling or bounce in place, then:
- Chop the audio into phrase sections
- Nudge individual hits if a note is stepping on the snare
- Automate fades or filter moves between sections
- Compare “grooved MIDI” versus “printed audio” to see which feels tighter
Often the printed version will feel more cohesive because the bass and drum transients are now part of one sound field. That’s especially useful when you’re aiming for a rugged jungle or darker roller vibe.
Common Mistakes
If the bass starts dragging behind the drums, the groove amount is too high. Fix it by reducing groove timing to 15–25% and manually adjusting only the notes that need movement.
Long bass notes can smear into the Amen’s kicks and snares. Shorten note lengths or use a slightly faster release on the synth envelope.
Sub should stay mono. If the bass layer feels huge but disappears in mono, high-pass the support layer and keep the true sub centered.
Drive can add aggression, but too much on the bass bus can flatten the break. Back off the drive or split the bass into sub and mid layers.
A bass note landing on top of a snare hit can make the drop feel cluttered. Move the note earlier, shorten it, or remove it entirely.
A groove that works in isolation may not work in a full drop. Always check the bass against the full drum loop and at least one transitional element.
Pro Tips for Darker / Heavier DnB
Let the break feel slightly loose while the sub stays controlled, or vice versa. That contrast creates tension and motion without making the mix messy.
Send the bass to a return with Saturator or Roar-style distortion? Stop there — stay with stock. Use Saturator on a duplicated mid layer instead, then blend it low. Keep the true sub clean.
A very short low-pass dip before a snare fill or drop repeat can make the return hit harder. Even 1 bar of automation can create serious anticipation.
Tiny bass pickups just before the main note can add a reggae/dub feel, but only if they don’t muddy the kick pattern.
In Live, you can vary groove amount between sections. For example, keep verses at 20% groove, then push the drop to 30–35% for more shove.
If the Amen hats are too bright, use EQ Eight to tame harshness around 6–10 kHz so the bass groove feels more dominant and the tune sounds heavier.
Ragga elements shine when the bass answers a vocal chop, reverse stab, or drum fill. Build space for that dialogue instead of filling every beat.
Mini Practice Exercise
Spend 10–20 minutes making a two-bar bass phrase that sits over an Amen loop.
1. Load a clean Amen break and loop two bars.
2. Build a simple sine sub in Operator.
3. Write a two-bar MIDI phrase with no more than 6–8 notes total.
4. Extract groove from the Amen clip or apply a similar groove from the Groove Pool.
5. Apply 20–30% groove to the bass clip.
6. Shorten any notes that clash with the snare.
7. Add one automation move:
- Saturator Drive up by 2–3 dB on the last note, or
- Auto Filter cutoff dip into the fill
8. Bounce the phrase to audio and compare it to the MIDI version.
9. Make one version darker, one version more ragga, and choose the stronger groove.
Your goal is not complexity. Your goal is to make the bass feel like it’s part of the break’s performance.

