Main tutorial
Lesson Overview
An Amen-style pad is one of the fastest ways to make a DnB tune feel like it has history, depth, and tension before the drop even lands. In deep jungle, rollers, darker atmospheric neuro-leaning DnB, and especially anything built around chopped breaks and sub-heavy basslines, the pad is not just “background.” It is a harmonic pressure system. It frames the drums, makes the bass feel larger, and gives the listener a place to breathe between the impact of the break and the weight of the low end.
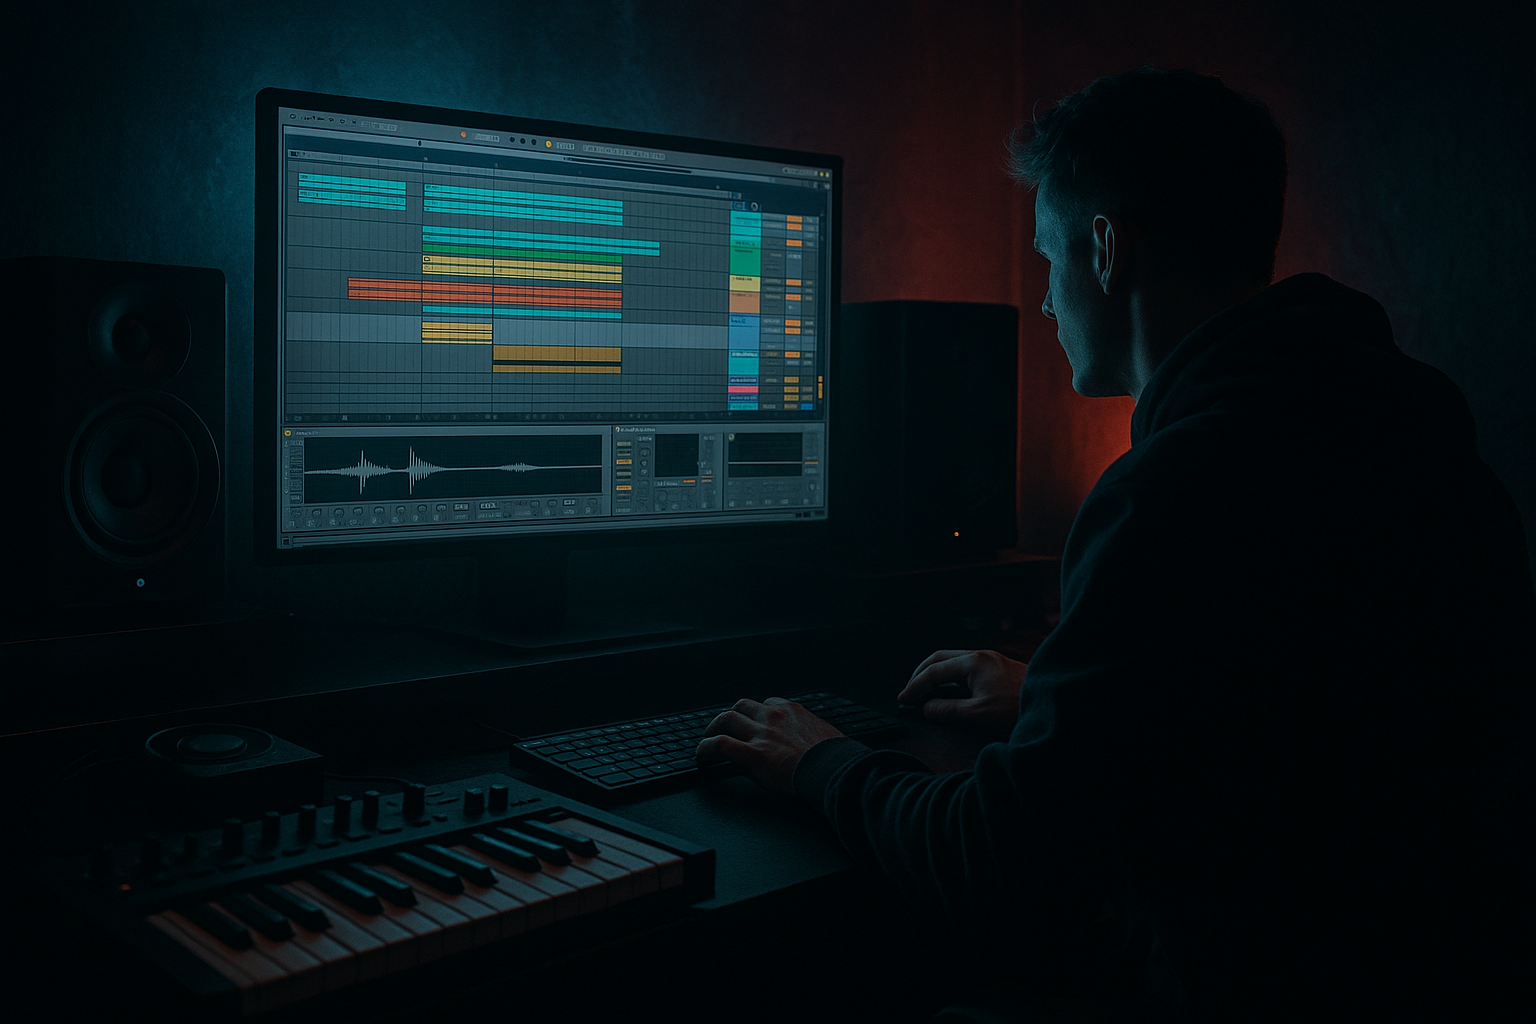
In Ableton Live 12, the goal here is to build a pad that feels like it came from a degraded, emotional, tape-worn source, then shape it into a controllable atmospheric layer that sits behind an Amen break without fighting the kick/snare transient energy. We’ll design movement, grit, width, and darkness using stock devices only, then arrange it so it works like proper DnB: intro tension, breakdown atmosphere, drop support, and quick switch-up utility.
Why this matters in DnB: the best jungle and DnB pads are rarely static. They breathe with the groove, they duck around the drums, and they often contain micro-motion that keeps a fast arrangement feeling alive. A great Amen-style pad can make a 170–174 BPM tune feel deeper, more emotional, and more expensive without crowding the mix.
What You Will Build
You will build a dark, evolving pad in Ableton Live 12 that:
- Sounds like an Amen-era jungle atmosphere, but with modern control
- Has a slightly worn, tape-like top texture and a warm lower-mid body
- Moves subtly over 4–8 bars with modulation and resampling character
- Ducked and shaped so it sits behind a chopped Amen break and sub line
- Works in an intro, breakdown, or filtered drop layer
- Can be automated into a tension riser, breakdown pad, or reverb tail bed
- Making the pad too bright
- Letting the pad own the low end
- Using too much reverb on insert
- Making the motion too obvious
- Forgetting the break
- Over-width in the lower mids
- Layer a very quiet noise or vinyl-style texture under the pad, then band-pass it around 1–6 kHz for a worn-air feel
- Send the resampled pad to Roar for controlled grit, then keep the mix low so it reads as density, not distortion
- Use a second pad layer pitched an octave lower but heavily filtered, just for emotional weight in breakdowns
- Automate Chorus-Ensemble mix upward only in transitions, not throughout the entire drop
- Try subtle pitch drift on one oscillator to mimic unstable hardware and make the atmosphere feel more human
- If the bassline is very active, thin the pad into more upper-mid haze during the drop and save the fuller version for breakdowns
- Use a short reverse pad before snare fills or Amen edits to make transitions feel intentional and old-school
- For neuro-leaning darkness, modulate a band-pass filter very slightly so the pad feels tense and metallic without becoming a lead
- Build the pad from simple, detuned oscillators and dark chord voicings
- Shape movement with subtle filter automation, not exaggerated wobble
- Resample to audio for authentic jungle texture and phrase control
- Duck the pad around the Amen and bass so the groove stays punchy
- Use width, reverb, and grit with discipline to keep the mix deep, not muddy
- Arrange the pad like a DnB tool: intro, breakdown, tension, release, and DJ-friendly exits
Musically, think of it as a minor-key, suspended harmony layer with a hazy, nostalgic edge. Not a bright trance pad. Not a giant cinematic wash. More like a haunted chord bed that glues together break edits, reese movement, and sub weight in a deep jungle arrangement.
Step-by-Step Walkthrough
1. Set up the harmonic source like a DnB producer, not a generic pad designer
Start with a new MIDI track and load Wavetable or Analog. For a darker jungle context, keep the source simple and unstable:
- Wavetable: choose a basic analog-style waveform, or a rounded wavetable with minimal harmonic aggression
- Oscillator 1: saw or triangle blend
- Oscillator 2: square or second saw, detuned slightly
- Detune range: 6–15 cents per oscillator
- Unison: 2–4 voices, not more than that yet
- Stereo spread: moderate, around 20–40%
If you want a more haunted lo-fi result, Analog works great because its tone feels less glossy than a pristine synth pad. Keep the voicing slightly sloppy on purpose. A deep jungle pad should feel like it has been resampled from an older record or hardware source.
Write a chord that supports DnB tension. Good starting point:
- Minor 7th
- Minor 9th
- Suspended 2nd or 4th voicings
- Rootless voicings if the sub bass is carrying the root
Example in A minor: A–G–C–E, then move to F–G–C–D for a suspended lift. In a tune around 170 BPM, hold these across 2 or 4 bars so the break has room to breathe.
Why this works in DnB: minor and suspended voicings create unresolved energy, which matches the constant forward motion of jungle drums and lets the bassline stay dominant.
2. Shape the raw synth into a pad with controlled movement
In Ableton Live, use the synth’s amp envelope to keep it soft:
- Attack: 30–120 ms
- Decay: 1.5–4 s
- Sustain: 60–90%
- Release: 2.5–8 s
For movement, use subtle modulation rather than obvious wobble:
- LFO to filter cutoff: very slow, 0.03–0.12 Hz equivalent feel
- LFO depth: small, around 5–15%
- Filter cutoff: start around 500 Hz to 2.5 kHz depending on how dark you want it
- Resonance: low to moderate, 5–20%, just enough to animate the sweep
If you want that Amen-style haunted smear, slightly detune one oscillator and let the filter breathe slowly. Avoid a huge bright opening. The pad should reveal itself, not announce itself.
On the MIDI clip, try long notes with gentle overlap between chord changes so the transitions feel legato and fluid. That overlap helps the pad blur into the break in a musically useful way.
3. Build the texture chain with stock Ableton devices
Now process the synth in a way that pushes it toward deep jungle atmosphere. A solid stock chain might be:
- EQ Eight
- Saturator
- Roar or Drum Buss
- Chorus-Ensemble
- Utility
- Reverb or Hybrid Reverb
- Auto Filter
Suggested order and approach:
EQ Eight:
- High-pass around 120–200 Hz to leave room for sub and kick
- Gentle dip around 250–400 Hz if the pad gets boxy
- Small cut around 2.5–4.5 kHz if it competes with snare crack or break attack
Saturator:
- Drive: 2–6 dB
- Soft Clip: on
- Use it to thicken the midrange and make the pad feel more “printed”
Drum Buss:
- Drive: 2–8
- Boom: usually low or off for this task
- Transients: slightly negative if the pad feels too spiky
- Damp: use to darken if needed
Chorus-Ensemble:
- Rate: slow
- Amount: moderate, not seasick
- Mix: 15–35%
- This is great for that wide, dusty jungle halo
Reverb or Hybrid Reverb:
- Decay: 2.5–6 s for breakdown atmosphere, shorter for drop support
- Pre-delay: 15–35 ms
- High cut: 5–9 kHz
- Low cut: 150–300 Hz
- Dry/Wet: 10–25% on insert, or better as a send for more control
Auto Filter:
- Use a slow downward or upward automation pass over 4 or 8 bars
- Add a tiny resonance bump if you want a more nasal tension moment
The goal is not “big reverb.” It is controlled distance. DnB arrangements need depth, but they also need punch. This chain gives you both.
4. Resample the pad for authentic jungle character
This is where the sound starts feeling like a real DnB production instead of a clean synth preset.
Create a new audio track and route the pad track to it. Record a long pass of the pad while you automate the filter, reverb send, and maybe a little chorus mix. Then chop the recorded audio into usable phrases.
Once recorded, drag the audio into Simpler or Sampler:
- Simpler in Classic or One-Shot mode for single atmospheric hits
- Simpler in Slice mode if you want broken-up phrase material
- Warp: on, but use it carefully
- For a pad wash, try Complex Pro with Formants neutral if the audio gets too smeared
- Alternatively, leave warp off if the timing is already right and you want more raw texture
Why resample? Jungle and darker DnB often sound bigger when the atmosphere is committed to audio. A resampled pad gives you irregularities, tail artifacts, and a more “found sound” feeling. That’s exactly what helps it sit with break edits and sub pressure.
After resampling, try reversing one bar or one chord tail. Reversed pad swells are incredibly effective before a snare fill or drop change.
5. Add rhythmic sidechain and drum-aware movement
Your pad must leave space for the Amen and bassline. Use Compressor or Shaper-like ducking behavior with stock tools.
With Compressor:
- Sidechain from the drum bus or kick/snare group
- Attack: 1–10 ms
- Release: 80–250 ms
- Ratio: 2:1 to 6:1 depending on how much space you need
- Aim for 2–6 dB gain reduction on hits
For a more rhythmic DnB feel, you can sidechain from a ghost trigger clip or a dedicated empty MIDI track running short audio pulses. That lets the pad breathe in a more musical way than straight kick ducking.
For deeper groove, try automating the filter cutoff slightly ahead of a snare fill or break switch:
- Close the filter a little before the fill
- Open it after the fill lands
- This creates a tension-release shape that supports arrangement momentum
Use this especially in a 16-bar intro or 8-bar pre-drop section. The pad can swell in the gaps between Amen chops, making the drums feel more intentional and the arrangement more expensive.
6. Create dark stereo space without weakening the low end
Pad width is useful, but in DnB it has to be disciplined. Keep the body mono-conscious and the air wide.
Use Utility:
- Bass Mono: if needed, keep anything below 150–250 Hz out of the pad
- Width: 100–140% depending on how dense the mix is
- Use mono check often
If you want extra depth, use a return track:
- Return A: Hybrid Reverb with long decay
- Return B: Echo with subtle feedback and filtered repeats
On Echo:
- Time: 1/8 or 1/4 dotted for movement
- Filter: low-pass aggressively
- Saturation: light to moderate
- Modulation: small amount for analog instability
Send only selected phrase ends or automation moments. In a deep jungle track, a pad tail that blooms into the next bar can make a simple arrangement feel far more narrative.
Avoid flooding the whole track with wide low-mids. The sub needs a clean lane, and the kick/snare combo must stay punchy. Wide atmosphere above 200 Hz is usually safer than wide mud below it.
7. Add instability with modulation, then freeze the movement where it matters
Advanced pad design in Ableton Live 12 often comes down to controlled instability. Use one or two modulation sources, not five.
Good targets:
- Filter cutoff
- Oscillator fine tune
- Reverb size or diffusion
- Chorus amount
- Auto Filter frequency
Keep modulation ranges subtle:
- Fine tune movement: 2–8 cents
- Cutoff movement: 5–15%
- Reverb mix automation: 10–20% changes across phrases
If you use MPE or expression data, be careful not to overdo it. In DnB, too much expressive modulation can make the pad feel cinematic instead of functional. You want motion that supports the groove, not motion that competes with it.
A strong trick is to automate the pad’s brightness only on phrase ends. For example, at the end of every 8-bar phrase, open the filter by a small amount for the last half-bar, then close it again at the next section. That tiny contrast helps the track breathe without losing darkness.
8. Place the pad in the arrangement like a proper DnB layer
Now think like an arranger, not just a sound designer.
In a classic jungle or deep rollers structure:
- Intro: filtered pad with lots of space, maybe only top-mid haze
- First drop: pad reduced, sidechained, or mostly as a texture under the break
- Breakdown: pad opens up, reverb tails extend, maybe one chord change added
- Second drop: pad becomes a subtler supporting layer so bass and drums hit harder
- Outro: pad returns as a DJ-friendly atmospheric bed
A practical example:
- Bars 1–16: low-pass pad intro with reverse swell
- Bars 17–32: Amen break enters, pad ducks 3–5 dB on drum hits
- Bars 33–40: breakdown, pad opens from 1.2 kHz to 4 kHz cutoff and reverb send increases
- Bars 41–56: drop returns with tighter pad and less stereo width
- Bars 57–72: outro with filtered pad and FX tails for mixing out
This arrangement approach keeps the track playable for DJs while preserving atmosphere. That’s a very DnB-specific win.
Common Mistakes
- Fix: low-pass more aggressively, and cut 2.5–5 kHz if it competes with snares or hats
- Fix: high-pass earlier in the chain, and use Utility to keep sub content out
- Fix: move long reverb to a send and automate sends by section
- Fix: reduce LFO depth and use slower, phrase-based automation instead
- Fix: sidechain or duck the pad against the Amen group so transient detail stays sharp
- Fix: keep width focused above the body range and mono-check regularly
Pro Tips for Darker / Heavier DnB
Mini Practice Exercise
Spend 15 minutes making one 8-bar pad loop for a 172 BPM deep jungle track.
1. Create a minor 7th or suspended chord progression in MIDI
2. Build the pad with Wavetable or Analog using slow attack and long release
3. Add EQ Eight, Saturator, Chorus-Ensemble, and Hybrid Reverb
4. Resample 8 bars of the pad into audio
5. Reverse one phrase and chop one tail into a pre-drop swell
6. Sidechain the pad from your drum group
7. Automate the filter so bars 1–4 stay darker and bars 5–8 open slightly
8. Export a quick loop and check it in context with an Amen break and a sub bass
Goal: make the pad feel atmospheric, but still leave the break and sub fully readable.

