Show spoken script
Title: Double-drop inspired tension masterclass for oldskool DnB vibes (Intermediate)
Alright, welcome in. Today we’re building one of the most addictive moves in oldskool jungle and drum and bass: double-drop inspired tension. Two “worlds” of your track collide on the same downbeat, and if you engineer the run-up properly, it feels like the room gets pulled tighter and tighter… then snaps.
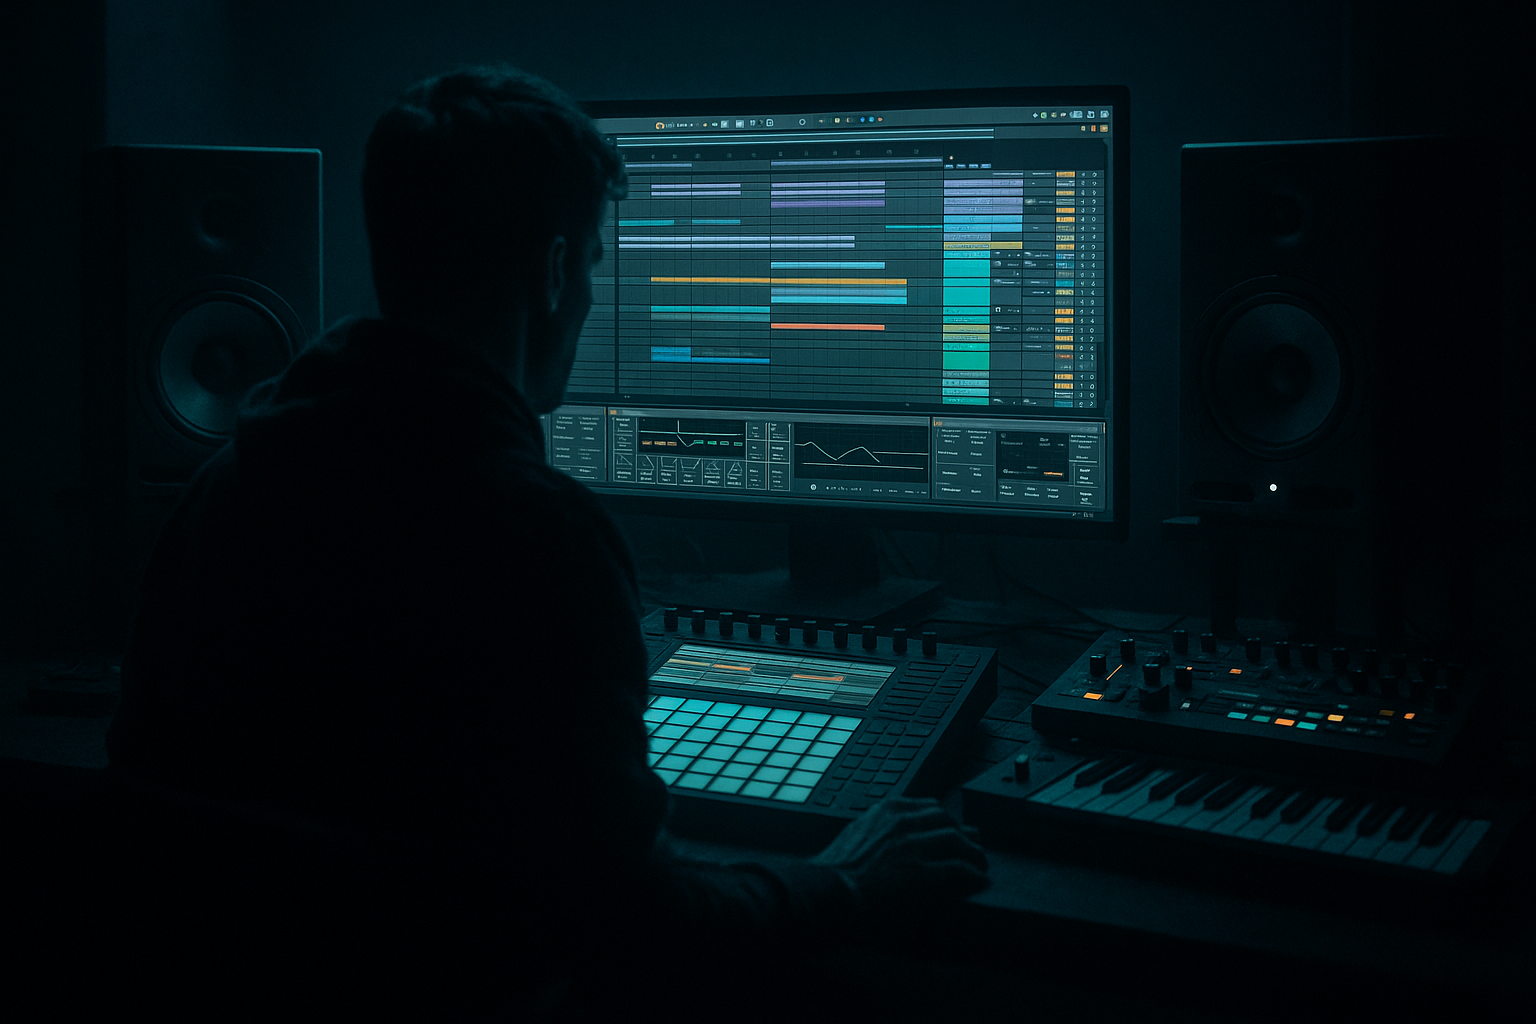
This is an intermediate arrangement lesson in Ableton Live, and we’re staying in Arrangement View the whole time. The big mindset shift today is this: the double-drop isn’t just the moment where everything hits. The double-drop is the geometry of what you remove, what you tease, and what you allow back in, bar by bar.
By the end, you’ll have a 64 to 96 bar section that includes Drop A, a pre-build, a real build, the double-drop impact, and then a controlled post-drop that doesn’t turn into a messy, tiring wall of sound.
Let’s set the stage.
Set your tempo somewhere between 165 and 175. I’m going to park us at 170 BPM, classic and easy to feel.
In Arrangement View, make four groups: DRUMS, BASS, MUSIC or STABS, and FX or RISERS. Then set up your returns: Return A as Reverb, Return B as Delay, and if you want a grimey option, Return C as a little distortion or crush return. We’ll use those returns like tension levers.
Quick workflow tip that actually matters: color code your Drop A elements one color, and your Drop B elements another. When you zoom out, you should be able to literally see the architecture of the double-drop. If you can’t see it, you’ll tend to overbuild it.
Now before we even touch the build, we need the two drops.
Step one: build Drop A. This is your base reality. Your “this is what the tune is” moment.
For an oldskool leaning but still tight drum sound, start with a breakbeat loop. Amen, Think, any of those classic sources. Layer it with your own kick and snare if you want more weight and consistency.
On the DRUMS group, add Drum Buss. Drive somewhere around 5 to 15 percent. Boom around 20 to 40 percent, but keep it subtle and tune it if needed so it’s not ringing in a weird key. Damp around 20 to 40 to keep it controlled.
Then put an EQ Eight on the drum group. High-pass around 25 to 35 Hz to keep sub-rumble out. If it’s boxy, make a small dip around 250 to 400 Hz. And if you want that crispy top, a gentle shelf around 8 to 10 kHz, like plus one or two dB, nothing crazy.
On the actual break track, do a clean control chain. Start with EQ Eight, high-pass around 40 Hz. Then Glue Compressor at 2 to 1, attack around 3 milliseconds, release on Auto, and aim for one to three dB of gain reduction just to knit it. Then Saturator with Soft Clip on, drive maybe 2 to 6 dB to bring it forward. Optional: a tiny touch of Redux for that old hardware grit, but only lightly, and preferably not on the entire drum group. Think “seasoning,” not “deep fried.”
Now arrange 16 bars of Drop A. And I want you to do this like a DJ would judge it. Loop those 16 bars and ask: if I played this on a rig, would I believe it for 30 seconds? If the groove doesn’t hold, the build won’t save it.
Step two: build Drop B. Drop B is a contrasting identity that still belongs in the same track. And here’s a key coach note: design the meeting point before you write the build. Decide what’s shared between the drops. Usually it’s the same kick and snare pattern, or the same two-bar phrasing. That shared anchor is what makes the double-drop feel inevitable instead of random.
Pick one contrast strategy. Maybe Drop B is a different bass hook. Maybe Drop B is a different break or halftime accent. Or maybe the drums and bass stay similar and it’s the music that changes, like bringing in rave stabs or chords.
A classic approach: keep Drop A drums, but swap the bass to a higher, nastier reese phrase or a hoover-ish mid. That way, at the double-drop, the drums feel familiar but the bass feels like a new character enters the room.
For the bass chain, keep it stock. Use Wavetable or Operator. Then EQ Eight to remove useless sub below 30 and notch any ugly resonances. Add Saturator, drive 3 to 8 dB, Soft Clip on. Add Auto Filter for motion, because we’re going to automate it later. Then a Compressor sidechained from the kick, aiming maybe two to four dB of gain reduction on kicks, just so it breathes with the groove.
If you’re layering, follow the rule: one sub source. Keep the sub mono and clean, like sine or triangle. The mid layer can be dirtier and wider, but keep the low end mono. We’re building impact, not mud.
Now write 16 bars of Drop B material. Even if you’re not using all of it, it needs to exist so you can tease it during the build.
Before we start arranging, quick but important: phrase-matching is more important than sound choice. Make sure Drop A and Drop B both resolve at the same place, usually bar 8 and bar 16. If one hook feels like it “finishes” early, the double-drop will feel crooked even if it’s perfectly on the grid.
Now we map the structure. Here’s a simple plan.
Bars 1 to 16: Drop A, full groove.
Bars 17 to 24: pre-build. Reduce and tease.
Bars 25 to 32: build. Escalate hard.
Bar 33: the double-drop hit.
Bars 33 to 48: double-drop section, but controlled.
That’s the shape. And the key idea is subtraction before addition. You remove, so the return feels massive.
Let’s do the pre-build first, bars 17 to 24.
At bar 17, remove the sub. Mute it. Not “turn it down.” Mute it. That vacuum in the low end is one of the most reliable ways to make the crowd lean forward.
Now thin the break without losing the kick and snare anchor. One method is Auto Filter on the break track, high-pass around 120 to 200 Hz with gentle resonance, like 10 to 20 percent. Another method is actually editing: mute some ghost notes for a few bars so the rhythm feels simpler and more exposed.
While you’re taking away low end and density, you’re going to tease Drop B. Bring the Drop B mid bass in quietly, like minus 12 to minus 18 dB, and heavily low-pass it. Somewhere in the 300 to 800 Hz range. The listener should feel it more than hear it. This is like showing the silhouette of what’s coming.
Add one oldskool cue at the end of bar 24. A dub siren, a vocal stab, something that’s a “DJ tell.” And I want to underline that: in oldskool-informed tension, the cues are often arrangement cues, not giant risers. A one-beat break chop repeated twice can be a warning sign. A vocal that appears only in the last two bars is a warning sign. Even removing reverb so a snare becomes suddenly too dry can feel like pressure building.
Also in this pre-build, do one delay throw. Pick a single snare hit, automate Send B up just for that hit, then back down. It’s quick, it’s clean, and it signals “something is happening” without washing your drums.
Now the build, bars 25 to 32. This is where we earn the double-drop.
First, set up your returns if you haven’t.
Return A, reverb. Use Hybrid Reverb or Reverb. Decay around 2.5 to 6 seconds, pre-delay 10 to 25 milliseconds. High-cut between 6 and 10 kHz so it’s dark-ish. We don’t need shiny EDM reverb; we need atmosphere that doesn’t hiss.
Return B, delay. Use Echo. Set it to quarter note or eighth dotted, feedback 25 to 45 percent. Filter it so lows below 200 are cut. Delay in the low end is a fast way to make the mix look big but feel weak. Don’t do that.
Return C, optional crunch. Saturator, Overdrive, or Redux. This is for fills, not for the main drop.
Now, in the build, keep peak loudness roughly stable. This is a pro thing that makes a massive difference. If your build just gets louder and louder, the drop feels smaller because you already spent your headroom. Instead, hold the level and change the feeling with density, brightness, width, and distortion.
Here’s the main automation checklist.
One: master tension filter. Put Auto Filter on your MUSIC group or a dedicated tension bus. Use a low-pass that slowly opens over the eight bars. Maybe start around 400 to 800 Hz and open it toward 12 to 18 kHz by the end. That makes things feel like they’re being revealed.
Two: reverb send rise. In the last four bars, increase Send A on stabs, vocals, FX. Keep the main drums mostly dry. If you soak your drums in reverb right before the drop, you smear the transients, and transients are the “slam.”
Three: snare roll or hat lift. Program a roll that intensifies: eighth notes, then sixteenths, then in the last bar you can go to thirty-seconds if you want that frantic jungle push. But do velocity variation. If everything hits the exact same velocity, it turns into a sewing machine. We want “rude,” not “robot.”
Four: a pitch riser. Noise riser or synth riser, pitch up about seven to twelve semitones over the eight bars. It’s classic for a reason. It tells the nervous system “we are lifting.”
Five: the air vacuum moment in the last bar. This is a huge one. Either mute the kick in the final bar, or sweep a high-pass that removes low end from the whole drum or music bus. And leave one snare hit with a massive reverb tail as your last “flag in the ground.” That’s your pre-hit cue.
Now an Ableton trick that works embarrassingly well: put Utility on a pre-master group, not directly on the master if you can help it. In the last bar before the hit, automate width from 100 down to around 70 percent. That narrowing makes the drop feel wider when it snaps back. And automate a tiny gain dip, like minus one to minus two dB right before the downbeat, then instantly back to zero at the hit. It’s like a physical inhale.
Optional but very effective sound design move: create a build-only pressure layer. Duplicate your mid bass, high-pass it around 180 to 250 Hz so it’s not fighting your sub. Put Saturator with Soft Clip, then an Auto Filter in band-pass with moderate resonance so it “talks,” maybe even a very subtle Corpus tuned to the key if you want metallic tension. Automate that layer up into the drop, then hard mute it two to four bars into the drop. That gives you maximum pressure without committing to chaos for the whole section.
Also, consider committing early. Freeze and flatten one build stem that includes your riser plus your stabs and your throws. When it’s audio, you’ll start making micro edits: reversing little bits, fading, slipping hits late by a hair. Those imperfections read as 90s energy.
Now we hit bar 33. The double-drop moment.
The goal is two hooks landing together without fighting. So choose your version.
Option A is the classic: Drop A drums plus Drop B bass and mids. Bring the Drop A break back full power. Bring Drop B mid bass fully unfiltered on the downbeat. And bring back the sub, but remember the rule: only one sub source. If Drop A and Drop B both have sub layers, pick one. If you try to run two subs at once, you don’t get “more sub.” You get less definition and a weaker punch.
Option B is Drop B drums with Drop A bass. This can be great if Drop B has a cleaner break and Drop A is gritty. Just watch your transient pile-up.
For impact design, keep it simple. Add a crash and a sub hit on bar 33. And only use a limiter if you need to catch a peak, not as your impact generator. Impact mostly comes from arrangement contrast and transient clarity, not from smashing the master.
Sidechain your bass to the kick. Set Compressor to 4 to 1, attack one to three milliseconds, release 60 to 120 milliseconds, tuned to the groove. Aim for two to five dB of gain reduction on kick hits. Enough to make space, not enough to pump like house music.
Now conflict management. If Drop B’s bass is loud in the 150 to 400 region, carve space with EQ Eight. A dip around 200 to 300 on either the bass or the stabs, not both. Choose who owns that band. The double-drop should feel like two characters standing shoulder to shoulder, not two people trying to talk into the same microphone.
Now, the next 16 bars after the hit. This is where a lot of tracks accidentally ruin the magic by staying maxed out.
Bars 33 to 40: let it be full double-drop. Enjoy it. Let the listener get the payoff.
Bars 41 to 48: reduce one element. Maybe mute the stabs. Maybe thin the break. Maybe remove a percussion layer. That breathing makes the section feel bigger, because it creates a second wave.
Add micro fills every four bars. One-beat break chop. Reverse cymbal into snare. Or a quick tape-stop style moment. You can fake it by resampling a fill to audio, then using clip fades and a quick pitch drop, or automate a bit of Redux or filter degradation for a “slow-down” vibe. Just keep it quick so you don’t derail the groove.
Try the “two breaks, one snare” method if you want more movement without wrecking the hit. Layer a second break for texture, but mute its snare or notch it hard, so your main snare still owns the transient.
And here’s an arrangement upgrade idea that’s very DJ-friendly: after the double-drop, create a clean 16-bar “mix promise” section where the drums are stable and the hook is less busy. DJs love it, and it also makes your next variation feel more dramatic.
Now, quick common mistake check, because these are the ones that sabotage the whole thing.
Mistake one: thinking double-drop means everything at zero dB. That just makes it loud and flat. Controlled double-drops are the ones that feel huge.
Mistake two: two subs at once. Instant mud.
Mistake three: the build adds energy but never removes anything first. No subtraction means no contrast.
Mistake four: over-reverb on drums during the build. You kill the snap right before the moment you need snap.
Mistake five: no clear cue right before the hit. A half bar of space, a dry snare, a repeated chop, a sudden send removal. These tells make the drop feel inevitable.
Now let’s lock it in with a mini practice exercise you can do today.
Take an existing 16-bar Drop A loop. Create Drop B by changing only one core element: new bass riff, or new break, or new stab hook. Then arrange it:
Bars 1 to 16, Drop A.
Bars 17 to 24, pre-build: remove sub, filter break, tease Drop B quietly.
Bars 25 to 32, build: snare roll, riser, return send automation, and that last bar air vacuum.
Bar 33, double-drop hit.
Bars 33 to 48, double-drop groove with one four-bar breath reduction.
Then export a 60 to 90 second bounce. Make two versions: one with the last-bar air vacuum, and one without. Listen back and decide which hits harder, and why. You’re training your ear to recognize that contrast is impact.
If you want an extra challenge, make a fake double-drop bait-and-switch: at bar 33, bring in only drums with no bass for one bar, then bring the full double-drop at bar 34. That “gotcha” moment is super oldskool, and it doesn’t require more sounds, just confidence in arrangement.
Final recap to keep you focused.
Double-drop tension comes from subtractive arrangement and controlled escalation, not just louder FX. Build two compatible drop identities, then tease Drop B while reducing Drop A. Use stock Ableton tools like Auto Filter, EQ Eight, Saturator, Drum Buss, Echo, Reverb, and Utility to shape the tension. And make the double-drop land hardest by enforcing sub discipline, protecting transients, and giving a clear pre-hit cue.
When you’ve got your Drop A and Drop B chosen, tell me what they are, like which break and what kind of bass, and I can help you map a specific bar-by-bar automation plan for your exact sounds.