Main tutorial
1. Lesson Overview
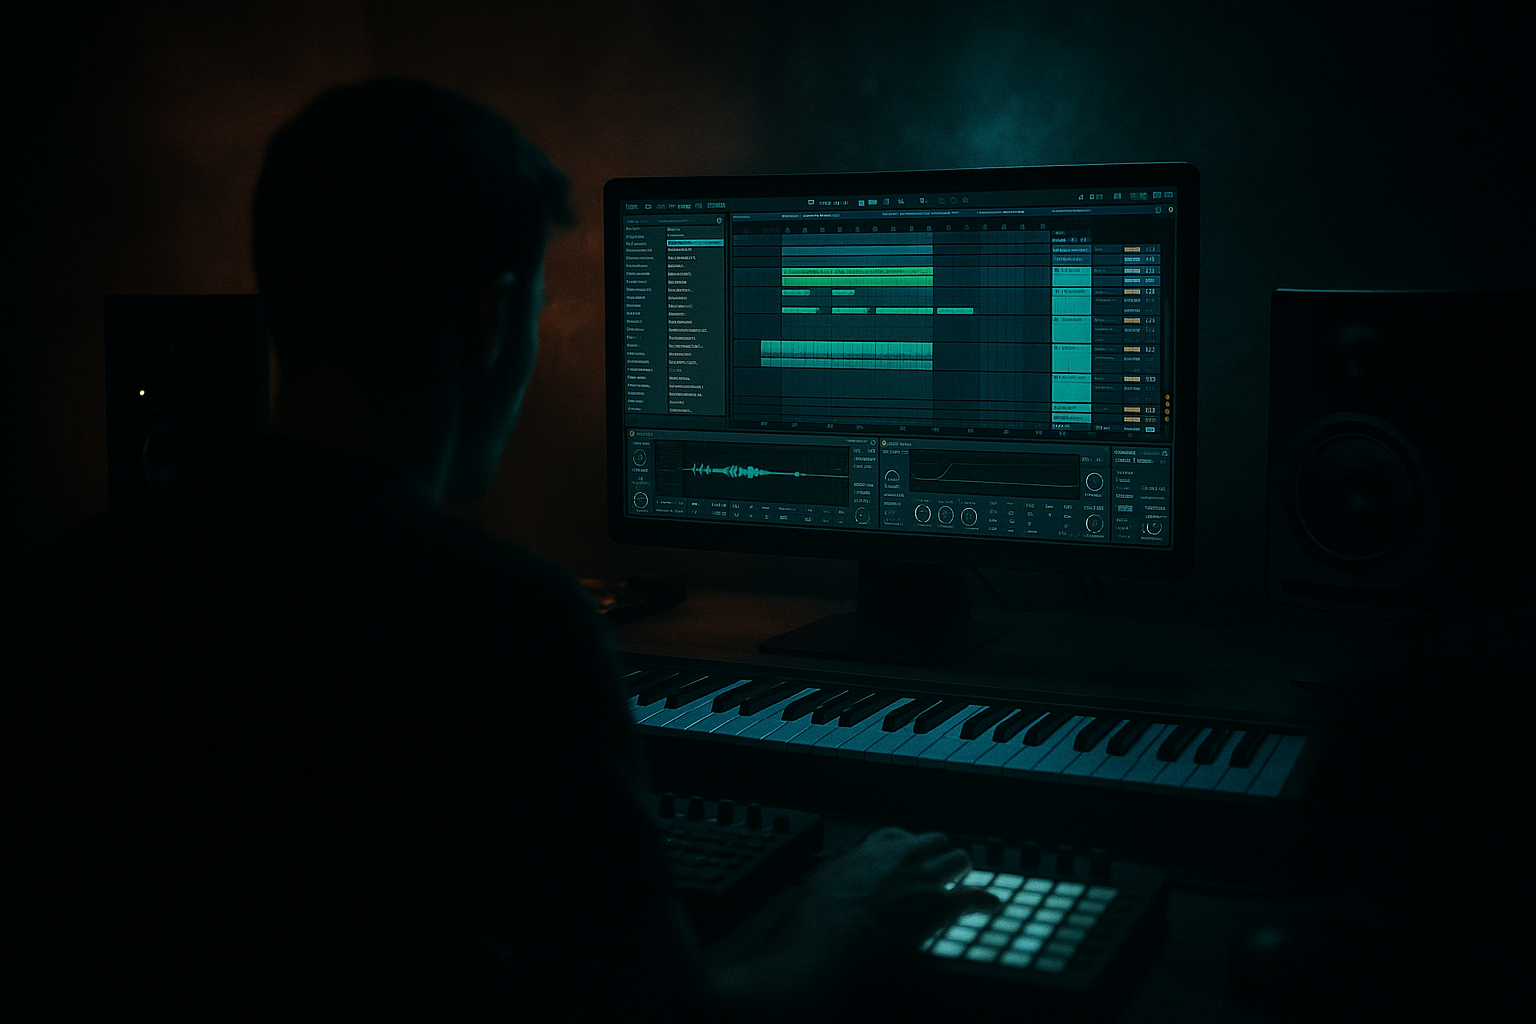
- In this beginner lesson you will create a Dom & Roland Ableton Live 12 sound system FX blueprint with DJ-friendly structure. The goal is a compact, performance-ready FX rack and a small set of loopable, exportable FX clips (8/16 bar) tuned for sound-system playback: heavy low control, dub-style delay throws, crunchy high-frequency grit, and DJ-friendly loop/stem exports so a DJ can drop, loop or layer the FX live. All steps use Live 12 stock devices and simple routing so you can reproduce and adapt quickly.
- One Audio Effect Rack called “SystemFX_Blueprint” with mapped Macros for:
- Three loopable FX clips (8 bars each) saved in a small DJ-friendly folder:
- A stem export workflow: Full-FX, Highs-Only, Sub-Mono (each -6 dB headroom, labeled with BPM and key).
- Map MIDI controller knobs to Rack Macros:
- Use Utility gain/solo buttons so a DJ can quickly mute highs or send only sub content to a channel.
- Over-boosting sub frequencies: too much sub will clip and ruin club playback; always keep -6 dB export headroom and test in mono.
- Not mono-ising the low band: sending stereo sub content causes phase issues on a PA — use SUB_MONO chain.
- Sending low frequencies to delay/reverb returns: delays and reverbs can build up low mud; always high-pass your FX returns around 100–150 Hz.
- Over-crushing/effects on master: apply destructors (Redux/Saturator) on chains not on the final master unless you test carefully.
- Making clips too long or un-loopable: DJs want 8 or 16-bar loops; long tails with no loop points are hard to cue.
- Forgetting to label BPM/key and headroom: DJs rely on metadata and consistent volume; include BPM and -6dB in names.
- Low-pass delays: place an EQ after your Echo with a low-cut around 120 Hz — creates that classic dub delay without muddy lows.
- Sub-Only Export: many sound systems like to receive a sub-only channel. Export a mono sub loop (-6 dB) with naming “SubMono_174_8b.wav” for quick DJ use.
- Quick kill switches: map Macro to freeze Delay Feedback (0 to 100%) so you can instantly kill a tail.
- Use Beat Repeat or Grain Delay lightly on the highs to add glitch texture compatible with Dom & Roland’s darker palette.
- Create two Macro banks in the rack (use Macro Map Mode > Map and group related macros) — one for performance and one for sound sculpting.
- Test on small speakers and headphones in mono to verify phase and punch.
- Build one 8-bar loop following these condensed steps:
- Time target: 30–45 minutes. Focus on getting the sub mono and delay behavior right.
- You have built a Dom & Roland Ableton Live 12 sound system FX blueprint with DJ-friendly structure: a mapped Audio Effect Rack that covers sub-mono handling, delay/reverb chains, and distortion/crush, plus three 8-bar loopable clips (Full/Highs/Sub) exported with headroom and naming for DJs. Key workflows: separate sub mono chain, post-EQ on delays, mapped macros for live control, and strict 8/16-bar looping and labeling for DJ convenience. Use this blueprint as a template—swap samples/synths and tweak macro ranges to match your sonic taste while keeping the DJ-friendly structure intact.
2. What You Will Build
- Wet/Dry (global)
- Pitch (±12 semitones)
- Filter cutoff (lowpass/highpass control)
- Delay send/feedback
- Crush/saturation
- Sub-boost + Mono-ize low band
- FX_Throw_8b (delay throws + reverb tail, big/body)
- FX_DubLoop_8b (dub-delay loop with rhythmic gating)
- FX_SubPop_8b (sub pop + sweep, mono low)
3. Step-by-Step Walkthrough
Note: the phrase "Dom & Roland Ableton Live 12 sound system FX blueprint with DJ-friendly structure" appears in this walkthrough as your target—follow the steps to build that exact blueprint.
A. Project Setup
1. Set BPM to 174 (typical Dom & Roland / rolling DnB range) and set a sample rate you’re comfortable with (48 kHz recommended).
2. Create a new Live Set. Create these tracks:
- MIDI: FX_Source (Wavetable or Operator)
- MIDI: Sub_Source (Operator or Wavetable sine)
- Audio Effect Return A: Echo
- Audio Effect Return B: Reverb (Hybrid Reverb or Reverb)
- Return C: Grain Delay (optional)
- Audio Track: FX_Master (for grouping/effect send preview)
B. Build the sound elements (simple building blocks)
1. Sub Pop (Sub_Source)
- Load Operator. Sine oscillator only. Lower octave (C1 or C0).
- Short envelope: set decay ~150–300 ms, little sustain, zero release for a tight pop.
- Add Utility after Operator and cut gain by -6 dB for headroom.
- Insert EQ Eight: low shelf +2–4 dB around 50–80 Hz if you want more sub presence (use conservatively).
2. Noise Sweep / Texture (FX_Source)
- Load Wavetable or Simpler with a white-noise sample.
- Use an Auto Filter (LP filter) with an envelope or an LFO modulating cutoff for evolving sweep. Set resonance low to avoid ringing.
- Add Saturator (soft clip) after Auto Filter for grit.
3. Metallic stab / Hit (FX_Source second chain)
- In Wavetable, pick a sharp saw or FM partial, short decay, no unison or light unison detune.
- Route through EQ Eight to notch unneeded low frequencies, push highs lightly with a high-shelf, then into Saturator for bite.
- Use a short Reverb on a return for space; keep the reverb send modest.
C. Create the SystemFX Audio Effect Rack
1. Create a new Audio Effect Rack on FX_Master or on a Group/Audio Track. This will be your “Dom & Roland Ableton Live 12 sound system FX blueprint with DJ-friendly structure” central rack.
2. Inside the Rack create these chains (use right-click > Create Chain for each):
- DRY (no processing) – for bypass or subtle adding
- SUB_MONO chain:
- EQ Eight: lowpass @ 150 Hz
- Utility: Width = 0% (forces mono)
- Gain control (map to Macro for Sub Boost)
- CRUSH chain:
- Saturator -> Redux -> EQ Eight (to tame highs)
- Map a Macro to drive amount (Saturator Drive and Redux Bit Reduction)
- DELAY chain:
- Echo (or Simple Delay); Sync to 1/4 or 1/8 dotted (map Time)
- EQ Eight after delay to remove extreme low frequencies (low cut at ~120 Hz on the delay chain)
- Map Delay Feedback and Dry/Wet to Macros
- SPACE chain:
- Grain Delay -> Reverb (short to long) -> EQ Eight
- Map Reverb Size and Space Wet to Macro
3. Macro mapping (suggested):
- Macro 1: Global Wet/Dry (fade between DRY and processing chains)
- Macro 2: Pitch Shift (place a Frequency Shifter or Transpose device at start of rack, map +/-12 semitones)
- Macro 3: Filter Cutoff (map to Auto Filter cutoff on chains where needed)
- Macro 4: Delay Feedback/Time
- Macro 5: Crush Amount (Saturator Drive + Redux)
- Macro 6: Sub Boost / Mono toggle (map gain of SUB_MONO chain and optionally Utility width)
D. Make it DJ-friendly (structure and routing)
1. Create 8-bar MIDI clips for each FX idea:
- Clip A: FX_Throw_8b — program a short hit on bar 1 then automate Macro 2 (Pitch) to drop pitch -7 semitones around bar 2, send big echo using Delay macro on the downbeat.
- Clip B: FX_DubLoop_8b — create a rhythmic noise + delay pattern that loops. Automate Delay Feedback and Filter Cutoff to evolve per 8 bars.
- Clip C: FX_SubPop_8b — sequence the Sub pop every 2 bars, add a sweep from the noise chain mapped to Macro 3 that ends on bar 8 (mono low emphasis).
2. Organize clips into a “DJ-FX” track folder and name them verbosely:
- 174bpm_FX_Throw_8b_Full.wav
- 174bpm_FX_Highs_8b.wav
- 174bpm_FX_SubMono_8b.wav
3. Create three output stems via routing:
- Full-FX: route FX_Master > export (includes everything) — keep headroom (-6 dB).
- Highs-Only: on FX_Master, mute SUB_MONO chain and export.
- Sub-Mono: solo SUB_MONO chain and export as mono file; ensure Utility Width=0, lowpass ~150 Hz.
4. Export tips: bounce at the project BPM, add “-6dB” headroom, include BPM and key in filename and clip name. Keep each clip exactly 8 bars (or include a 16-bar alternative) so DJs can loop easily.
E. Quick Performance Controls
- Wet/Dry macro for on-the-fly intensity
- Pitch macro for drops/pitch sweeps
- Delay macro for feedback throws
- Sub Boost macro to push a club system without altering the full mix
4. Common Mistakes
5. Pro Tips
6. Mini Practice Exercise
1. Create a MIDI track with Wavetable. Create a short filtered noise sweep on beat 1 and a stab on beat 5.
2. Add an Audio Effect Rack with two chains: SUB_MONO (Operator sine + Utility width 0 + EQ Eight lowpass 150 Hz) and SPACE (Echo -> EQ Eight highcut ~120 Hz -> Reverb).
3. Map three Macros: Wet/Dry, Delay Feedback, Sub Boost.
4. Program the MIDI so the sub pops on bar 1 and bar 3, the sweep runs bar 1–4, and on bar 5 turn Delay Feedback up via Envelope to create an echo throw.
5. Export the 8-bar loop as: 174bpm_FX_Practice_8b_Full.wav with -6 dB headroom.
7. Recap

