Show spoken script
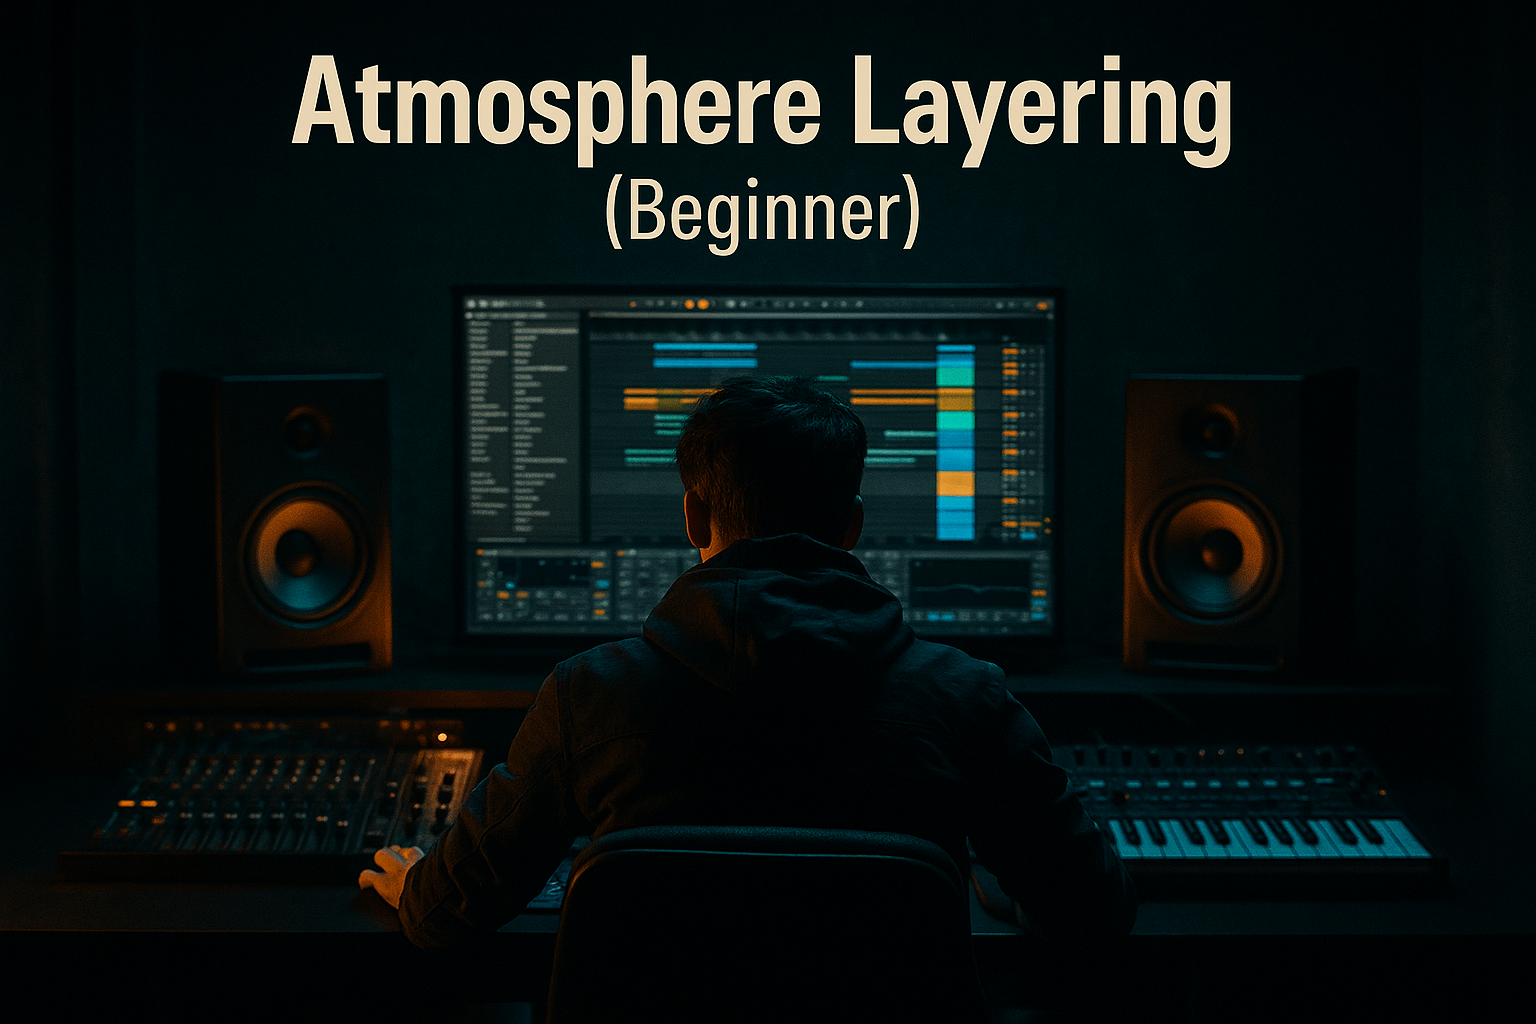
Title: Documenting Lessons from Every Finished Track (Intermediate)

Alright, today we’re doing something that feels boring right up until it starts making you way better, way faster.

Because finishing tracks is great. But if you finish a track, learn a bunch of little secrets along the way, and then you don’t capture any of it… you basically reset your progress every time you start the next project.

And in drum and bass, those tiny discoveries are everything. The exact reason your drums finally glued. The one EQ move that made the kick and bass stop arguing. The one arrangement change that made the drop feel like it actually arrived. That’s the difference between “occasionally decent” and “consistently dangerous.”

So in this lesson, you’re building a repeatable post-finish workflow inside Ableton Live, so every finished track becomes a mini masterclass you wrote for yourself.

By the end, you’ll have three things:
A consistent folder and naming structure, so you can find your best work instantly.
An Ableton documentation pass, using locators, groups, color, and notes.
And a reusable export pack: stems, racks, screenshots, and a debrief file that future-you will genuinely thank you for.

Let’s go step by step.

Step 1: Create a “Finished Track Debrief” folder system.

Before we even touch Ableton, we’re going to treat your finished track like a deliverable. Like it’s shipping. Because when you organize it once, you stop losing hours later.

Make a folder named something like:
Artist name, track name, BPM, key, and version number.

Inside that, create these sections:
An Ableton project folder.
An exports folder, with premaster, master reference, and stems.
A screenshots folder.
A racks and presets folder.
And a notes folder, with two text files: one for the debrief, and one for mix notes if you want to separate them.

Here’s why this matters for DnB specifically: DnB is full of systems. Drum bus systems, bass control systems, sidechain and mono discipline, intro and outro DJ utility patterns. You’re not trying to reuse “a song,” you’re trying to reuse the parts that made the song work.

This folder setup makes that painless.

Step 2: Lock the project inside Ableton.

Now open the final project, and before you document anything, make it future-proof.

First: go to File, Collect All and Save.
That ensures every sample is actually stored with the project. Breaks, tops, random foley hits, resampled audio… everything.

Second: if you used heavy synths or complicated effect stacks, freeze the key tracks.
And for neuro or heavy bass stacks, consider freeze and flatten once you’re confident the sound is final.

Quick teacher note here: flattening bass is underrated. You gain stability, you reduce CPU, and you can literally see the waveform. That visual feedback makes arrangement choices easier, and it makes the project easier to reopen months later without “plugin drama.”

Step 3: Add Lesson Locators across the arrangement.

Go to Arrangement View. We’re going to add locators that map the entire track.

Right-click the timeline, add locator, and name them consistently.
For a rolling 174 type track, you might have:
Intro, DJ-friendly, 16 bars.
Build, snare rise automation.
Drop 1, full drums.
Drop 1B, bass variation call and response.
Breakdown, tension reset.
Drop 2, heavier hats and extra ghost snares.
Outro, minimal drums for mix-out.

Now here’s the key move: every locator gets a lesson. Not poetry. Not vibes. A practical, reusable note.

For example:
Drop 1: kick felt weak until a 55 Hz cut on the bass bus.
Or:
Breakdown: too empty; fixed with vinyl noise and filtered break ghost.

What you’re doing is leaving a trail of decisions. You’re building a map of what mattered.

And honestly, this is one of the best arrangement teachers you can have, because it forces you to articulate what you changed and why it worked.

Step 4: Color-code by function, and group like a DnB producer.

Now you’re going to make the session readable at a glance.

Group and color tracks by function:
Drums in one color. Bass in another. Music in another. FX in another. Vocals if you have them. And a muted reference track in grey.

DnB tip: this is more than aesthetics. Consistent grouping helps you mix faster, automate cleaner, and most importantly, it makes it obvious where your “signature” actually lives. Usually it’s not on the individual hat track. It’s on the drum bus, bass bus, and your transitions.

Step 5: Document your core device chains, with actual settings.

Create your Debrief text file. This is where people either do this right, or they write a diary that helps nobody.

Your rule: don’t document everything. Document what made the track work.

Start with your drum group chain.
If you used something like Glue Compressor, Drum Buss, EQ Eight, maybe a limiter catching peaks, write the settings that matter.

For example, for Glue:
Attack around 3 milliseconds so transients still punch.
Release on auto or around 0.3 seconds.
Ratio around 2 to 1.
And threshold set so you’re getting maybe 1 to 2 dB of gain reduction on the drop.

Then write the important lesson, like:
Glue at 2 to 1 and 3 ms was the sweet spot; super fast attack killed snare snap.

That sentence is worth more than a whole page of “I tweaked stuff.”

Then do the bass bus chain.
Write down the stuff that’s fundamental in DnB: mid-side cleanup and mono discipline, saturator mode and drive, gentle multiband control, utility or width control.

A very common “this fixed everything” note is:
Sub started translating when I mono’d below 120 and reduced 45 Hz buildup.

That’s gold. Because you’ll forget that in three weeks. But your notes won’t.

Step 6: Capture three A/B moments that taught you something.

This is where your debrief becomes a skill-building tool instead of just documentation.

Make a section called A/B Moments: what fixed it.

Pick three moments where the track leveled up. And for each one, write:
What was wrong, what you did, and which Ableton tools did it.

Example one: snare cut through.
Before: snare buried under break and hats.
Fix: transient shaping plus a small EQ notch on hats around the snare crack frequency.
Tools: Drum Buss transient, or whatever transient tool you used.

Example two: drop hit harder.
Before: build had no contrast.
Fix: kill the reverb tail before the drop, add a half-bar of silence, and hit an impact.
Tools: automate reverb dry/wet down, filter sweep, utility gain dip.

Example three: bass stopped fighting kick.
Before: low-end masking.
Fix: sidechain on the bass group from the kick.
Tools: compressor sidechain, fast-ish attack, release around 60 to 120 milliseconds depending on tempo, and 2 to 5 dB of gain reduction as a normal range.

Teacher note: the specific values matter less than the reason. You’re teaching your future self what to listen for.

Step 7: Export a reusable pack from the project.

This is where you stop reinventing your best work.

Render a premaster WAV, 24-bit, ideally without a limiter on the master if you can.
Render a master reference, like a 320 MP3 or WAV.
And export stems starting at bar 1, same length, so they drop into any session perfectly aligned.

Typical stems:
Drums.
Bass.
Music.
FX.
Vocals if you have them.

Use render start at 1.1.1, normalize off, sample rate matching your project, 24-bit, and only dither if you’re going to 16-bit.

Then save racks that are actually worth saving.
If your drum bus chain is the thing, group it to a rack, save it to your User Library, and name it like a product. Something you’d recognize instantly in six months.

Also grab a few screenshots:
Your drum group chain.
Your bass group chain.
Your master chain if it’s simple.
And your arrangement view, because arrangement pacing is a big part of why DnB works.

Step 8: Write the 3-2-1 debrief.

This is the fast finish that makes the whole system sustainable.

Write:
Three things that worked.
Two things to improve next track.
One rule you’ll keep.

Make them specific.

Not “mix better.”
Instead:
Intro was DJ-friendly: 16 bars minimal, clear hats, no random fills.
Snare sat after 200 Hz cleanup and transient push.
Drop 2 variation worked: ghost snare plus bass call and response.

Then improvements:
Breakdown lost energy; need more tension automation.
Mix got harsh at 8 to 10k when limiter pushed.

Then the rule:
Always sidechain bass group early; don’t wait until mixdown.

This takes five minutes. And it stacks up like compound interest.

Now, let’s level this up with some coach upgrades from the expansion material.

First upgrade: make your notes searchable.

At the top of each debrief, add a tag block.
Tags like rollers, amen layer, snare 205 Hz, reese, OTT light, sidechain 90 ms, club mono.
Then key, BPM, a reference track, date, and the best asset you made, like the best drum rack.

Why? Because later you’re not “reading old notes.” You’re searching a database.
You can literally search your notes folder for “sidechain90ms” and instantly find what worked.

Second upgrade: add a One-Change Rule.

This is the single highest leverage move that made the track go from close to finished.
For example:
Removed one bar of drums before the drop and shortened the reverb tail, instant impact.

If you can identify that one change, you start spotting it earlier next time.

Third upgrade: track your time sinks.

Intermediate producers usually lose time in the same places. Kick swapping forever. Bass tone hunting before the groove is locked. Over-editing hats. Over-processing the master too early.

Write one sentence:
Time sink: kept swapping kick samples; next time commit after 20 minutes and mix it.
Time sink: bass tone hunting before groove was locked.

This is workflow gold. Because it prevents the same stall in the next project.

Fourth upgrade: make a Do Not Copy list.

Not everything that worked should become your template.
Maybe the master chain was too aggressive but the arrangement was sparse, so it survived.
Maybe the hats are exciting solo but fatiguing loud.

Write it down. This protects you from turning “one track’s solution” into “your permanent bad habit.”

Optional advanced variation: a simple decision scorecard.

At the end of the project, rate a few categories one to five:
Groove, low-end stability, drop contrast, mix translation, originality.
Then one sentence why.

Over ten tracks, you’ll see patterns. Like, you always score low on contrast, which means you don’t need more plugins. You need better tension and release.

More DnB-specific power move: capture performance, not just patches.

If you made a bass that works, save the rack, yes.
But also save how it was played:
An 8-bar MIDI clip, a note or screenshot of the main modulation lanes, and a velocity rule if it mattered.

Even better, consolidate a clean 8 bars as audio and save it as a hero phrase: key, BPM, and length in the file name.
Now you have tone plus rhythm, which is usually the magic.

And a final arrangement-focused upgrade: document energy automation lanes.

A lot of DnB excitement is motion over time.
So list the three automation lanes that mattered most:
Reverb send on snare, down before drop, up in breakdown.
High-pass on drum loop opening over eight bars.
Stereo width on atmos, wider in breakdown, narrower in drop.

You can reuse the concept even when the sounds change.

Mini practice exercise, 30 minutes.

Use your most recent finished track.
Add eight locators mapping the arrangement.
Create the debrief file and write the 3-2-1.
Save two racks: one from drums group, one from bass group.
Export stems: drums, bass, music, FX.
Then write one sentence per stem about what you’d improve next time.

If you’ve got extra energy, do the 20-minute Lesson Extraction Sprint for three finished tracks.
For each one: five tags, one rack saved, one 8-bar hero loop exported, and one sentence starting with “Next time I will…”

Recap to lock it in.

Finishing tracks is good.
Finishing plus documenting is how you level up fast.

Use locators to capture arrangement decisions.
Save racks and presets for the bus chains that define your sound.
Write specific A/B moments: what broke, what fixed it, and which Ableton device did it.
Export a reusable pack with stems, screenshots, and notes so future-you can move at pro speed.

If you tell me what sub-genre you’re making—rollers, jungle, dancefloor, neuro, deep or minimal—I can tailor a debrief template with the exact checklist categories that matter most for that lane.