Main tutorial
1. Lesson Overview
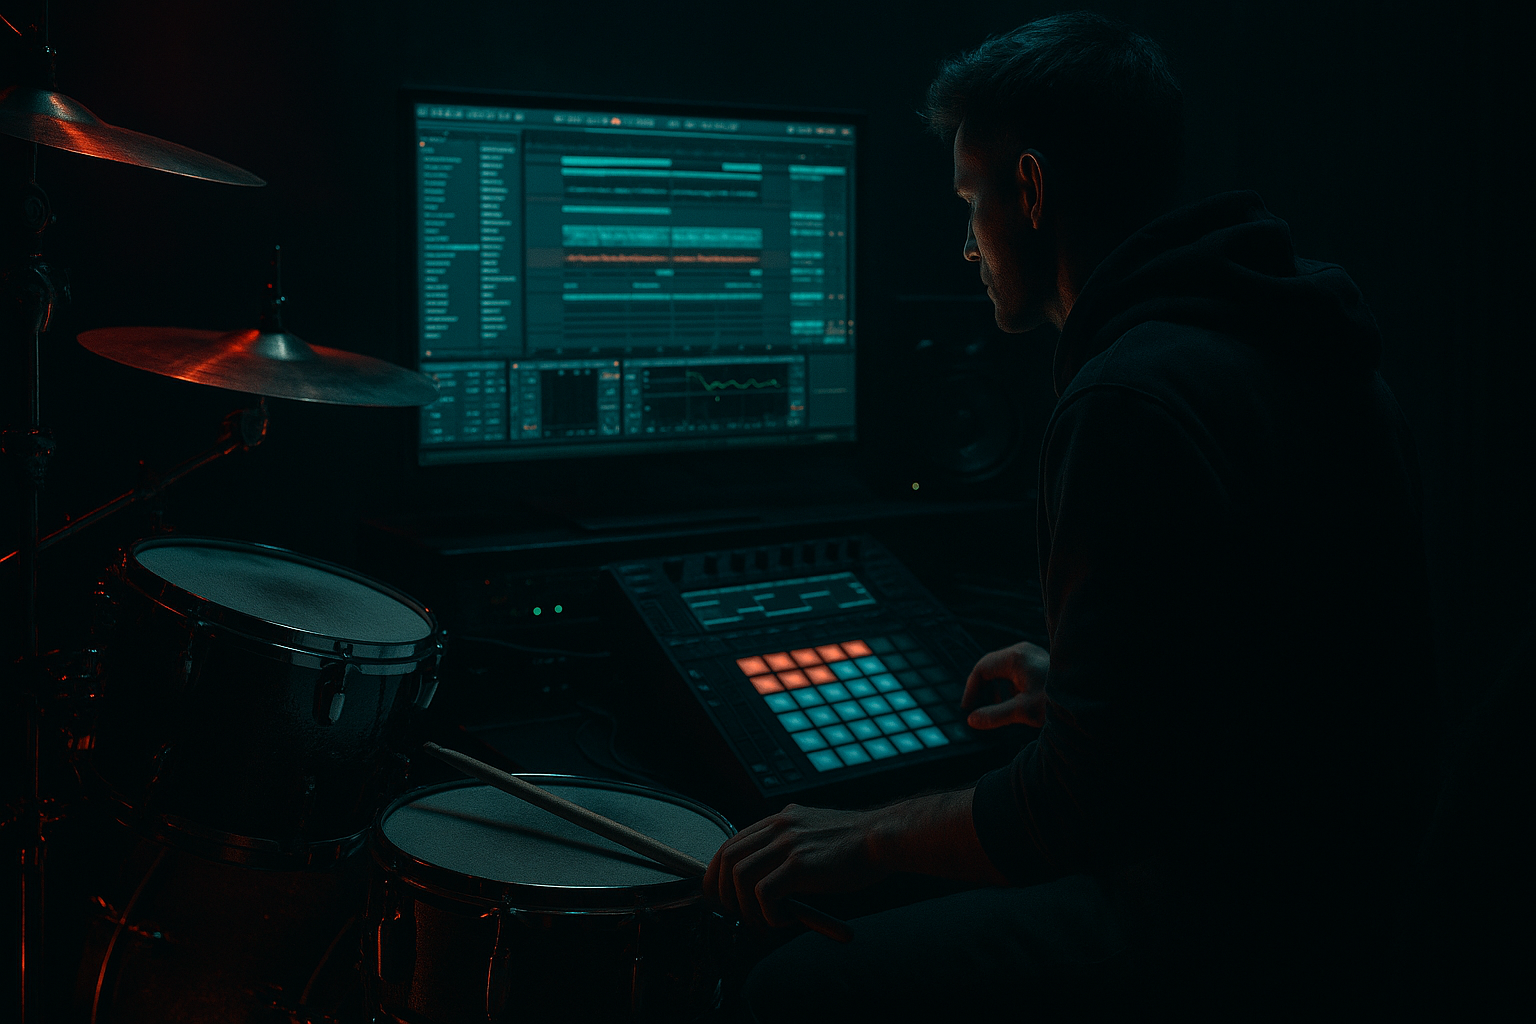
This intermediate Automation lesson shows a practical, repeatable workflow titled "DJ Rap subsine workflow: resample and arrange in Ableton Live 12 for modern punch and vintage soul". You’ll design a deep, usable subsine, perform and resample dynamic variations (using Live’s stock devices), and then arrange those resampled takes with automation techniques to get both modern punch and a vintage-soul character — all inside Ableton Live 12’s Arrangement and Clip automation systems.
2. What You Will Build
- A tuned subsine patch (Wavetable/Operator) tailored for Drum & Bass.
- A set of resampled audio takes with different processing and performance automation (filter sweeps, saturation rides, transient shaping).
- An arranged 16-bar loop using those resamples, with arrangement automation that alternates “modern punch” (tight, hard-hitting low-end) and “vintage soul” sections (warm, round, slightly lo-fi).
- Automation techniques covered: device parameter automation (Saturator/Auto Filter/Compressor), clip envelopes (Sample Start/Loop/Transpose), and volume/Utility/Width automation for mono compatibility.
- Over-saturating the actual sub sine region: applying heavy drive at 30–60 Hz creates phase and monitoring issues. Instead, rely on harmonics (via saturation) above ~100 Hz to create perceived punch.
- Recording resamples with tracks unsoloed: you’ll capture unwanted elements if the SUB SINE track isn’t isolated.
- Forgetting to record tails: when resampling, start recording a bar earlier or disable "Tail Off" auto-truncation; otherwise reverb/saturation tails get cut.
- Automating pitch/transposition indiscriminately: large fast pitch automation on low frequencies causes audible glitches or phase anomalies on playback.
- Widening the sub too often: widening low frequencies via Utility or chorus yields phase cancellation on club systems. Keep the below-120 Hz content centered; automate width only above that if needed.
- Using clip envelopes in Session View only: clip envelopes inside a clip won’t appear as global Arrangement automation until you place them in Arrangement or resample them — plan which domain (Clip vs Arrangement) you want.
- Capture multiple short resamples rather than one long take. Short takes are easier to chop and rearrange; automation lanes can be simpler.
- Use subtle automation of EQ Eight’s Frequency/Q on a mid band to carve space automatically for the snare/hats during different sections.
- Automate Device On/Off rather than drastic parameter changes where possible. Turning a Saturator device on with automation is CPU-friendly and clear in mix decisions.
- Use Utility > Gain automation on the sub audio clip for micro-volume shaping instead of volume fader automation when you want clip-level control that follows with duplication.
- Group sub track with kick/drums and map a Macro for global "Punch" control. Automate that Macro to simultaneously increase Saturator Drive, shorten Compressor Release, and raise transient control for dramatic section changes.
- When making a “vintage soul” feeling, automate a tiny randomization in timing (Shift the clip start by a few ms, or automate Clip Start) to get humanized groove.
- Print a resampled “master” sub with some processing committed (light Saturator + EQ) for arrangement references; keep the original synth track available for future edits.
3. Step-by-Step Walkthrough
Prepare the session
1. Create a new Live set in Ableton Live 12. Set BPM to your DnB tempo (e.g., 174 BPM). Create a 16-bar arrangement view loop for practice.
2. Create a MIDI track and load Wavetable (or Operator if you prefer). Name this track "SUB SINE - SOURCE".
- Wavetable init: Oscillator 1 = Sine; Octave = -2 (or -3 depending on sample rate). Mono, no unison.
- Amp envelope: Attack = 0 ms, Decay = 80–160 ms, Sustain = ~0, Release = short (80–160 ms). This gives a rounded subsine tail that sits behind the kick.
- Turn off/keep filter minimal. We’ll shape low-mid content with EQ Eight and processing, not steep filters in the synth.
3. Add stock devices on the SUB SINE track (order matters):
- EQ Eight: Enable low shelf below ~30 Hz to tighten sub (if needed) and a gentle cut at 250–600 Hz to prevent muddiness later.
- Saturator: Drive = 0 → we’ll automate this.
- Drum Buss: add subtle transient/drive shaping (Transient: small increase; Distortion low).
- Utility: Width = 0% (start mono for sub).
- (Optional) Compressor: for glue while testing.
Designing the “playable” subsine
4. Add a MIDI clip (4 bars) with a long sustained note. Make several MIDI notes across different octaves to audition pitch relationships with the kick.
5. Use Clip Envelope → Pitch (Transpose) and Clip Gain automation to craft small pitch dips at the start of notes (a classic subsine “thump”): draw a 10–20 cent drop over 30–60 ms at each note onset in the clip envelope to add punch. This is clip envelope automation (works per clip and is perfect for resampling variations).
Set up resampling
6. Create a new Audio track and name it "Resample SUB - TAKE 1". In its I/O:
- Audio From: Resampling
- Monitor: In (or set to Off and just arm the track); Arm the track for recording.
7. Set arrangement loop braces to the section you’ll resample (e.g., 4 or 8 bars). Hit Arrangement Record to capture the master output (you’re resampling the that subsine plus device automation you perform). Tip: if you only want the sub, mute other tracks or solo the SUB SINE track before resampling.
Record three different takes with performed automation
8. TAKE 1 — Modern Punch:
- On SUB SINE track, automate the Saturator Drive and Drum Buss Distortion amount in Arrangement view: create a sharp ramp up on the transient (first 30–60 ms of each note) to add harmonic content, then back off during tails. Also automate Utility Width = 0% always.
- While recording the resample, automate Auto Filter (high-pass slight movement around 15–25 Hz to tighten sub on hits) on a return or as a device on the SUB SINE track.
- Record 4 bars. This take should have noticeable harmonics during attacks giving modern punch.
9. TAKE 2 — Vintage Soul:
- Duplicate the SUB SINE track or copy the clip. Change device chain: reduce transient aggression, add a subtle Chorus (or Chorus-Ensemble) and slightly more Saturator with Soft clip mode for warm tape-like rounding. Add Redux (very subtle) for slight bit reduction/grit; automate Redux Dry/Wet from 0% to 30% on sustained sections.
- Automate Wavetable Filter cutoff to slowly open/close over 1–2 bars (gentle movement). Automate Reverb dry/wet on a send for a short plate to give “vintage” space.
- Resample TAKE 2 similarly. Capture a warmer, rounder version.
10. TAKE 3 — Hybrid/Creative:
- Use clip envelope modulation on the audio clip itself: after TAKE 1/2 are recorded, double-click the audio clip and open Clip Envelopes → Sample Start. Automate small random sample start nudges (5–30 ms) on repeated notes to create subtle timing variations and grit.
- Automate Utility Width from 0% to 30% in breakdowns to widen the sub slightly (use sparingly).
- Resample a third time with these creative clip-envelope edits.
Edit, consolidate, and prepare slices
11. Consolidate resampled takes (select clip(s) → Cmd/Ctrl+J) and name them TAKE1_PUNCH, TAKE2_SOUL, TAKE3_HYBRID. Use crossfades at small clip boundaries (enable "Auto" crossfades in Preferences or create manual fades) to avoid clicks when arranging.
Arrange and automate for contrast
12. Drag your three takes into the 16-bar Arrangement:
- Bars 1–8: Use TAKE1_PUNCH with Arrangement automation on the track volume and on Saturator Dry/Wet (or Device On/Off) for extra drive during drops. Automate a fast volume dip on every alternate bar to create breathing space for the kick.
- Bars 9–12: Switch to TAKE2_SOUL. Automate Chorus depth and Redux Wet to increase lo-fi character in the bridge (slow ramp over two bars).
- Bars 13–16: Use TAKE3_HYBRID. Automate Utility Width and a Filter sweep (Auto Filter) on the sub to transition back to modern punch.
Practical automation techniques to use
13. Device parameter automation vs clip envelopes:
- For global changes across the Arrangement (e.g., push saturation on the whole 4-bar section), automate the device parameter in Arrangement view.
- For per-clip/per-hit micro movement (e.g., micro pitch dips, sample start nudges), use Clip Envelopes inside the audio clip. They will follow when you duplicate the clip.
14. Automating to mono-safe modern punch:
- Keep Utility Width = 0% by default for sub sections. Automate a temporary width increase only in sections that don’t clash with the kick.
- Automate Utility Phase invert if you A/B and find phase issues.
15. Commit to audio when needed:
- If you’ve automated many device parameters live and want a single editable audio chunk, resample again (or Freeze & Flatten the track). Then you can edit fades, pitch-shift small regions (Clip Transpose) and consolidate.
Fine-tuning and sidechain
16. Sidechain the sub to the kick for punch:
- Add Compressor (stock) after the sub chain. Enable Sidechain > Audio From > Kick track, set Ratio high-ish (6:1), Attack 0.5–2 ms, Release tuned to groove (50–150 ms). Automate Threshold per section if you want the sidechain to duck more in punch sections and less in vintage soul sections.
17. Final EQ and low-end check:
- Automate EQ Eight Q and gain: e.g., automate a slight -2 dB around 250–400 Hz in punch sections to let drums breathe; automate that band back up in vintage soul sections.
4. Common Mistakes
5. Pro Tips
6. Mini Practice Exercise
Task: Create a 16-bar arrangement that switches between modern punch and vintage soul using three resampled subs.
Steps:
1. Create SUB SINE in Wavetable. Make a 4-bar MIDI loop with long notes.
2. Record TAKE1 (modern): automate Saturator Drive from 0→30% on each note attack, sidechain Compressor to the kick, and resample 4 bars.
3. Duplicate the SUB SINE track, add Chorus + Redux, automate Chorus depth 0→40% over two bars and resample TAKE2 (vintage).
4. Edit the three takes into a 16-bar arrangement: 1–8 TAKE1, 9–12 TAKE2, 13–16 a glued/tweaked mix of TAKE3. Automate Device On/Off for Saturator and Utility Width to emphasize contrast.
5. Render and A/B on headphones and mono to check punch and compatibility.
7. Recap
This lesson walked through the "DJ Rap subsine workflow: resample and arrange in Ableton Live 12 for modern punch and vintage soul" by building a tuned subsine, performing device and clip-envelope automation, resampling multiple takes, and arranging them with automation that alternates punchy modern low-end and warm vintage-soul character. Key takeaways: automate device parameters for global movement and clip envelopes for per-hit nuance; resample purposefully (solo/isolated) and always keep low-frequency mono-safe; use subtle saturation harmonics and sidechain to create perceived punch without sacrificing sub foundation. Use the mini exercise to internalize the workflow.

