Show spoken script
Title: DJ-friendly intro design: for 90s rave flavor (Intermediate)
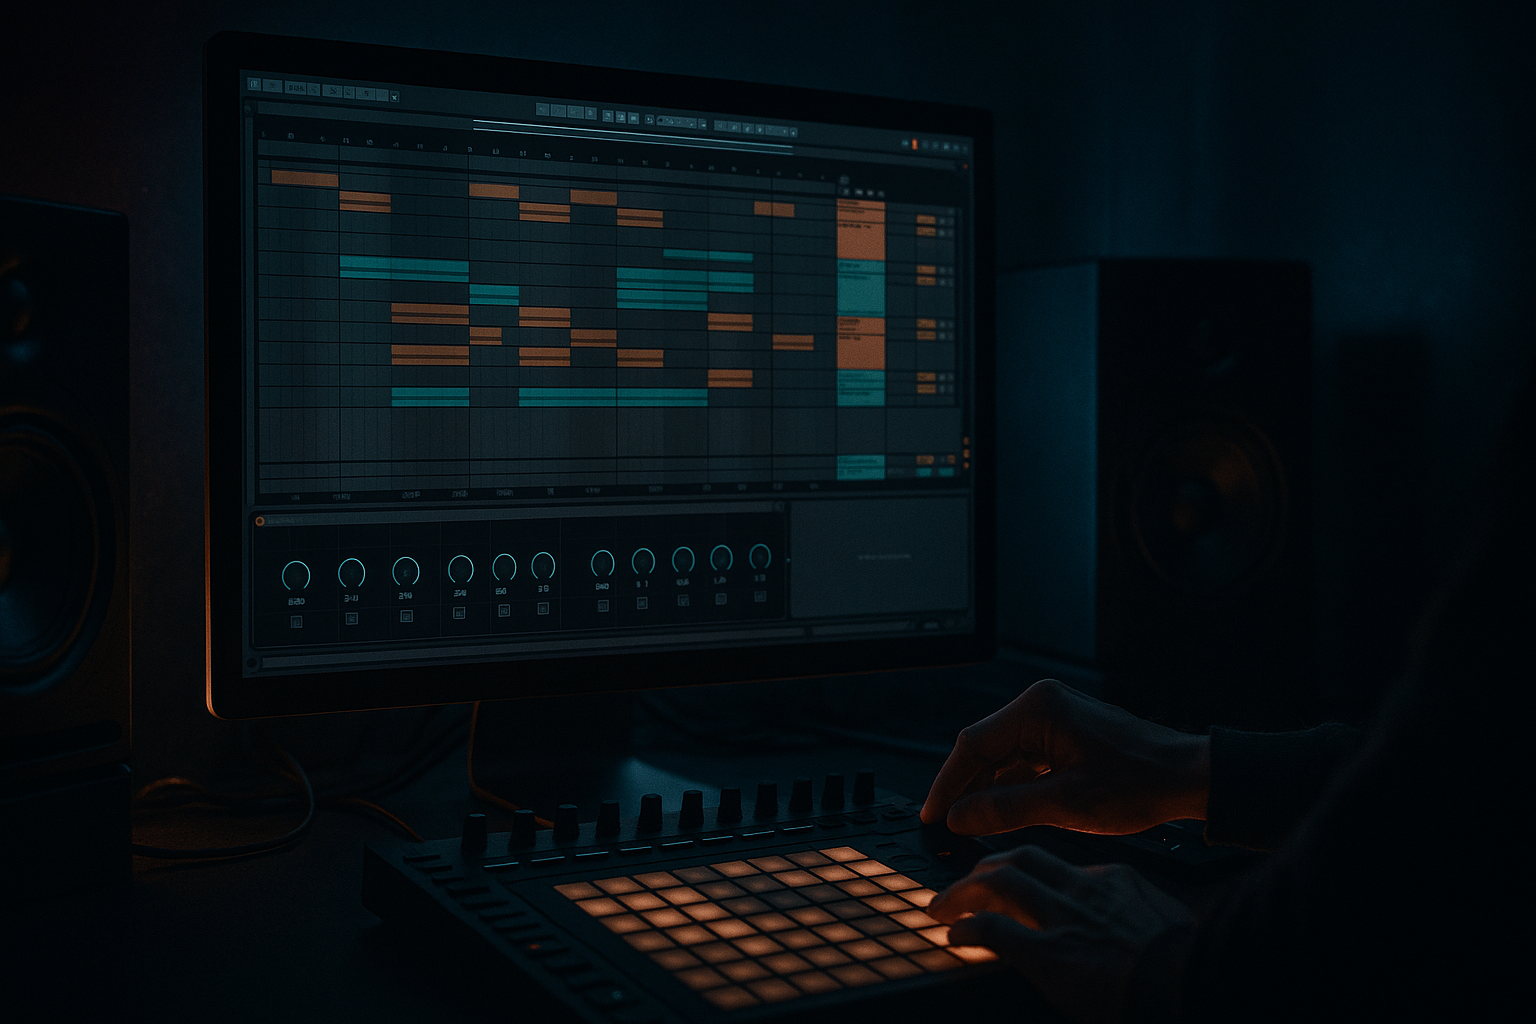
Alright, welcome back. In this lesson we’re building a DJ-friendly drum and bass intro with that 90s rave DNA, but we’re doing it in a modern, practical way inside Ableton Live’s Arrangement View.
The goal is simple: make an intro that DJs can actually mix. That means it’s predictable, countable, and stable, while still building hype. You want the dancer to feel tension rising, and you want the DJ to feel safe that the tune will behave in clean 8 and 16 bar phrases.
We’re aiming for a 32-bar intro at around 170 to 175 BPM, and I’ll set it to 172. If you prefer a more old-school extended mix, you can stretch this to 48 bars using the same logic.
Let’s start.
Step zero: session setup. Set your tempo to 172 BPM. Now jump into Arrangement View and drop some locators. Put one at bar 1 called Intro, bar 9 called Build, bar 17 called Tension, bar 25 called Pre-drop, and bar 33 called Drop.
This is more important than it sounds. DJs don’t just hear structure, they feel it. These locators force you to think in phrase blocks. Also, name things clearly so future-you can revise fast. I like naming sections like “1–8 Tools,” “9–16 Break Top Tease,” “17–24 Tension + FX,” “25–32 Pre + Gap.” It sounds boring, but it speeds up your arrangement like crazy.
Turn on Fixed Grid. For arranging, stay on 1 bar. When you start chopping fills and rolls, switch to 1/8 or 1/16.
Quick workflow boost: color-code tracks. Drums one color, bass another, music and FX their own colors. You’ll make decisions faster, and you’ll stop losing time hunting through the set.
Now Step one: build the DJ utility core, bars 1 through 8.
This is the “platform.” A DJ should be able to drop your track under another track and beatmatch without fighting surprise hits or low-end chaos.
Create a Drum Rack called Intro Drums. Load a punchy kick, but not a giant subby 808 tail. Add a closed hat that can run steady in eighth notes, or sixteenth notes if you want a little more energy. Add an optional ride or shaker very low. And for now, do not go full snare on two and four like it’s already the drop. Save that excitement.
For the pattern: keep the kick simple. It can be straight four-on-the-floor if you want that old rave lift, or a sparse DnB kick pattern, but don’t over-program it yet. Put your hat consistent. Then add one tiny percussion “tick” every couple of bars, like on the “and” of two, just to stop it feeling like a static loop.
Now make it sound like it came from a sweaty room with a slightly abused system. On the drum bus or group, add Auto Filter. Low-pass mode, 24 dB slope. Start the cutoff around 6 to 10 kilohertz so it’s slightly dull. That’s the vibe: you’re not revealing all the brightness immediately.
After that, add Saturator. Analog Clip mode. Drive somewhere around 2 to 5 dB. Then compensate the output so you’re not accidentally just making it louder. Teacher note: a lot of people think “better” means “louder.” Keep your levels honest so you’re judging tone, not volume.
Now for DJ-friendly low end discipline: add EQ Eight on the drum bus. High-pass around 30 Hz, gently. If your kick feels boxy, consider a small dip around 200 to 300 Hz. The point here is not to thin it out; it’s to keep the intro from fighting whatever track the DJ is currently playing, especially down in the subs.
And here’s a DJ mindset check: in a blend, your intro’s job is not to be the whole song. It’s a clean, stable runway.
Cool. Step two: add a break tease without blowing the drop, bars 9 through 16.
This is where you start injecting that jungle DNA: Amen, Think, Hot Pants, whatever your flavor is. But the trick is: tease, don’t reveal.
Create an audio track called Break Tease. Drop in your break loop. Set Warp mode to Beats. Preserve Transients. Keep the envelope around 50 to 80 so it stays punchy.
Now we filter it like a teaser. First, EQ Eight: high-pass around 150 to 250 Hz. We do not need the break’s low end in the intro. Then Auto Filter: low-pass, 24 dB. Automate that cutoff opening from about 1.5 kHz up to around 6 kHz across bars 9 to 16. So at bar 9 it’s mostly crispy tops, and by bar 16 it’s beginning to speak.
Optional: a tiny bit of Redux. Seriously, tiny. Downsample a little, bit reduction almost none. Mix it low. This is just to hint at that sampler-era grit. If you hear “video game distortion,” you went too far.
Arrangement idea: bars 9 to 12, keep the break low and filtered, like it’s behind the tool drums. Bars 13 to 16, open the filter a bit more and nudge the volume slightly so it feels like the curtain is lifting.
And a simple micro-fill: at 16.4, cut most elements for an eighth note, then let one break stab flick through. It’s a tiny signpost that tells the listener, and the DJ, “next phrase incoming.”
Step three: add rave ear-candy, bars 9 through 24.
This is where we get nostalgic, but controlled. Think stabs, pads, dubby echoes, maybe a siren. But don’t fill every gap. You want a few iconic gestures that stamp identity without cluttering the groove.
Let’s do a classic rave stab. Create a MIDI track called Rave Stab. Use Wavetable, or Simpler if you’ve got a stab sample.
In Wavetable: start with a saw wave, add a little unison, maybe two to four voices. Filter LP24 with a bit of drive. Then make the amp envelope stabby: short decay, low sustain.
Now for the instant “rave chord” trick: add the Chord MIDI effect. Stack a +7 and a +12 semitone shift. Now one note becomes a chord stab, instantly period-correct.
Then put it in space: add Reverb with a 2.5 to 4 second decay, some pre-delay, and low cut around 250 to 400 Hz so the reverb doesn’t muddy your mix. Add Delay or Echo set to an eighth or quarter note, with feedback around 20 to 35 percent. Filter the repeats dark. You want dub, not shiny EDM delay.
Arrangement tip: place stabs at the ends of phrases. For example: 12.4, 16.4, 20.4, 24.4. That’s huge. End-of-phrase stabs are like punctuation. DJs love punctuation because it’s countable.
If you want extra ear candy, add a Siren FX track with Operator. A sine wave with pitch automation works great. Add Auto Filter and maybe a touch of phaser for movement. But keep it out of the low end, and keep it from becoming the main character.
Step four: make it DJ-readable with phrasing and commit points.
Here’s the rule: every 8 bars, something changes. One thing. Add something, remove something, or do one obvious automation move.
This is a big teacher moment: too many micro-edits reads as messy in a club. It might sound “interesting” solo, but to a DJ it feels unpredictable. Predictable is good. Predictable means mixable.
At bar 8 and bar 16, create blend-safe moments. That can be a one-beat drum mute, or a little snare flam into the next section. It gives the DJ a handhold to adjust EQs or crossfader without panic.
Also keep stereo strategy in mind. Keep kick, sub, and low break content mono and stable. Put width on noise, reverbs, delays, and airy tops. And high-pass those wide effects hard so your low end stays solid.
Step five: tension section, bars 17 through 24. Bring in bass carefully.
In a DJ-friendly intro, sub is either absent, or it’s a controlled ghost that doesn’t dominate.
Create a MIDI track called Ghost Sub. Use Operator on a sine wave. Add a little Saturator after it, like 1 to 3 dB drive, just to help it translate on smaller speakers. Then EQ Eight: low-pass around 120 to 150 Hz so it stays subby and simple. If it’s pushing too hard, dip a touch around 50 to 60 Hz, depending on the note.
Now arrangement: bring it in quietly from 17 to 24, maybe even only on a couple of long root notes. No funky bassline yet. The philosophy is “threat-building,” not “full reveal.” And this is also practical: DJs often blend basslines at phrase boundaries. Your ghost sub should not start a low-end fight.
If you want a darker, heavier vibe without sub weight, you can tease a mid-bass texture instead: a band-passed growl that has no real sub content. Keep it low. It’s like the shadow of the drop.
Step six: pre-drop, bars 25 through 32. This is where energy spikes and the drop becomes obvious.
First, snare build or roll. Duplicate your snare to a new track called Snare Roll. In the last bar or two, ramp subdivisions from eighth notes to sixteenths to maybe thirty-seconds right before the drop. Process it with Drum Buss for bite, but be careful with Boom; often you want Boom off here. Add a short reverb, decay around 0.8 to 1.5 seconds, and high-pass the reverb around 400 Hz so it doesn’t cloud the transition.
Second, a noise riser. Create a Noise Riser track. Use a noise sample or Operator noise. Put Auto Filter on it and automate the cutoff opening up into the drop. Add Utility and automate the gain slightly upward. Keep it controlled; it should lift tension, not turn into white-noise takeover.
Third, classic jungle move: break chop crescendo. In bars 29 through 32, take your break and chop it so it accelerates: maybe half-bar repeats, then quarter-bar repeats. At the same time, open the filter and raise the level just a bit. That combination screams “we’re about to drop” without needing a giant EDM riser.
Now the most important move: the drop gap.
At 32.4, cut most elements for a quarter beat to half a beat. Leave a reverb tail or a reverse cymbal. That tiny vacuum makes 33.1.1 hit like a truck, and it’s extremely DJ-legible. It’s the clearest possible announcement that the phrase is turning over.
Optional advanced move: a fake-out drop. You imply the drop at the end of bar 32, then instead of dropping, you do two bars of anti-drop: just hats, maybe a vocal stab, and a dub delay. Then the real drop hits. If you do this, do it exactly on phrase boundaries so the DJ still trusts you. No weird lengths.
Step seven: intro-to-drop mix checks.
Gain staging: keep your intro slightly quieter than the drop, like 1.5 to 3 dB in perceived loudness. Don’t crush the master while arranging. If you absolutely need a limiter for safety, keep gain reduction minimal, like one to two dB.
Sub discipline: if the ghost sub exists, keep it mono. Add Utility and set width to zero percent.
Reverb management: put reverbs and echoes on Return tracks so you can control them. Then EQ the returns. High-pass somewhere between 250 and 500 Hz. This keeps your blend clean, especially on big club systems where low-mids can get swampy fast.
And here’s a really practical DJ test you can do: export the intro plus the first 16 bars of the drop. Load it next to a reference DnB tune in Live or DJ software. Practice mixing in with the bass EQ down, then swap bass at the phrase boundary. While you do it, listen for uncertainty. Any moment where you feel like “uh oh, I’m not sure where I am” is an arrangement problem, not a DJ problem.
Common mistakes to avoid as you work:
Too much sub in the intro. No clear 8, 16, 32 phrasing. Overcomplicated drums too early. FX that have uncontrolled low end. And the big one: no drop marker. If bar 33 doesn’t clearly announce itself, your drop will feel smaller even if it’s objectively heavy.
Now a mini practice exercise to lock this in.
Build two versions of the same 32-bar intro.
Version A: Clean DJ tool. No bass until bar 25. Drums and hats, minimal break tease, one stab every 8 bars, and a big gap at 32.4.
Version B: Rave pressure. Break tease starts at bar 9. Siren FX comes in at bar 17. Ghost sub enters at bar 17 but stays subtle. Snare roll plus chopped break crescendo from 29 to 32.
Bounce both and compare. Which one is easier to mix into? Which one feels more rave without ruining the impact of the drop?
Quick recap to finish.
Build in 8 and 16 bar logic so DJs can read it instantly. Start with a stable drum tool groove. Layer break hints and rave ear candy without revealing the full tune too early. Keep the sub minimal or absent until close to the drop, or use a controlled ghost sub. Use stock Ableton tools like Auto Filter, EQ Eight, Saturator, Drum Buss, Echo, Reverb, and Utility to get that gritty, dubby, 90s flavor. And make the drop obvious with a roll, a final cue, and that pre-drop gap.
If you tell me what style your drop is, like rolling, jump-up, techstep, or jungle, and what your main drum pattern is doing in the drop, I can suggest an intro blueprint that matches it bar-for-bar.