Main tutorial
1. Lesson Overview
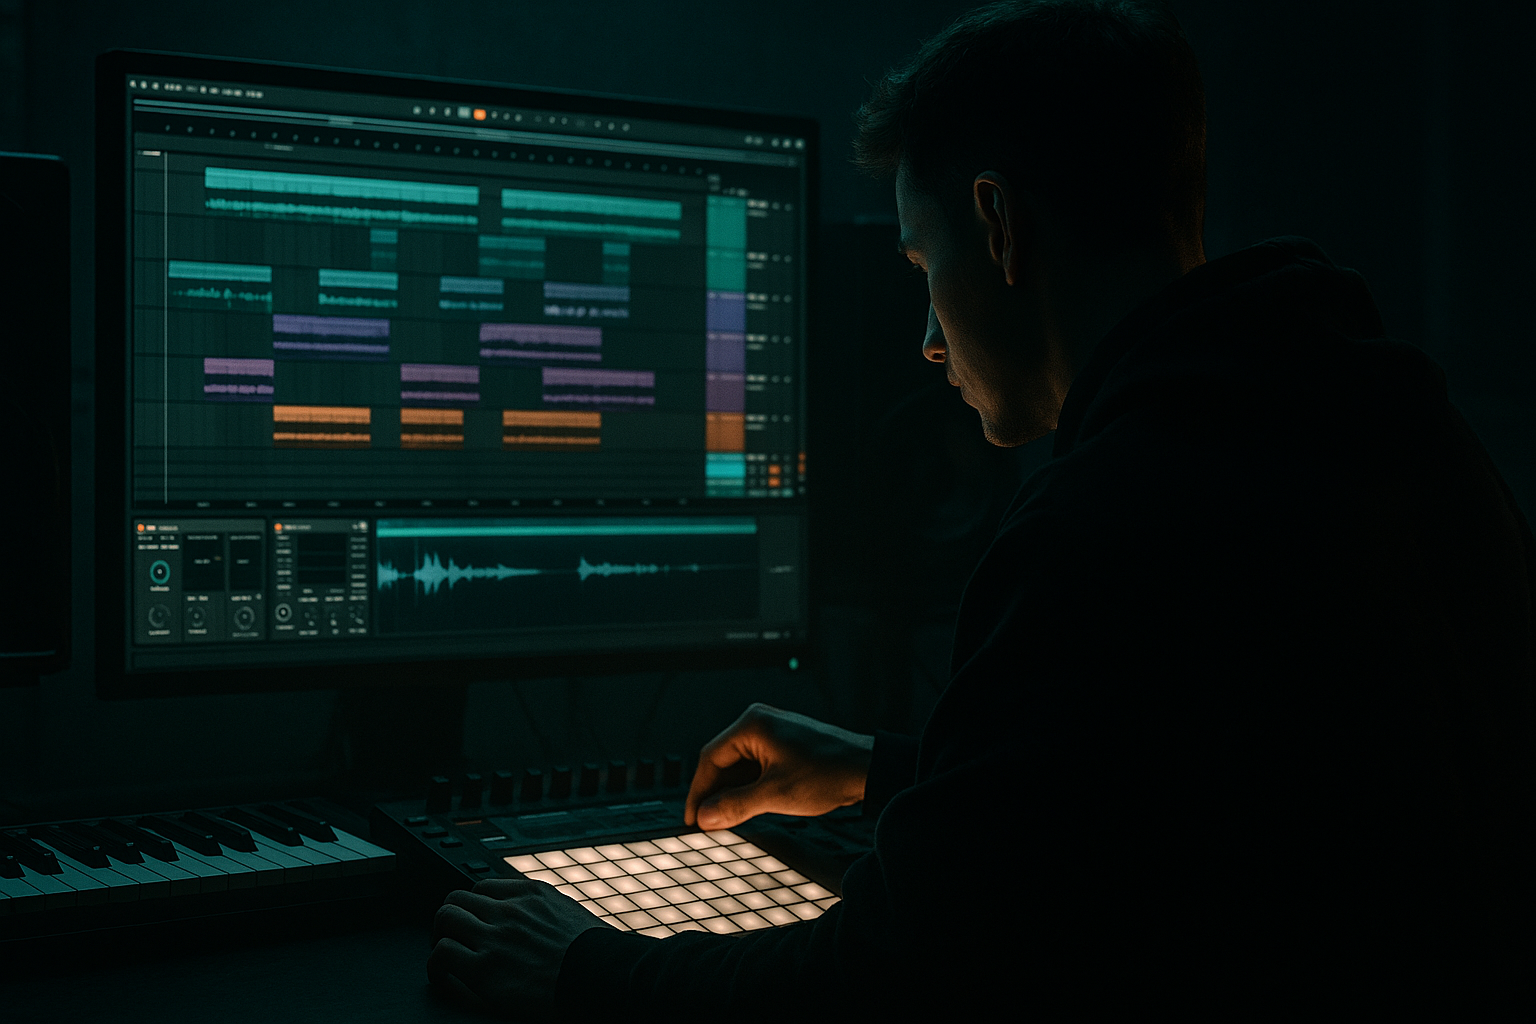
"DJ Fresh masterclass: compose the string layer in Ableton Live 12 for modern punch and vintage soul" — in this beginner lesson you’ll build a two-part string layer that sits with a Drum & Bass bassline: a tight, punchy string stab for low-mid impact and a warm, vintage-soul pad to add body and emotion. We’ll use only Ableton Live 12 stock devices (Wavetable/Sampler, Instrument Rack, EQ Eight, Compressor/Sidechain, Chorus, Saturator, Reverb, Utility, Drum Buss/Glue) and practical MIDI/processing techniques so your strings feel modern in the mix but still have that old-school soul character.
2. What You Will Build
- A single Instrument Track (Instrument Rack) containing two chains:
- MIDI clip with a simple 4-bar pattern of stabs and a sustained pad.
- Processing chain per layer and a master bus chain to sit strings cleanly with the bassline (HP filter, sidechain to kick/bass, saturation and reverb).
- Create a new Live Set and make sure you have your kick and bass tracks ready so you can sidechain the strings to them later.
- Create a new MIDI track and name it "Strings — Punch+Soul".
- Automate Macro 1/2 across the track to bring in Soul during drops or breakdowns.
- Automate reverb size or send amount for longer tails during transitions.
- Check in mono occasionally to ensure the punch remains centered and the soul pad doesn’t collapse or cancel.
- Letting strings sit in the sub bass: failing to HP filter below ~100–150 Hz will muddy the bassline.
- Over-widening the punch stab: making the punch chain too wide reduces center impact and can cause phase issues.
- Too much reverb on punch: heavy reverb turns stabs into mush. Keep punch mostly dry; put reverb on the pad or send to a return.
- Over-compression destroying dynamics: compressing both chains too heavily removes life—use moderate settings and sidechain only where necessary.
- Using identical timbres: not separating the punch and soul chains timbrally makes the layer indistinct. Contrast attack, unison, detune and reverb.
- Not syncing sidechain to tempo: if release times are not set to musical values, ducking can feel off-beat in DnB.
- Use key tracking on filter cutoff: map pitch/key to a small positive value so higher chords sound brighter (Wavetable or Sampler can do this).
- Create a small transient boost on the punch chain using transient shaping or short transient-layer sine to enhance impact without raising level.
- Use multiband techniques: if the pad has too much mid-clutter, use Split Chains (Instrument Rack with EQ Eight to isolate frequency bands) and compress or widen bands differently.
- For vintage tape vibe, use Saturator with "Analog Clip" + a tiny bit of vinyl noise on a send. Keep this subtle.
- Create variation with Macro mapping to LFO rate or detune amount: increase detune slightly during breakdown for a thicker vintage sound.
- When in doubt, lower the strings by 2–4 dB and add harmonic content with saturation instead of just boosting level.
- Punch Chain: short, percussive string stabs optimized for transient attack and midrange punch.
- Soul Chain: lush, vintage pad with detune/ensemble for warmth and sustain.
3. Step-by-Step Walkthrough
Preparation
A. Build the Instrument Rack and chains
1. Drop Instrument Rack onto the MIDI track (Devices > Instrument Rack).
2. Open the Rack and create two chains: Right-click > Create Chain twice. Rename them "Punch" and "Soul".
B. Punch Chain (short, modern attack)
1. Instrument sound:
- Drag Wavetable into the Punch chain.
- Preset start: choose Wavetable > Bass/Pad/Strings > "Strings" or "Bright Pad" (any string-like preset as a starting point).
- Oscillators: set one oscillator to a saw or narrow pulse (for body) and the other to a slightly detuned saw for bite. Detune a few cents (5–12 cents).
2. Envelope and filter for punch:
- Amp Envelope: set Attack = 0–10 ms, Decay = 120–300 ms, Sustain = low (e.g., -6 to -12 dB), Release = 80–200 ms. This gives a short, percussive stab.
- Filter: enable a low-pass filter (LP24) with cutoff around 1.8–3 kHz and Resonance 0–20% to tame top end. Map filter Envelope Amount to open slightly (envelope amount ~20–40%).
3. Add transient body and presence:
- After Wavetable insert Compressor (not Glue yet). Fast attack ~1–5 ms, release ~60–120 ms, ratio 4:1, threshold so the compressor tames peaks lightly.
- Add Saturator (Soft Clip) with Drive ~2–4 dB to add harmonic presence.
4. Tighten low end for bass coexistence:
- Insert EQ Eight after Saturator: High-pass at 110–160 Hz (slope 24 dB/oct) to remove sub-bass so the bassline remains primary.
- Slight boost around 800–1200 Hz (+1.5–3 dB) for midrange punch if needed.
5. Optional: Add Drum Buss (a little "boom" and glue) with low settings for transient emphasis: Drive 2–4, Compression low, Distortion off or subtle.
C. Soul Chain (vintage warmth and sustain)
1. Instrument sound:
- Drag Sampler (or another Wavetable instance) into Soul chain. Use a sampled string pad preset if available (Sampler has "Orchestral Strings" in Live Suite), or Wavetable preset "Warm Pad".
- For Sampler: load an ensemble or slow string sample; if using Wavetable, choose saw/pulse with more unison (Unison voices 4–8) and detune ~10–20 cents to create chorusing.
2. Envelope and modulation:
- Amp Envelope: Attack = 40–120 ms for slow swell, Decay long, Sustain high, Release = 800–2400 ms for long tails.
- Add a slow LFO (Wavetable LFO or LFO device) modulating filter cutoff slightly (rate 0.1–0.5 Hz, amount small) to create breathing motion.
3. Vintage character:
- Add Chorus-Ensemble: Rate ~0.8–1.5, Amount ~20–40% for that 70s/80s string ensemble sound.
- Add Saturator (Warm) with Drive ~1–3 dB. Then add EQ Eight: HP filter at 120 Hz, tiny boost at 200–600 Hz for body, gentle high-shelf cut above 8–10 kHz to mellow.
- Put Hybrid Reverb (or Reverb) after chorus: Pre-delay 10–30 ms, Size 35–50%, Decay 1.2–2.5 s for plate-like lushness. Mix about 20–35% (use Return track if you prefer).
4. Stereo and width:
- Use Utility to widen slightly (Width 110–130%) on Soul chain, but keep Punch chain narrower (90–100%) to keep center focus.
D. Macro controls and balancing
1. Map macros in Instrument Rack:
- Macro 1: Punch Level (map Punch chain volume)
- Macro 2: Soul Level (map Soul chain volume)
- Macro 3: Cut (map a shared low-cut on both chains or EQ Eight frequencies)
- Macro 4: Reverb Mix (map Soul reverb dry/wet or return send)
- Macro 5: Width (map Utility width on Soul)
2. Set default macro positions so you can quickly dial between more modern punch (Punch up, Soul down) and vintage soul (Soul up, Punch softer).
E. MIDI Programming — voicing and rhythm (how to make them sit with bass)
1. Voicing:
- Keep strings above the bass register. Play chords between C3–C5 (roughly) so lowest string note is above the bass fundamental.
- Use voicings common in soul: major 7ths, 9ths, or triads with added 6th/7th. For example, for DnB in D minor: use Dm7 (D-F-A-C) or Dm9 (D-F-A-C-E) to add warmth.
- For the Punch chain, use 2–3 note voicings (root + 3rd + 7th or root + 5th). For Soul chain, use fuller 4-note voicings.
2. Rhythm:
- Program a 4-bar clip. Put short stabs on the Punch chain on beat 1 and syncopated off-beats (e.g., 1, the "and" of 2, and the "and" of 3) — keep stabs 1/16–1/8 in length.
- Soul chain: hold a sustained chord across the bar(s) or play slow chord changes every 1–2 bars.
- Add slight humanization: move some stabs 10–20 ms off-grid and vary velocity 70–100.
F. Mix positioning and sidechain
1. Global EQ: Insert an EQ Eight on the track after the Instrument Rack. High-pass at 100–140 Hz to protect bass area.
2. Sidechain to Kick/Bass:
- Place a Compressor after EQ Eight. Enable Sidechain input, choose your Kick (or a dedicated Kick+Bass send group). Settings: Ratio 3:1–6:1, Attack 1–5 ms, Release 80–220 ms, Threshold so strings duck clearly but musically when kick/bass hits.
- If you want tight, noticeable pump => faster release (80–120 ms). For subtle ducking => longer release (160–220 ms).
3. Glue compression and final saturation:
- Add Glue Compressor last with gentle settings (Threshold small gain reduction ~1–3 dB, Attack medium, Release auto) to glue the two chains together.
- Optional: send small amount to a Reverb return for cohesion.
G. Automation & final touches
4. Common Mistakes
5. Pro Tips
6. Mini Practice Exercise
Goal: Build and program the full two-chain string layer in one 20–30 minute session.
Steps:
1. Create a MIDI track and load an Instrument Rack named "Practice Strings".
2. Make Punch and Soul chains and load Wavetable (Punch) + Sampler/Wavetable (Soul).
3. Program a 4-bar MIDI clip:
- Punch: short stabs on beats 1 and the "and" of 2 and 4. Velocity 75–100, note length 1/16–1/8.
- Soul: hold a Dm7 chord for all 4 bars.
4. Process:
- HP filter at 120 Hz on both chains; punch chain HP slightly higher if needed.
- Compressor sidechain strings to a kick track (if you don’t have a kick, create a simple Kick MIDI clip and route it to a separate audio track to sidechain from).
- Add Chorus on Soul (medium) and Saturator (soft) on Punch.
- Add Reverb to Soul: Pre-delay 20 ms, Decay 1.8 s, Mix 25%.
5. Map three macros: Punch Level, Soul Level, Reverb Send. Practice switching between “modern punch” (Punch +30%, Soul -20%) and “vintage soul” (Soul +40%, Punch -10%) using macros.
6. Export a short loop (4 bars) and listen on different speakers/phones; adjust HP cutoff and sidechain release to taste.
7. Recap
You’ve completed "DJ Fresh masterclass: compose the string layer in Ableton Live 12 for modern punch and vintage soul" by building a two-chain Instrument Rack: a short, punchy string stab (Wavetable) and a lush soul pad (Sampler/Wavetable) processed with EQ, saturator, chorus, reverb and sidechain compression. Key takeaways: separate timbres and attack envelopes for punch vs. warmth; high-pass to protect the bass; tasteful sidechain to keep kick/bass clarity; and use macros to quickly shape between a modern punch-forward and vintage-soul texture. Practice the mini exercise repeatedly and tweak macro mappings until you can dial the two aesthetics instantly in your DnB mixes.

