Main tutorial
1. Lesson Overview
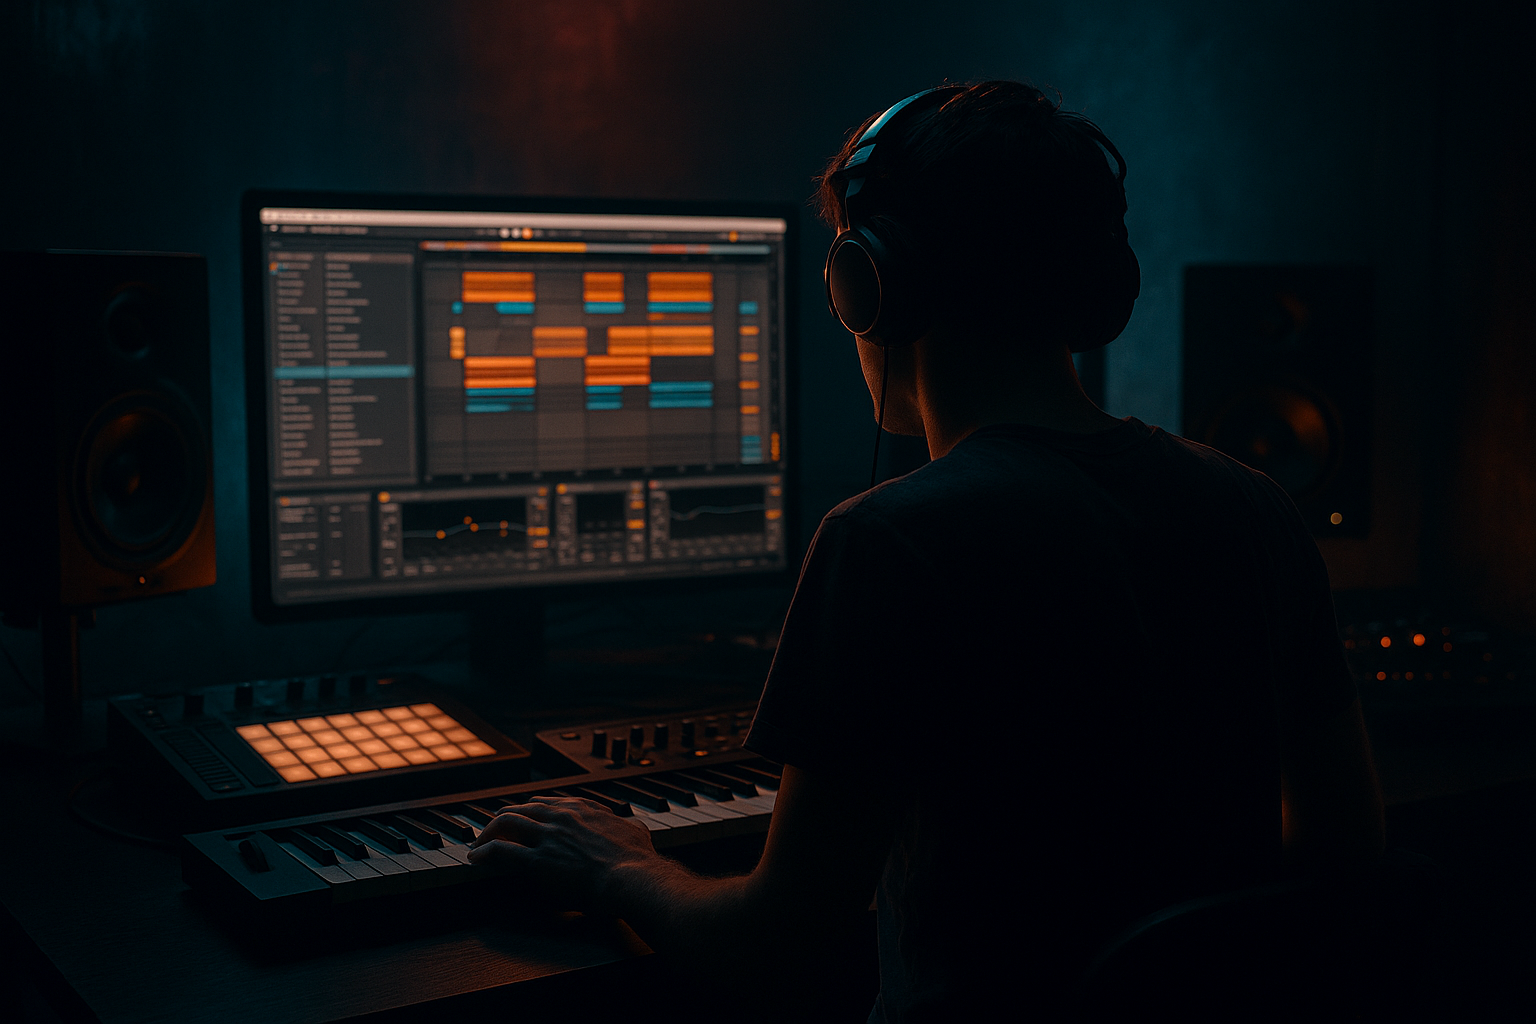
DJ Flight masterclass: drive the bell pluck in Ableton Live 12 for deep jungle atmosphere — an intermediate Groove lesson that teaches you how to design a bell-pluck instrument with character, add usable drive and motion, and lock it rhythmically to a breakbeat so it grooves like a jungle element rather than a sterile synth. We’ll use Live 12 stock devices (Wavetable/Sampler, Instrument Rack, Saturator, Drum Buss, Hybrid Reverb, Echo, Compressor, LFO, Groove Pool, Envelope Follower) and Ableton mixing/automation techniques so the pluck sits in a rolling, deep, jungle-style pocket.
2. What You Will Build
- A layered bell-pluck Instrument Rack (pure tone + noisy body) tuned for Drum & Bass.
- A macro-controlled drive path that “drives the bell pluck” dynamically (subtle crunch → aggressive bite) with parallel processing.
- Groove-locked timing and velocity using Groove Pool extracted from a breakbeat, plus tempo-synced modulation to create that shuffled jungle lilt.
- Space and texture (Hybrid Reverb + Echo) tailored so it feels deep, not washed out.
- A sidechain/envelope-driven movement so the pluck breathes with the drums.
- Set your project to 170–176 BPM (typical deep jungle/DnB tempo).
- Load a breakbeat loop on Audio Track A (amen, funk, or other break) at project tempo. This will be the groove source.
- Over-driving everything: too much Saturator/Drum Buss makes the pluck noisy and competes with the break. Use parallel chains and blend.
- Reverb drowning the transient: long tail without pre-delay kills the pluck’s rhythmic clarity. Use pre-delay or low-frequency damping on reverb.
- Applying groove too aggressively: 100% Timing/Velocity can make notes move too far — subtle application often sounds more natural.
- Not filtering reverb/echo lows: creates mud and competes with bass/kick.
- Making the pluck stereo-smear in the sub region: widen only above ~600–800 Hz; keep low frequencies mono.
- Ignoring phase/mono check: heavy stereo processing can collapse badly to mono.
- Macro mapping: map Drive, Air, Reverb Size, and Groove Amount to four macros for fast real-time sculpting and performance.
- Use Clip Envelopes: automate Velocity/Transposition in the MIDI clip to create micro-variations without touching the device chain.
- Use triplet timing for Echo/LFO sync to reinforce jungle swing.
- Extract groove from the drum loop rather than using generic swing; this locks the pluck to the drummer’s feel.
- For metallic bell tone, add Corpus on the Simpler/noise layer with a short decay and low resonance; it gives physical metallic character without heavy high-end boost.
- Use Drum Buss’s “Warm” and “Saturator” sections carefully to add body but retain pluck clarity.
- When trying extreme drive, run a Multiband Dynamics after saturation to control low-mid energy and keep the sub clean.
- Save the Instrument Rack as a preset labeled “DJ Flight – Bell Drive” so you can recall and tweak for other tracks.
- Load a 4-bar breakbeat on a track.
- Create one Wavetable-based bell pluck with the amp decay set to ~220 ms.
- Group into an Instrument Rack with a Simpler noise layer.
- Build an Audio Effect Rack with Dry, Saturator, and Drum Buss chains and map Drive to a macro.
- Extract the groove from the breakbeat into Groove Pool and apply it to the bell MIDI clip (apply ~80% timing, 30% velocity).
- Add Hybrid Reverb (tail ~1.6 s) and Echo (1/16T, feedback 30%).
- Use Envelope Follower sidechained to the kick to modulate Drive by ~20% so the pluck breathes with the kick.
3. Step-by-Step Walkthrough
Preparation
A. Create the Bell Pluck Instrument
1. Create a MIDI Track named “Bell Pluck.”
2. Insert Wavetable (or Sampler if you prefer sample-based bells). Use Wavetable for flexible modulation:
- Oscillator 1: pick a bright partial-rich wavetable (try “Basic Shapes” -> set to Sine/Triangle blended toward a metallic wavetable if available). Tune to middle C.
- Oscillator 2: enable and set it one or two octaves above with a small level to create upper harmonics; set FM from Osc2→Osc1 to about 10–20% for inharmonic bellyness.
- Filter: high-cut style (Low-pass) with fairly high cutoff around 8–10 kHz, gentle resonance (5–10%). Important: keep the filter open enough so the bell remains bright.
- Amp Envelope (Env 1): very short attack (0 ms), decay 160–350 ms (try 220 ms), sustain 0–10%, release 50–160 ms. This gives a pluck with body but not long sustain.
- Modulate pitch with Env 2: slight downward pitch envelope for a “pluck pitch drop” — amount -5 to -15 cents to several semitones depending on vibe; decay short (90–160 ms). This helps transient attack and character.
- Add a tiny amount of unison (2 voices) and detune ~5–10 cents for width, but keep voices low to avoid wash.
B. Layering for Body and Air
3. Duplicate the Wavetable chain inside an Instrument Rack (right-click → Group to Instrument Rack). Create two macro chains:
- Chain A (Core bell): the Wavetable above as main source.
- Chain B (Noise/Thump): Simpler loaded with a short filtered noise sample or a one-shot metallic sample. In Simpler, set filter to bandpass or highpass to emphasize high‑end hiss and metallic attack. Shorten the amplitude envelope (decay 120–250 ms).
4. Balance chains: Chain A ~ -6 to -2 dB, Chain B ~ -12 to -8 dB. Map these to macros “Tone” and “Air” so you can tweak quickly.
C. Drive the Bell Pluck (Macro-controlled Drive)
5. After the Instrument Rack, create an Audio Effect Rack to handle drive/character. Inside it, create parallel chains:
- Dry chain: just a Utility to control level.
- Saturation chain: Saturator (Drive ~2–6 dB, Soft Clip curve) → EQ Eight (highpass 60 Hz and gentle high shelf at +2–4 dB above 6 kHz) → Glue Compressor (fast attack, medium release) → return to rack.
- Distortion chain: Overdrive or Amp (light tone shaping) → Drum Buss (Drive 2–6, Boom low cut ~80 Hz to avoid muddying) for weight and transient shaping.
6. Map Saturator Drive and Drum Buss Drive to a macro called “Drive.” Macro range: min 0 / max 100. This is your main “drive the bell pluck” control. Use automation or MIDI to move it over time so the pluck grows gritty in fills or drops.
D. Spatialization and Deep Atmosphere
7. Add Hybrid Reverb after the Drive rack:
- Early reflections: small amount, set size small→medium.
- Reverb tail: Long (1.2–2.5 s) but use lowcut on reverb below ~500 Hz to keep low end clean.
- Diffusion slightly high to blur transients for an atmospheric wash.
8. Add Echo after reverb for rhythmic repeats:
- Set Sync to 1/16 or 1/16T (triplets) to add jungle shuffle.
- Feedback 20–40%, filter on the Echo lowpass ~6–8 kHz and highpass ~300–500 Hz. Dry/wet ~15–25%.
9. Place Utility last for Stereo Width control — collapse to mono for subbing or widen slightly for atmosphere (width 110–140%).
E. Groove and Timing: Make It Jungle
10. Open Groove Pool (Ctrl/Cmd+Alt+G). Drag your breakbeat clip into Groove Pool to create a groove preset (or choose an existing jungle groove).
11. Apply that groove to the Bell Pluck MIDI clip:
- Set Timing to 70–100% depending on how strongly you want it locked.
- Set Velocity to 20–40% to copy ghosting dynamics.
- Use Quantize and Timing biases on the clip: if the pluck needs to fall behind the beat slightly, adjust “Timing” parameter downwards.
12. Use the LFO device (MIDI/Audio) to add slow tempo‑synced modulation:
- Map LFO to filter cutoff (very subtle) and/or pan to create motion. Sync to 1/4 or 1/8 triplets and set Amount low (~5–10% of cutoff).
- Add a second LFO (or use Envelope Follower) to modulate the Drive macro slightly in time with the kick hits for a pulsing grit.
F. Envelope Follower Sidechain Movement (groove breathing)
13. Drop an Envelope Follower after the Drive rack and set sidechain input to your kick/drum bus track. Map the follower to:
- Filter cutoff (on a dedicated Auto Filter before reverb) so the pluck opens slightly after kick hits.
- Or map to the Drive macro so the pluck “drives” more between kicks — adjust Amount 10–40%.
- Use the follower’s Attack ~10–30 ms, Release ~80–200 ms for a musical pumping effect.
14. Alternatively, use a Compressor in sidechain mode to duck the pluck under the kick (fast attack, medium release). This keeps clarity in the low end while preserving groove.
G. Final Mix and Automation
15. EQ: Use EQ Eight to notch any resonances around 300–600 Hz if muddy; add a gentle boost at 1.5–3.5 kHz for presence.
16. Parallel saturation: duplicate the Bell Pluck track, heavy-saturate and low-pass ~2–4 kHz, blend under original for body.
17. Automate Drive macro across the track: lower during verses, raise during breakdowns/fills. Also automate reverb Dry/Wet and Echo feedback for long atmospheric moments without drowning the mix.
4. Common Mistakes
5. Pro Tips
6. Mini Practice Exercise
Time: 30–45 minutes
Deliverable: a 4-bar loop where the bell pluck sits rhythmically in the groove and you can automate the Drive macro to push the pluck from soft to gritty.
7. Recap
This DJ Flight masterclass: drive the bell pluck in Ableton Live 12 for deep jungle atmosphere walked you through building a layered bell pluck, routing parallel drive so you can “drive the bell pluck” controllably, locking it to a break’s groove via Groove Pool, and adding tempo-synced modulation and sidechain envelope movement to give it that deep jungle pocket. Use Instrument & Audio Effect Racks, Hybrid Reverb + Echo, Envelope Follower sidechaining, and subtle LFO/pitch envelopes to keep the pluck both musical and atmospheric. Practice the mini exercise to internalize the workflow and save the rack for future sessions.

