Main tutorial
1. Lesson Overview
This advanced lesson teaches how to create the specific sound and workflow described in "DJ Flight city ambience: tune and arrange in Ableton Live 12 with automation-first workflow". We focus on a Drum & Bass bassline that doubles as a traveling “city ambience” texture—deep sub foundation plus evolving urban texture—built with Ableton Live 12 stock devices. The core method is automation-first: you design motion and dynamic shape with automation and macros up front, then tune and place the bassline MIDI and audio to lock musically and rhythmically into your arrangement. The result is a bassline that’s both musical and atmospheric—perfect for a DJ Flight–inspired DnB track.
2. What You Will Build
- A two-layer bassline (Sub + Ambient Textured Layer) inside an Instrument Rack.
- A station-style “city ambience” character (reverb, filtered grainy texture, rhythmic motion) mapped to a few macros.
- An automation-first arrangement: filter sweeps, wavetable position, tune slides and chain-mix automated across sections so the bassline evolves without reprogramming notes each time.
- Proper tuning and phase-coherence between layers so sub sits solid on the grid and the textured layer provides motion and presence.
- Arrangement with automation lanes driving section transitions (intro, drop, ride, breakdown).
- Locking sub tuning and texture independently: If you tune the sub by user-level transposition but the textural layer uses a different root, phase and harmonic clashes occur. Always verify both layers with the Tuner and Spectrum.
- Over-automating parameters that add CPU drain (unnecessary wide unison, high-reverb tails) without freezing or resampling—causes glitches.
- Using too much stereo spread on sub: leads to cancellation on club systems. Sub must be monoized (Utility Width near 0).
- Drawing too-steep automation jumps for filter cutoff without smoothing curves—results in zipper noise or harsh transitions. Use S-curve pen or add tiny cruise of smoothing via tiny overlapping automation.
- Ignoring sidechain automation: fixed heavy ducking in breakdowns will make ambience disappear—automate threshold or dry/wet to taste.
- Relying solely on Scale MIDI without ear-check: Scale can quantize away important chromatic expressive notes that give character.
- Build the Rack with macros that control multiple parameters at once (e.g., Macro "Ambience On" affecting reverb, texture level, and filter). This turns complex motion into a single automation lane.
- For micro-tuning character, detune the texture layer 2–7 cents, but keep the sub perfectly in tune. Map the detune amount to a Macro and automate it subtly during transitions for a “city shimmer”.
- For consistent low-end, route both chains to a return chain and place an EQ Eight with Linear Phase mode (if available) to align phase when you need surgery.
- Use clip automation for very tight rhythmic moves (clip envelopes in the MIDI clip) and arrangement automation for big-picture transitions.
- If you need expressive slides, configure the Rack to accept MIDI Pitch Bend: set pitch bend range in the synth device and automate the Bend lane in MIDI clip envelopes.
- Use Resampling and Warping creatively: resample a long automation sweep then stretch a copy for intro pads—gives continuity while freeing CPU.
- Save the Instrument Rack with a default set of macros labeled (Sub Level, Filter, Texture Pos, Texture Motion, Sidechain) to speed future projects.
3. Step-by-Step Walkthrough
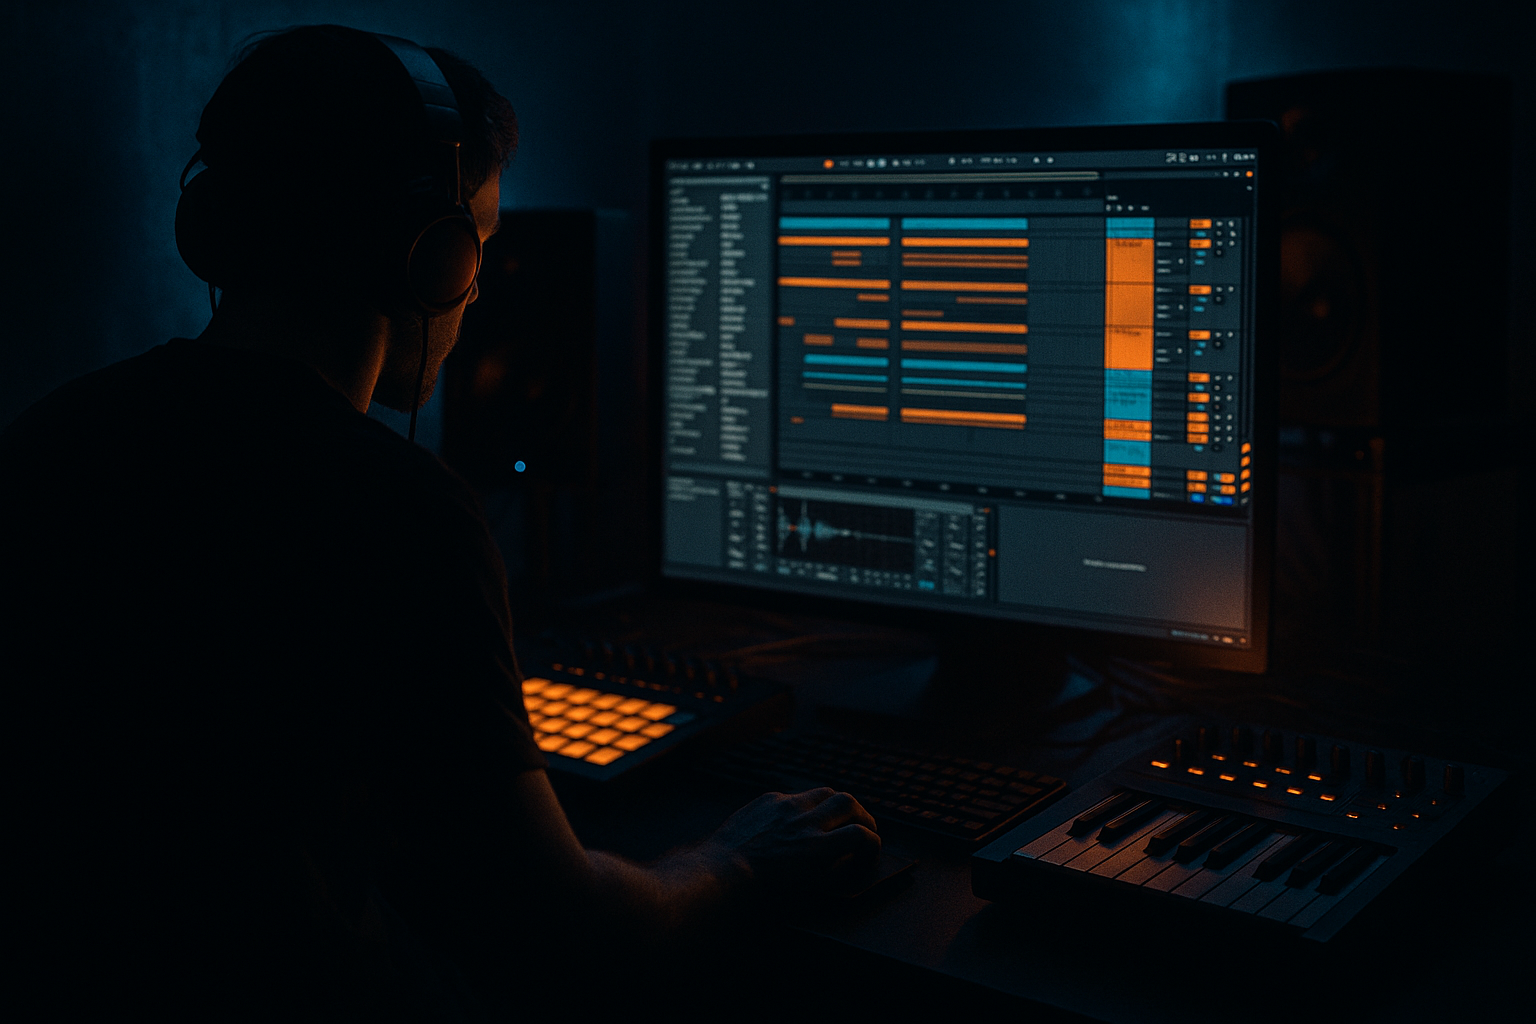
Note: this walkthrough uses only Ableton Live 12 stock devices (Wavetable, Operator, Simpler/Sampler, EQ Eight, Saturator, Compressor, Glue, Auto Filter, Grain Delay, Reverb, Utility, Pitch, Scale, Arpeggiator, Instrument Rack, MIDI Clip envelopes, Arrangement automation).
A. Project setup
1. Set project tempo to a typical DnB tempo (e.g., 174–176 BPM).
2. Create two MIDI tracks named "Bass Rack" and "Bass FX Resample" (we’ll initially work inside the Rack then resample if needed).
3. Insert an Instrument Rack on "Bass Rack". Create two chains: Sub and Texture.
B. Build the Sub chain (clean, locked low-end)
1. Drop Operator (or Wavetable set to simple single-osc sine) on Sub chain.
- Operator: use a sine or triangle on Osc A, set waveform to sine, set unison to 1.
- Coarse tune: set oscillator octave to -1 or -2 depending on desired sub frequency.
2. Set the Simpler/Operator root key: play a MIDI note and use the Tuner device (insert Tuner after the instrument) to verify the perceived pitch.
3. Add an EQ Eight after Operator:
- High-pass only a tiny bit (30–40 Hz) to remove infrasonics.
- Slight bell boost around 60–90 Hz if you want weight; keep it subtle.
4. Add Utility (width 0–10%) to collapse stereo; sub should be mono. Map Utility Width and Gain to Macro 1 (Sub Level).
5. Add Glue Compressor for subtle glue; sidechain will be set later.
C. Build the Texture chain (granular/urban ambience)
1. Create a Wavetable oscillator or Simpler with a short layered sample (choose a noisy, metallic sample or synth pad).
- In Wavetable: use a band-limited saw + noise oscillator. Increase Unison to 4–6 for richness. Use detune small.
2. Add Auto Filter (LP/24) and set cutoff low; map cutoff to Macro 2 (Filter).
3. Add Grain Delay and a light Reverb to create urban echo + space. Set Grain Sync off for drifting feel, but good to automate Grain Delay parameters later.
4. Add Saturator + EQ Eight to taste (shelf on top, presence around 1–3 kHz).
5. Map Wavetable Position (or Simpler Start) to Macro 3 (Texture Position) and map Grain Delay Amount/Feedback to Macro 4 (Texture Motion).
D. Instrument Rack crossfading and macros
1. Map Chain Volume for Sub and Texture to the same Macro (e.g., Macro 1 = Sub Level, Macro 5 = Texture Level) so you can mix layers easily.
2. Create a Macro 6 labeled "Ambience On" mapped to: Texture chain volume, Wavetable position, Reverb Dry/Wet (positive), and Auto Filter resonance (slightly).
3. Save the Instrument Rack as "DJFlight_CityBass_Rack.adg" for reuse.
E. Automation-first design (core concept)
1. Place the Rack on the arrangement track. Before you write MIDI, open automation lanes for the crucial macros:
- Macro 1 (Sub Level)
- Macro 2 (Filter Cutoff)
- Macro 3 (Texture Position)
- Macro 6 (Ambience On)
2. Draw automation curves for the whole arrangement (Intro → Build → Drop → Breakdown). Think in major motion blocks:
- Intro: Sub Level low, Filter cutoff low, Ambience On rising slowly.
- Drop: Sub Level full, Filter open, Texture Position active for bright movement.
- Breakdown: Sub muted, Ambience On high, Filter closed for airy pad.
3. Use triplet or stepped automation shapes for Filter Cutoff to match groove; use smooth S-curves for Sub Level fades so they feel analog.
F. Tuning and pitch automation (tune the bassline to key and create slide effects)
1. Decide root key (e.g., A minor). Insert Scale MIDI effect before Rack to quantize notes to that key. Use Scale for harmonic correctness but keep optional for expressive notes.
2. Create a short MIDI bassline clip (1–2 bars) with foundational notes (root + occasional fifths/octaves). Keep it minimal because motion is mainly from automation.
3. Tune sub oscillator fine: in Operator/Wavetable, adjust coarse and fine-tune (cents) while monitoring with the Tuner and Spectrum in EQ Eight. Aim sub fundamental to sit on a clean frequency: e.g., 55 Hz (A1) or 41 Hz (E1) depending on key. If needed, transpose the instrument by octaves rather than pitching in the osc fine tune to keep phase/integrity consistent.
4. For melodic slides:
- Use the Pitch MIDI device to transpose by semitones on the fly if you want entire chain to shift for transitions; automate Pitch device’s transpose parameter across arrangement.
- For micro pitch slides inside notes, insert a Utility inside the Sub chain and automate the Rack’s Chain Selector or automate the Operator’s Frequency Envelope (if using Operator frequency envelope for portamento). Alternatively, use clip-based pitch bend (MIDI Bend lane) for expressive slides and set Instrument Rack to accept pitch bend range; map aftertouch optionally.
5. Confirm harmonic alignment: play the kick and bass together, use EQ Eight’s spectrum to ensure sub peaks do not clash. Adjust tuning by 1–3 cents or transpose by a semitone if clashes occur.
G. Sidechain and dynamics automation-first
1. Insert Compressor after the Instrument Rack, enable Sidechain input from Kick (or a dedicated ducking bus).
2. Set ratio high-ish for dramatic DnB pumping; set attack fast and release synced to tempo (try 1/16–1/8 note depending on groove). Map Compressor Threshold to a Macro you plan to automate across sections (e.g., Macro 7 = Sidechain Depth).
3. In arrangement, automate Macro 7 to reduce ducking during breakdowns or tighten it during drops.
H. Texture motion and ambience automation
1. Use arrangement automation to change Macro 3 (Texture Position) and Macro 2 (Filter) within single bars to create rhythmic gating and city-like movement.
2. Automate Grain Delay pitch/size for subtle detuning and movement. Because this is automation-first, focus on writing these automation shapes prior to MIDI changes.
3. Automate Reverb decay and Dry/Wet so ambience grows as a section progresses—this gives a traveling “city” sense.
I. Resampling and polishing (optional, automation-first advantage)
1. Once automation shapes are set and you like how motion behaves, resample the bass track (create "Bass FX Resample" audio track -> set Input to resample and record the active section).
2. Warp the resample if you want to add glitch edits; add extra automation to the resampled audio clip (clip gain envelopes and clip transpose).
3. Use EQ Eight and Multiband Dynamics on the final bass bus to tighten. Automate Multiband crossover points subtly if you want energy shift per section.
J. Final arrange tips
1. Duplicate scenes or arrangement blocks and vary a few automation lanes instead of rewriting MIDI—this is the core speed gain from automation-first.
2. Use arrangement color-coding and name lanes (Macro: Filter, Macro: Texture) so automation becomes your primary compositional tool.
3. Bounce stems for mastering or DJ sets after final automation pass.
4. Common Mistakes
5. Pro Tips
6. Mini Practice Exercise
1. Template: Create a 16-bar loop at 175 BPM. Load the saved "DJFlight_CityBass_Rack".
2. Automation-first: Without adding notes, draw automation for these macros across 16 bars:
- Bars 1–4: Ambience On 30%, Filter cutoff 40%
- Bars 5–8: Ambience On 70%, Filter cutoff rising to 70%, Sidechain Depth 80%
- Bars 9–12: Sub Level at 100%, Texture Pos rhythmic stabs (draw 1/8 syncopated square automation)
- Bars 13–16: Ambience On 90%, Filter closed to 20%, Sidechain Depth 10%
3. Create a 2-bar MIDI bassline (root on beats 1 and the octave on the & of 2). Duplicate to fill 16 bars.
4. Tune sub to key with Tuner and adjust Operator coarse tuning if the sub feels off with the kick.
5. Play through and tweak one macro’s automation (Filter) to add a 1-bar riser curve into bar 9. Listen for masking and retune if necessary.
7. Recap
In "DJ Flight city ambience: tune and arrange in Ableton Live 12 with automation-first workflow", you built a two-layer bassline Instrument Rack and used an automation-first approach to define motion, texture, and arrangement before composing the full MIDI parts. Key takeaways: lock the sub’s tuning and phase first, create macros that control multiple parameters, draw arrangement-wide automation lanes for evolving sections, and use pitch and sidechain automation to make the bassline sit and breathe in a Drum & Bass context. Automation-first speeds composition, enforces consistency across sections, and yields the living, traveling “city ambience” bassline characteristic of DJ Flight-style tracks.

