Show spoken script
Title: Distorted bass stability from scratch for oldskool DnB vibes (Advanced)
Alright, let’s build an oldskool drum and bass bassline that can take distortion without falling apart.
Because here’s the truth: oldskool jungle and DnB bass is usually simple in the notes, but nasty and complex in the tone. And the moment you start saturating and clipping it, that’s when you get the classic problems: the sub randomly disappears, certain notes jump way louder than others, the pitch feels weirdly wobbly, and the whole low end collapses the second the kick hits.
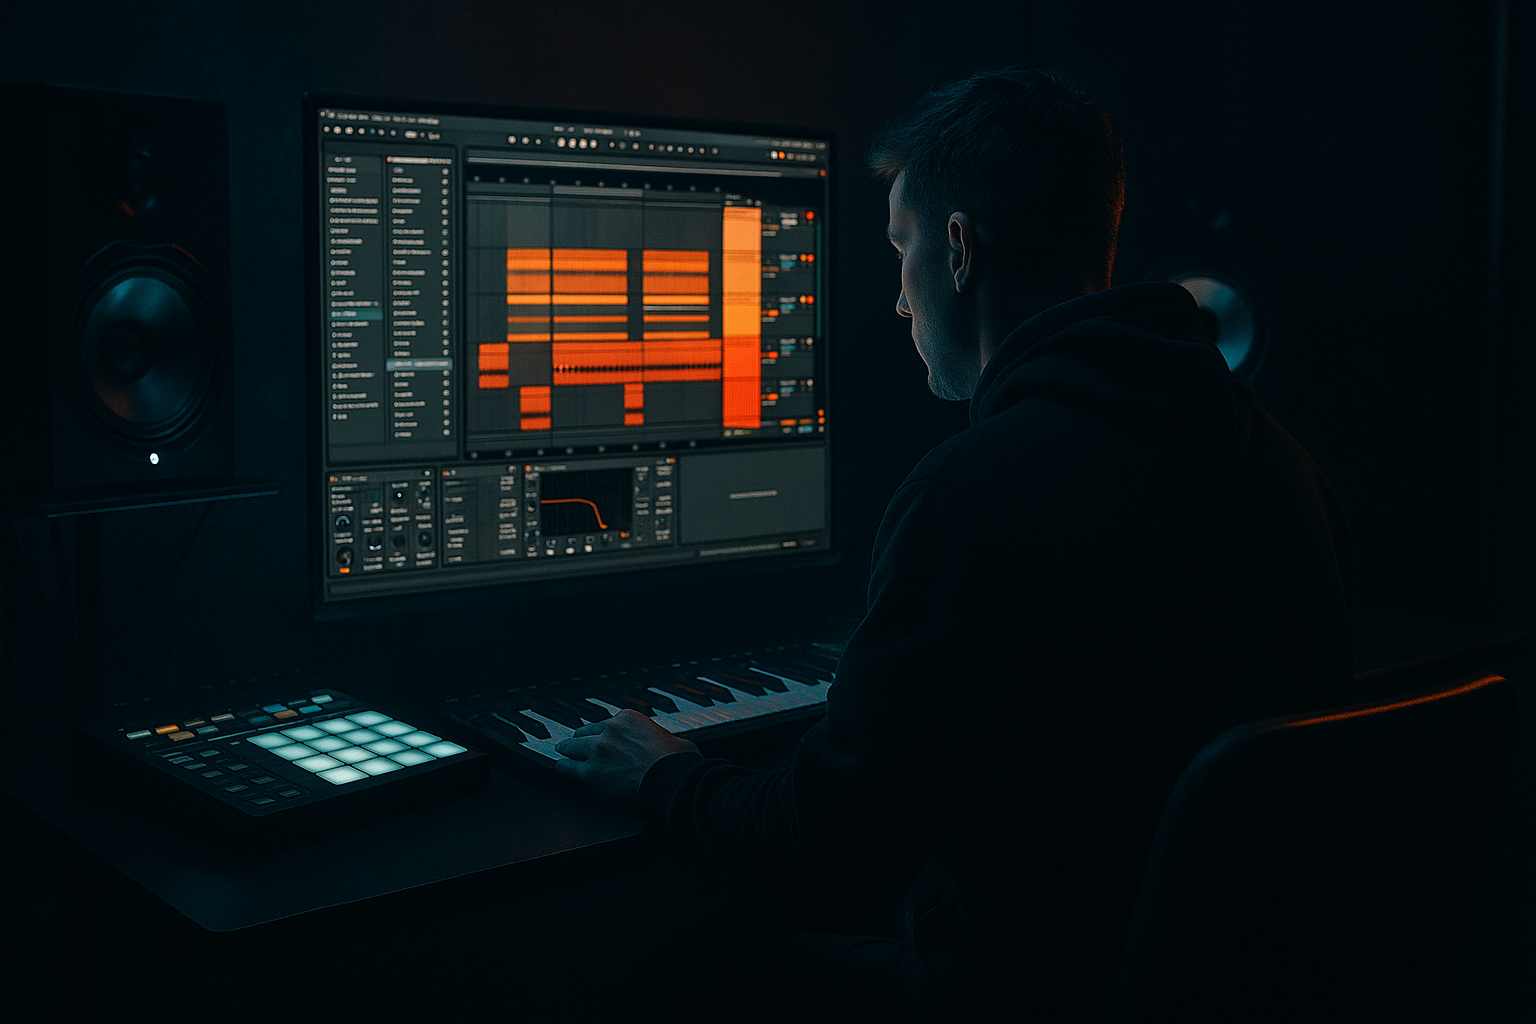
So today we’re doing this properly, from scratch, using only Ableton stock devices. The goal is a distorted, reese-y rolling bass that stays stable from sound design, to mixing, to arrangement, and also survives a mono check.
First, concept check. We’re building a two-layer bass system plus a bus.
Layer one is the sub. Mono, clean, boring in the best way. No movement, no width, no distortion. It’s there to be consistent and to carry the weight.
Layer two is the mid layer. This is where the dirt lives. Reese tone, distortion, stereo movement, character. But it’s controlled chaos, not chaos chaos.
And then we glue them together on the bass group bus, so the combined bass behaves like one solid instrument in the mix.
Step zero: session setup and routing.
Set your tempo somewhere between 165 and 175. I’m going to assume 170 BPM, classic roll tempo.
Now create a group track named BASS. Inside that group, make two MIDI tracks:
BASS - SUB
BASS - MID
And here’s a really underrated pro move: create an audio track called BASS PRINT. We’ll use it later for resampling and committing, because oldskool authenticity is basically resampling plus edits.
Before we even design anything, I want you to calibrate levels. This is stability rule number one.
Put a meter on each track if you want, but you can do it by eye in Ableton too. Aim for your SUB peaking around minus 12 to minus 9 dBFS before it hits the group. And your MID peaking around minus 18 to minus 12 dBFS pre-group.
Why? Because distortion is level-dependent. If your input level changes, the tone changes, and then you’re chasing your tail thinking you need more plugins. You don’t. You need consistent gain staging.
Next, program a bassline. Keep it simple and rhythmic.
Make a one-bar MIDI clip on both the sub and the mid track. Same notes on both, locked together.
Choose a root note like F1, or G1, or A1 depending on your key. Oldskool rollers often live in that area.
For the rhythm, go for an eighth-note roll with a few skips. Think: steady forward motion, but with little syncopations so it breathes with the break.
And here’s a teacher tip: create groove with timing and note lengths, not wild velocity swings. Keep your MIDI velocities disciplined, like hovering around 95 to 110. If every hit has totally different velocity, your distortion stage is going to react differently every time, and that’s exactly the instability we’re trying to avoid.
Now, the sub layer.
On BASS - SUB, load Operator.
Keep it super plain: single oscillator, sine wave. If you want a tiny bit more harmonics you can use triangle, but sine is the cleanest anchor.
Set the oscillator level down a bit, like minus 6 dB, just to leave headroom.
Now the amp envelope. The goal is: no clicks, consistent weight, and it gets out of the way in time with the groove.
Attack: basically zero, but if you’re clicking, give it a couple milliseconds, like 2 or 3 ms.
Decay: around 200 to 400 ms, depending on how long your notes are.
Sustain: you can go all the way down if you want it to behave like a pluck, or keep a little sustain if your notes are longer.
Release: 60 to 120 ms. That release is crucial. Too short and you’ll click or sound gated in a bad way. Too long and you’ll smear into the kick and lose definition.
After Operator, add EQ Eight. Put a low-pass around 90 to 120 Hz with a steep slope. The sub track should basically be sub only. No extra mid content, no fuzz, no “character.” The character will come from the mid layer.
Optional: add a gentle Compressor. Ratio around 2 to 1, attack 15 to 30 ms, release 80 to 150 ms. You’re not trying to squash it. You’re just catching little peaks. One to three dB of gain reduction at most.
Then add Utility. Turn Mono on. If your version of Live has Bass Mono options, set width below around 120 Hz to zero. The sub needs to be dead center, consistent, and phase-stable.
And one big rule: do not distort this track. If you distort the sub, the level will start yo-yo’ing, the harmonics will fight the kick, and your low end will become unpredictable across different playback systems. Keep it pure.
Now, the mid layer: the reese and the grit.
On BASS - MID, load Wavetable. Operator works too, but Wavetable makes the classic saw-based reese really fast.
Oscillator one: saw.
Oscillator two: saw.
Detune osc two slightly, like 8 to 20 cents. That detune is the reese “growl.”
Be careful with unison. Too many voices is a common stability killer. Start with two to four voices max if you’re using unison, but honestly, you can often skip unison and just detune the two oscillators.
Add a low-pass filter, LP24. Put the cutoff somewhere like 250 to 800 Hz depending on how dark you want it. Add a tiny bit of drive in the filter, like 2 to 6, just enough to add density.
Now shape the amp envelope similar to the groove:
Attack near zero.
Decay 150 to 350 ms.
Sustain around minus 6 to minus 12 dB.
Release 80 to 200 ms.
Now we add movement, but controlled movement.
Add Chorus-Ensemble after the synth. Put it in Chorus mode.
Rate: slow, 0.2 to 0.6 Hz.
Amount: 20 to 40 percent.
Mix: 10 to 25 percent.
But keep a mental note: any stereo movement in low frequencies can mess with stability. We’re going to high-pass the mid layer later, so that chorus isn’t allowed to mess with the sub region.
Now the core: distortion.
Add Saturator. Choose Analog Clip or Soft Sine.
Drive around 4 to 12 dB depending on how rude you want it. Turn Soft Clip on.
And do not get tricked by loudness. Every time you add drive, lower the output so the level matches when you bypass. If you don’t level-match, you’ll always choose “more distortion” because it sounds louder, not better.
Optional, for extra oldskool crunch: add Amp after Saturator.
Turn cabinet off if you want cleaner control, or leave it if you like the color.
Gain 2 to 5.
Dry/Wet 10 to 30 percent. Think of it like seasoning, not the main ingredient.
Now EQ Eight. This is one of the most important stability steps.
High-pass the MID around 90 to 120 Hz with a steep slope. This is non-negotiable if you want the sub to stay consistent. The MID layer must not compete in the sub zone.
Then do small corrective moves:
If it’s muddy, a gentle dip around 250 to 400 Hz.
If it’s too biting, a small dip around 2 to 4 kHz.
And if you want that darker jungle authenticity, low-pass the mids around 7 to 9 kHz. Let the breaks provide the brightness.
Now compression on the MID for stability.
Put a Compressor after EQ.
Ratio: 3 to 1 or 4 to 1.
Attack: 10 to 30 ms, so you don’t completely kill the front.
Release: 60 to 140 ms.
Aim for about 3 to 6 dB of gain reduction on the loudest hits.
This is doing “note-to-note consistency.” When you roll a pattern, you want every hit to feel like it belongs to the same instrument, not like random spikes.
Then Utility for width management. Set width around 70 to 110 percent. Don’t go super wide; that’s where mono compatibility starts falling apart. If your bass disappears in mono, width is usually the reason, or your chorus is too wet, or you let low mids go stereo.
Quick advanced check: if you feel like distortion is making the pitch center unstable, throw a Tuner on the MID only for a moment. If it’s flickering like crazy, reduce chorus or unison before the saturator, or move some modulation after distortion. Distortion exaggerates movement. If you feed it chaos, you get chaos.
Now we glue both layers on the BASS group. This is the stability bus.
On the BASS group track, add EQ Eight first. Tiny moves only.
If the whole bass is too heavy, a very small shelf down around 40 to 60 Hz, like one or two dB.
If it’s muddy, a small dip around 200 to 300 Hz.
Then Glue Compressor.
Ratio 2 to 1.
Attack: 3 ms for tighter control, or 10 ms if you want more transient through.
Release: 0.1 to 0.3 seconds, or Auto.
Set the threshold so you’re getting one to three dB of gain reduction on bass hits. This is glue, not smash.
Then a gentle Saturator on the bus. Think “console vibe,” not distortion effect.
Drive 1 to 3 dB.
Soft Clip on.
Level-match the output again.
Then a Limiter as a safety net.
Ceiling at minus 0.3 dB.
Try to keep limiting light: one to two dB at most, just catching peaks so the bass feels consistent.
And add Spectrum at the end so you can visually verify the sub isn’t randomly spiking and the mid isn’t doing weird jumps.
Now, kick and bass: sidechaining, oldskool style.
Old jungle doesn’t always do that huge modern pumping, but you still need the kick to read.
Add a Compressor on the BASS group, or, even better for this style, sidechain the SUB a little more than the MID.
Set sidechain input to the kick.
Ratio 3 to 1.
Attack 1 to 5 ms.
Release 60 to 120 ms.
Aim for two to five dB of reduction when the kick hits.
Advanced vibe move: “mid ducks, sub stays proud.”
Put a sidechain compressor on the MID and let it duck a bit more than the sub, with a slightly faster release than the sub. That way the kick gets clarity from the mids moving out of the way, but the low end doesn’t feel like it’s disappearing. The roll stays thick.
Now let’s talk about the big question: how do we add movement without destroying stability?
The answer is: movement in the mids, not the sub.
Option A: put Auto Filter after distortion on the MID.
Use LP12, not LP24, for a smoother musical sweep.
Set a tiny resonance, 5 to 15 percent.
And automate the cutoff slowly over 8 or 16 bars. You don’t need crazy automation. Even tiny cutoff moves make the bass feel alive.
Option B, and this is where it gets really oldskool: resampling.
Route the BASS group into BASS PRINT and record 16 bars.
Now you’ve “committed” the sound. This is huge for stability, because now every hit going forward is the same audio, not a live synth reacting differently each time you tweak something.
Turn warp off if you don’t need it, add tiny fades to avoid clicks, and start chopping. Reverse one hit. Mute a hit for a micro-gap. Pitch one mid hit up seven semitones. Do little edits that scream jungle, without rewriting the whole bassline.
You can even do “character passes.” Print the same 8 or 16 bars three times: one mild, one heavy, one band-limited. Then comp between them like you would with vocals. That’s authentic and mix-stable.
Now, a couple of hidden stability killers to watch for while you work.
Number one: not high-passing the MID. If your MID has low end, it will fight the sub. That creates inconsistent weight and phase weirdness.
Number two: too much chorus or unison before distortion. Modulation becomes unpredictable after saturation, and you’ll get random peaks and fizz.
Number three: no gain staging. If you’re driving saturator with different levels per note, you’ll get different tone per note. Level-match constantly.
Number four: phase alignment issues. Even with a clean sine, if something about the chain is changing phase or you’ve got low harmonics leaking in from the MID, the sub can feel inconsistent. Keep that MID high-pass steep, and keep the sub mono and clean.
Also make a conscious decision: who owns 50 to 90 Hz, the kick or the bass?
For oldskool weight, often the bass owns around 50 to 70 Hz, and the kick is more about 90 to 120 Hz punch. Or you can flip it. But pick a lane. If both try to own the same zone, you’ll end up compressing and sidechaining too hard just to make it stop fighting.
Arrangement: how to make this feel like a record.
Try this structure.
Intro, 16 bars: filter the MID down and mute the sub.
Drop, 32 bars: bring in full sub plus mid.
Mid-drop variation: lower the MID filter cutoff, add maybe one or two dB more drive, and slightly reduce chorus mix for a tighter, meaner feel.
Breakdown, 8 to 16 bars: pull the bass out, let reverbs and pads breathe, let the break do the storytelling.
Second drop: same bass patch, but change drum edits. Amen variations, extra ghost notes, little fills. Oldskool is often “same bass, different break energy.”
And here’s a nasty drop impact trick: right before the drop, mute the sub one eighth note earlier than you think. When it slams back in on the downbeat, it feels huge without adding any level.
Mini practice, so you actually lock this in.
Build the sub and mid exactly like we did. Make a 16-bar loop with a kick and snare or a break. Then do three versions of the mid behavior:
Version A: clean stability. Less drive, higher filter cutoff, more controlled.
Version B: heavy character. More drive, maybe slightly lower cutoff, more attitude.
Version C: printed and edited. Resample version B and create at least a handful of edits: chops, reverses, small mutes, one pitch tick.
Then bounce a mono version and check two things.
Is the sub level steady, or does it yo-yo?
And does the kick stay readable without the bass doing weird breathing?
If both of those are true, you’ve nailed distorted bass stability the oldskool way: clean, locked sub; dirty controlled mids; and a bus that makes it translate everywhere.
Whenever you’re ready, tell me your key note for the sub and whether you want more reese roller or more hoover-ish grit, and I can help you tailor a macro-style rack so you can perform the filter, drive, and movement like an instrument without losing that stability.