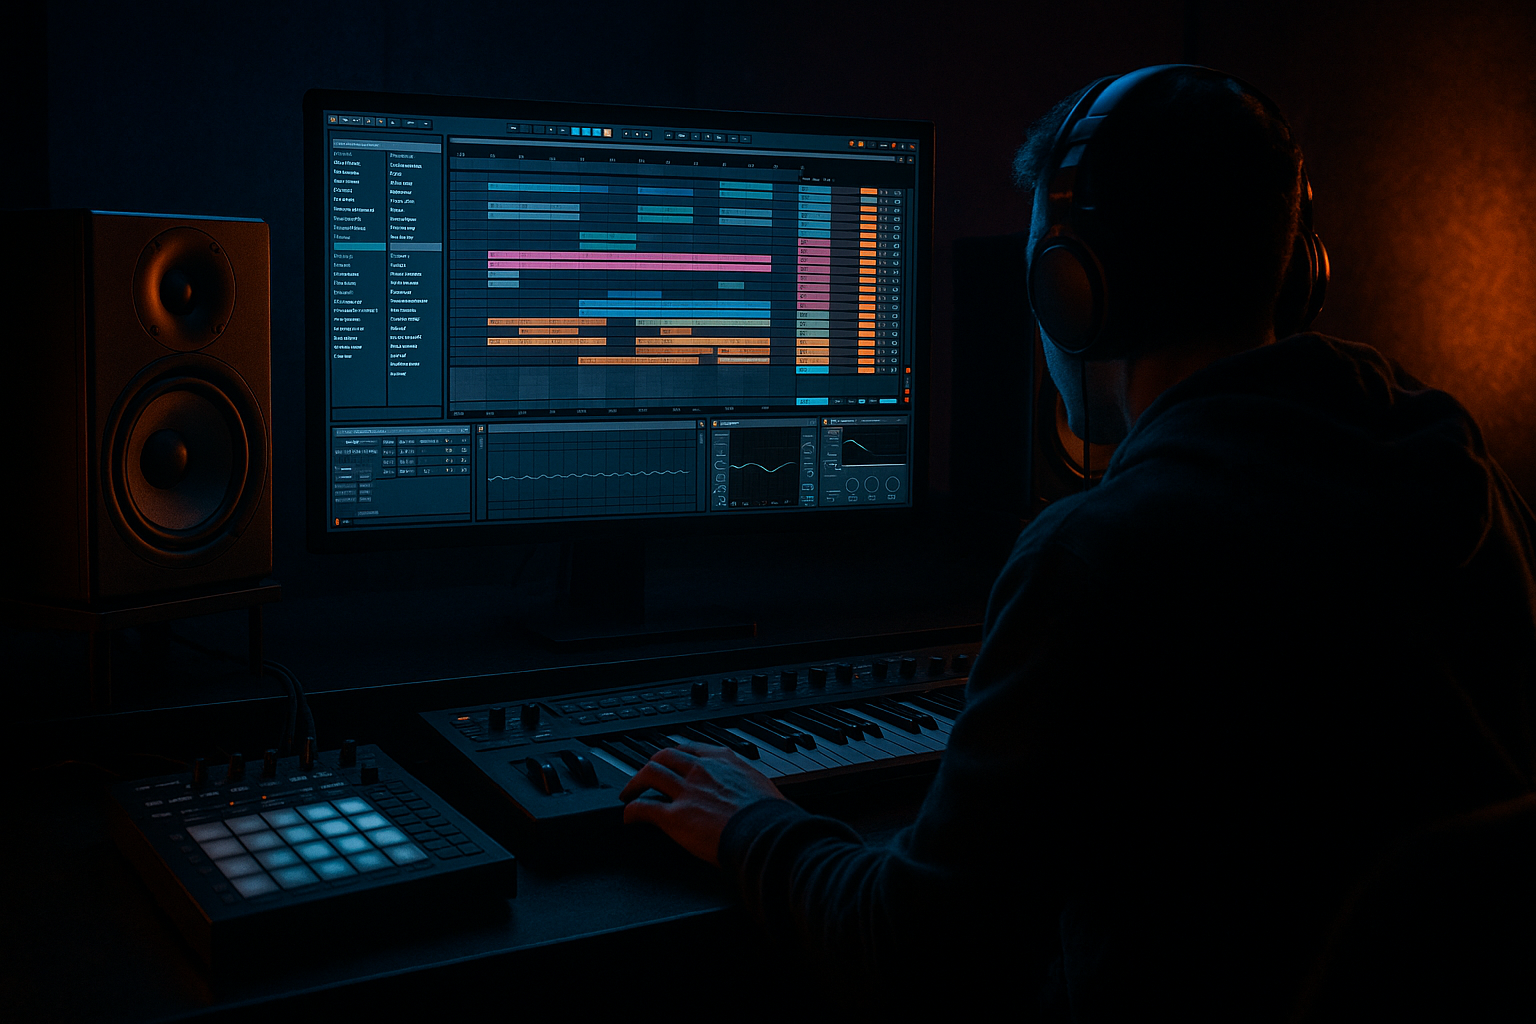
Main tutorial
Design Jungle Shuffle with Jungle Swing in Ableton Live 12 🥁⚡
1. Lesson overview
In jungle and drum & bass, the shuffle is what makes a beat feel alive, urgent, and hypnotic. The swing gives it human movement, while resampling lets you turn a simple drum idea into a gritty, chopped, performance-ready groove.
In this lesson, you’ll learn how to build a jungle shuffle pattern in Ableton Live 12, then resample it into a tighter, darker, more playable loop that feels authentic to classic jungle but still works in modern DnB. We’ll focus on:
- programming a broken amen-style rhythm
- applying swing in a controlled way
- creating shuffle through ghost notes and timing offsets
- resampling the groove into audio
- editing the resample for extra bounce and grit
- arranging it into a rolling DnB loop
- a 1-bar or 2-bar jungle drum loop
- a swinging hi-hat/ghost-note pattern
- a resampled audio chop with extra texture
- a drum bus chain for punch and grit
- an arrangement-ready loop you can drop under basslines
- Drum Rack
- Simpler
- Auto Filter
- Saturator
- Glue Compressor
- Resampling / audio recording
- optional Beat Repeat and Groove Pool
- 170–174 BPM for classic jungle energy
- 172 BPM is a great working tempo
- If you want modern rollers, you can go a bit lower later
- Kick: short, punchy, slightly saturated
- Snare/Clap: classic break-style snare
- Closed hat: tight, crisp
- Open hat: short and metallic
- Ghost snare/percussion: low-velocity hits
- Optional: amen break slices or your own chopped break
- C1 = kick
- D1 = snare
- F#1 = closed hat
- A#1 = open hat
- D#1 / F1 = ghost hits, rim, or extra percussion
- Snare on 2 and 4
- Kick placements around the snare
- Offbeat hats
- Ghost notes before or after main hits
- Bar 1:
- Bar 2:
- move some closed hats slightly late
- place some ghost notes slightly early
- keep the snare mostly on-grid, or only very subtly late
- snare stays firm
- hats can be late
- ghost notes can lead into the beat
- small timing differences create swing
- move every second closed hat 10–20 ms late
- place ghost hits 5–15 ms early
- leave kick mostly tight, unless you want a looser feel
- MPC 16 Swing 54–58
- MPC 16 Swing 60–62 if you want stronger shuffle
- any MPC-style swing preset that feels rhythmic, not cheesy
- hats
- ghost percussion
- some kick notes
- not usually the main snare, unless you want a very loose break feel
- Timing: how much swing is applied
- Random: use sparingly, around 2–8%
- Velocity: great for humanizing hats and ghost notes
- Base: usually leave as default unless you know why you’re changing it
- manual note placement
- light groove template
- velocity variation
- lower velocity on ghost hits
- accent certain hats
- make repeated hats alternate loud/soft
- keep the snare strong and consistent
- Main snare: 100–127
- Ghost snare/rim: 25–70
- Closed hats: 40–95 depending on emphasis
- Kick: 90–120
- Load an amen or similar break into Simpler
- Set it to Slice Mode
- Trigger slices from MIDI
- Keep the original break subtle underneath your programmed drums
- print the MIDI drums to audio
- chop the audio into slices
- rearrange or reverse small bits
- create extra swing by micro-editing the audio
- reduce excessive top-end on hats
- saturate the break layer more than the clean programmed drums
- leave headroom so the resample doesn’t distort badly
- consolidate the best section
- loop it
- zoom in and inspect the transients
- cutting before key snare hits
- nudging some slices a few ms earlier/later
- reversing tiny percussion hits
- adding micro-fades to avoid clicks
- repeating one chopped transient to create a fill
- MIDI gives you control
- audio gives you attitude
- if the groove feels good, don’t over-warp it
- if needed, set warp mode to Beats for drum material
- adjust transient behavior for punch
- record the same loop with a different filter position
- automate the Drum Buss drive
- add a Beat Repeat moment
- print a fill version
- main loop
- variation loop
- fill loop
- Bars 1–4: filtered drum intro
- Bars 5–8: full jungle loop enters
- Bars 9–12: variation with extra ghost notes
- Bars 13–16: fill and transition into bass drop
- automate Auto Filter opening up
- mute the kick for a bar before a drop
- use a reversed resample hit into the downbeat
- drop in a snare fill or amen chop at the end of a phrase
- Saturator
- Drum Buss
- subtle Overdrive if needed
- more saturation
- slightly more compression
- reduced highs
- reese bass
- foghorn-style bass
- neuro mid-bass
- sub movement
- filter cutoff
- reverb send on ghost hits
- transient-heavy fills into drop sections
- build the groove with kick/snare balance, ghost notes, and off-grid hats
- use the Groove Pool for subtle swing, not as a crutch
- shape dynamics with velocity
- resample the groove to audio for more character and control
- chop, rearrange, and process the resample to create authentic jungle movement
- keep the pattern evolving every few bars to support a full DnB arrangement
This is all about feel, not just copy-paste programming. The goal is a loop that moves like a real drummer, but hits like a producer-made jungle weapon. 🔥
---
2. What you will build
By the end, you’ll have:
We’ll use:
---
3. Step-by-step walkthrough
Step 1: Set up your project
Open Ableton Live 12 and set the tempo to a classic jungle/DnB range:
Create these tracks:
1. Drums MIDI — for programming the pattern
2. Drum Resample Audio — for printing your groove
3. Optional Bass MIDI — for testing the groove against a bassline
---
Step 2: Load your drum sounds
Use a Drum Rack on your MIDI drum track.
Recommended sample types:
A solid starting Drum Rack layout:
If you have a break sample, put it in Simpler and use Slice Mode for quick chopping.
---
Step 3: Build the core jungle rhythm
Start with a 2-bar MIDI clip. Jungle usually feels better in 2 bars because it gives the groove room to breathe.
Use this basic framework:
Example conceptual grid:
- Kick on 1
- Ghost kick or low percussion just before beat 2
- Snare on 2
- Hat off the grid slightly after 2
- Kick before 3
- Snare on 4
- vary the kick pattern
- add a small fill or extra ghost notes
Do not overfill it yet. A jungle shuffle works because some hits are implied, not explicit.
---
Step 4: Create the shuffle feel with timing offsets
This is where the groove starts to dance.
#### Option A: Manual note nudging
In the MIDI editor:
A good rule:
Try this:
This gives you that classic jungle shuffle, where the beat feels a little unstable in a good way.
---
Step 5: Apply groove from the Groove Pool
Ableton’s Groove Pool is perfect for DnB swing.
Open the Groove Pool and try:
Apply groove to:
Important controls:
For jungle, the best results usually come from a blend of:
---
Step 6: Use velocity to create shuffle dynamics
Swing alone is not enough. Jungle feels alive because of dynamic layering.
In the MIDI editor:
Suggested velocity ranges:
This creates a groove that breathes without losing impact.
---
Step 7: Add break-style texture
Now add a break layer for authenticity.
Use one of these approaches:
#### Approach 1: Layer a chopped break in Simpler
#### Approach 2: Resample your programmed loop and re-chop it
We’ll do this in a moment, but conceptually:
This is a very powerful jungle technique. 🎛️
---
Step 8: Add drum bus processing before resampling
Before you print the groove, process it a little so the resample has character.
A practical drum chain on the Drum Bus:
1. EQ Eight
- high-pass around 25–35 Hz
- small dip if the low mids get muddy around 250–400 Hz
2. Saturator
- Drive: 2–6 dB
- Enable Soft Clip if needed
3. Drum Buss or Glue Compressor
- Drum Buss for punch and grime
- Glue Compressor for glue and cohesion
4. Optional Auto Filter
- very subtle movement if you want variation
If you want a darker sound:
---
Step 9: Resample the groove to audio
This is the key resampling stage.
#### Method A: Resample internally
1. Create a new audio track: Drum Resample Audio
2. Set its input to Resampling
3. Arm the track
4. Play your drum loop and record 2 or 4 bars
#### Method B: Print a specific drum bus
If you want cleaner control:
1. Route your Drum Bus to a dedicated audio track
2. Record the output there
3. Capture the processed groove exactly as it sounds
After recording:
---
Step 10: Edit the audio resample for extra swing
Once the groove is audio, you can make it tighter or more unstable in a controlled way.
Try:
This is where resampling gets interesting:
Use Warp carefully:
---
Step 11: Add a second resample pass for variation
A lot of jungle productions feel bigger because the drums are evolving.
Make a second audio pass:
Then place:
This creates arrangement movement without rewriting the whole beat.
---
Step 12: Build a simple arrangement
Now arrange your loop into a DnB structure.
A basic 16-bar idea:
Arrangement tricks:
For jungle and rolling DnB, even tiny changes every 4 or 8 bars help the track feel professional.
---
4. Common mistakes
Over-quantizing everything
If every hit sits dead-on-grid, the groove turns robotic. Jungle shuffle needs small imperfections.
Too much swing on the snare
The snare is often the anchor. If you swing it too hard, the beat can lose its backbone.
Using only one layer
A single loop often sounds flat. Layer a programmed kit with a break or resampled texture.
Too many ghost notes
Ghost notes should support the groove, not clutter it. If the beat sounds messy, reduce the density.
Resampling too early
If the groove isn’t working in MIDI, printing it won’t magically fix it. Get the timing right first.
Ignoring velocity
Swing without velocity shaping can feel stiff. Dynamics are a huge part of jungle feel.
---
5. Pro tips for darker/heavier DnB
1) Keep the low-end of the drums controlled
Use EQ Eight to remove rumble from drum samples that don’t need it. Let the sub bass own the lowest frequencies.
2) Saturate the break layer more than the clean hits
For darker jungle, push the break through:
This gives a worn, aggressive texture.
3) Use filtered percussion for menace
A high-passed shuffly hat loop or rim pattern can create tension without crowding the mix.
4) Print a “dirty” version
Make one resample with:
Then blend it quietly under a cleaner version. That contrast sounds huge.
5) Leave space for the bass
Dark DnB usually needs room for:
If the drums are too busy in the low mids, the bass will disappear.
6) Automate tension
Try automating:
Small automation moves keep the groove ominous and alive. 🌑
---
6. Mini practice exercise
Exercise: Build a 2-bar jungle shuffle and resample it
1. Set tempo to 172 BPM
2. Program a 2-bar drum pattern
- snare on 2 and 4
- kick variations around those hits
- closed hats on offbeats
- 2–4 ghost notes per bar
3. Apply a light MPC-style groove
- start around 54–58% swing
4. Adjust velocities so the hats and ghosts breathe
5. Add a subtle Saturator and Glue Compressor
6. Resample the full loop to audio
7. Chop the resample into 4–8 pieces
8. Rearrange one bar so it has a fill on the last beat
9. Create a second version with more filter or drive
10. Compare both versions and decide which one feels more “jungle”
Challenge: make the loop feel energetic without making it overcrowded.
---
7. Recap
You’ve now learned how to design a jungle shuffle with jungle swing in Ableton Live 12 using both MIDI programming and resampling.
Key takeaways:
If you get this right, your drums will stop sounding like a loop and start sounding like a living jungle performance. That’s the magic. 🥁🔥
If you want, I can also give you:
1. a specific 2-bar MIDI pattern example, or
2. a stock Ableton device chain for dark jungle drums.

