Main tutorial
Lesson Overview
In this lesson, you’ll build a tape-hiss atmosphere that gives your track that pirate-radio, late-night jungle energy heard in oldskool DnB, early rollers, and darker underground radio cuts. This is not just “noise in the background” — it’s a music-creating FX layer that helps your intro feel authentic, makes transitions feel alive, and gives your drop a believable sense of space and tension 📻
In Drum & Bass, atmosphere matters because the genre often moves fast but still needs moments of scale, suspense, and grime. A well-made hiss bed can:
- glue breaks and pads together
- make sparse intros feel full without cluttering the mix
- help a DJ-friendly intro sound like a real broadcast or taped dubplate
- add motion and age to clean digital sounds
- a soft, constant radio hiss
- with a little tape wobble and instability
- filtered so it sits above the sub and kick
- widened enough to feel immersive, but still mix-safe
- automated so it can swell in intros, thin out during drops, and return in breakdowns
- an 8-bar jungle intro
- a 16-bar DJ intro with breaks and a bass tease
- a breakdown before the second drop
- short switch-up bars between drum phrases
- Operator with noise
- Analog noise
- a recorded noise sample if you already have one in your library
- Load Operator on a MIDI track
- Turn off the oscillators if needed and use the noise source
- Play one long note or draw a MIDI note that lasts the full section
- Noise level: start around -18 dB to -24 dB relative to your drums
- Clip gain: keep the track quiet at first — hiss should be felt more than heard in the full mix
- High-pass filter at 250–400 Hz
- Gentle dip around 3–5 kHz if the hiss feels too biting
- Low-pass somewhere around 10–14 kHz if it sounds too modern or too bright
- Low-Pass for a softer, more buried tape bed
- Band-Pass for a tighter radio-static character
- Frequency: around 6–10 kHz
- Resonance: low, around 0.20–0.40
- Drive: small amount if you want extra grit
- open it slightly before the drop
- close it a bit during the drop if the mix gets crowded
- re-open it in a breakdown for tension
- Amount: 10–25%
- Rate: slow, around 0.10–0.50 Hz
- Dry/Wet: 5–15%
- Set Shift amount extremely low
- Use it only if you want a more unstable, haunted edge
- Drive: 1–4 dB
- Soft Clip: On
- Output: adjust so the level stays controlled
- Reduce bit depth slightly
- Keep the effect subtle
- Blend it low so it doesn’t become digital fizz
- Width: 110–150% for a broad atmosphere
- Bass Mono: not needed here unless your noise has low mids
- Gain: trim if the chain got louder
- track volume
- Auto Filter frequency
- Saturator drive
- Utility width
- chorus depth or dry/wet
- Intro (8–16 bars): hiss starts low, slowly rises
- Pre-drop (last 2–4 bars): high-pass opens a bit and volume rises slightly
- Drop: hiss lowers by a few dB or gets filtered tighter so drums hit harder
- Breakdown: bring hiss back, wider and more exposed
- Second drop switch-up: automate a brief hiss swell before a fill or snare roll
- Intro: around -24 dB to -18 dB
- Drop support: around -28 dB to -22 dB
- Breakdown: around -20 dB to -14 dB if the arrangement is sparse
- in a 16-bar intro, pair hiss with a filtered Amen-style break
- in a dark roller, let it sit under sparse ghost notes and rimshots
- in a neuro-influenced intro, use it as a contrast to ultra-clean bass design before the drop
- kick punch
- snare crack
- sub clarity
- break transient detail
- Macro 1: Hiss Level
- Macro 2: Filter Open
- Macro 3: Width
- Macro 4: Grit
- jungle intros
- dubplate-style breakdowns
- smoky roller atmospheres
- dark radio sweeps before drops
- Making the hiss too loud
- Leaving too much high end
- Putting hiss in the sub range
- Using too much chorus or stereo width
- Not automating it
- Letting it fight hats and snare tops
- Sidechain the hiss very lightly to the kick/snare
- Filter the hiss harder during the drop
- Use automation for “signal fade” moments
- Layer with break noise
- Add distortion only to the top layer
- Combine with short reverbs on fills
- Use contrast
- one for a cleaner roller intro
- one for a dirtier jungle intro
- Build your tape-hiss atmosphere with stock Ableton devices
- Keep it quiet, filtered, and wide enough to support the mix
- Use automation so it feels like part of the arrangement
- Shape it to fit jungle, oldskool DnB, rollers, and darker bass music
- Protect your drums, sub, and snare by carving space and keeping the hiss controlled
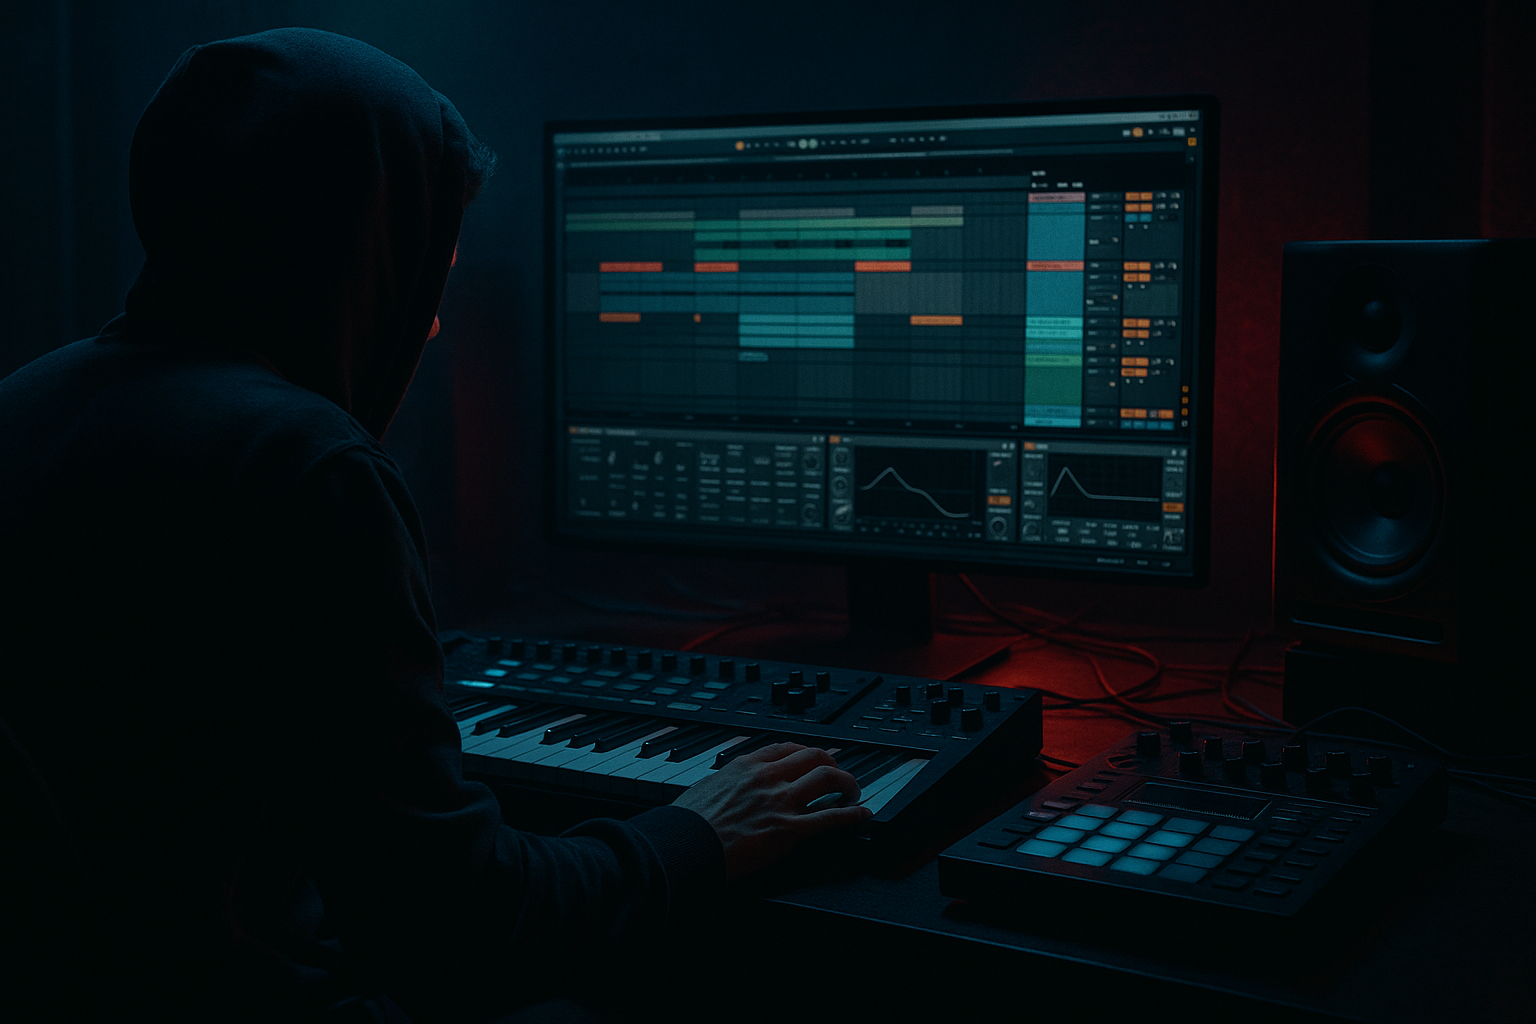
We’ll make this in Ableton Live 12 using stock devices only, in a beginner-friendly way. You’ll learn how to create a hiss layer, shape it so it feels like tape and radio static instead of plain white noise, then automate it so it supports your arrangement without stealing attention from the drums and bass.
Why this works in DnB: oldskool jungle and pirate-radio-inspired DnB often relies on atmosphere as part of the groove. The hiss fills the gaps between break hits, adds perceived speed and pressure, and makes the track feel like it’s coming off a cassette, a radio feed, or a rough dub recording — which is exactly the kind of character that suits gritty rollers, breakbeat edits, and darker bass music.
What You Will Build
By the end, you’ll have a controlled tape-hiss atmosphere that sounds like:
Musically, this layer will work like a texture bed under:
You’ll make it feel like a pirate radio broadcast captured on cassette, not like random noise pasted on top.
Step-by-Step Walkthrough
1) Create a dedicated noise track for the atmosphere
Open a new audio or MIDI track dedicated to FX, then name it something like Hiss / Radio Bed. Keeping this separate is important because in DnB you want your atmosphere to be easy to automate, mute, and arrange without affecting your drums or bass.
Add an Audio Effect Rack only if you want to keep things organized, but for beginners, a simple device chain is enough.
Start with one of these stock sources:
For the simplest route, use Operator:
If you prefer audio, drag in a long hiss sample, but synth noise is better for learning because it’s easier to shape and loop cleanly.
Parameter suggestions:
2) Shape the hiss with EQ Eight so it feels like radio, not harsh digital noise
Drop EQ Eight after the noise source. This is where the raw hiss becomes “pirate radio.”
You want to remove low-end rumble and tame the sharp top that can get fatiguing in DnB.
Try this:
A classic tape/radio hiss usually lives in the upper mids and highs, but it should not fight your cymbals or make the mix crunchy in a bad way.
Beginner rule: if your hi-hats start sounding thin or painful, your hiss is probably too loud or too bright.
Why this works in DnB: fast drums need space in the top end. If your hiss occupies every frequency above the hats, your breakbeat loses definition. Filtering lets the atmosphere support the rhythm instead of masking it.
3) Add movement with Auto Filter for tape-like instability
After EQ Eight, add Auto Filter. This lets you animate the hiss so it breathes like a real broadcast or worn tape layer.
Set it to Low-Pass or Band-Pass depending on the vibe:
Starter settings:
Now automate the filter frequency slowly over 8 or 16 bars:
You can also map the filter frequency to an LFO if you want subtle motion, but for a beginner, simple manual automation is enough.
Musical context example: in an 8-bar jungle intro, let the hiss open gradually while the chopped breakloop fades in. That creates the sensation of “the station coming into focus” before the bass lands.
4) Add a small amount of warble with Chorus-Ensemble or frequency modulation tools
Now add Chorus-Ensemble for width and gentle instability. This makes the hiss feel less sterile and more like it’s coming from imperfect playback.
Use subtle settings:
You do not want a shiny chorus sound. You want just enough movement to suggest worn tape, loose cables, or a weird radio signal.
If Chorus-Ensemble feels too obvious, reduce the mix and keep it almost hidden. The best atmosphere in DnB often works because you notice it subconsciously, not because it sounds like an effect being showcased.
You can also try Frequency Shifter very lightly:
But for beginner workflow, Chorus-Ensemble is the safer first choice.
5) Add saturation or subtle degradation for oldskool character
This is where the hiss starts feeling like part of an actual tape chain. Add Saturator after the movement effects.
Use it sparingly:
If you want a rougher pirate-radio edge, try Redux very gently:
For oldskool jungle, saturation helps the hiss blend into breakbeats and pads, especially when those elements are already gritty.
Important: don’t overdo degradation. If the hiss becomes crispy or aliased, it can distract from the groove. The goal is atmosphere, not lo-fi destruction.
6) Control the stereo width so the mix stays solid in mono
Hiss can feel great when wide, but DnB mixes need mono-safe low end and clean center focus. Use Utility after your texture chain.
Try these settings:
Then do a quick mono check by turning Width down to 0% temporarily. If the hiss disappears completely, that’s fine if it’s only an atmospheric layer. But if you hear strange phasey cancellations, reduce chorus depth or width.
A good tactic is to keep the hiss wide but very low in level, so it creates space around the drums rather than sitting on top of them.
Why this works in DnB: the kick, sub, and main snare live in the center. Wide hiss can frame those elements and make the stereo field feel bigger, which is especially useful in intros and breakdowns.
7) Automate the hiss like a real arrangement element
This is where your FX becomes musical. Don’t leave the hiss on full blast for the whole track. Use automation to create tension and release.
In Ableton Live 12, automate:
Suggested arrangement moves:
Try these volume ranges:
A helpful beginner trick is to use automation that feels like a DJ riding a broadcast signal, not a perfect studio fade.
8) Layer the hiss with breaks, vinyl-style ambience, or dub delays if needed
If your track feels too clean, place the hiss underneath a drum break loop or use it to connect different sections.
For example:
You can also combine the hiss with a very short Echo or Delay return for ghosted radio artifacts, but keep it subtle. A touch of Echo with low feedback and filtered repeats can make the atmosphere feel deeper.
A smart routing choice: send only a little hiss into the delay return, not the full mix. That way the space feels real without turning into wash.
9) Blend it into the track with the drums and bass in mind
Once the hiss is built, play it with your full track. The goal is for it to support:
If the hiss masks hats or snare top, lower it or narrow its band with EQ Eight.
If your bassline is very reese-heavy or midrange-forward, cut a little more from the hiss around 2–6 kHz so the bass movement can breathe.
If the arrangement is more oldskool and break-led, you can let the hiss be more audible because the break already provides a lot of texture and the atmosphere helps sell the era.
10) Save the chain as a preset for future DnB sessions
Once it sounds right, save the full device chain as an Ableton preset or place it in an Audio Effect Rack with macros:
That gives you a reusable template for:
A reusable FX chain saves time and helps you make faster arrangement decisions later.
Common Mistakes
- Fix: lower it until you miss it when muted, but don’t consciously hear it all the time.
- Fix: use EQ Eight to tame harshness above 10–14 kHz if needed.
- Fix: high-pass it. Hiss should live above the low-end foundation.
- Fix: reduce width and keep the effect subtle so the track stays focused in mono.
- Fix: static noise gets boring fast. Move it through the arrangement.
- Fix: carve space with EQ and lower the level during busy drum sections.
Pro Tips for Darker / Heavier DnB
- Use Compressor or Glue Compressor with gentle settings so the atmosphere dips a little when the drums hit. This keeps the groove punchy without obvious pumping.
- A tighter, darker hiss in the drop can make the intro feel bigger by comparison.
- Slight volume dips and filter closes can mimic a pirate station slipping in and out.
- Add the hiss behind chopped breaks and ghost snares so it sounds like part of the same sonic world.
- Keep your sub clean. Let the hiss carry the grit, not the low end.
- A tiny Reverb send on the hiss only during transition bars can make the space feel huge without washing out the mix.
- The darker and more focused your bassline is, the more effective a restrained hiss layer becomes. A clean sub plus dirty air is a classic DnB balance.
Mini Practice Exercise
Set aside 10–20 minutes and do this:
1. Open a new Ableton Live set at 170–174 BPM.
2. Create a Hiss / Radio Bed track using Operator noise or a hiss sample.
3. Add EQ Eight, Auto Filter, Chorus-Ensemble, Saturator, and Utility.
4. Make the hiss sound like old radio by:
- high-passing it
- slightly rolling off the top
- adding subtle width and grit
5. Draw a simple 8-bar automation shape:
- bars 1–4: quiet and filtered
- bars 5–8: slowly brighter and a little louder
6. Loop it with a breakbeat and a sub bass note.
7. Listen in context and adjust until the hiss supports the groove without masking the drums.
8. Save your device chain as a preset or rack.
Extra challenge: make two versions:
Recap
If you get this right, your intros and breakdowns will instantly feel more like proper pirate-radio DnB and less like a clean demo.

