Main tutorial
Lesson Overview
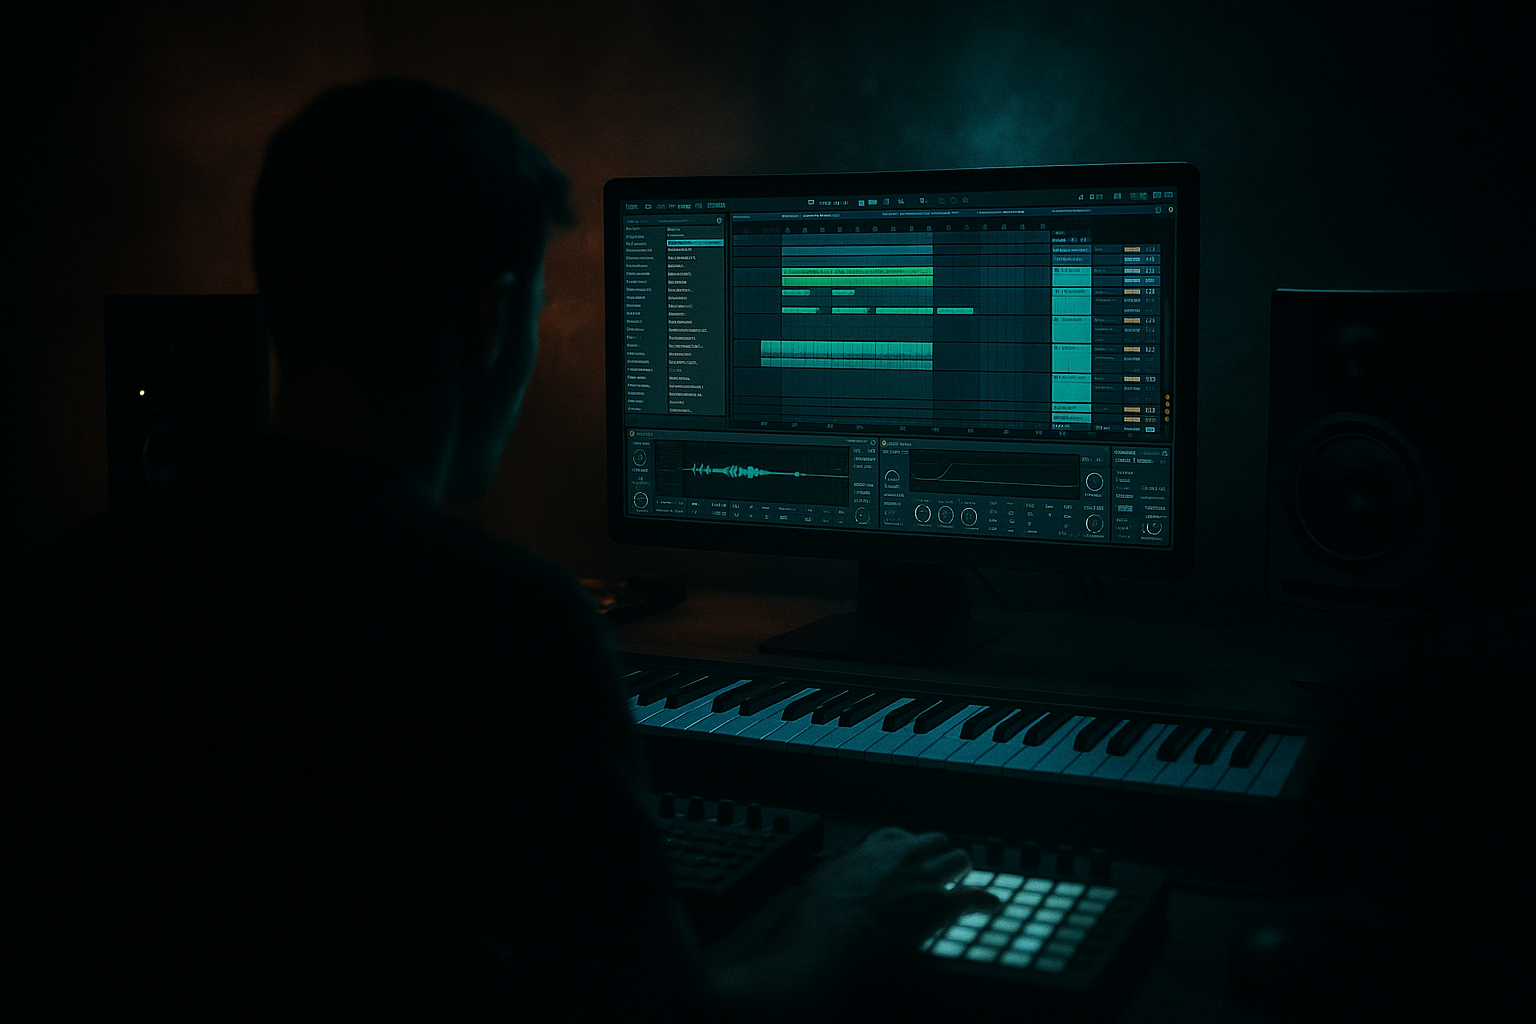
In this lesson you’re building a jungle pad drift: a wide, slightly unstable vocal-texture pad that moves with the groove instead of sitting on top of it. The “drift” part comes from using Ableton Live 12’s Groove Pool to push and pull the timing and feel of chopped vocal material, so the pad breathes like a living layer inside a DnB arrangement.
This lives best under the drop, during breakdown-to-drop transitions, and in atmospheric second-drop sections where you want tension, emotion, and motion without stealing space from the drums or bass. In jungle, rollers, darker liquid, and atmospheric halftime-to-DnB hybrids, this kind of pad is valuable because it can make the track feel expensive and musical while still keeping the low end clean.
Technically, the goal is to create movement without smearing the pocket. Musically, you want the pad to feel like it’s “leaning” forward and back around the breakbeat, almost like a ghost vocal harmony that has been dragged through dubwise timing and resampling. By the end, you should be able to hear a pad that feels rhythmic, haunted, and intentionally loose, but still tight enough to survive a club system.
A successful result should sound like a vocal-based atmospheric bed that locks emotionally to the drums, shifts in phrasing with the groove, and opens up the drop rather than clogging it.
What You Will Build
You will build a vocal-sourced jungle pad made from a chopped vocal phrase, stretched into a sustained tonal texture, then pushed through Groove Pool timing to create a drifting, off-center pulse.
The finished sound should have:
- a soft but gritty vocal character
- a shuffling, slightly late/early rhythmic feel
- a role as an atmospheric glue layer between drums, bass, and FX
- enough polish to sit in a real arrangement without sounding like a random loop
- controlled low end, mono-safe core, and a wide upper texture that doesn’t wash out the mix
- Print the pad after the groove feels right. Once the drift is musically locked, resample or freeze/flatten the layer so you can treat it like audio and arrange it more decisively. This is especially useful when you want a second-drop variation with more grime and less CPU load.
- Run the pad against a break, not over silence. Darker DnB atmosphere is more powerful when the pad reacts to a drum pattern. If the groove feels weak, the pad may be too static; if it feels strong, a slightly off-grid vocal drift becomes character rather than clutter.
- Keep the low mids controlled but not sterilized. A little body around 250–600 Hz can make the pad feel haunted and weighty. Too much, and the track becomes boxy. Use gentle cuts, not surgical over-cleaning.
- Use contrast between intro and drop versions. A filtered, spacious intro pad can resolve into a tighter, grittier drop pad. That contrast makes the drop feel bigger without needing extra synth layers.
- Let the pad “answer” the break. If your snare lands hard on 2 and 4, try making the pad swell just after the snare or breathe into the offbeats. That slight delay can make the whole groove feel more human and more underground.
- Keep the main emotional information in the center, not the extremes. Heavy DnB benefits from width, but the true weight comes from a stable core. Let the stereo field carry texture, not essential pitch content.
- Use only stock Ableton devices
- Use one vocal sample only
- Use one Groove Pool groove only
- High-pass the pad so it does not compete with the sub
- Make at least one automation move across 4 bars
- A loopable 4-bar atmospheric pad that feels rhythmically alive and can sit behind a DnB drum loop
- Does the pad still sound musical when the drums are playing?
- Can you hear the snare clearly through it?
- In mono, does the pad still have a solid center, or does it turn thin and phasey?
- Does the groove feel intentional, not randomly late?
Think of it as a pad that can live behind a roller drop, a jungle intro, or a darker second drop where you want emotional movement. The success criterion is simple: when you mute the drums, it should still feel musical; when you bring the drums back, it should suddenly make the groove feel deeper, not busier.
Step-by-Step Walkthrough
1. Choose the right vocal source and trim it for harmonic content
Start with a vocal phrase that has sustained vowels, breathy tails, or a tone-rich syllable rather than a dense lyric. In a DnB context, you want material that can become texture, not a lead vocal that fights the drums. Short “ah,” “oh,” “mm,” or resonant consonant-light phrases are ideal.
Drag the sample into an audio track and trim it to the most tonally useful part. If the vocal has too much consonant attack, you’ll spend the next ten minutes fighting clicks and unwanted rhythm. You want a source that already feels pad-like.
What to listen for: a vocal segment with a stable pitch center and a natural tail that can be stretched or repeated without sounding obviously looped.
Why this works in DnB: jungle and atmospheric DnB rely on texture that can hold attention between drum accents. A vocal with harmonic information gives you emotional color without needing a synth chord.
2. Set up a simple time-stretch foundation
Warp the clip so it sits musically against your project tempo. For this technique, you are not trying to make the vocal behave like a clean pop sample; you want it to become a malleable bed. In Live, use a stretch mode that keeps the tone usable and smooth for the material you chose.
If the phrase is short, loop a section that feels stable and place it over 2 or 4 bars. If it is longer, create a tiny sustain region from the most resonant part of the phrase. Keep the loop boundaries musical, because the pad will drift more convincingly if the source itself is stable.
A practical starting point:
- loop length: 1/2 bar to 2 bars
- clip gain: trim so it is not slamming your track
- warp: align the phrase so the strongest vowel lands where the groove feels strongest, not necessarily on the grid
What to listen for: whether the loop sounds like a texture with intention, rather than a vocal fragment that “happens” to repeat.
3. Build the pad shape with stock devices
Put a simple stock device chain on the vocal track to turn it into a pad. A reliable starting chain is:
- EQ Eight
- Auto Filter
- Saturator
- Reverb
- Utility
First, use EQ Eight to high-pass around 120–220 Hz depending on the vocal. In darker DnB, you generally want this layer out of the sub lane completely. If the sample has a nasal poke, try a gentle dip around 800 Hz–1.5 kHz. If it is harsh, tame 3–5 kHz a few dB.
Next, use Auto Filter in low-pass or band-pass mode to soften the source. A good starting point is a low-pass somewhere around 4–10 kHz, then automate it later for movement. If the vocal is too thin, don’t open the filter too far yet; leave some mystery.
Add Saturator with a light drive, roughly 1–4 dB to start, to thicken the body and make the texture speak on smaller speakers. Then use Reverb with a modest decay, around 1.5–4 seconds, and keep the dry/wet controlled so the pad doesn’t become fog. Finally, use Utility to manage width later in the process.
Why this works: the vocal source gives you emotion, while filtering and saturation turn it from “sample” into a bed that can float behind the beat.
4. Use Groove Pool to create the drift
This is the core of the lesson. Drag a Groove into the Groove Pool and apply it to your vocal pad clip. For jungle drift, you’re looking for a groove that has noticeable swing or human timing, but not so much that the pad loses its connection to the break. If your drums already have strong swing, use a lighter groove on the pad so it complements rather than duplicates the break feel.
Start with a groove amount around 40–70%. If the pad feels too stiff, increase it. If it starts to sound drunk or late in a way that weakens the track’s push, reduce it.
Here’s the important part: the pad should not perfectly mirror the drums. You want it to lean against the beat enough that it feels alive. In jungle, this slight misalignment is often what makes the atmosphere feel “chopped and smoked out” instead of polished and sterile.
What to listen for: whether the vocal pad seems to “breathe” around the snare and break accents instead of sitting like a static wash.
5. Make an A versus B decision: tight ghost pad or looser drifting pad
At this point you need a creative choice.
A: Tight ghost pad
- Use a lighter groove amount
- Keep the clip shorter and more loop-like
- Favor a tighter filter and less reverb
- Best for: rollers, technical jungle, drums-forward sections
B: Looser drifting pad
- Use a stronger groove amount
- Extend the clip or add more crossfade/sustain
- Open the reverb a little more
- Best for: atmospheric intros, breakdowns, deep dark liquid, second-drop tension beds
The key difference is how much the pad participates in the rhythm. A tighter pad feels like a hidden layer. A looser pad feels like the track is moving through smoke.
Decision rule: if your drums and bass are already highly detailed, choose A. If the section feels too dry or rigid, choose B.
6. Shape the pad with envelope-style movement
Use automation or clip-level movement to make the pad evolve over 4 or 8 bars. A strong jungle pad drift usually has a slow opening and closing motion, not constant full-spectrum brightness.
A practical move:
- automate the Auto Filter cutoff from about 3–5 kHz up to 8–12 kHz over 4 or 8 bars
- increase reverb wetness slightly in transitions, then pull it back in the drop
- add a subtle volume swell into the pre-drop or turnaround
If you want more motion, duplicate the pad onto a second lane and offset one copy slightly late by a few milliseconds, then keep it quieter. This can create a drifting stereo impression without making the center unstable.
What to listen for: the pad should feel like it’s opening a door into the drop, not just getting louder.
7. Check it against the drums and bass, not in solo
Bring in your kick, snare, break, and bass. This is where the idea either becomes a track element or dies as a pretty loop.
The pad should not mask the snare crack or smear the break’s ghost notes. If the pad occupies too much 1–4 kHz, it will blur the rhythmic definition. If it sits too low, it will compete with bass movement. Keep the core of the pad above the weight of the sub and below the harshness of the break’s upper transients.
A useful test: mute the bass and drums for a second, then bring them back. If the groove feels more cinematic and deeper, the pad is supporting the track. If the drums suddenly feel smaller or slower, the pad is too dense.
Mix-clarity note: keep the pad’s low end in check with EQ and Utility width control. Mono-compatibility matters here because wide low-mid vocal haze can collapse badly on a club system.
8. Add a second stock-device chain for grit and depth
If the pad feels too clean, duplicate the track or create an additional layer and process it more aggressively. A practical chain for the grit layer is:
- Corpus or Redux very subtly, if the source can handle it
- Saturator
- EQ Eight
- Reverb
Keep this layer quieter than the main pad. The point is not to transform the sound into a feature; it is to give the main drift some dirt and density. You might:
- drive Saturator a little harder than the main layer, around 3–6 dB
- notch the harshest area around 2–4 kHz
- high-pass this layer higher than the main pad if it gets messy
If the vocal is already rough, skip the extra distortion and just use a darker filter plus reverb. More grit is not always better in DnB; sometimes the broken rhythm already provides enough aggression.
Stop here if: the pad now feels emotionally right and sits comfortably with the drums. Commit this to audio if you want to move faster and reduce CPU load, especially if you’re stacking multiple atmospheric layers. Printing the result also helps you stop endlessly tweaking the same vowel.
9. Use bar-based phrasing so the pad behaves like arrangement material
Don’t leave it as an endless loop. Make it do something across the section.
A strong DnB phrasing example:
- Bars 1–4: filtered pad with moderate groove, low reverb
- Bars 5–8: open the filter and widen the reverb slightly
- Bar 8: cut or thin the pad for a half-bar before the drop
- Drop 1: bring back a shorter, tighter version under the drums
- Second drop: introduce a more open or more distorted version
This gives you a proper narrative. Jungle and DnB benefit from atmosphere that changes with the section, because the drum programming is often busy enough that the arrangement needs emotional contrast rather than constant density.
If you’re building a DJ-friendly intro, keep the first version more filtered and use the stronger, driftier pad as the emotional payoff closer to the drop.
10. Finalize the groove relationship and keep the center clean
After the musical decisions are in place, make sure the pad does not break mono compatibility or step on the core mix. Use Utility to narrow the width if the stereo image feels exaggerated. Keep the most important harmonic body relatively centered, and let the width live mostly in reverb and upper texture.
If the pad feels too phasey in mono, reduce stereo enhancement, shorten reverb, or make the duplicated layer less extreme. In a club, a pad that sounds huge in headphones but disappears in mono is a liability.
This is also where you should check against the kick/snare relationship one last time. The pad can be wide and dark, but the snare and bass must still feel obvious and punchy. If there’s any doubt, reduce the pad before you touch the drums.
Common Mistakes
1. Using a vocal that is too lyrical or too busy
- Why it hurts: the pad becomes a disguised vocal lead and fights the arrangement.
- Fix: choose vowel-heavy material or trim to a single resonant phrase in Ableton, then loop only the most tonal section.
2. Letting the pad sit in the same midrange as the snare and break
- Why it hurts: the groove gets blurred and the drums lose authority.
- Fix: use EQ Eight to reduce 1–4 kHz if needed, and keep the pad darker than you think at first.
3. Applying too much Groove Pool swing
- Why it hurts: the pad stops supporting the drum pocket and starts sounding late in an amateur way.
- Fix: lower groove amount into the 40–70% zone and compare against the break in context, not solo.
4. Leaving too much low end in the vocal texture
- Why it hurts: it clouds the sub and low bass region, especially on systems with strong kick weight.
- Fix: high-pass the pad around 120–220 Hz, then check the mix in mono.
5. Making the reverb too bright and too long
- Why it hurts: the pad turns into a wash that smears the drop and masks transient detail.
- Fix: shorten decay, darken the reverb return, or automate wetness only in transitions.
6. Ignoring arrangement and looping the same drift for too long
- Why it hurts: the ear adapts and the track loses tension.
- Fix: evolve the pad every 4 or 8 bars with filter, width, or density changes.
7. Over-widening the whole sound
- Why it hurts: mono compatibility collapses and the center loses authority.
- Fix: keep the core body more centered with Utility, and let only the airy top feel wide.
Pro Tips for Darker / Heavier DnB
Mini Practice Exercise
Goal: Build a 4-bar jungle pad drift that supports a drum-and-bass drop without masking the break.
Time box: 15 minutes
Constraints:
Deliverable:
Quick self-check:
Recap
A strong jungle pad drift is vocal-based, rhythmically loose, and arrangement-aware. Build it from tonal vocal material, shape it with EQ/filter/reverb/saturation, then use Groove Pool to make it breathe with the beat. Keep the low end clear, the center stable, and the motion purposeful. In DnB, the best atmospheric layers don’t just fill space — they make the drums feel deeper and the drop feel more alive.

