Main tutorial
Lesson Overview
This lesson is about building a jungle-style arp that feels alive against a surgically cut breakbeat, using Ableton Live 12 as the entire workspace. The goal is not just to make a “busy melody,” but to create a call-and-response hook that locks into the drums, opens up space for bass movement, and gives your drop that classic DnB tension-release hit.
In real DnB arrangement terms, this technique sits best in:
- Intros to establish identity before the drop
- Breakdowns where the arp can breathe and mutate
- Drops as a high-mid hook sitting above sub and reese
- Switch-ups to refresh an 8- or 16-bar phrase without changing the core groove
- A tight Ableton instrument patch with movement from modulation, filtering, and rhythmic gating
- A sliced breakbeat that is surgically edited for ghost notes, fills, and transitional hits
- An automation structure that makes the arp evolve over 8, 16, and 32-bar sections
- A mix-ready relationship between sub, drums, and arp so the groove stays powerful, not cluttered
- Making the arp too melodic and not rhythmic enough
- Leaving too much low-mid energy in the arp
- Over-automating everything at once
- Using a break that is too full before surgery
- Letting stereo width smear the mix
- Ignoring phrase structure
- Automate filter cutoff in reverse shapes: open slowly, then snap shut before the next hit. That creates pressure without needing extra notes.
- Use a second arp layer an octave up at very low volume, then automate it in only at phrase ends for a ghostly lift.
- Drive the break through Drum Buss lightly to add impact, but keep the attack from getting crushed. A little drive goes far in jungle.
- Use Echo throws on only the final note of a phrase. That creates a nasty tail without washing the whole groove.
- Add subtle Frequency Shifter movement to the arp for a metallic, uneasy tone that suits darker rollers.
- Resample with automation baked in, then re-edit the audio. This often gives more character than trying to automate live forever.
- Keep the sub separate and disciplined. If the arp has any low harmonic spill, your drop will lose authority fast.
- Use break edits to leave holes where the arp can poke through. In DnB, space is power. 🖤
- Build the arp as a rhythmic hook, not just a melody.
- Use Ableton stock devices like Wavetable, Operator, Auto Filter, Echo, Drum Buss, EQ Eight, Utility, and Instrument Rack macros.
- Let the breakbeat and arp answer each other through automation.
- Keep the low end clean, mono, and separated from the arp.
- Resample, edit, and re-arrange to capture the best jungle/DnB movement.
- In advanced DnB, phrasing and automation are the arrangement.
Why it matters: in jungle and darker DnB, the drums already carry a huge amount of movement. If your arp is written without considering the break, it will either fight the rhythm or sound like generic trance residue. A properly designed arp can answer the break, accent off-grid syncopations, and reinforce the forward push that makes DnB feel urgent. That’s especially important in modern rollers and neuro-adjacent tracks, where every layer has to earn its space.
---
What You Will Build
You’ll build a sharp, hybrid jungle arp made from:
Musically, think of this as a minor-key 1/16 arp phrase that becomes more chaotic in the second half of a phrase while the breakbeat gets more chopped and rearranged. The result should feel like a darker jungle motif riding on top of a tightly edited amen or breaks loop, with enough movement to survive repeated listens.
---
Step-by-Step Walkthrough
1. Set the harmonic and rhythmic frame first
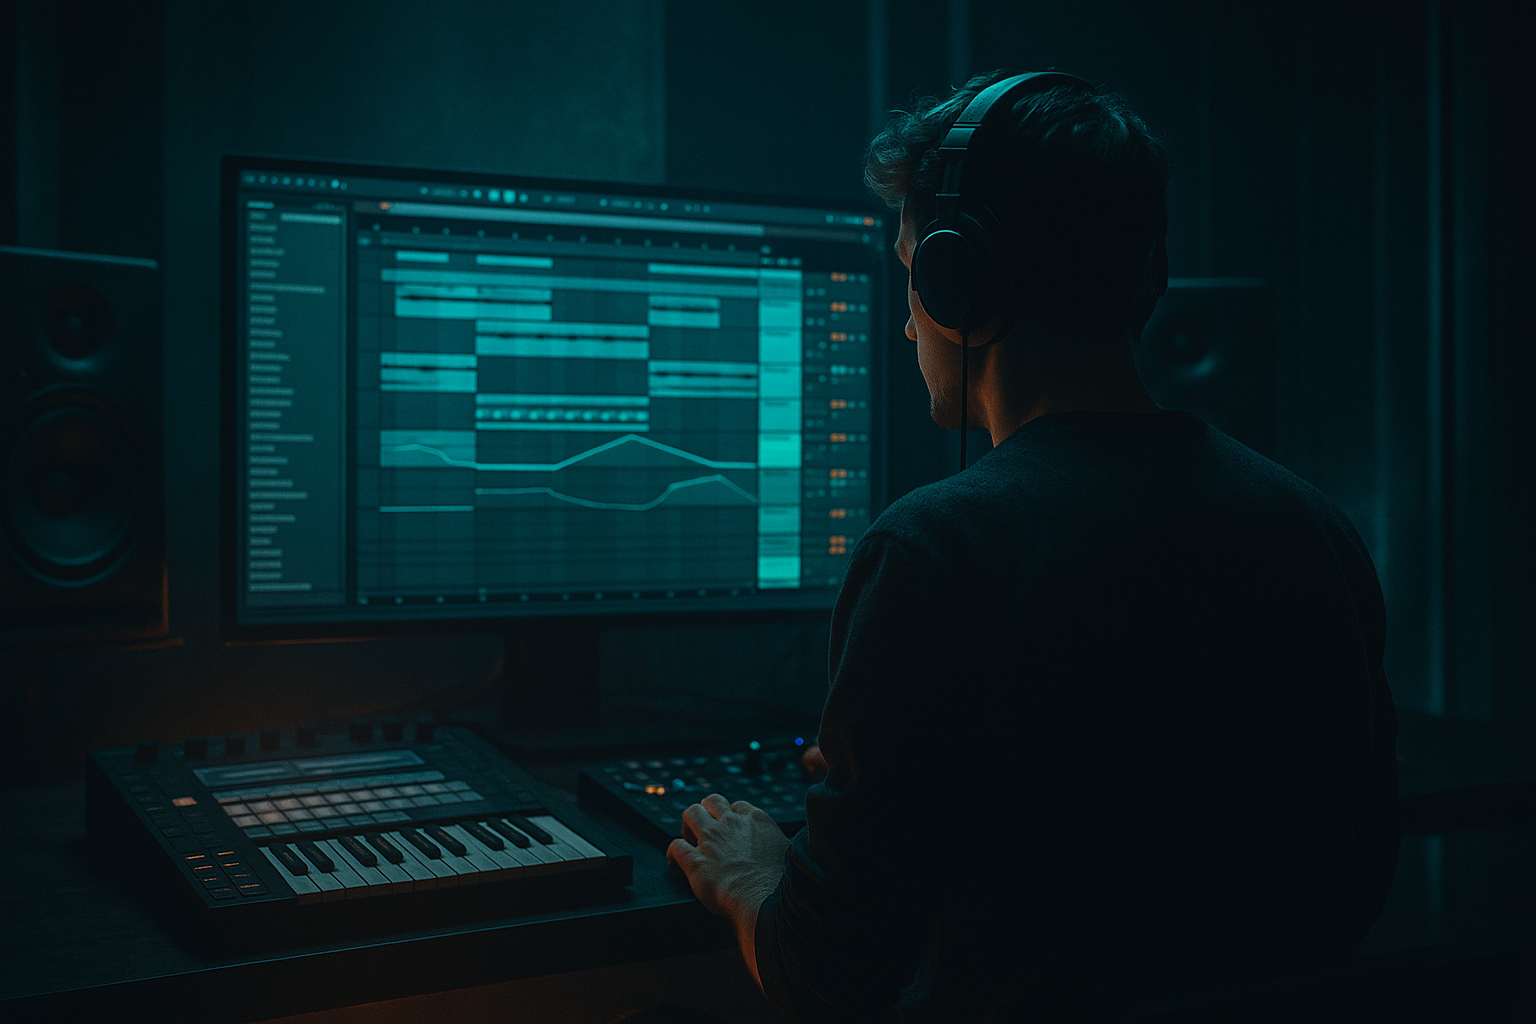
Start by creating a new MIDI track and load Wavetable or Operator. For this style, I’d usually begin with Wavetable because it’s quick for bright-but-harsh tones, but Operator is excellent if you want a more sine-based, digital edge.
Use a minor tonality. A practical starting point in DnB is:
- D minor, F minor, or G minor
- Keep the chord source simple: root, minor 3rd, 5th, and occasional 7th or 9th
Write a short arp phrase at 170–174 BPM using 1/16 notes, but don’t make it mechanically even. Use note lengths that vary between:
- 25–45% gate for a staccato pulse
- 60–75% gate for occasional lifts or lead-in notes
Why this matters in DnB: the drums are already dense, so the arp should act like a rhythmic top-line rather than a long melodic wash. Tight note values leave room for snare impact and ghost-note detail.
2. Design the core synth tone with controlled bite
On Wavetable, start with a more harmonically rich source:
- Osc 1: a saw-based wavetable or square/saw hybrid
- Osc 2: subtle detuned saw or a higher octave layer
- Keep unison modest: 2–4 voices
- Detune just enough to widen without smearing the transient
Suggested starting settings:
- Filter: 24 dB low-pass
- Cutoff: around 250 Hz to 1.2 kHz, depending on brightness
- Resonance: 10–25%
- Envelope amount: moderate, so the filter opens per note
Add Saturator after the instrument:
- Drive: 2–6 dB
- Soft Clip: on
- Output adjusted to keep headroom
Then add EQ Eight:
- High-pass around 120–180 Hz
- Gentle dip if the arp gets boxy around 300–500 Hz
- If needed, small shelf boost around 2.5–5 kHz for attack
This is the first big discipline point: your arp should feel present and aggressive, but not steal low-mid space from the break or the bass.
3. Build the arp rhythm from MIDI logic, not just note input
Instead of drawing a plain 1/16 run, create a pattern that implies motion against the break. Use:
- Repeated notes with occasional skips
- A small leap on the last beat of the bar
- One or two offbeat anticipations before the snare
A strong jungle arp often works because it creates a secondary groove, not because it’s harmonically complex. Try this phrasing idea:
- Beat 1: root note
- Beat 1.3: fifth
- Beat 2: minor 3rd
- Beat 2.4: octave jump
- Beat 3.3: root or 7th
- Beat 4: short pickup into the next bar
Then use Ableton’s Velocity lane to vary intensity:
- Main accents around 95–115
- Ghost notes around 40–75
If you want more machine-like urgency, use MIDI effects before the instrument:
- Arpeggiator with Rate set to 1/16 or 1/32
- Gate: 55–70%
- Style: “UpDown” or “Converge” for more tension
- Chance: only if you want controlled variation
But don’t let the built-in Arpeggiator become the whole idea. In advanced DnB, the best result often comes from manual MIDI design plus automation.
4. Sculpt the arp with movement devices and macro control
Group the arp device chain with Instrument Rack so you can map key tone-shaping controls to Macros. Map:
- Filter cutoff
- Resonance
- Saturator drive
- Chorus-Ensemble dry/wet or width control
- Delay dry/wet
Add Auto Filter before or after saturation depending on tone:
- Use a low-pass or band-pass mode
- Add a touch of LFO if you want slow movement
- Keep modulation subtle: 0.05–0.20 Hz equivalent feel for slow drift
Add Echo for rhythmic depth:
- Time: 1/8D or 1/4
- Feedback: 15–35%
- Filter the delay so the repeats don’t clutter the break
- Use a high-pass on the delay return if needed
For a darker hybrid edge, use Frequency Shifter very lightly:
- Fine amount only
- Keep it subtle enough to create metallic tension, not sci-fi chaos
The point of this stage is to make the arp feel like it is reacting to the arrangement, not just repeating.
5. Import and surgery-edit the breakbeat to answer the arp
Drag in a strong break loop, ideally an amen-style break or a tight funk break that suits your tune. Warp it cleanly and then start surgery:
- Slice the break to a new MIDI track using Slice to New MIDI Track
- Choose transient slices for the cleanest performance control
- Keep the original loop as a reference for groove
Now build a surgical 2- or 4-bar pattern using the sliced pieces:
- Keep the main kick/snare framework intact
- Use ghost hats, shuffles, and tail fragments to create motion
- Cut out sections where the arp needs to lead
- Reinforce the arp’s last-beat pickup with a break fill
Use clip envelopes or automation to shape:
- Utility gain on individual break layers for emphasis
- EQ Eight cuts on slices that are too bright
- Transients with Drum Bus if the break feels soft
A useful advanced move: duplicate the break track and separate it into:
- Core break layer for weight and timing
- Detail layer for hats, ghosts, and edits
Then automate the detail layer’s volume to open up in later phrases. This gives the arp room early on, then increases intensity as the arrangement progresses.
6. Glue the arp and break with automation-based call-and-response
This is the heart of the lesson. Create contrast between the arp and break through automation so each section has a clear role.
Try these automation ideas:
- Arp filter cutoff opens over 4 or 8 bars
- Delay dry/wet rises only at phrase ends
- Break detail layer volume dips when the arp is most active
- Reverb send on the arp increases briefly before a snare fill or drop return
- Auto Filter resonance spikes on one bar in an 8-bar cycle for tension
A practical arrangement example:
- Bars 1–4: arp is filtered and narrow; break is more exposed
- Bars 5–8: arp brightens; break gets more chopped and energetic
- Last half-bar before drop: arp gets a short delay throw while break fills are emphasized
- Drop: arp remains, but automate it to slightly retreat whenever the snare hits hard
This gives you a proper DnB “push-pull” relationship. The reason it works is simple: our ears perceive groove as conversation between layers. If the arp and break are both trying to dominate the same micro-moments, the track feels cluttered. If they alternate leadership, the track feels bigger.
7. Use resampling to create the final jungle character
Once the arp and break interaction feels strong, resample the combined sound into a new audio track. Record at least one full pass of the section with automation running.
Then edit the resample:
- Chop out the best 1- or 2-bar moments
- Reverse one tail or fill fragment
- Time-stretch tiny hits if you need a more unstable, tape-like feel
- Consolidate a killer variation for a switch-up section
Processing on the resampled audio can be very effective:
- Drum Buss for added smack and harmonic density
- Glue Compressor lightly for cohesion
- Redux very subtly if you want grain and roughness
- EQ Eight to clean up any harsh peaks after resampling
A classic advanced move is to keep the live MIDI arp and use the resample as a secondary arrangement layer. That way, the track has both performance energy and a locked-in final texture.
8. Shape the arrangement for DJ utility and drop impact
Now place the idea in a proper DnB arrangement. A strong structure could be:
- 16-bar intro with filtered break and arp fragments
- 16-bar build where the arp becomes clearer and the break gets busier
- 16-bar drop with the full call-and-response
- 8-bar switch-up with a new break edit or reversed arp phrase
- 16-bar second drop with extra automation and more grit
In a darker track, the arp can function as the identifiable hook while the break stays quasi-percussive. Keep the intro and outro DJ-friendly:
- Strip the sub early
- Leave room for mix transitions
- Use automation to gradually reveal the hook instead of dropping everything at once
If the track is for rollers or neuro-leaning DJ sets, think in 8-bar energy blocks. Every block should either:
- add a new arp movement,
- increase break complexity,
- or introduce a short automation event
This keeps replay value high and makes the tune feel intentional, not loop-based.
---
Common Mistakes
Fix: shorten note lengths, reduce note count, and let the break own more of the groove.
Fix: high-pass more aggressively, often around 120–180 Hz, and cut around 300–500 Hz if it clouds the break.
Fix: choose one primary automation target per phrase, like cutoff or delay throw. Too many moving parts weakens impact.
Fix: start with a cleaner break or strip it into layers. Keep the core kick/snare stable and treat everything else as detail.
Fix: keep the low end mono, and check the arp’s width against the break in Utility or with your monitoring setup.
Fix: make sure the arp and break both change every 4, 8, or 16 bars. DnB needs momentum, not endless loops.
---
Pro Tips for Darker / Heavier DnB
---
Mini Practice Exercise
Spend 10–20 minutes building a 4-bar loop with these constraints:
1. Create a minor-key arp using only 3 notes from the scale.
2. Make the arp rhythm mostly 1/16s, but remove 4–6 notes so it breathes.
3. Load a breakbeat, slice it, and create two versions:
- Version A: cleaner, more foundational
- Version B: busier, with ghost hits and a small fill
4. Automate one parameter only on the arp:
- filter cutoff
- or delay dry/wet
5. Automate one parameter only on the break:
- volume
- or a Drum Buss drive amount
6. Resample the full loop and cut out the strongest 1-bar moment.
Goal: by the end, you should have a loop that sounds like a DnB drop fragment, not just a synth line over drums.
---

