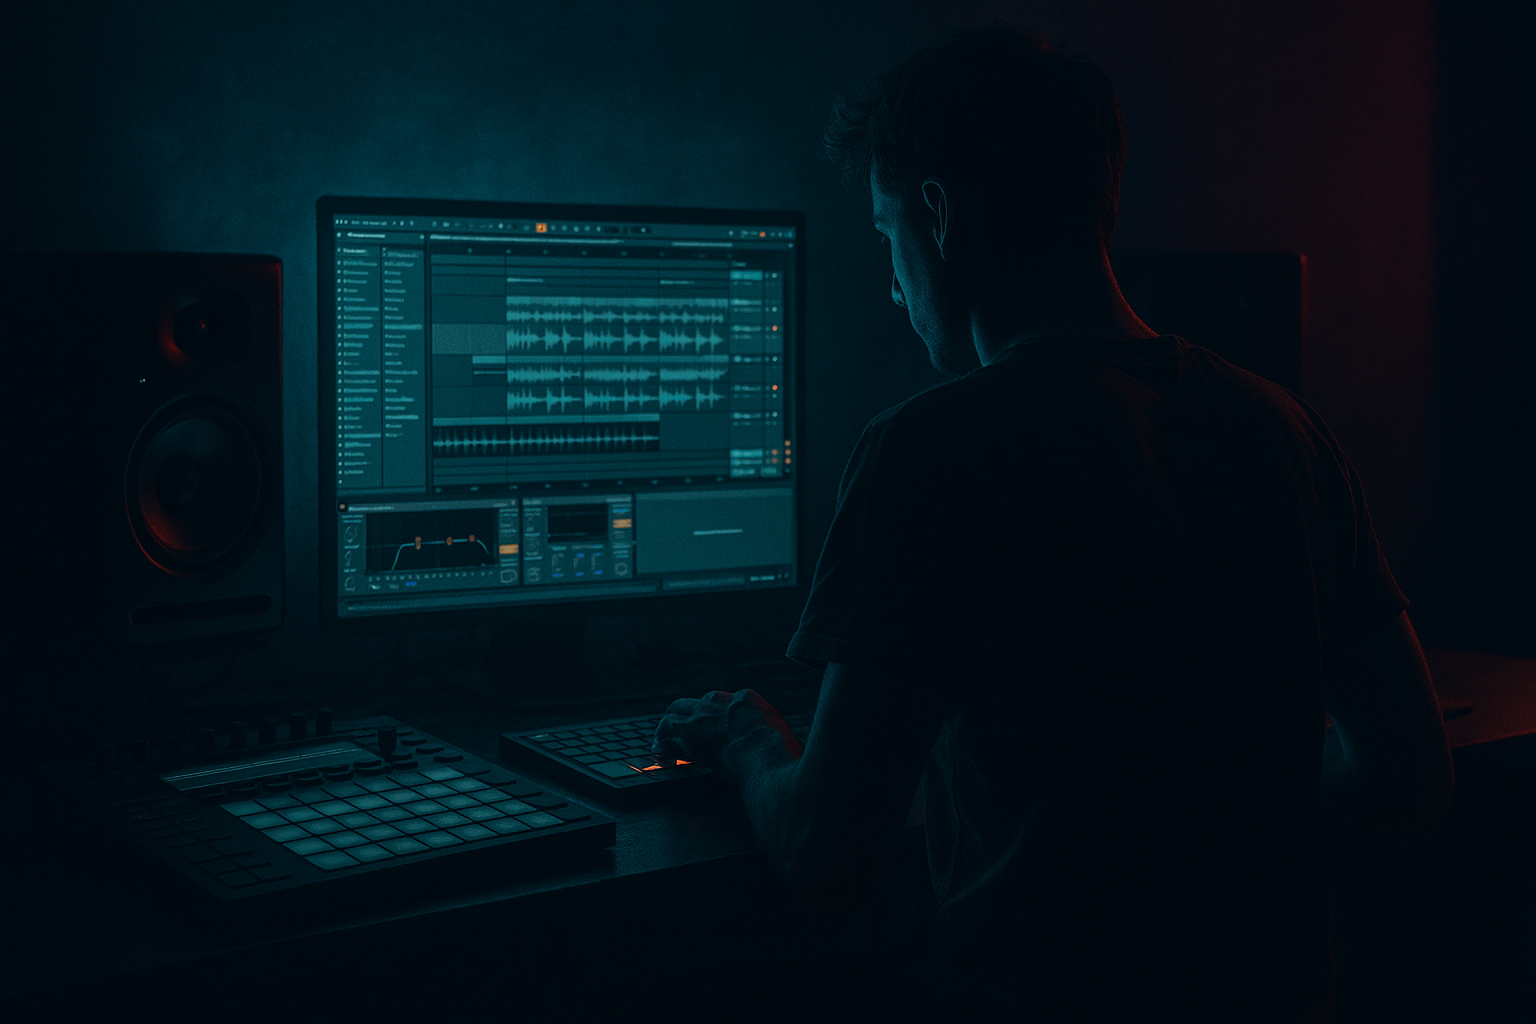
Main tutorial
Lesson Overview
In this lesson, you’ll build a darkside intro for oldskool jungle / DnB inside Ableton Live 12 using stock sampling tools and a very practical arrangement mindset. The goal is not to make a full drop yet — it’s to create the opening statement that tells the listener: this tune is gritty, dangerous, and ready to hit hard when the drums and bass arrive.
This technique lives at the front end of a DnB track: the intro before the drop, the section DJs hear while mixing in, and the tension-building space that gives the first drop more weight. In oldskool jungle-inspired DnB, the intro often does three jobs at once:
1. sets the mood with a dark sample or texture,
2. hints at the drum energy to come,
3. leaves enough space for the mix to breathe.
Why it matters musically: a dark intro creates contrast. If the drop lands on a clean slate, the impact feels bigger. Why it matters technically: a messy intro can already clog the low end, fight the eventual drums, and make the track feel amateur before the drop even arrives.
This lesson is best suited to dark jungle, oldskool DnB, rollers with atmosphere, and heavier club-oriented DnB. By the end, you should be able to hear a finished intro that feels murky, tense, and rhythmically alive, with enough clarity that a DJ could mix over it and the eventual drop would feel earned.
What You Will Build
You will build a 4- to 8-bar dark intro using a sampled phrase, chopped and reshaped in Ableton, with ghostly movement, filtered space, and rhythmic hints of breakbeat energy.
The finished result should have:
- a dubby, ominous, or haunted sonic character
- a loose but controlled rhythmic pulse
- a role as an intro / tension builder / DJ mix-in section
- enough polish to sit in the arrangement without feeling like a rough sketch
- enough space for a sub-heavy drop to follow cleanly
- Use saturation for density, not just distortion. A small amount from Saturator often works better than obvious clipping for dark intros. You want the sample to feel worn-in and weighty, not fried.
- Let the top end decay, not sparkle. Dark jungle intros usually feel better when the high end is a little dusty. If the sample is too glossy, soften it with Auto Filter or a gentle high shelf cut in EQ Eight.
- Build menace through repetition with tiny variation. Repeating the same phrase every bar can work if one hit changes on bar 4 or bar 8. That tiny change tells the listener the track is progressing.
- Keep the bass region mentally reserved. Even if there is no sub yet, design the intro like sub is about to enter. That means no muddy textures living below the future bassline zone.
- Use short silence as a weapon. In dark DnB, a half-beat gap before the drop can feel heavier than another effect layer. The ear leans forward when space appears at the right moment.
- Resample movement you like. If you create a good filtered chop or reverse tail, print it and cut it as audio. This often gives a more authentic jungle feel than endlessly tweaking the source.
- Think in 8-bar phrases. A strong oldskool-inspired intro often changes every 4 bars, then lands the transition at bar 8 or 16. That keeps it DJ-friendly and readable.
- Mono-compatibility check: if your intro uses width, flip it mentally into mono and ask whether the core sample still communicates. The important part should survive without stereo tricks.
- use only one main sample
- use only one atmosphere layer
- use only one automation move
- keep the low end cleared with EQ Eight
- no more than one transition accent
- a chopped or looped sample
- a filtered dark tone
- a subtle break or rhythmic hint
- a clear final bar that points into the drop
Success sounds like this: the intro feels like it belongs in a real jungle track, not a random ambient loop. It should move, breathe, and threaten something bigger without stealing the drop’s job.
Step-by-Step Walkthrough
1. Start with the right empty canvas
Open a new Ableton Live set and set your project around a DnB-friendly tempo, usually 170–175 BPM for oldskool jungle energy. For this lesson, work in 8 bars even if the final intro may become longer later. That length is enough to create phrasing without getting lost.
Create:
- one audio track for your main sample
- one audio track for atmosphere or texture
- one MIDI track for a simple hit or drone if needed
- one return track if you want a long delay or reverb later
Why this matters: beginners often start by adding too many layers. In DnB, especially dark intros, the power usually comes from one strong sample idea plus disciplined space.
2. Choose a sample with character, not perfection
Pick one short vocal phrase, film snippet, old record stab, texture hit, or eerie phrase with identity. Good source material might feel:
- slightly dusty
- emotionally cold
- conversational or threatening
- musical but not too busy
Drag it into an audio track. If the sample is too clean, that’s fine — you’ll dirty it later. If it already has movement or tone, even better.
A vs B decision point:
- A: Vocal/phrase-based intro — better for memorable tension and oldskool jungle personality.
- B: Texture/atmosphere-based intro — better if you want a more cinematic, less obvious opening.
For beginners, vocal/phrase-based is easier because the ear immediately understands the hook. Texture-based can sound more “pro” if done well, but it needs stronger drum and arrangement support later.
What to listen for: does the sample already feel like it could survive through filtering and repetition? If yes, it’s a good candidate.
3. Trim the sample into a usable phrase
Use clip editing to find the most useful 1- to 2-bar fragment. You do not need the whole source. In dark DnB intros, the strongest moment is often a single phrase, hit, or tail.
If the sample has a long tail, cut the front and end so the phrase lands cleanly on the grid. Then loop it across 2 or 4 bars.
A useful starting approach:
- keep the phrase short enough to repeat
- leave one or two gaps for tension
- avoid letting the sample run continuously if it masks the drums later
Why this works in DnB: drum and bass needs rhythmic space. Repeating a short, memorable slice gives identity without overcrowding the intro.
4. Shape the tone with a simple stock chain
Add an Ableton stock chain to the sample track:
Chain example 1: EQ Eight → Saturator → Auto Filter
- EQ Eight: high-pass gently around 80–150 Hz depending on the sample; if it is muddy, also soften a little around 250–400 Hz
- Saturator: start with 2–6 dB of drive for grit
- Auto Filter: low-pass or band-pass to darken the sample and make room for the later drop
Keep the filter movement subtle at first. Try the cutoff around:
- 400–1,200 Hz for a murky, dark feel
- slightly higher if you want the sample to stay more readable
Why this works: oldskool jungle intros often sound powerful because they are filtered, worn, and focused. Saturation adds density, while filtering creates anticipation.
What to listen for: when you add Saturator, the sample should feel closer and more physical, not just louder. If it becomes crunchy in a bad way, back off the drive.
5. Create rhythmic movement with clip edits or a simple gate-like feel
Dark intros work best when they don’t sit still. You can make the sample feel rhythmic by cutting it into pieces and placing short gaps between them.
Try one of these:
- repeat the sample every bar with a small variation
- leave the last beat of bar 2 empty
- create a call-and-response feel between two chopped snippets
If you want a more obvious pulse, use Auto Filter with an envelope or automate the cutoff slowly over 4 or 8 bars. Keep it gradual. A move from darker to slightly more open can make the intro feel like it is “waking up.”
Good starting point:
- 4-bar filter automation that opens only a small amount
- short gaps of a 1/4 beat or 1/2 beat for tension
- avoid over-gating unless you want a sharper, more modern edge
What to listen for: the sample should feel like it is speaking in phrases, not just looping mechanically.
6. Add a break or ghost drum layer under the sample
Drag in a jungle break, even a very stripped-down one, and place it underneath the sample. You are not building the full drum arrangement yet — you’re creating the sense that the drop is coming from a real DnB world.
A good starting move is to use a break with:
- a strong snare on 2 and 4-feel implications
- some off-grid ghost notes
- a slightly chopped top end
Use Simpler if you want to slice the break into pieces, or place the break as audio and manually edit the hits. Keep it light in the intro. The break should suggest momentum, not dominate the section.
Commit this to audio if needed: if your break chop pattern starts feeling good, freeze or resample it so you can work faster and avoid endless micro-editing.
Why this matters: in jungle and oldskool DnB, the intro often previews the drum attitude early. Even a restrained break layer makes the track feel alive before the full weight arrives.
7. Balance atmosphere against the drums
Add a second audio track with a simple atmosphere: vinyl noise, room texture, a dark field recording, or a drone. Keep it very low in the mix. This is not a feature element. It is glue and mood.
Process it lightly:
- EQ Eight: high-pass around 150–300 Hz
- maybe a small cut if it clutters 2–5 kHz
- optionally a touch of Reverb with a short or medium decay
Keep this layer mono-safe or close to it. Don’t widen low-level noise that lives under the future bassline area.
Mix-clarity note: if the intro already feels crowded before the drums even arrive, remove something. Dark does not mean dense everywhere.
What to listen for: the atmosphere should make the intro feel deeper, not wetter and blurrier. If it masks the sample’s edges, reduce its level first, not just the EQ.
8. Decide whether the intro should feel haunted or aggressive
This is your second creative branch.
Option A: Haunted / dubby / submerged
- use lower filter cutoff
- add more reverb tail
- keep drums more implied than explicit
- let silence do part of the work
Option B: Aggressive / broken / nervous
- use sharper sample chops
- more obvious break hits
- slightly brighter filtered top end
- quicker automation moves and tighter phrasing
For oldskool jungle vibes, both are valid. Choose A if your drop is going to be big and brutal. Choose B if your track wants urgency and a more kinetic opening.
Why this choice matters: the intro should set up the drop’s emotional angle. A haunted intro makes the drop feel heavier when it arrives; an aggressive intro makes the track feel like it’s already moving.
9. Automate one main transition over 4 or 8 bars
Pick one element and automate it clearly. Don’t automate everything at once. For a beginner, the strongest option is usually Auto Filter cutoff on the main sample.
A practical move:
- start darker in bar 1
- open a little by bar 4
- peak slightly brighter by bar 8
- cut hard right before the drop or switch into a fill
Keep the movement modest. For dark DnB, a filter opening that is too dramatic can sound cheesy. You want tension, not trance drama.
Another useful automation is reverb send or sample volume:
- increase reverb slightly in the last 2 bars
- pull dry level down a touch just before the drop for a small fake-out
Why this works in DnB: the intro must create arrival energy. Controlled automation gives the listener a sense of progression without needing a full melody.
10. Check the intro in context with drums and the coming drop
This is where a lot of beginners fail: they perfect the intro in isolation and never ask whether it actually serves the track.
Bring in the first drop drums or a rough bass placeholder. Then play from the intro into the drop.
Listen for two things:
- Does the intro leave enough space for the drop to feel huge?
- Does the rhythmic mood of the intro connect to the drum groove that follows?
If the drop feels smaller after the intro, the intro is too busy or too bright. If the transition feels empty, add a final fill, reverse hit, or short break pickup before the downbeat.
Arrangement example:
- bars 1–4: filtered sample + atmosphere
- bars 5–8: break hints and a little more openness
- last half-bar: short fill or reverse tail
- drop on bar 9
This is a classic DJ-friendly phrasing move because 8-bar or 16-bar blocks make the tune easier to mix and more readable on the dancefloor.
11. Add one small transition accent, then stop
Add a single impact, reverse sample, riser, or downlifter to signal the drop. Keep it short and disciplined. A dark intro loses power if every bar is screaming for attention.
Good stock-device chain for a transition hit:
Simpler or audio sample → Reverb → EQ Eight
- Reverb with a medium decay, then
- EQ off the low end so it doesn’t smear the bass region
Use the transition accent to mark the final phrase. Then stop and save the idea. Don’t keep stacking more layers just because the section feels unfinished.
Stop here if the intro already gives you tension, motion, and a clear drop cue. A finished dark intro is not the loudest thing in the song — it’s the one that makes the drop feel inevitable.
12. Print a version for speed and control
If the sample design is getting good, resample or bounce the intro elements to audio. This is a useful workflow habit in Ableton: once the feel is there, printing it reduces distraction and lets you focus on arrangement.
Why this helps:
- you stop over-editing tiny details
- the intro becomes easier to arrange
- audio clips are often faster to cut, reverse, and duplicate than a pile of live devices
This is especially useful in sample-based jungle work, where the vibe often comes from editing decisions, not endless parameter movement.
Common Mistakes
1. Making the intro too full too early
- Why it hurts: the drop has nowhere to go, so the track loses impact.
- Fix: remove one layer, high-pass the atmosphere, or leave more gaps in the sample phrase.
2. Letting the sample’s low end fight the future bassline
- Why it hurts: muddy intros make the transition into the drop feel weak.
- Fix: use EQ Eight to high-pass the sample around 80–150 Hz, and keep atmosphere even higher.
3. Using a break that is too loud or too busy
- Why it hurts: the intro becomes a drum loop instead of a tension builder.
- Fix: lower the break, simplify the chops, or mute some ghost hits until the groove supports the sample.
4. Over-widening the intro
- Why it hurts: stereo tricks can sound impressive alone but collapse in mono or blur the center.
- Fix: keep the main sample and any important rhythmic element centered or mostly centered; use width mostly on textures, not core identity.
5. Automating too many things at once
- Why it hurts: the intro sounds restless and unfocused instead of ominous.
- Fix: automate one main element first, usually filter cutoff, and only add a second move if the section still feels static.
6. Choosing a sample with no phrasing
- Why it hurts: the intro feels like a loop, not a statement.
- Fix: trim tighter, find a stronger phrase, or use a call-and-response chop pattern.
7. Ignoring the drop check
- Why it hurts: the intro might sound cool solo but fail the real job of setting up the impact.
- Fix: test the last 2 bars into the drop with drums and bass present, then remove anything that competes.
Pro Tips for Darker / Heavier DnB
Mini Practice Exercise
Goal: Build a complete 8-bar dark intro that can lead into a first drop.
Time box: 15 minutes.
Constraints:
Deliverable:
An 8-bar intro in Ableton Live that has:
Quick self-check:
Mute the atmosphere. Does the intro still have identity?
Mute the sample. Does the atmosphere alone feel too empty?
Play the last bar into the drop. Does the drop feel bigger than the intro?
If the answer to any of those is “no,” simplify one layer and retry.
Recap
A strong darkside intro in Ableton Live 12 is built from one memorable sample idea, controlled filtering, restrained movement, and enough space for the drop to win. Keep the low end clean, use a break only as much as needed, automate one clear transition, and check everything in context with the drums and bass. If the intro feels tense, moody, and DJ-friendly without crowding the mix, you’ve got the right result.

