Main tutorial
Lesson Overview
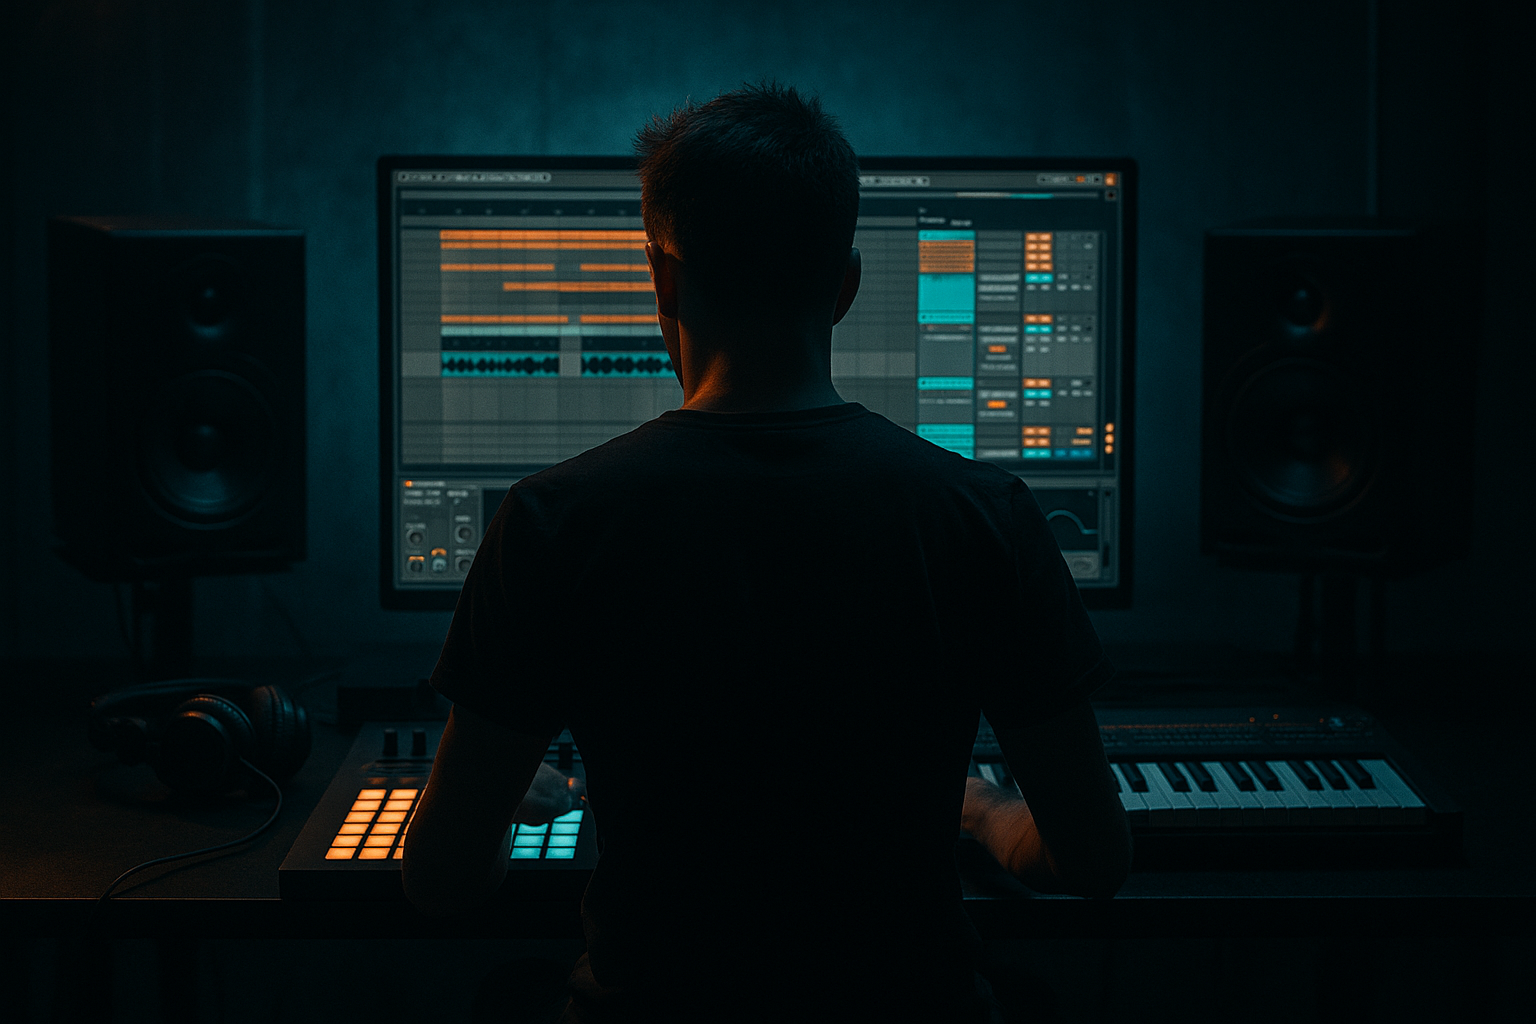
This lesson is about rebuilding a darkside atmosphere system for Drum & Bass in Ableton Live 12, with a jungle swing feel that sits properly under modern rollers, neuro-leaning drums, or darker dancefloor arrangements. The goal is not just to make “pads” or “noise,” but to build a living atmospheric layer that supports the track’s tension, space, and movement without fighting the kick, snare, sub, or break.
In real DnB production, atmospheres do a lot of heavy lifting. They help define the emotional temperature of the tune, bridge sections, and make the drop feel bigger by contrast. In darker material especially, atmosphere is part of the groove: it can pulse with the break, breathe around ghost notes, and create that underground “one room / late night / warehouse” pressure. The jungle swing angle matters because classic DnB energy often comes from the interaction between broken drums and unstable background motion — the atmosphere should feel like it’s dancing slightly off-grid, not sitting like a static wallpaper.
We’ll build a reusable system using stock Ableton devices, then shape it into a practical arrangement tool: intro tension, drop support, breakdown space, and transition energy. You’ll also learn how to make it feel rougher and more authentic without muddying the mix. This is the kind of layer you can keep in a template and adapt across multiple tracks. 🔥
What You Will Build
By the end of this lesson, you’ll have a three-part dark atmosphere rack in Ableton Live 12:
1. A textural bed made from noise, filtered tone, and resampled grit
2. A moving jungle swing layer that subtly follows breakbeat energy
3. A transition and tension system with automated filtering, reverb throws, and drop-reveal control
Musically, this will sound like a blend of:
- low-passed hiss and room tone
- degraded vinyl-ish texture
- distant tonal wash
- short rhythmic pulses that nod to jungle shuffle
- atmospheric swells that open up in intros and pull back during drops
- 16-bar intros before the drums fully hit
- 8-bar breakdowns between drop sections
- drop support behind reese basslines and break edits
- DJ-friendly outro space where energy slowly drains away
- Making the atmosphere too bright
- Letting the atmosphere compete with the sub
- Overusing reverb
- Using no movement
- Ignoring break interaction
- Leaving harsh upper mids untrimmed
- Use a parallel dirt layer
- Make the atmosphere “answer” the bassline
- Narrow the width in the drop
- Resample your own broken source
- Use subtle pitch drift
- Protect transient clarity
- Think in bars, not sounds
- Build dark atmospheres as a system, not a one-off sound.
- Keep them filtered, moving, and headroom-safe.
- Use Ableton stock devices like Auto Filter, Erosion, Hybrid Reverb, Saturator, Compressor, and Utility.
- Let the atmosphere breathe with the jungle swing and support the break.
- Resample your best passes so the texture becomes more committed and usable.
- In DnB, atmosphere is part of the arrangement — it should shape tension, contrast, and drop impact.
You’ll be able to use it in:
The end result should feel like a proper dark DnB atmosphere: deep, nervous, moving, and controllable.
Step-by-Step Walkthrough
1. Start with a clean atmosphere return track
Create a new audio or MIDI track and name it something like ATM DARK BED. If you prefer a template approach, put it in a Group with any other FX or ambient layers so you can process them together later.
Add these stock devices in this order:
- Utility
- Erosion
- Auto Filter
- Hybrid Reverb
- EQ Eight
- Saturator
Set the track up as a long-term atmosphere lane rather than a one-shot effect lane. This is important because in DnB, atmospheres usually need to evolve over 8–32 bars, not just hit once and disappear.
Useful starting points:
- Utility: reduce gain by -6 to -12 dB to leave headroom
- Auto Filter: low-pass at around 400–900 Hz to keep it dark
- Hybrid Reverb: keep dry/wet around 10–25% at first
- Saturator: Drive around 2–5 dB
Why this works in DnB: dark atmospheres need to sit behind the drums and bass, not compete with them. Starting with controlled gain and heavy filtering keeps the mix focused while still delivering mood.
2. Build the base texture from noise and resampled material
You want a source that feels organic, imperfect, and slightly unstable. Use one of these approaches:
- Operator: create a simple sustained sine or triangle tone in a low register, then filter it hard
- Analog: use noise plus a soft oscillator for a gritty bed
- Simpler: drag in a field recording, vinyl room tone, rain, tape hiss, subway ambience, or a heavily processed break fragment
For a fast darkside rebuild, try this:
- Load a breakbeat fragment into Simpler
- Set it to Classic or One-Shot
- Loop a tiny region of only texture, not drum hits
- Apply Warp if needed so it stays stable
- Put Auto Filter after it with a 24 dB low-pass
- Add a touch of Erosion in Noise mode for grit
Suggested settings:
- Auto Filter cutoff: 300–1200 Hz, depending on how much body you want
- Erosion Frequency: around 1.5–4 kHz
- Erosion Amount: very low, usually 5–20%
- Saturator Drive: 2–4 dB, Soft Clip on if needed
Keep the source fairly bland at first. The point is not “cool sound design”; the point is to create a stable dark bed that can be animated later.
3. Create the jungle swing motion with a rhythmic gate or amplitude envelope
The atmosphere should breathe in a way that supports jungle rhythm. Instead of making it fully looped and static, create a subtle pulse that interacts with the break.
Add Auto Pan after your texture chain:
- Set Phase to 0° for volume tremolo rather than stereo pan
- Rate: 1/8, 1/16, or 1/16T depending on the groove
- Amount: 10–35%
- Shape: slightly rounded if you want a softer pulse, sharper if you want a more mechanical wobble
For a more deliberate gated feel, use Gate or Shaper-like movement via LFO-style automation through clip envelopes. In Live 12, a strong workflow is to draw automation in a MIDI clip or audio clip envelope and have the atmosphere dip around kick/snare accents.
Practical approach:
- Let the atmosphere swell on the “and” of the beat
- Pull it back slightly around the snare
- Leave more room on the downbeat so the kick feels bigger
Try this timing in a 174 BPM track:
- A subtle lift at 1.2, 2.2, 3.2, 4.2
- Slight duck on 2 and 4
- Add randomness with short automation changes every 2 bars
This creates jungle swing because the background energy is leaning with the break instead of sitting on a grid. The result feels more alive and less EDM-smooth.
4. Shape the atmosphere with filtering and resonant movement
Now make the bed breathe over time. Add Auto Filter or Filter Delay-style movement if needed, but keep it controlled.
Use two layers of filter motion:
- Macro-scale automation over 8–16 bars
- Micro-motion from Auto Pan, LFO-style clip envelopes, or small parameter wiggles
In Auto Filter:
- Low-pass cutoff starts around 500–800 Hz in intro sections
- Open to 1.5–4 kHz before the drop
- Resonance: keep moderate, around 0.20–0.45, unless you want a whistling edge
- Drive: modest, enough to add density without harshness
To make it darker and more cinematic, automate the filter so it opens only slightly during build sections, then closes again once the drop lands. That contrast is what makes the drop feel larger.
Add EQ Eight after the filter:
- High-pass around 80–140 Hz to protect the sub
- If the atmosphere is poking into snare body, cut 200–400 Hz gently
- If it gets brittle, dip around 2.5–5 kHz
Musical context example: in a 16-bar intro, keep the atmosphere narrow and filtered for the first 8 bars, then open it slightly in bars 9–16 as the break edits begin to hint at the drop. That gives the DJ-friendly intro a proper progression without stealing focus.
5. Add reverb depth, but keep it controlled and dark
Use Hybrid Reverb to place the atmosphere in a believable space. DnB atmospheres often work best when the reverb feels like a room, tunnel, warehouse, or concrete cavity, not a glossy hall.
Good starting settings:
- Decay: 2.5–6 seconds
- Predelay: 10–30 ms
- Low cut: 150–300 Hz
- High cut: 4–8 kHz
- Dry/Wet: 10–25% on insert, or use a Return track for more control
If you use a Return track, send the atmosphere to it and automate the send amount. That is often cleaner for DnB because you can keep the dry texture tighter while exploding the reverb in transitions.
For darker character:
- Use a darker convolution/algorithmic blend
- Roll off high frequencies in the reverb return with EQ Eight
- Add Gate after the reverb if the tail gets too messy, especially in dense drop sections
The atmosphere should feel like distance, not wash. In heavy DnB, too much reverb makes the break lose impact.
6. Resample the atmosphere into a more intentional dark layer
This is where the system becomes truly useful. Once you have a nice moving bed, resample it internally to create a more committed texture.
Steps:
- Solo the atmosphere and route audio to a new audio track
- Record 8–16 bars of the evolving texture
- Slice or trim the best section
- Warp it if necessary, but avoid over-editing the character out
Then process the resample with:
- Redux for digital edge, but lightly
- Saturator for thickness
- Auto Filter for movement
- Reverb or Hybrid Reverb for depth
Suggested resample chain:
- Redux: Downsample to a subtle degree, not obliteration
- Saturator: Drive 3–6 dB
- Auto Filter: automate from 700 Hz up to 3 kHz
- EQ Eight: high-pass around 100 Hz, tame harshness if needed
Resampling helps because the atmosphere becomes more like a sample, which is often a better fit for jungle and darkside music than a super-clean synth pad. You get a more “found sound” feel, and it can lock better with broken drums.
7. Tie the atmosphere to the drums and bass with sidechain and arrangement logic
The atmosphere should support the rhythm section, not sit independently. Add Compressor with sidechain from the kick or the full drum bus.
Starting settings:
- Sidechain input: kick or drum bus
- Attack: 1–10 ms
- Release: 50–180 ms
- Ratio: 2:1 to 4:1
- Threshold: adjust for about 2–5 dB gain reduction on hits
In darker rollers, this keeps the low-mid fog out of the way when the drums hit. If the atmosphere is very rhythmic, you can sidechain it from the snare too, but use that carefully.
Arrangement ideas:
- Intro: atmosphere full, drums filtered, bass absent or hinted
- Pre-drop: open the filter, shorten reverb, increase pulse
- Drop: reduce sustain, leave texture only, keep space for bass and breaks
- Breakdown: bring the full atmospheric tail back, maybe with pitch movement
- Outro: strip the drums, let atmosphere decay naturally
This is one of the most important DnB workflows: the arrangement tells the atmosphere when to dominate and when to disappear.
8. Use modulation and automation to give it dark character
Static atmospheres die fast. Give the layer small, controlled variations over time.
Good automation targets in Ableton Live:
- Auto Filter cutoff
- Reverb dry/wet
- Saturator drive
- Erosion amount
- Auto Pan rate/amount
- Utility width
Movement ideas:
- Open the filter by 5–15% over 8 bars
- Increase reverb wetness only in transition bars
- Automate Utility width narrower in the drop intro, wider in breakdowns
- Slightly increase Erosion before a fill, then back it off
- Create tension by briefly boosting 2–4 kHz, then pulling it away before the drop
If your atmosphere has tonal content, move its pitch by a semitone or two during breakdowns, then return it. Very small shifts can create a great sense of unease without sounding cheesy.
For jungle swing, nudge the automation timing off exact bar lines when appropriate. A slightly early swell or late decay can make the whole background feel more human and more “record-like.”
Common Mistakes
- Fix: low-pass harder, then add a tiny amount of top later only if needed. Dark DnB atmospheres should usually live below the obvious presence range.
- Fix: high-pass the layer around 80–140 Hz and check mono. The atmosphere should never add false low end.
- Fix: shorten decay, reduce wetness, or move reverb to a send. If the drop loses punch, the atmosphere is too wet.
- Fix: automate filter, width, or volume. Even tiny changes every 2 or 4 bars help the layer breathe.
- Fix: make the atmosphere duck or pulse around snares and ghost notes. Darkside DnB works better when the background seems to react to the drums.
- Fix: cut around 2.5–5 kHz if the atmosphere starts irritating the ear, especially when the bass gets aggressive.
Pro Tips for Darker / Heavier DnB
- Duplicate the atmosphere, distort the copy with Saturator, Erosion, or Redux, then blend it quietly underneath the clean layer.
- Automate short filter openings when the reese answers the drums. Call-and-response doesn’t have to be only melodic; the atmosphere can participate too.
- Keep the atmosphere more mono in heavier sections so the bass and drums feel focused. Open it wider in intros and breakdowns.
- Chop a break, process it into texture, then reuse it as atmosphere. This often sounds more authentic than pristine synth-only pads.
- Tiny pitch automation or warble on the source can create dread and unease. Keep it minimal so it sounds haunted, not detuned.
- If the atmosphere fights the snare crack, use a small cut around 180–250 Hz and tame any ringing around 3–4 kHz.
- A dark atmosphere is successful when it changes the energy of an 8-bar section, not just when it sounds interesting soloed.
Mini Practice Exercise
Spend 10–20 minutes making a reusable dark atmosphere loop for a 174 BPM DnB intro.
1. Create one atmosphere track with Simpler, Auto Filter, Erosion, Hybrid Reverb, and EQ Eight.
2. Use either noise, a field recording, or a tiny broken break fragment as the source.
3. Filter it so it sits dark and narrow.
4. Add a subtle pulse with Auto Pan at 1/8 or 1/16.
5. Automate the filter to open slightly over 8 bars.
6. Sidechain it lightly to the kick or drum bus.
7. Resample the best 8 bars into audio.
8. Trim, process, and save the final result as a reusable atmosphere sample.
Goal: finish with one atmosphere clip that can sit under an intro, breakdown, or outro without clashing with drums or bass.

