Main tutorial
Lesson Overview
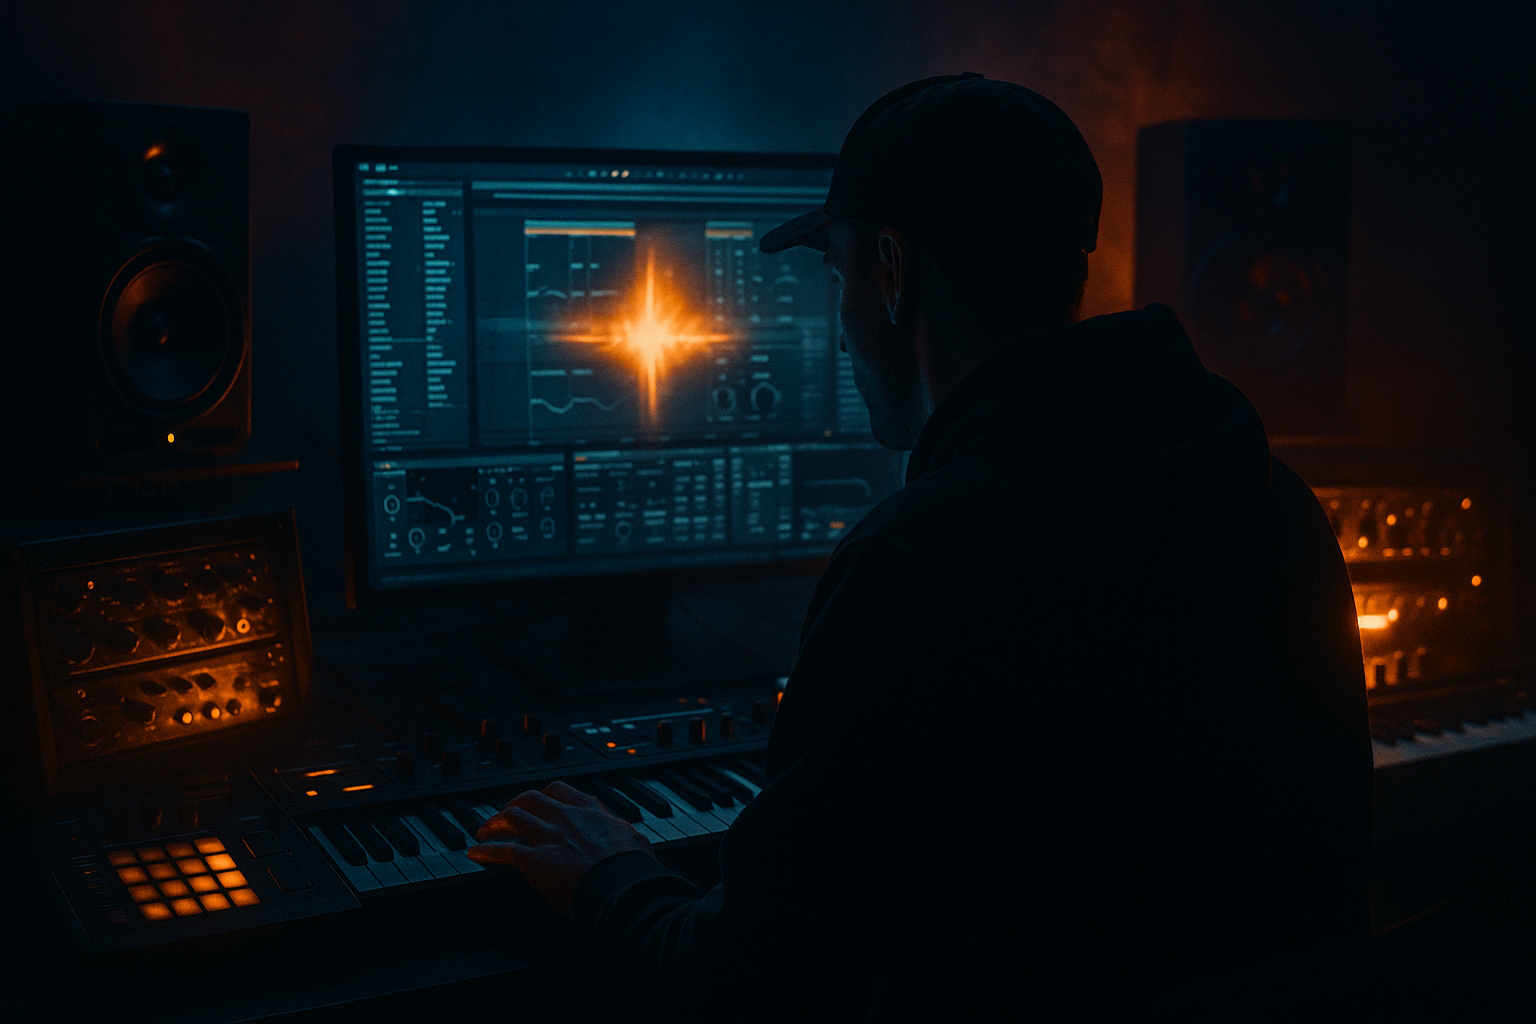
This lesson is about building a sunrise-set drum bus and bassline relationship in Ableton Live 12 for oldskool jungle / DnB vibes. The goal is not just “make drums hit harder,” but to shape the whole emotional lift of the track: the drums should feel like they are opening up toward dawn, while the bassline stays deep, rolling, and slightly haunted 🌅
In an advanced DnB track, the drum bus is not separate from the bassline — it is part of the emotional engine. For sunrise energy, that means:
- drums with enough transient bite to keep the floor moving,
- a controlled low-mid glow that feels warm rather than harsh,
- bassline phrasing that leaves space for air and melody,
- and automation that gradually reveals brightness, width, and harmonic detail.
- a tight, punchy breakbeat-driven drum bus with ghost notes and controlled saturation,
- a sub + reese bassline that answers the drums in call-and-response phrasing,
- a group processing chain that glues kick, snare, hats, and break edits without flattening them,
- and a transition-ready arrangement section that feels suitable for a 16- or 32-bar drop in an advanced DnB tune.
- oldskool break energy,
- modern low-end control,
- a slightly emotional sunrise tint,
- and a bassline that remains dark enough for the club while leaving room for atmosphere and tension.
- DRUMS: kick, snare, break layers, hats, percussion
- BASS: sub, mid reese, top bass texture
- ATMOS / FX: rides, noise, uplifters, reverb throws, transition elements
- DRUMS group: transient shaping, gentle saturation, bus compression
- BASS group: sub control, mono discipline, harmonic shaping
- PRE-MASTER: metering, tiny EQ cleanup, minimal glue
- SUB layer: Ableton Operator or Wavetable with a sine or near-sine waveform
- MID layer: Wavetable, Analog, or Operator for a reese/analog-style mid bass
- Use a sine wave
- Keep it mono
- Low-pass above 80–100 Hz if needed
- Use very short amp release so notes stop cleanly
- Add subtle saturation with Saturator at Drive 1–3 dB if the sub needs harmonic audibility on smaller systems
- Start with a detuned saw or stacked oscillator patch
- Add slow LFO movement to wavetable position or filter cutoff
- Use Auto Filter with low-pass or band-pass movement
- Keep this layer sidechain-friendly and not too wide below 150 Hz
- Write a 2-bar bass phrase that answers the snare and break accents.
- In sunrise DnB, leave intentional gaps after key hits so the drums can breathe.
- Use note lengths that vary: short stab notes for the groove, longer sustained notes only where emotion needs to bloom.
- root notes on bar 1 downbeats,
- syncopated pickups before the snare,
- a longer held note at the end of bar 2 for tension.
- Slice to a Drum Rack or use Slice to New MIDI Track
- Chop the break into kick, snare, ghost hits, and hats
- Reorder a few hits to create your own phrasing
- Keep the original break character intact, but tighten the transients
- Kick: short, focused, not too sub-heavy if the bass carries the low end
- Snare: bright enough to cut, but with body around 180–250 Hz
- Ghost notes: lighter velocity hits to create rolling momentum
- Put Drum Buss before Glue Compressor
- Use Transient very lightly upward if the break feels too flat
- Add small amounts of Crunch for midrange grit, especially on oldskool snares
- Use Glue Compressor only to stabilize, not flatten
- Drum Buss Drive: 8–12%
- Drum Buss Transients: +5 to +15
- Glue Compressor Ratio: 2:1
- Attack: 10–30 ms
- Release: Auto or 0.1–0.3 s
- Threshold: adjust for modest 1–2 dB GR
- Attack: 1–5 ms
- Release: 50–120 ms for rolling DnB
- Ratio: 2:1 to 4:1
- Aim for 2–4 dB gain reduction on strong drum hits
- Sub: sidechain mostly to kick
- Mid bass: sidechain to kick and/or full drum bus, but less aggressively
- Bass sub low-pass if the mid layer gets too buzzy
- Cut a little around 200–400 Hz in the bass if the snare feels boxy
- Tame harshness in the drum bus around 3–6 kHz if hats become brittle
- Auto Filter cutoff on the mid bass opening slightly every 8 bars
- Reverb Send on snare fills increasing before transitions, then dropping back
- Drum Buss Crunch rising subtly into a drop or breakdown return
- Saturator Drive automating +1 dB in the second 16 bars for extra intensity
- Stereo width on upper percussion increasing only above 200 Hz
- Bars 1–8: filtered intro of drums + sub hints
- Bars 9–16: full break edits enter, bassline is restrained
- Bars 17–24: mid bass opens, snares get brighter, hat detail increases
- Bars 25–32: full energy, but with emotional pads or chord stabs tucked behind the groove
- Put a short bass stab after the snare on bar 1
- Leave a tiny gap before a longer bass note on bar 2
- Add a syncopated pickup leading into bar 3
- Use a short fill at the end of bar 4 that mirrors your break edit
- Duplicate your bass MIDI clip
- Create two versions: one with more negative space, one with denser movement
- Alternate them every 4 or 8 bars
- Use Clip Envelopes or automation to adjust filter cutoff and resonance over the phrase
- Set Bass Mono or simply keep sub-frequency content centered through arrangement and filtering
- Reduce width only if the break layer feels too diffuse
- Mid channel: preserve kick/snare punch
- Side channel: slightly reduce muddy low mids around 200–400 Hz
- Side highs can be brightened a little, but avoid brittle top-end fizz
- Add Redux very subtly on a parallel drum return if you want old sampler texture
- Or use Saturator with Soft Clip and a low drive amount for glue without obvious distortion
- Use parallel drum saturation: send DRUMS to a Return track with Saturator or Pedal set subtly, then blend it in for grit without killing transients.
- Resample your bassline through a slightly driven chain, then re-cut it into a new MIDI or audio phrase. This often creates the nasty mid character that feels more authentic than over-designed synth movement.
- For neuro-influenced darkness, automate the bass mid layer’s Auto Filter cutoff in small, rhythmic steps rather than giant sweeps.
- If the break feels too clean, layer a second break with lighter high-pass filtering and slightly different swing. Tiny timing differences create jungle motion.
- Use Frequency Shifter very lightly on a texture layer or reverb return to create unsettling movement, but keep it away from the sub.
- Add short reverb throws on selected snares only. In underground DnB, a single treated hit can be more powerful than a constantly wet drum bus.
- Keep a DJ-friendly 16-bar intro and outro version of the groove. For sunrise sets, clean mix points are just as important as emotional sections.
- If your bassline starts masking the break, reduce harmonic density around 250–500 Hz before touching the sub.
- Build the drum bus and bassline as one system, not separate elements.
- Keep sub mono, mid bass expressive, and drums punchy.
- Use break edits, ghost notes, and call-and-response for authentic jungle/DnB feel.
- Apply light group processing on drums and bass for glue, grit, and control.
- Create sunrise emotion through automation, gradual spectral opening, and arrangement tension/release.
- In advanced DnB, the best low end is not just loud — it is clean, rhythmic, and emotionally directed.
This technique matters because sunrise DnB lives on contrast. You want the weight of jungle and rollers, but with a sense of release, nostalgia, and forward motion. The drum bus must be powerful enough for club systems, yet open enough to let a soulful bassline or pad phrase breathe. In Ableton Live 12, stock devices are more than enough to sculpt that balance with precision.
What You Will Build
You will build a finished drum bus + bassline framework for a sunrise-leaning jungle DnB section:
The result will feel like:
Step-by-Step Walkthrough
1. Set up the drum/bass architecture before sound design
Create three main groups in Ableton Live:
For advanced DnB workflow, this separation keeps you from over-processing the whole mix just to make the low end work. Put all drum elements into the DRUMS group and all bass elements into the BASS group, then route both to a PRE-MASTER group or master chain for light glue only.
Suggested routing discipline:
Set your project tempo around 170–174 BPM for a classic jungle/DnB feel, or 172 BPM if you want a versatile sunrise roller pocket. Keep headroom: peaks on individual groups should usually sit around -6 dBFS or lower before mastering.
Why this works in DnB: the genre depends on fast transient information and controlled sub pressure. If the drum bus is too wide or too compressed too early, the bassline loses impact; if the bass is too loud or smeared, the drums stop dancing.
2. Build the bassline foundation: sub first, movement second
Create a MIDI bass rack with two layers:
For the sub:
For the mid layer:
Programming tip:
A strong starting pattern might use:
3. Design the drum bus from break edits, not just a kick-snare loop
For oldskool jungle flavor, the drum bus should be built from edited break layers rather than only one-shot drums.
Use a core break in Simpler:
Layer in a separate kick and snare:
On the DRUMS group, use this chain as a starting point:
1. EQ Eight: high-pass gentle rumble below 25–30 Hz
2. Drum Buss: Drive around 5–15%, Boom very lightly if needed
3. Saturator: Soft Clip on, Drive 1–4 dB
4. Glue Compressor: slow-ish attack, medium release, just 1–2 dB gain reduction
Do not overdo the Drum Buss Boom in a track where the bassline owns the low end. The goal is drum presence, not fake sub.
4. Shape the drum transients so the bass can sit inside them
Use Drum Buss and Transient shaping by arrangement, not just compression. In jungle/DnB, the best drum buses feel energetic because the transients are preserved, not crushed.
Try this approach:
A practical starting point:
If the kick transient is fighting the bassline, use Track Delay or note placement before reaching for heavy compression. In DnB, groove is often solved in the MIDI grid, not with plugins alone.
5. Build the bass/drum relationship with sidechain and frequency separation
The bassline should duck under the drums, but not vanish. In Ableton Live, use Compressor with sidechain on the BASS group, keyed from the DRUMS group or specifically the kick/snare bus depending on the groove.
Suggested sidechain settings:
For more advanced control, split the bass into sub and mid:
Use EQ Eight to maintain separation:
A useful DnB mindset: the bassline doesn’t need to be constantly audible in every band. It needs to feel present through motion, harmonic content, and rhythm.
6. Add sunrise emotion with automation, not extra layers
The sunrise feel comes from gradual opening. Automate your drum bus and bass filters so the section evolves over 16 or 32 bars.
Automation ideas:
For a sunrise arrangement, try this context:
Why this works in DnB: the dancefloor feels movement not just from new notes, but from incremental spectral reveal. Sunrise sets especially reward gradual brightness and harmonic expansion.
7. Program call-and-response between drum fills and bass notes
Advanced DnB basslines often work best when they answer the drums rather than sit continuously underneath them. Use the snare and break accents as triggers for bass rhythm decisions.
Try this:
Workflow in Ableton:
For oldskool jungle flavor, let a couple of ghosted bass notes imply movement without fully stating the motif. That keeps the groove rugged and human.
8. Finish the drum bus with controlled grit and stereo discipline
On the DRUMS group, check stereo width carefully. Keep the low end mono, and let width live in hats, shakers, ambience, and top percussion.
Use Utility:
Use EQ Eight with M/S mode if needed:
For gritty sunrise emotion:
Keep the drum bus punchy, not overcooked. The drums should feel like they are carrying the track forward, not being flattened into one block.
Common Mistakes
1. Making the bass too wide too early
Fix: keep the sub mono and let width live in the mid bass only.
2. Over-compressing the drum bus
Fix: aim for light glue. If the break loses bounce, reduce compression before adding more.
3. Too much sub from both kick and bass
Fix: decide who owns the lowest octave. In most DnB rollers, the bass owns it and the kick is more about punch.
4. Using constant bass notes with no phrasing
Fix: write call-and-response patterns with gaps around snares and break accents.
5. Harsh 4–8 kHz buildup on breaks and hats
Fix: use EQ Eight to tame it, then return brightness with controlled automation rather than static boosting.
6. Ignoring arrangement evolution
Fix: automate filter cutoff, distortion, sends, and break density across 8- and 16-bar blocks.
Pro Tips for Darker / Heavier DnB
Mini Practice Exercise
Spend 10–20 minutes building a sunrise DnB loop with the following constraints:
1. Set your tempo to 172 BPM.
2. Create a 2-bar drum loop from one break and one kick/snare layer.
3. Build a 2-layer bass patch: sine sub + mid reese.
4. Write a bassline that uses:
- one held note,
- two short stabs,
- one call-and-response gap after a snare.
5. On the DRUMS group, add EQ Eight, Drum Buss, Saturator, Glue Compressor.
6. On the BASS group, add EQ Eight, Saturator, Compressor sidechained from the drums.
7. Automate one thing over 8 bars:
- filter cutoff,
- reverb send,
- or drum bus drive.
8. Do a mono check with Utility and make sure the sub still feels stable.
Goal: by the end, your loop should feel like a working DnB section, not just isolated sounds.

