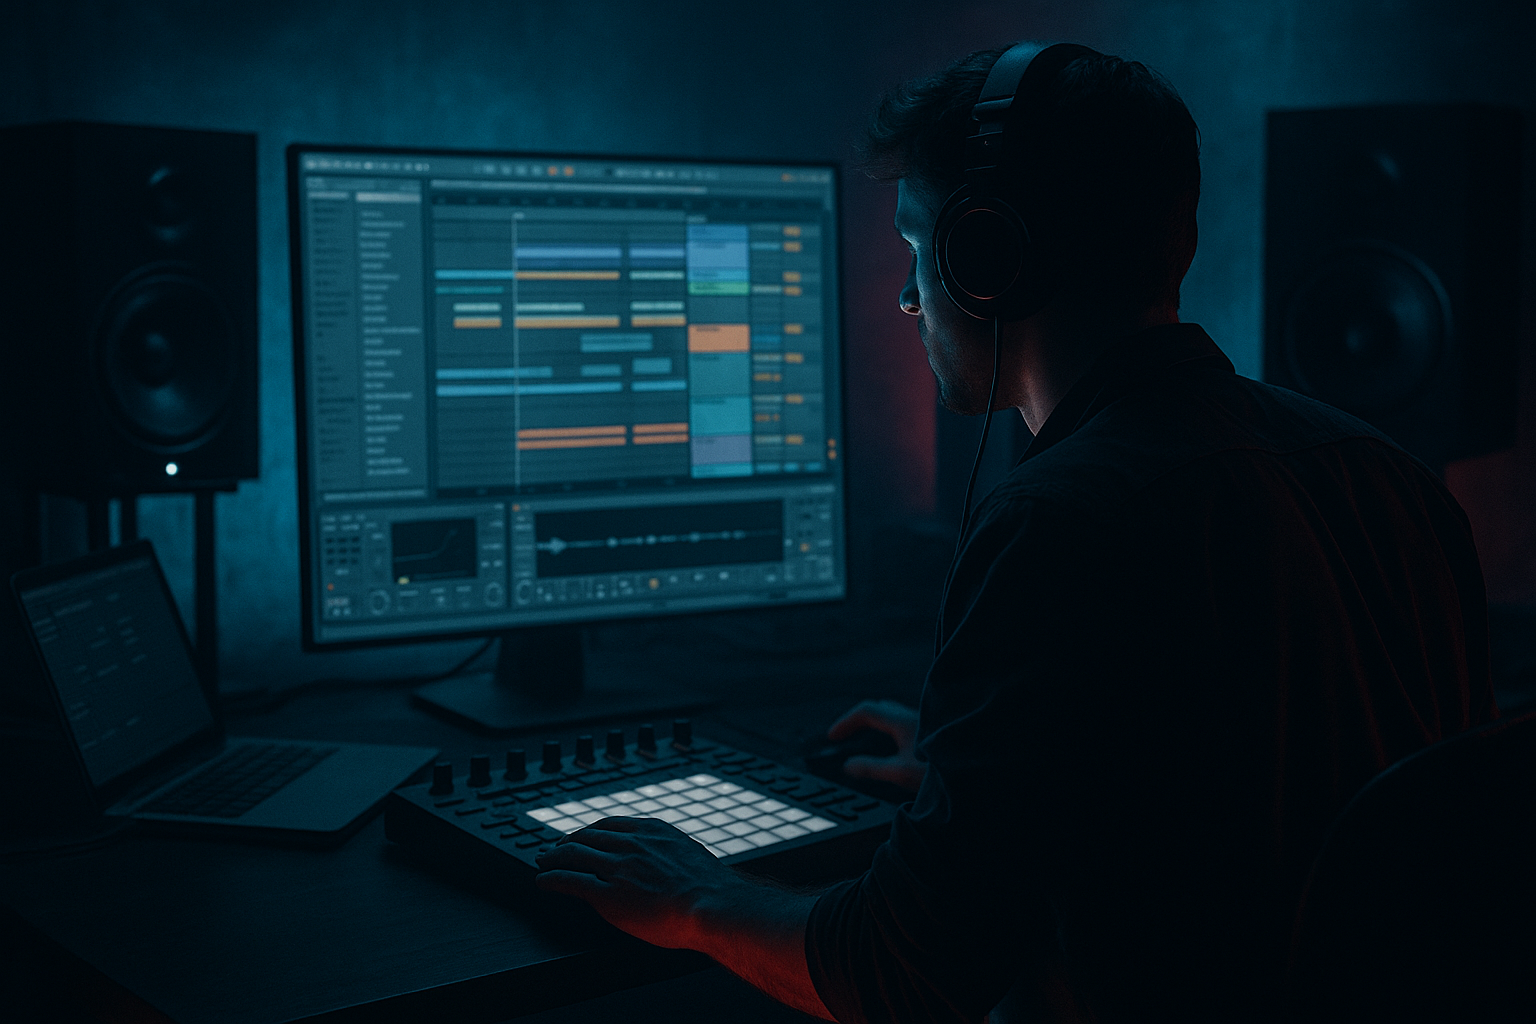
Main tutorial
Lesson Overview
This lesson is about controlling a ragga vocal layer in Ableton Live 12 so it stays hyped, rhythmic, and characterful without chewing up CPU or cluttering your mix. In DnB, a ragga vocal layer usually lives in the intro, buildup, switch-up, or first bar of a drop — not as a full lead vocal, but as a pressure tool: a shout, chant, phrase, or skank that adds identity and danger to the track.
Why this matters: ragga vocals can give a roller or jungle track instant attitude, but they can also get messy fast. If you leave them unshaped, they fight the snare crack, smear over the top of the bass, and eat processing power if you stack heavy effects on every phrase. The goal here is to make the vocal sound big and intentional while keeping the session lean and responsive.
This technique suits jungle, deep rollers, dancefloor DnB, and darker ragga-influenced club tracks especially well. By the end, you should be able to hear a vocal layer that sits on top of the drums with swagger, cuts through a drop without dominating it, and can be automated or resampled cleanly without slowing your project down.
What You Will Build
You will build a controlled ragga vocal layer that feels raw, tight, and properly embedded in a DnB arrangement. It will have:
- a gritty front edge, but not harsh digital spikiness
- rhythmic movement that locks to 2-step or break-driven pockets
- enough width or delay haze to feel exciting, but not so much that it blurs the center
- a mix-ready level that works with kick, snare, and bass
- low CPU use by relying on a simple stock-device chain and committing changes when needed
- Use short, ruthless vocal cuts. A single ragga phrase with a clean tail can feel heavier than a long loop because it leaves room for the bass to breathe.
- Try slight timing nudges. If a shout lands just ahead of the beat, it can create aggression; if it lands slightly behind, it can feel more menacing and weighty. Keep the move subtle.
- Saturation before delay can make the repeat speak more clearly. A lightly driven vocal feeding a delay often sounds more intentional than a clean vocal with lots of wet repeat.
- If your drop is very bass-dense, reduce the vocal’s low-mid body around 250–350 Hz before adding ambience. That range is where vocal weight can become mud fast.
- For a darker jungle feel, use a rougher, drier lead vocal and reserve the wider ambience for transitional moments only. Constant width can make the vibe too glossy.
- If the vocal has a strong consonant, duplicate only that attack and place it as a tiny accent before a snare. This can add attitude without adding more sustained audio.
- For a second drop, print the original vocal and then make a more aggressive version: slightly more saturation, a touch more high-pass, and a shorter delay. That keeps the energy up while preserving mix clarity.
- If the vocal is fighting the snare, carve a small dip around the snare’s bite area rather than just turning the whole vocal down. This keeps the character while preserving drum punch.
- use only one vocal sample
- use no more than four stock devices
- no more than one reverb or delay device
- the final vocal must work with drums and bass playing
- print the final version to audio if you finish the processing
- one 4- or 8-bar vocal phrase that sits cleanly over a DnB drum loop and bassline
- one automated effect move, such as a delay throw or filter opening
- Can you hear the vocal clearly without raising it too much?
- Does the snare still crack through?
- Does the vocal stay understandable in mono?
- Does the phrase feel like part of the arrangement, not a random layer?
The finished result should sound like a vocal that punches phrases into the track, then gets out of the way. If it works, you’ll feel the vocal as part of the groove rather than a separate layer sitting on top of the mix.
Step-by-Step Walkthrough
1. Start with one clean vocal clip and trim it hard
Put your ragga vocal sample onto a single audio track. Before adding any effects, cut the clip so you only keep the useful phrase, shout, or ad-lib. In DnB, shorter is often better. A 1-bar or even half-bar vocal hit can be more effective than a long phrase because it leaves space for the snare and bass to speak.
Use the clip’s start and end points so the vocal begins exactly on-grid or slightly ahead of the beat if it needs urgency. If the sample has a tail that clouds the groove, shorten it aggressively and let the reverb or delay create the sense of space later.
What to listen for: the first consonant or vowel should feel immediate, not late. If the vocal starts a little before the drop, it should create tension, not sound like a mistake.
2. Clean the vocal with a minimal stock chain
Insert Ableton’s EQ Eight first. High-pass the vocal somewhere around 100–180 Hz, depending on the source. For a rough ragga shout, you can often go higher than you think because you do not want it fighting the sub or low-mid bass. Then make a small cut in the muddy zone around 200–400 Hz if the vocal sounds boxy or cloudy.
After EQ Eight, add Compressor if the phrase is uneven. Use modest settings: a ratio around 2:1 to 4:1, a fast-ish attack if the vocal has spiky consonants, and a release that recovers naturally with the phrase. You are not trying to crush it — just keep the level steady enough that the effects behave predictably.
If the vocal is harsh, add a very gentle dip around 2.5–5 kHz instead of over-boosting it. In DnB, that range often competes with snare snap and percussion bite.
What to listen for: the vocal should sound more focused after EQ, not thin and lifeless. If it loses its ragga attitude, you’ve probably cut too much low-mid body.
3. Decide on the core flavour: dry urgency or delayed atmosphere
Here is your first A versus B decision point.
A: Dry and upfront
Use very little reverb, maybe a tiny room or short plate from Reverb with a short decay. This works when the vocal is acting like a command, chant, or hype stab in a sparse roller or halftime-feeling section.
B: Echoed and dubby
Use Delay instead, or Delay plus a smaller amount of reverb. This suits jungle, dubwise intros, and darker sections where the vocal should trail into space.
For A, keep the reverb decay short, often under 1 second, and roll off low end in the reverb if necessary. For B, use a delay time synced to the groove — try 1/8 or dotted 1/8 depending on how busy the drums are — and keep feedback moderate so it repeats without swallowing the snare.
The important DnB decision: if the track is already dense with breaks and bass movement, the dry option usually keeps the groove clearer. If the arrangement has negative space, the echoed option can make the vocal feel huge without adding more layers.
4. Build a low-CPU control chain using only a few stock devices
Keep the processing simple and efficient. A solid beginner chain is:
EQ Eight → Compressor → Saturator → Delay or Reverb
Saturator is excellent here because it can thicken a ragga vocal and help it cut through club playback without adding a heavy plugin chain. Start with Drive around 2–5 dB and use Soft Clip if the vocal is peaking aggressively. If the sample is already distorted, keep Saturator very light — the goal is density, not fuzz overload.
If you want more bite, try a very small high-frequency tilt with EQ Eight after Saturator instead of stacking more distortion. This is usually cleaner and lighter on CPU than building multiple effect layers.
This works in DnB because ragga vocals need attitude at relatively low level. Distortion and controlled compression help the vocal stay present over sub-heavy basslines without needing to be turned up too far.
5. Use automation to make the vocal feel like part of the arrangement
Do not leave the vocal static across the whole track. Automate volume, delay send, or filter movement so it only blooms where it matters.
A practical approach:
- automate the vocal level down slightly during busy drum passages
- bring it up for the bar before the drop
- open the delay or reverb only on the last word or shout of a phrase
- pull the effects back immediately after the impact
For example, in a 16-bar intro, let the vocal appear in bar 9, repeat in bar 13, then hit hard in bar 16 right before the drop. In a roller, a 4-bar or 8-bar call-and-response between vocal and drums can work better than constant repetition.
This is where the layer stops sounding like a loop and starts sounding like arrangement language.
6. Check the vocal against drums and bass, not in solo
Solo can be useful for cleanup, but the real decision happens with kick, snare, and bass playing. Turn the full section on and ask: does the vocal lead the energy without covering the snare crack or the bass movement?
Listen for two things:
- If the snare loses its front edge when the vocal hits, reduce the vocal around 2–5 kHz or lower its level by 1–3 dB.
- If the bass disappears in mono when the vocal is wide or drenched in effects, reduce stereo widening and keep the vocal more centered.
In DnB, the snare is often the anchor point. The vocal should frame that anchor, not blur it.
If your vocal only sounds good in solo, stop here and fix the balance before you add anything else. A ragga layer that works in the full drop is more valuable than one that sounds “cool” isolated.
7. Choose between two movement styles: filter motion or delay motion
Here is your second A versus B decision point.
A: Filter motion
Add Auto Filter and automate a gentle low-pass opening into the drop, or a quick band-pass sweep for a build. This keeps CPU light and gives the vocal a classic tension arc. Use this when the vocal needs to feel like it’s emerging from the system.
B: Delay motion
Keep the vocal mostly static, but automate Delay on/off, feedback, or wet level for the ends of phrases. This creates dub-style punctuation and is especially effective in darker jungle and deep rollers.
Filter motion tends to feel cleaner and more direct. Delay motion tends to feel wider and more haunted. Both are valid — choose based on whether the track needs focus or atmosphere.
A realistic range: if you use Auto Filter, move slowly across a narrow band rather than sweeping wildly. For a build, a low-pass opening from roughly 500 Hz upward into the drop can feel effective; for a darker passage, a band-pass around the midrange can create that trapped-in-the-system character.
8. Print the control moves to audio when the idea is working
Once the vocal sounds right with its automation, commit the result to audio if the project is getting heavy or if you want tighter editing. In Ableton, this means consolidating or resampling the phrased vocal section so you can treat it like an audio element instead of a live effect chain.
This is a major workflow efficiency move. If the vocal is only used in one intro, one drop pickup, or one switch-up, printing it saves CPU and makes arrangement faster. It also helps you edit tails, reverse bits, and duplicate hits more easily.
Commit this to audio if:
- the effect moves are settled
- the vocal is only needed in specific sections
- your session is starting to lag from other bass and drum processing
After printing, you can chop the audio into one-shots, reverse a tail into a transition, or duplicate the best consonant hit for emphasis.
9. Place the vocal with bar-length intent
Put the vocal where it supports phrasing, not randomly where it “sounds cool.” In DnB, a vocal often works best at:
- the last half of a 4-bar phrase
- bar 4 or 8 leading into a switch
- the first hit of a drop, then disappearing
- the second drop as a more aggressive variation
Example arrangement:
- Intro: filtered ragga phrase every 8 bars
- Pre-drop: short delay throw on the final word
- Drop 1: one strong vocal hit in bar 1, then only occasional callouts
- Drop 2: more chopped vocal repeats, or a widened version with extra grit
This keeps the track DJ-friendly and prevents the vocal from exhausting its impact.
10. Make the layer efficient and mix-safe
Finish by checking the vocal in mono and at low volume. This is important because DnB systems can be brutal in clubs, and phasey vocal effects can vanish or turn cloudy.
Keep the vocal mostly centered unless the effect is deliberately decorative. If you widen it, do so gently and always verify that the core phrase still reads in mono. A wide reverb tail is fine; a wide essential vocal body is riskier.
One useful habit: lower the vocal by a couple of dB and see if you still understand the phrase. If the vocal is clear at a slightly reduced level, it is probably balanced well. If it only works when loud, it is likely masking the drums or the bass.
Common Mistakes
1. Leaving the full vocal sample unedited
Why it hurts: the tail, breaths, or extra words can clutter the drop and fight the snare.
Fix: trim the clip to only the strongest phrase or hit, then fade the edges manually.
2. Over-processing with too many devices
Why it hurts: CPU rises, the vocal gets blurry, and the project becomes harder to finish.
Fix: use a simple chain first: EQ Eight, Compressor, Saturator, then one ambience device. Print it to audio once the shape is right.
3. Too much low end in the vocal
Why it hurts: it competes with the sub and makes the drop feel cloudy.
Fix: high-pass with EQ Eight, usually somewhere around 100–180 Hz, and check that the vocal does not thicken the kick area.
4. Using too much delay feedback
Why it hurts: the repeats smear over the snare and make the groove feel late.
Fix: lower feedback, shorten the repeats, or automate the delay only on the last word of a phrase.
5. Making the vocal too wide
Why it hurts: mono compatibility drops, and the center of the track loses authority.
Fix: keep the main body centered and use width only on effects tails or short accent throws.
6. Processing the vocal without the drums and bass playing
Why it hurts: the vocal may sound exciting alone but unusable in the actual drop.
Fix: always test with kick, snare, and bass active before finalising levels or effects.
7. Letting the vocal run through the whole arrangement
Why it hurts: the impact disappears and the track becomes fatiguing.
Fix: use it in phrases, drop punctuation, and switch-up moments. In DnB, less often hits harder.
Pro Tips for Darker / Heavier DnB
Mini Practice Exercise
Goal: build one usable ragga vocal accent for a DnB intro or drop in 15 minutes.
Time box: 15 minutes
Constraints:
Deliverable:
Quick self-check:
Recap
A strong ragga vocal layer in DnB is about control, not overload. Trim it hard, shape it with a simple stock chain, place it with bar-length intent, and automate just enough movement to make it feel alive. Keep the core centred, protect the snare and sub, and print the effect once it works. If the result sounds like a vocal command punching through the tune without stealing the mix, you’ve got it.

