Main tutorial
Lesson Overview
This lesson is about a very specific oldskool DnB edit move: the snare snap push. In a jungle or early DnB context, this means pushing the snare’s attack, presence, and forward motion so it feels like it “jumps” out of the break, without turning the whole drum bus into a harsh spike. You’ll use this technique to make a loop feel more urgent, more dancing, and more authentic to that Concrete Echo / dusty warehouse / chopped-break energy.
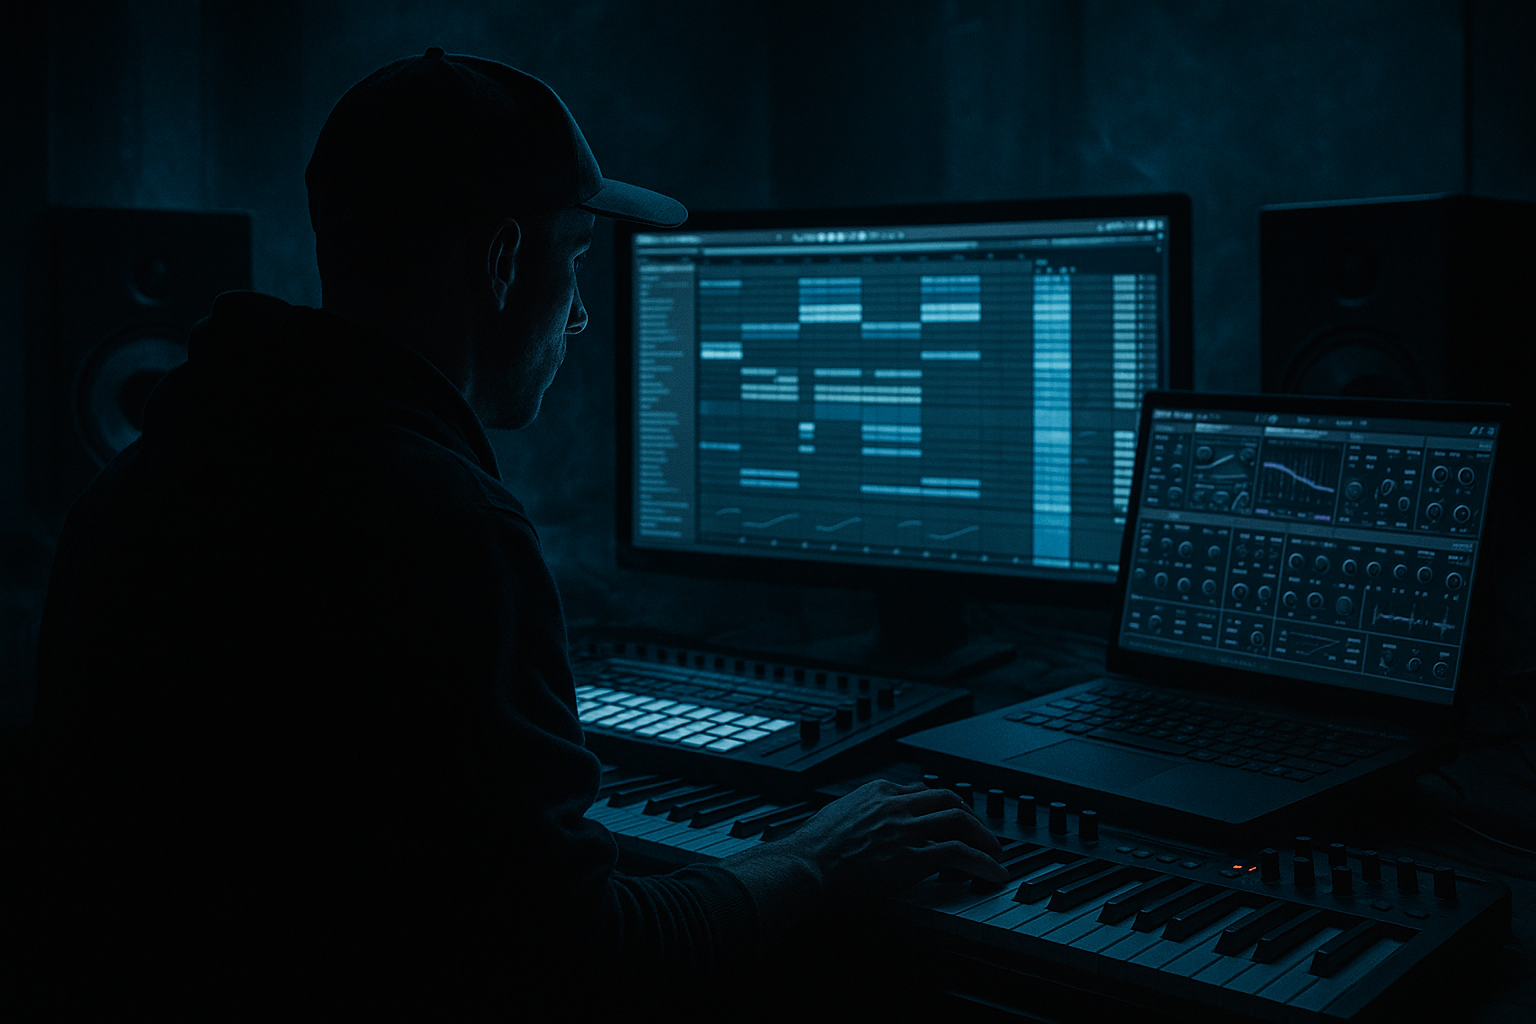
In Ableton Live 12, this sits right in the Edits zone: you’re not designing a brand-new snare from scratch, you’re reshaping an existing break or layered snare hit so it punches through a mix and works in a jungle phrasing context. This matters because oldskool DnB relies on contrast: loose breaks, tight snare accents, and clear call-and-response between drums and bass. If the snare doesn’t snap, the groove can feel flat even when the sound selection is good.
The goal here is to build a snare edit chain and arrangement behavior that gives you:
- a snare that hits forward in the pocket
- more perceived energy without needing huge volume
- a snap that works against sub-heavy basslines
- enough grit and movement to feel authentic to jungle and rollers vibes
- a 160–174 BPM jungle intro where the snares need to cut through dusty breaks
- a half-time breakdown before the drop where the snare becomes the tension carrier
- an oldskool roller where the snare must stay crisp while the bassline keeps moving
- a darker DnB drop where the snare is the main “announce the bar line” element
- Making the snare louder instead of sharper
- Letting the snap layer fight the body
- Over-compressing the snare bus
- Adding too much reverb
- Ignoring bass-space conflict
- Quantizing everything perfectly
- Using too much top-end boost
- Use parallel distortion on the snare only
- Layer a tiny click with the snare
- Automate a subtle high-mid dip in the bass on snare hits
- Use clip gain to control the transient before processing
- Resample your edited snare
- Try a slightly dirty room instead of a clean reverb
- Stack groove against straight bass
We’ll use stock Ableton devices only, and we’ll keep everything rooted in practical DnB decisions: transient control, break editing, bus shaping, saturation, and arrangement placement. 🔥
What You Will Build
By the end of this lesson, you’ll have a Concrete Echo-style snare snap push built in Ableton Live 12 that does three things:
1. Turns a standard snare or break snare into a sharper, more front-foot hit
- Think: more “tick + crack” around the transient
- Less “papery” and more “knife-edge” in the mix
2. Places the snare in a classic jungle/DnB rhythmic role
- Strong backbeat energy on 2 and 4
- A few tasteful ghosted pushes before or after the main snare
- Enough space for a rolling bass to breathe underneath
3. Gives you a usable edit chain for a full loop or 8-bar section
- You can apply it to a chopped break
- Or layer it with a one-shot snare for more authority
- You can automate the snap intensity for build-ups, drop variations, and switch-ups
Musically, this works great in:
Step-by-Step Walkthrough
1. Start with a break or snare source that already has character
Open an empty Drum Rack or audio track and load a break with a snare you like, or drop in a clean snare one-shot if you want to build from a controlled source. For this lesson, the best result usually comes from a break-based snare with a little room sound or grit already in it.
If you’re using a break loop, slice it to MIDI using Slice to New MIDI Track and choose:
- Transient for more precise chop points
- or 1/8 if you want quick oldskool-style chop control
If you’re using a one-shot snare, place it on a MIDI pad and duplicate it so you can layer and compare edits. In DnB, the snare often works best when it has a body source and a snap source. You’re not overbuilding it—just giving it two jobs:
- body = the meat of the hit
- snap = the top-end crack that makes it read on small speakers
Practical choice: keep the source fairly dry for now. Reverb can come later.
2. Build the snap with an Audio Effect Rack or simple layered chain
If you’re on a snare one-shot, put it in an Instrument Rack or keep it on the Drum Rack pad and layer a second snare or a tiny percussion click with it. If you’re editing a break, duplicate the snare slice onto another track so you can process the “snap layer” separately.
For the snap layer, use stock devices in this order:
- EQ Eight
- Saturator
- Drum Buss or Drum Buss + Utility
Start with EQ Eight:
- High-pass around 150–250 Hz so the snap layer doesn’t fight the body
- Add a gentle boost around 2.5–5 kHz if the snare needs more crack
- If there’s harshness, notch lightly around 6–8 kHz
Then add Saturator:
- Drive: 2–6 dB
- Leave Soft Clip on if the snare needs density
- Use Analog Clip only if you want a harder, more crushed edge
Finally, use Drum Buss:
- Drive: 5–20%
- Transients: +5 to +25
- Boom: usually off or very low for the snap layer
Why this works in DnB: the snare needs to sound loud before it sounds big. Fast music leaves less time for the ear to perceive body, so a controlled transient and upper-mid snap help the snare read clearly over fast bass movement.
3. Edit the transient with clipping and envelope shaping
For a real “snap push,” the transient itself matters more than volume. Use a clean audio clip of the snare or chopped break slice and tighten it.
In the Clip view:
- Reduce the sample’s start point so the transient begins right at the hit
- Shorten the tail if the snare is too long or cloudy
- Turn Warp off if the slice is already in time and you want a natural hit
- If Warp must be on, choose Beats mode and keep transients sharp
On the track, add Glue Compressor or Compressor only if needed:
- Ratio: 2:1 to 4:1
- Attack: 10–30 ms for transient pass-through
- Release: Auto or 50–120 ms
- Aim for just 1–3 dB gain reduction
For a more obvious push, use Simpler on the snare with:
- Filter off or minimal
- Envelope amount moderate
- Amp decay short, around 150–350 ms for a tight hit
If the snap feels dull, don’t immediately make it louder. First ask: is the transient starting late? Is the tail masking the next drum? In DnB, tightness is often the real loudness.
4. Use a parallel snap bus for extra bite without flattening the main snare
Create a return track or a duplicate audio track and make a parallel snap bus. Route the snare to it and process aggressively while keeping the dry snare intact.
On the parallel track:
- EQ Eight: high-pass at 300–500 Hz
- Saturator: Drive 6–10 dB
- Overdrive if you want more bite, Amount around 10–30%
- Drum Buss: Transients +20 to +40, Drive moderate
- Optional Redux for lo-fi crispness, but use lightly
Blend this bus underneath the dry snare until you feel the snap, not the processing. This is especially strong for jungle because the ear loves that slightly overcooked midrange edge on snares, but the mix still needs the dry hit to keep authority.
Useful workflow: label this return something like:
- SNARE SNAP
- BREAK CRACK
- TOP ATTACK
That makes it easy to recall later when you’re finishing the arrangement.
5. Shape the groove so the snare feels pushed, not rushed
Now place the snare in the bar with intention. In oldskool DnB, a snare on 2 and 4 is standard, but the edit feel often comes from the notes around it.
In Ableton’s MIDI editor:
- Put the main snare on 2 and 4
- Add a ghost note just before one snare, usually a 1/16 or 1/32 pickup
- Lower ghost note velocity to roughly 25–60
- Offset the ghost note slightly early if you want a human, breakbeat push
For a Concrete Echo-style oldskool vibe, a useful pattern is:
- kick / break fragments on the downbeat
- main snare on 2 and 4
- a ghost snare pickup into bar 2 or bar 4
- bassline leaves a small gap right before the snare so the transient lands cleanly
If you’re editing an audio break, duplicate the snare slice and nudge it a few milliseconds forward or backward depending on the feel:
- slightly early = more urgency
- slightly late = more drag and weight
Don’t overquantize. Jungle and early DnB breathe because the edits are tight but not sterile.
6. Make room for the snare in the bassline and drum bus
The snare can only snap if the mix clears space for it. This is where DnB judgment matters.
On the bass track:
- Use Utility to check mono low-end
- Keep the sub below roughly 120 Hz centered and disciplined
- If the bass has a midrange reese layer, dip a little around 2–5 kHz when the snare hits, either manually or with automation
A practical move: automate an EQ Eight on the bass bus so there’s a tiny pocket around the snare hit.
- Very small dip: 1–3 dB
- Narrow to medium Q
- Focus around 180–250 Hz if the snare body is muddy
- Or around 2–4 kHz if the snare snap is fighting the bass growl
On the drum bus:
- Use Glue Compressor for cohesion
- Keep the drum bus from overreacting to the snare
- If needed, reduce low mids slightly with EQ Eight to keep the snap forward
Why this works in DnB: the snare is your arrangement landmark. When it’s clear, the listener perceives the whole track as tighter and more powerful, even if the bass is massive.
7. Automate snap intensity for arrangement movement
A good edit becomes a track tool when you automate it. In an 8-bar section, use changes in the snare snap to create development without rewriting the whole drum pattern.
Try automating:
- Saturator Drive on the snap layer
- Drum Buss Transients
- A very small EQ Eight high shelf around 6–10 kHz
- Return send level to a short room or dark ambience reverb
Arrangement example:
- Bars 1–4: moderate snap, cleaner and more restrained
- Bars 5–6: increase snap drive slightly to build pressure
- Bar 7: add a ghost pickup and a bit more send to space
- Bar 8: hit the loudest snare or a doubled snare for the switch into the drop
This is especially effective in a jungle intro or a dark roller where you want the drums to evolve without losing the dancefloor drive. Small automation moves can feel huge when the BPM is high.
8. Finish with a short room, not a washed tail
Oldskool DnB snares often feel alive because of space, but the space is usually controlled and short. Use Reverb or Hybrid Reverb carefully.
Suggested settings:
- Decay: 0.3–0.9 s
- Pre-delay: 10–25 ms
- High-cut: 6–9 kHz
- Low-cut: 200–400 Hz
Keep the reverb subtle and dark. You want the snare to appear in a room, not swim in it. If the track is more ragga-jungle or atmospheric, you can send a little more. If it’s a tight, darker roller, keep the room almost felt rather than heard.
If the reverb blurs the snap, put EQ Eight after Reverb and cut some 2–5 kHz in the return. That helps preserve the transient while still giving the snare dimension.
Common Mistakes
- Fix: use transient control, saturation, and EQ before reaching for gain.
- Fix: high-pass the snap layer and keep the low mids clear.
- Fix: use slow enough attack for transient punch and only a few dB of reduction.
- Fix: shorten decay, darken the return, and keep pre-delay small but present.
- Fix: carve a small pocket in the bass around the snare’s body and upper-mid snap.
- Fix: leave tiny timing humanization in break edits so the groove feels oldskool, not rigid.
- Fix: if it hurts, try saturation or parallel processing before adding more EQ.
Pro Tips for Darker / Heavier DnB
- Send the snare to a return with Saturator + Overdrive and blend in just enough for grime. This adds density without trashing the main transient.
- A very short high-passed percussion hit can add “needle” to the attack. Keep it low in the mix; it’s there for perceived snap.
- Even 1–2 dB can make the snare feel enormous in a dense neuro or dark roller context.
- If the snare is already too spiky, reduce the clip gain first. Better input means better compression and saturation behavior.
- Once the chain sounds right, resample it to audio. In DnB edits, committing the sound often helps you make faster arrangement decisions and keeps the workflow moving.
- Short, gritty ambience can make the snare feel older and more authentic than a polished modern tail.
- A slightly swung snare or ghost pickup against a straight sub line creates tension. That contrast is a big part of jungle momentum.
Mini Practice Exercise
Spend 10–20 minutes making a two-bar snare edit that pushes like a classic jungle break.
1. Load one break or one snare one-shot into Ableton Live.
2. Build a snap layer using EQ Eight + Saturator + Drum Buss.
3. Program a two-bar loop at 165–174 BPM with snares on 2 and 4.
4. Add one ghost pickup before bar 2 or before the second main snare.
5. Create a parallel snap return and blend it until the snare cuts through.
6. Add a short dark reverb send, then reduce it until the transient stays clear.
7. Loop a simple bass pattern underneath and check whether the snare still reads.
8. Make one automation move: increase snap intensity in bar 2 for a mini lift.
Goal: by the end, you should be able to hear the snare as the main “forward” event in the loop, not just another drum sound.
Recap
The Concrete Echo snare snap push is about making the snare hit forward, cut through, and carry the groove in a jungle / oldskool DnB context. Use layered editing, transient shaping, parallel saturation, and small arrangement moves to give the snare more authority without flattening the drum bus. Keep the bass out of its way, keep the reverb short, and use automation to make the snap evolve across the track. In DnB, a great snare isn’t just a sound — it’s a structural event.

