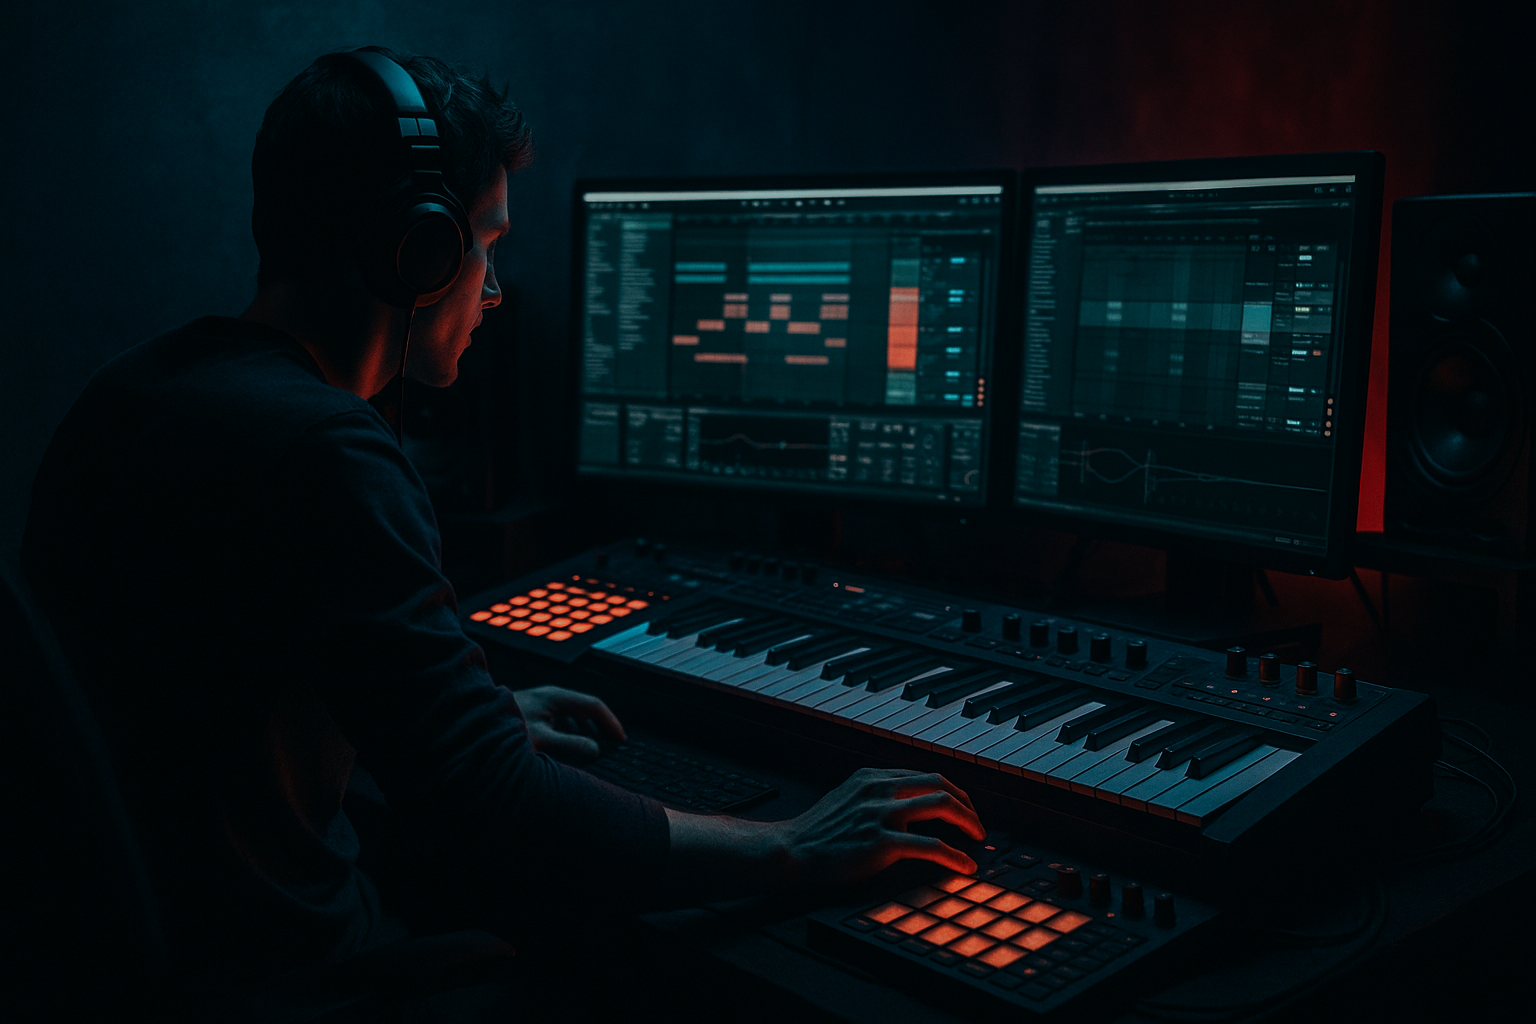
DNB COLLEGE

Drum & Bass Ableton Live 12 Tutorials

LESSON DETAIL

Concrete Echo percussion layer humanize masterclass using resampling workflows in Ableton Live 12 for jungle oldskool DnB vibes (Intermediate)

An AI-generated intermediate Ableton lesson focused on Concrete Echo percussion layer humanize masterclass using resampling workflows in Ableton Live 12 for jungle oldskool DnB vibes in the Sound Design area of drum and bass production.

Back to lessons
Concrete Echo percussion layer humanize masterclass using resampling workflows in Ableton Live 12 for jungle oldskool DnB vibes (Intermediate) cover image

Narrated lesson audio

The voice track includes the tutorial plus extra teacher commentary.

Open audio file

Main tutorial

Lesson Overview

This lesson is about building a concrete echo percussion layer that feels like it belongs in an oldskool jungle / DnB record, but with the control and punch of a modern Ableton Live 12 workflow. The core idea is simple: take a dry percussion hit or tiny break fragment, throw it into a short “concrete room” style delay/echo chain, then resample the result so you can chop, humanize, and re-place it like a playable drum layer.

In DnB, this matters because percussion is not just “top end decoration.” It carries energy, forward motion, and identity. A good humanized percussion layer can make a loop feel alive without cluttering the snare or fighting the bass. In jungle and oldskool rollers, that slightly unstable, textural movement is part of the groove. In darker modern DnB, this same technique can add grime, depth, and a sense of space that feels physical, not glossy.

You’ll be working inside Ableton Live with stock devices and resampling workflows, focusing on:

  • short decay echo textures
  • groove and swing
  • transient control
  • resampled percussion edits
  • mix-safe layering for DnB
  • Why it matters: realistic micro-variation is what stops a loop from sounding looped. In DnB, where the drums repeat for long stretches, that humanized layer can be the difference between “solid” and “infectious.” 🔥

    What You Will Build

    By the end, you’ll have:

  • a tight 1-bar or 2-bar percussion layer built from a dry hit, a break slice, or a rim/tom/click
  • a concrete echo effect made from short, filtered delay/room processing
  • a resampled audio lane containing ghost hits, tails, and irregular rhythmic details
  • a layer that sits above the kick, snare, and break, adding motion without masking them
  • a variation system for fills, switch-ups, and 16-bar tension build sections
  • a sound that works for jungle, roller, dark halftime, or neuro-adjacent percussion beds
  • Musically, expect something like:

  • main drum break on 1 and 2 bars
  • a restrained snare on 2 and 4
  • a humanized metallic/rim texture flickering in the gaps
  • echo fragments that “answer” the kick and ghost between snare hits
  • enough grit to feel vintage, but enough control to keep the drop clean
  • Step-by-Step Walkthrough

    1. Start with a very small source sound

    In Ableton Live, pick one of these sources:

    - a rimshot

    - a closed hat

    - a tiny break slice

    - a conga/bongo hit

    - a short wooden percussion sample

    The best choice is something with a sharp transient and short body. Drop it into a Simpler or Audio Track and trim it so it’s very focused. You want a sound that can survive being mangled into echo dust.

    Good starting choices:

    - Simpler in Classic mode

    - Warp off if the sample is already tight

    - Fade in: 0–2 ms

    - Fade out: 5–20 ms if needed

    If you use a break slice, isolate a single ghost hit or a tiny hat cluster. This gives the layer a more jungle-native feel than a clean one-shot.

    2. Build the “concrete echo” chain with stock devices

    Put the source on a Return track or an Audio Effect Rack on the percussion channel. A simple stock chain works great:

    - Echo

    - EQ Eight

    - Saturator

    - Utility

    Suggested starting settings for Echo:

    - Delay Time: 1/16, 1/8, or dotted 1/16

    - Feedback: 15–35%

    - Stereo: 0–30% for tighter layers

    - Filter On: High-pass around 200–500 Hz

    - Low-pass around 6–10 kHz

    - Modulation: very subtle, around 5–15% max

    The “concrete” part comes from making the echo feel like it’s bouncing off a hard surface, not floating in glossy reverb space. Keep it short and a bit dry. If you want more room character, add Reverb after Echo with:

    - Decay Time: 0.3–0.8 s

    - Pre-delay: 0–10 ms

    - High Cut: 6–8 kHz

    - Low Cut: 250–500 Hz

    - Dry/Wet: 5–20%

    Then use Saturator lightly:

    - Drive: 1–4 dB

    - Soft Clip On

    - Color: neutral or slightly warm

    Why this works in DnB: short, filtered echoes create rhythm without smearing the low end. The transient remains readable, while the repeated tail adds movement between drum accents.

    3. Set up a resampling track and commit the effect

    Create a new audio track and set its input to Resampling. Arm it, then play your percussion source through the echo chain. Record 4 or 8 bars of material.

    Don’t just capture a loop once. Capture several passes while adjusting:

    - feedback amount

    - echo time

    - filter cutoff

    - dry/wet balance

    - send level into any room or reverb

    The goal is to record slightly different echo behaviors. That gives you material you can later chop into a humanized layer rather than a rigid loop.

    Tip: try recording one pass with the Echo set to 1/16 and another with dotted 1/16. These two timings create different pocket feels. A straight 1/16 pass can feel more mechanical; dotted timing can immediately add jungle swing.

    4. Chop the resample into micro-percussion events

    Take the resampled audio and place it on a fresh audio track. Now use one of these Ableton workflows:

    - Slice to New MIDI Track

    - Manual warp-marker editing

    - Simpler in Slice mode

    - Clip duplication and tiny fades

    For intermediate users, a strong workflow is:

    - find the best 1-bar segment

    - consolidate it

    - then slice the most interesting transients into 1/16 or 1/32 events

    Don’t try to keep everything. Pick only the best hits, tails, and weird little echoes. The layer should feel intentional.

    Useful editing moves:

    - trim silence aggressively

    - add tiny crossfades if clicks appear

    - move a few hits slightly ahead or behind the grid

    - keep some tails hanging into the next beat

    This creates the humanized feel. You’re not “perfecting” the loop — you’re making the timing imperfect in a musical way.

    5. Humanize the timing using groove and manual offsets

    Open the Groove Pool and test a subtle swing groove. For jungle and rollers, start with something like:

    - MPC 16 Swing 54

    - MPC 16 Swing 57

    - a light extracted groove from a break you already like

    Apply only a portion of the groove:

    - Timing: 30–60%

    - Random: 0–10%

    - Velocity: 10–25% if the layer needs more life

    Then make manual nudges. A few practical rules:

    - let some ghost hits land a few milliseconds late for lazy funk

    - push occasional high percussion slightly early for urgency

    - avoid shifting every hit the same way

    In DnB, the best humanization is usually selective. If every note is off-grid, the groove gets blurry. If only a few notes are offset, the loop breathes.

    Also try velocity editing:

    - main hits around 90–110

    - ghost hits around 25–60

    - occasional accent spikes for call-and-response

    That contrast helps the layer act like a performance, not a pattern.

    6. Shape the layer so it sits in the drum pocket

    On the chopped percussion track, add EQ Eight and Utility:

    - high-pass at 180–400 Hz

    - cut harshness around 3–7 kHz if needed

    - narrow notch if one echo ring dominates

    - Utility width: 70–100% depending on arrangement role

    If the layer is meant to stay tucked behind the break, keep it narrower and darker. If it’s a featured top layer in a drop or switch-up, you can open the width a little more, but be careful not to smear the center snare.

    A good check: mute the layer and ask whether the groove loses motion. If yes, the layer is doing its job. If the drum bus suddenly feels cleaner and bigger when muted, you likely made it too loud or too bright.

    For more control, group your drum elements and place a Drum Buss lightly on the percussion group:

    - Drive: 2–6%

    - Boom: usually off for this layer

    - Crunch: subtle, 5–20%

    - Transients: +5 to +15 if the layer is too soft

    This helps glue the humanized layer into the main kit without flattening it.

    7. Use automation to create phrase-level movement

    Now treat the layer like arrangement material, not just loop content. Automate:

    - Echo feedback up slightly at the end of every 8 or 16 bars

    - filter cutoff opening during tension sections

    - Dry/Wet increasing into fills

    - track volume ducking under key snare hits or drop impacts

    Good automation ideas:

    - 1–2 dB level lift in the last bar before a drop

    - brief feedback burst on the final snare of a section

    - low-pass opening from 5 kHz to 9 kHz through a build

    - sudden filter close for a stop/start before the drop

    Musical context example:

    In an 8-bar jungle intro, let the concrete echo layer enter quietly in bar 3, become more active in bars 5–6, then pull back in bar 7 so the drop lands clean in bar 9. That creates tension and makes the drop feel bigger without adding another full drum break.

    8. Turn the resample into a playable variation system

    Instead of keeping only one loop, create 3 versions:

    - Version A: sparse, tucked under the break

    - Version B: more active, with extra ghost hits

    - Version C: fill version with longer tails or extra echo bursts

    You can do this by duplicating the track and editing differently, or by using a Drum Rack with multiple sliced samples. For faster workflow in Live 12, keep each version on a separate lane or rack chain and mute/unmute them by section.

    Arrange them like this:

    - A for the main 16-bar groove

    - B for the second half of the drop

    - C for transitions, 4-bar lift sections, or pre-drop tension

    This is how you get oldskool jungle motion with modern arrangement logic: the drums evolve enough to stay exciting, but the track still loops cleanly for DJs and mixdowns.

    Common Mistakes

  • Too much feedback
  • If Echo is long and washy, the layer stops being percussion and becomes ambience. Fix: reduce feedback to 15–35% and tighten the filter.

  • Leaving low end in the effect chain
  • Echo/reverb tails carrying low frequencies will fight the kick and sub. Fix: high-pass the effect return at 200–500 Hz, sometimes even higher.

  • Over-humanizing everything
  • If every hit is late or random, the groove becomes sloppy. Fix: keep the main grid intact and only offset select ghost notes.

  • Layer too loud in the mix
  • A humanized echo layer should enhance the pocket, not dominate it. Fix: lower the fader until you miss it when muted but don’t notice it when it’s there.

  • Too much brightness
  • Sharp echoes can get harsh fast, especially above 6 kHz. Fix: use EQ Eight or Echo’s filter to tame upper mids.

  • Not resampling enough
  • If you keep tweaking live instead of committing audio, you never make decisions. Fix: record the result and chop it.

  • Using a source that’s too full-bodied
  • A long tom or busy loop can clutter the layer. Fix: start with a tiny transient source.

    Pro Tips for Darker / Heavier DnB

  • Use a band-passed echo layer for menace
  • Try EQ Eight before Echo with a band-pass-ish shape: cut lows hard, tame highs, leave the midrange bite. This can make the layer feel like it’s bouncing through metal corridors.

  • Add subtle modulation with Frequency Shifter or Chorus-Ensemble sparingly
  • Tiny movement can make the layer feel alive, but keep it minimal. The goal is unease, not obvious FX.

  • Resample with different saturation passes
  • Try one recording with clean Echo and another with Saturator driving 3–5 dB. Layer them quietly for extra density.

  • Create a call-and-response against the snare
  • Let one echo fragment answer the snare on the offbeat. This works especially well in rollers and darkstep-inspired arrangements.

  • Use short reverb pre-delay to fake hard surfaces
  • A 0–10 ms pre-delay with a short decay can make the percussion feel like it’s in a concrete space without washing out the groove.

  • Stereo discipline matters
  • Keep the low percussion and main kick/snare mono, then let only the top layer have some width. Use Utility to check mono compatibility regularly.

  • Push distortion before re-resampling
  • A lightly crushed resampled pass can sound more “rude” and oldskool than clean top-end processing. Try Saturator or Drum Buss before recording the audio back in.

  • Use the layer as transition glue
  • In darker DnB, these percussion echoes are great for bridging between sections where the bassline drops out. They keep momentum without needing a huge riser.

    Mini Practice Exercise

    Spend 10–20 minutes making a 1-bar humanized percussion loop:

    1. Choose one tiny percussion source: rim, hat, or break slice.

    2. Process it with Echo and EQ Eight only.

    3. Record 4 bars using Resampling.

    4. Chop out 6–10 interesting hits or tails.

    5. Apply a subtle groove and move 2–3 notes manually.

    6. High-pass the layer and keep it quiet under a drum loop.

    7. Duplicate it and make one variation with extra feedback for a fill.

    Goal: by the end, you should have a loop that feels like a living top layer, not a static effect.

    Recap

  • Start with a tiny, transient-heavy percussion source.
  • Build a short, filtered “concrete echo” using stock Ableton devices.
  • Resample the result so you can edit it like drum material.
  • Chop, offset, and velocity-shape the fragments for human feel.
  • Keep the layer high-passed, controlled, and supportive of the kick/snare.
  • Use automation and variations to make it work across full DnB arrangement sections.

If you do this right, you’ll end up with a percussion layer that adds movement, grit, and jungle character without muddying the mix — exactly the kind of detail that makes a DnB track replayable.

Ask GPT about this lesson

Chat with the lesson tutor, get follow-up help, or use quick actions.

Bigup 👽 Ask me anything about this lesson and I’ll answer in context.

Narration script

Show spoken script
Welcome back. In this lesson, we’re building a concrete echo percussion layer that feels straight out of an oldskool jungle or DnB record, but with the precision of a modern Ableton Live 12 workflow.

The big idea is simple: take a tiny percussion source, run it through a short, hard-surfaced echo chain, record the result, then chop that resample into a living, humanized layer. We’re not just making an effect. We’re making playable percussion material that adds motion, grit, and attitude without muddying the kick, snare, or bass.

In drum and bass, this kind of layer matters a lot. The groove often loops for long stretches, so micro-variation becomes everything. A good humanized percussion bed can make a pattern feel like it’s breathing. It can add that jungle instability, that old sampler flavor, that little bit of chaos that keeps the loop exciting. And when you do it right, it still stays mix-safe and clean.

So let’s start at the source.

Pick something small and sharp. A rimshot, a closed hat, a tiny break slice, a conga hit, a click, anything with a crisp transient and a short body. If you choose a break slice, even better, because that already brings a more authentic jungle feel. Drop it into Simpler or onto an audio track and trim it tightly. You want a sound that can survive being stretched into little echo fragments.

If the sample is already tight, you can leave warping off. Keep the fades minimal too. You’re looking for a compact source that acts like a seed, not a full drum part.

Now we build the concrete echo chain.

A simple stock setup works great. Put Echo first, then EQ Eight, then Saturator, then Utility. If you want a little more space, you can add a short Reverb after Echo, but keep it restrained. The whole point is to create something that feels like it’s bouncing off hard walls, like a concrete room or a corridor, not floating in a shiny atmospheric wash.

For Echo, start with a delay time of 1/16, 1/8, or dotted 1/16. Keep feedback somewhere in the 15 to 35 percent range. Use very little stereo spread if you want the layer to stay tight, maybe 0 to 30 percent. Filter the low end out aggressively, usually high-passing around 200 to 500 hertz. Then roll off some top end too, maybe around 6 to 10 kilohertz, depending on how bright the source is. Keep the modulation subtle. You want movement, not wobble.

If you add Reverb, keep it short. A decay time around 0.3 to 0.8 seconds, very little pre-delay, high cut around 6 to 8 kilohertz, and low cut around 250 to 500 hertz is a solid starting point. Then add a little Saturator after that, just enough drive to make the tail a bit rude and dusty. A small amount of soft clipping can really help this feel like an actual percussion print instead of a clean delay preset.

Here’s the teacher note that matters: in DnB, the point of this chain is not to wash the sound out. The point is to create rhythm out of reflections. The transient should still read, but the tail should start contributing groove.

Once the effect feels good, it’s time to commit.

Create a new audio track and set its input to Resampling. Arm it and record your percussion source running through the echo chain. Don’t just print one quick loop and move on. Record a few bars, and while you record, make small changes. Adjust feedback, delay time, filter cutoff, and dry/wet balance. Capture a few different behaviors.

This is important because we want variation baked into the audio itself. Slightly different passes give you material that feels alive when you start chopping it. Try one pass at straight 1/16 and another at dotted 1/16. Straight timing can feel tighter and more mechanical, while dotted timing instantly brings in that jungle-style bounce.

Now we move into the edit phase, and this is where the magic really starts.

Take your resampled audio and put it on a new track. Now you’re going to treat it like drum material, not a finished loop. You can slice it to a MIDI track, manually place warp markers, use Simpler in Slice mode, or simply cut and duplicate sections by hand. For intermediate workflow, I’d suggest finding the best one-bar segment, consolidating it, then slicing the most interesting transients into 1/16 or 1/32 events.

And here’s a good mindset shift: think in events, not loops.

Every little tail, smear, ghost hit, or accidental overlap is a musical event you can place on purpose. Don’t keep everything. Be selective. Pick the hits that have attitude, the echoes that answer the main drum pattern, the weird little fragments that feel useful. The goal is not perfection. The goal is personality.

Trim out silence aggressively. Add tiny crossfades if you hear clicks. Move a few hits slightly ahead or behind the grid. Let some tails bleed into the next beat. This is where the human feel starts to appear. You’re not trying to lock everything perfectly. You’re trying to create a phrase that breathes.

Now let’s make the timing feel human, but not sloppy.

Open the Groove Pool and try a subtle swing groove. Something like MPC 16 Swing 54 or 57 is a strong place to start. You can also extract a groove from a break you already like if you want the feel to stay connected to the rest of the drums. Apply only part of the groove. You don’t need to max it out. Timing around 30 to 60 percent is usually enough. Random can stay very low, around 0 to 10 percent. Velocity can be around 10 to 25 percent if the layer needs a bit more life.

Then make a few manual offsets. A couple of ghost hits can land a little late for a lazy funk feel. A few brighter percussion bits can sit slightly early for more urgency. The key is not to shift every hit the same way. If everything is moved together, the groove just gets blurry. If only certain notes are offset, the loop starts to feel performed.

Velocity matters too. Give your stronger hits more weight, and keep the ghost notes light. Main hits might sit around 90 to 110 in velocity, while ghost hits might live somewhere around 25 to 60. That contrast helps the layer feel like it’s responding to the main groove rather than just sitting on top of it.

Next, shape the layer so it sits inside the pocket.

Add EQ Eight and Utility on the chopped percussion track. High-pass it somewhere around 180 to 400 hertz, depending on what’s in the resample. If there’s any harshness around 3 to 7 kilohertz, tame it a little. If one particular ring is sticking out too much, notch it gently. Then check the width. If this layer is supporting the break, keep it narrower and darker. If it’s a featured top texture, you can open the width a little more, but be careful not to cloud the snare in the center.

A great habit is to mute the layer every so often and ask yourself one question: does the groove lose motion when it disappears? If the answer is yes, the layer is doing its job. If the whole mix suddenly feels cleaner and better without it, then the layer is probably too loud, too bright, or too busy.

If you want a little extra glue, group your drums and add Drum Buss lightly to the percussion group. Keep the drive modest, usually just a touch. Crunch can help, transients can be nudged if the layer feels too soft, and boom is usually not needed here. The goal is to make the layer feel like part of the kit, not like a separate FX track.

Now let’s talk about arrangement movement, because this layer can do more than just sit in a loop.

Automate it.

You can bring Echo feedback up slightly at the end of every 8 or 16 bars. You can open the filter during tension sections. You can raise the dry/wet into fills, then pull it back after the impact. You can even duck the volume a little under key snare hits or drop accents.

A really effective move is to let the layer get a little more active during the build, then pull it back right before the drop. For example, in an 8-bar intro, let the layer enter quietly around bar 3, increase its activity by bars 5 and 6, then thin it out in bar 7 so the drop in bar 9 lands with more impact. That kind of movement makes the arrangement feel intentional and musical.

You can also turn this into a variation system instead of relying on one loop.

Make three versions. Version A is your main layer, subtle and tucked under the break. Version B is a more active alternate with extra ghost hits or a different delay feel. Version C is your fill or transition version, with longer tails, more saturation, or a wider image. You can duplicate the track and edit each one differently, or use different chains and mute them by section.

This is a very oldskool trick with modern control. The drums evolve across the arrangement, but the track still loops cleanly enough for DJ mixing and for a solid sense of forward motion.

If you want to go a step deeper, split the material into a ghost lane and a bite lane. Keep one track for faint tails and soft echoes, and another for sharper accent hits. That lets you blend the personality of the layer differently in each section. You can also duplicate the chopped pattern and delay the copy by a few milliseconds or a 32nd note, then tuck it very low in the mix. That creates a messy-but-controlled smear that feels beautifully vintage.

And don’t be afraid to keep some accidents. In jungle and oldskool DnB, strange overlaps, clipped tails, or awkward little fragments can become the best fill material. Sometimes the imperfect print is the one that has the most character.

A few common pitfalls to watch for.

Too much feedback will turn the layer into ambience instead of percussion. Keep it short and controlled. Always remove low end from the effect chain, because any bassy tail will fight your kick and sub. Don’t over-humanize everything, or the groove will fall apart. And don’t make the layer too loud. It should be felt first, then noticed.

Also, start with a tiny source. A long tom or a busy loop will just clog the space. The best starting point is usually the smallest, sharpest sound you can find.

For darker or heavier DnB, there are some extra moves worth trying. You can band-pass the source before the Echo to make it feel like it’s bouncing through metal corridors. You can add a tiny amount of Frequency Shifter or Chorus-Ensemble if you want subtle unease. You can print a degraded version with Saturator, Drum Buss, or even a little Redux, then layer that quietly under the cleaner pass. And always check your layer in mono, because if it still works there, it’s probably going to work in the club.

Here’s a quick practice exercise you can use right away.

Choose one tiny percussion source. Process it with Echo and EQ Eight only. Record four bars using resampling. Chop out about six to ten interesting hits or tails. Apply a subtle groove and move two or three notes manually. High-pass the layer and keep it quiet under your drum loop. Then duplicate it and make one version with extra feedback for a fill.

If you do that successfully, you should end up with a loop that feels alive, not static. Something that adds motion, grit, and character without stepping on the main drums.

So to recap: start with a tiny transient-heavy source, build a short filtered concrete echo, resample it, chop it into events, humanize the timing with selective offsets and groove, then shape it so it supports the kick and snare. Use automation and variations to keep it evolving across the arrangement.

That’s the recipe for a percussion layer that feels like it belongs in a jungle record, but still holds up in a modern mix. Clean enough to control, dirty enough to move, and just unstable enough to sound human. That’s the vibe.

mickeybeam

Go to drumbasscd.com for +100 drum and bass YouTube channels all in one place - tune in!

Generating PDF preview…