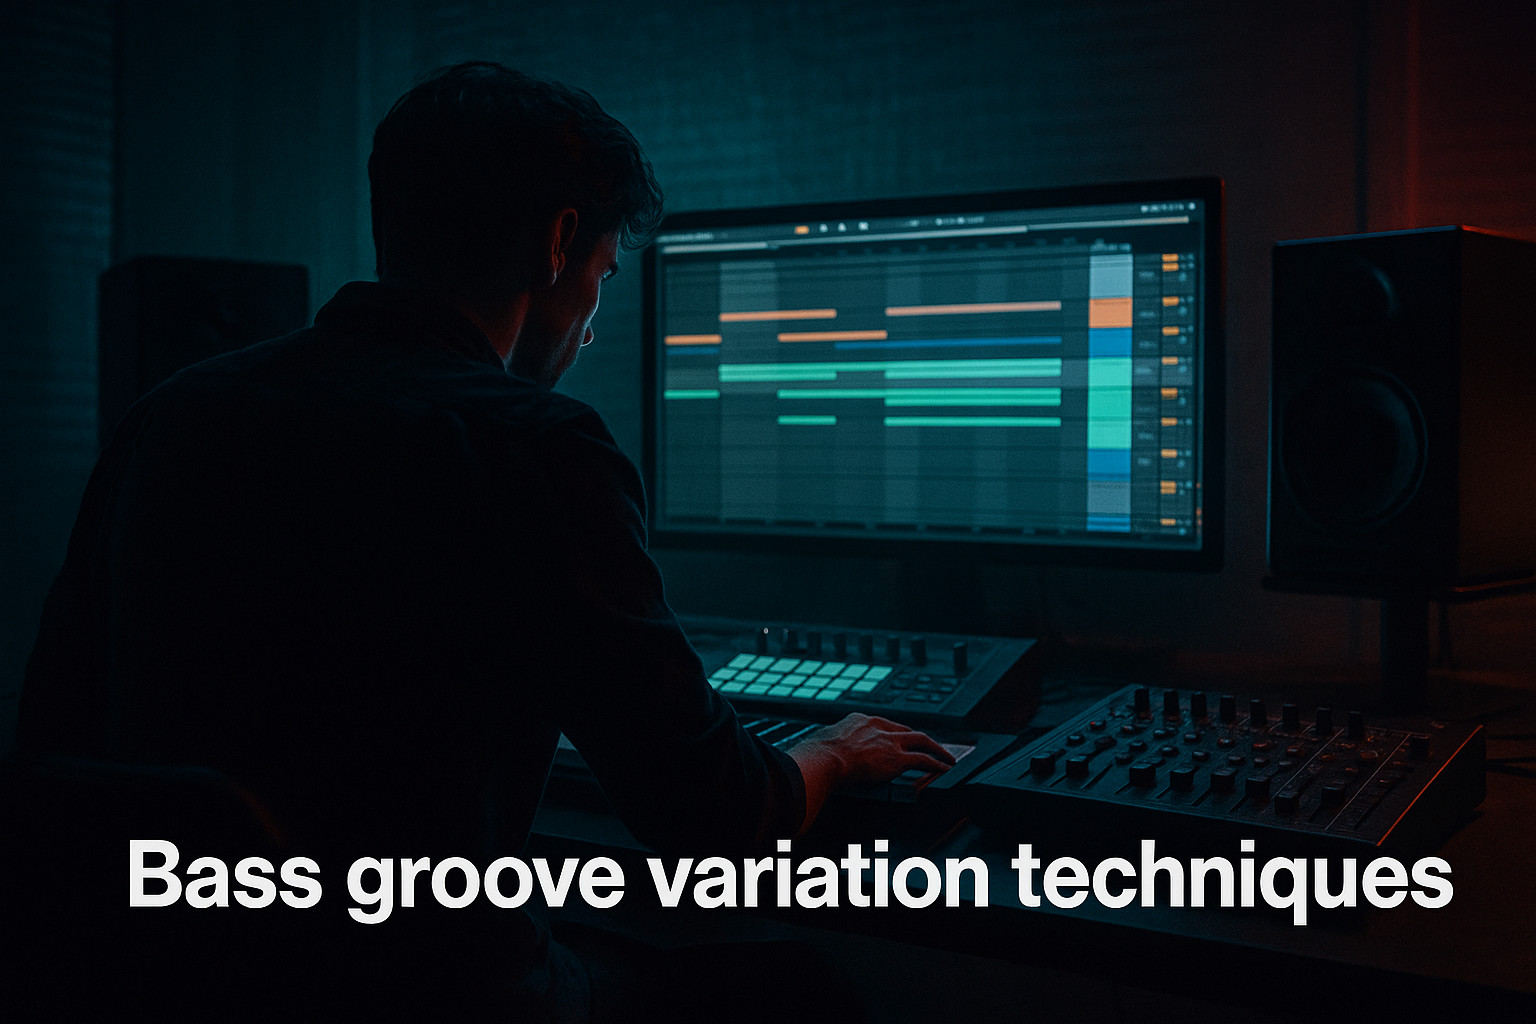
Main tutorial
Lesson Overview
In this lesson, you’ll take a single oldskool-style ride groove called “Concrete Echo” and turn it into a proper jungle / oldskool DnB arrangement inside Ableton Live 12. The focus is sampling: chopping, flipping, warping, and arranging a ride-based loop so it becomes a usable rhythmic layer for a DnB track, not just a loop that repeats forever.
This matters because in Drum & Bass, the smallest rhythm details can completely change the energy of a track. A ride loop might seem simple, but once you slice it, mute parts, layer it with breaks, and automate movement, it can become the thing that gives your drop identity. In oldskool jungle especially, ride patterns and broken percussion are often just as important as the kick and snare. They help create momentum, urgency, and that rolling “machine in motion” feeling.
You’ll learn how to:
- sample and warp a ride groove cleanly
- chop it into playable pieces
- flip the rhythm into a more jungle-style pattern
- arrange it so it works across intro, drop, and breakdown
- shape it with Ableton stock devices like Simpler, Drum Rack, EQ Eight, Saturator, Auto Filter, and Glue Compressor
- a tight, chopped ride pattern
- a ghosty second version for variation
- a filtered intro build
- a full-energy drop layer
- a short fill or switch-up
- a DJ-friendly loop section you can reuse in a track
- fast, syncopated ride hits sitting above the breakbeat
- a slightly gritty, dusty texture
- movement between open and muted ride tails
- enough space for kick, snare, and sub to breathe
- a classic jungle break and sub
- a rolling oldskool DnB drum pattern
- a darker half-time intro before the drop opens up
- Using the ride sample too loud
- Leaving too much low end in the sample
- Making every hit the same velocity
- Over-warping the sample
- Too much stereo width
- No variation across the arrangement
- Layer the ride with a very soft noise hit
- Use Saturator before EQ for character
- Automate subtle filter motion
- Try a second ride layer an octave down in tone
- Use a Drum Buss if you want more punch
- Check the ride against the sub in mono
- Make one bar more broken than the next
- Start with a ride sample and turn it into a sliced, playable DnB percussion layer
- Use Warp, Simpler, Drum Rack, EQ Eight, Saturator, Auto Filter, and Glue Compressor
- Build a groove with velocity variation, ghost notes, and small timing changes
- Arrange it into intro, drop, switch-up, and outro sections
- Keep it tight, gritty, and controlled so it supports the sub and break
- In DnB, a great ride groove is not just percussion — it’s momentum, tension, and identity
This is beginner-friendly, but the result can sound seriously authentic if you make the right choices. ⚡
What You Will Build
By the end, you’ll have a 4–8 bar oldskool DnB ride groove based on the Concrete Echo sample, turned into:
Musically, the groove should feel like:
Think of it as a rhythm layer you could place over:
Step-by-Step Walkthrough
1. Load the Concrete Echo ride sample and set the project up for DnB timing
Start with a blank Ableton Live set at 174 BPM. That’s a strong middle ground for jungle and oldskool DnB. You can later push it to 170–176 depending on the vibe.
Drag the Concrete Echo ride sample into Audio Track 1. If the sample is a loop, turn on Warp. For beginner-friendly editing, choose:
- Beats mode for sharper transient-based material
- Preserve: Transients
- Warp Marker at the first clear hit
If the ride is a single hit, you can place it in Simpler instead. If it’s a groove loop, keep it as audio for now so you can slice it later.
Why this works in DnB: the tempo is fast enough that tiny rhythmic details matter. Even a simple ride loop can add forward motion if it’s synced tightly to the grid.
2. Clean the sample so it sits like a real DnB percussion layer
Put EQ Eight after the sample. Start by cleaning low-end rumble:
- high-pass around 150–250 Hz
- if the loop feels harsh, gently dip around 3.5–6 kHz
- if it sounds boxy, reduce a little around 400–800 Hz
Then add Utility after EQ Eight and set:
- Width: 0% if you want the ride fully mono and centered
- or keep it wider if the sample already has stereo movement, but check mono later
Follow with Saturator for grit:
- Drive: 2–6 dB
- Soft Clip: On
- Output: lower it to match the bypassed level
Keep this subtle. You want the ride to feel like part of a dusty break, not a cymbal washing over the mix.
3. Slice the ride into playable parts with Simplers or Drum Rack
Right-click the audio clip and choose Slice to New MIDI Track. For beginner use, slice by:
- Transient
- or 1/8 notes if the sample is very even
Ableton will create a Drum Rack with slices in Simpler pads. This is ideal because you can now reprogram the groove instead of just looping it.
Name a few useful slices:
- top of ride
- tail
- softer hit
- louder accent
- noisy/open edge
Keep the slices simple. You do not need 20 variations. In beginner DnB, 4–6 useful slices are often enough to build a convincing groove.
4. Rebuild the groove with a jungle-style rhythm
Create a new MIDI clip on the Drum Rack track and draw in a 1-bar pattern. Try starting with:
- ride hits on off-beats
- one or two syncopated accents before the snare
- a short tail slice on the last 16th of the bar
A good beginner starting idea is:
- hit 1: short ride
- hit 2: mute or ghost hit
- hit 3: brighter accent
- hit 4: tail or softer hit
- repeat with small changes in bar 2
Don’t make every hit equal. Oldskool jungle grooves work because they breathe. Use:
- Velocity variation: accents around 95–110, ghost hits around 45–75
- small timing shifts: nudge some hits a few milliseconds late for swing
- occasional empty space so the break can speak
If you already have a classic breakbeat underneath, let the ride answer it rather than compete with it. That call-and-response feel is a huge part of authentic DnB arrangement.
5. Use groove and swing to stop it sounding rigid
In Ableton, open the Groove Pool and try a light swing groove. For oldskool/jungle energy, keep it subtle:
- Swing amount around 10–25%
- Randomize very lightly, if at all
- Timing should still feel locked to the break
Apply the groove to the MIDI clip, not blindly to everything. You want the ride to dance around the drums while still supporting them.
If the groove feels too stiff, use MIDI Note Delay very slightly on some hits, or manually drag a few notes later in the piano roll.
Why this works in DnB: jungle rhythms often feel alive because not every element is perfectly straight. Tiny timing differences create momentum without making the track sloppy.
6. Layer the ride with drums and shape the transient relationship
Now place the ride layer against your main drum loop or break. If the ride masks the snare or hats, reduce its transient sharpness by shaping the sample in Simpler:
- Attack: 0–2 ms
- Decay: short to medium
- Fade: small amount if the tail is too clicky
If the sample is too loud in the upper mids, use EQ Eight and cut a little around 5–8 kHz.
For a stronger, more glued feel, route the ride and drum layers to a Drum Bus group and add:
- Glue Compressor
- Attack: 3–10 ms
- Release: Auto or 0.1–0.3 s
- Ratio: 2:1
- Gain reduction: aim for 1–3 dB
- a tiny bit of Saturator after compression
This is a classic DnB move: let the drums and ride feel like one percussion machine instead of separate clips.
7. Create variation with ghost notes, mutes, and alternate bars
Duplicate your MIDI clip and make a second version. In the second bar, remove one or two main hits and replace them with softer ghost hits or tails. This keeps the loop from becoming repetitive.
Good beginner variations:
- mute the first ride hit every 4 bars
- add a short tail fill before the snare
- invert the pattern slightly in bar 2
- use a quieter slice on the final 16th before the drop loops
Use MIDI velocity to make the alternation audible:
- main accents: 100–127
- ghost notes: 35–70
If the ride is too bright in the busy section, automate Auto Filter:
- Intro: low-pass around 400–1,000 Hz
- Build: open gradually to full brightness
- Drop: let it open fully or automate slight resonance for tension
This gives you arrangement movement without needing extra samples.
8. Arrange it like a real DnB section, not just a loop
A strong beginner arrangement for this idea is:
- Intro, 8 bars: filtered ride texture with sparse hits
- Pre-drop, 4 bars: more open ride pattern, snare fill, rising energy
- Drop, 16 bars: full ride groove with breakbeat and bass
- Switch-up, 8 bars: remove the ride for 2 bars, then bring it back with a different pattern
- Outro, 8 bars: strip back to filtered ride and drums for DJ mixing
Put markers in the Arrangement View:
- Intro
- Build
- Drop
- Switch
- Outro
This is where sampling becomes arrangement, not just sound selection. The same ride sample can do completely different jobs depending on where it appears.
For a musical context example: imagine a 174 BPM jungle tune with a dark reese bass and chopped Amen-style drums. In the intro, the Concrete Echo ride appears as a filtered, distant metallic pulse. In the drop, it becomes the bright off-beat engine that drives the break forward. In the switch-up, you mute it for two bars so the bassline hits harder when it returns.
Common Mistakes
- Fix: lower the clip gain or group volume. In DnB, the ride should support the drums, not sit above everything.
- Fix: high-pass in EQ Eight around 150–250 Hz. Ride samples often have hidden rumble that clouds sub-bass.
- Fix: alternate strong and weak hits. DnB grooves need accents and ghosts.
- Fix: use a simpler warp mode and only one clear warp marker. Too many corrections can flatten the groove.
- Fix: use Utility and check mono. Keep rhythmic layers tight and centered unless the sample truly needs width.
- Fix: create at least two versions of the pattern. Jungle and oldskool DnB rely on progression, not endless loops.
Pro Tips for Darker / Heavier DnB
- Use an Operator noise patch or a filtered noise sample at a low level to add air and grit under the ride.
- Drive the sample first, then clean it. This can make the metallic edge feel more aggressive without sounding fake.
- A slow Auto Filter sweep over 8 or 16 bars can make a static ride feel alive in a darker roller.
- Not literally pitched like a synth, but use a darker, more muted slice as a response layer. This creates weight through contrast.
- Keep it light:
- Drive: low to moderate
- Crunch: subtle
- Boom: usually off for ride layers
- This can add density to a break-and-ride stack.
- If the groove weakens in mono, the mix may be too wide or too bright. DnB systems often expose these problems fast.
- Darker DnB often feels heavier when the groove doesn’t repeat identically. Small rhythmic edits create tension.
Mini Practice Exercise
Spend 10–20 minutes building two versions of the Concrete Echo ride groove:
1. Make a 4-bar loop at 174 BPM.
2. Slice the ride sample into at least 4 usable parts.
3. Program a 1-bar pattern with:
- 2 strong accents
- 2 ghost hits
- 1 tail or mute space
4. Duplicate the clip and make a second version with:
- one removed hit
- one added ghost hit
- slightly different velocity
5. Add EQ Eight and Saturator to shape the tone.
6. Make an 8-bar arrangement:
- 4 bars filtered intro
- 4 bars full drop energy
7. Export or bounce the loop and listen back without looking at the screen.
Goal: make the two versions feel like they belong in the same tune, but with enough difference to keep the groove moving.

