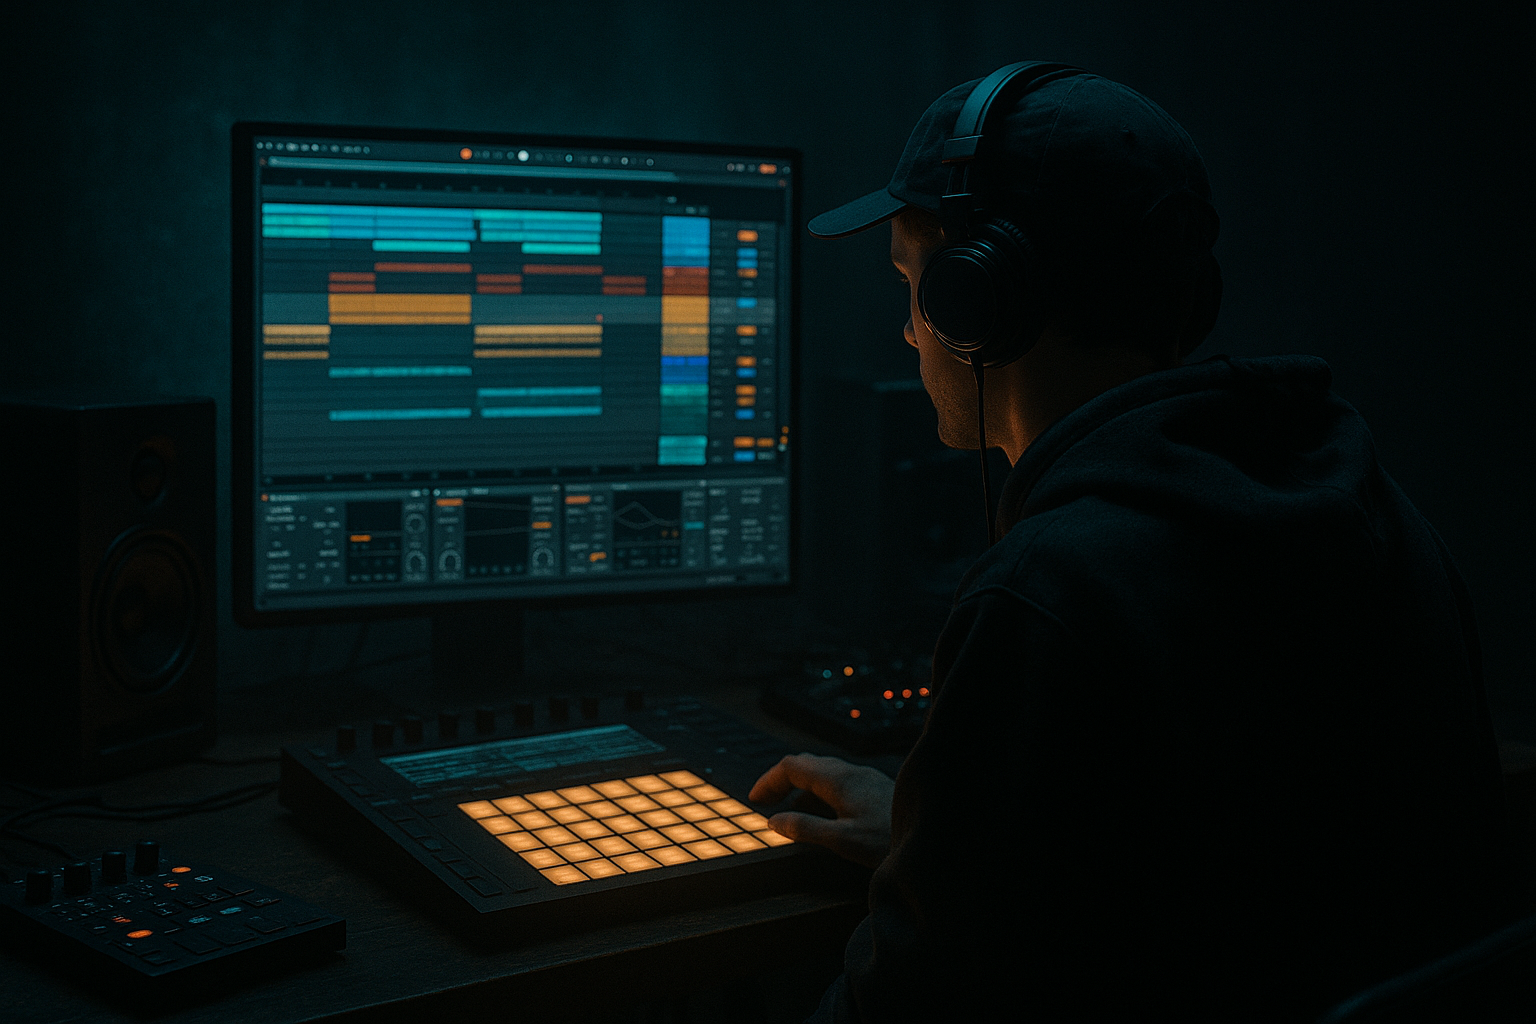
DNB COLLEGE

Drum & Bass Ableton Live 12 Tutorials

LESSON DETAIL

Concrete Echo Ableton Live 12 top loop masterclass for sunrise set emotion for jungle oldskool DnB vibes (Beginner)

An AI-generated beginner Ableton lesson focused on Concrete Echo Ableton Live 12 top loop masterclass for sunrise set emotion for jungle oldskool DnB vibes in the DJ Tools area of drum and bass production.

Back to lessons
Concrete Echo Ableton Live 12 top loop masterclass for sunrise set emotion for jungle oldskool DnB vibes (Beginner) cover image

Narrated lesson audio

The voice track includes the tutorial plus extra teacher commentary.

Open audio file

Main tutorial

Concrete Echo (Ableton Live 12) Top Loop Masterclass

Sunrise-set emotion for jungle / oldskool DnB vibes 🌅🥁

Skill level: Beginner | Category: DJ Tools (production tools for sets)

---

1. Lesson overview

In oldskool jungle and early DnB, that “top loop” (hats, rides, shakers, noisy breaks) is often what makes the track feel alive—especially in sunrise sets where you want movement + warmth + emotion without going too aggressive.

In this lesson you’ll build a Concrete Echo Top Loop Rack in Ableton Live 12 using stock devices to create a controlled, musical echo that adds space, swing, and hypnotic momentum—perfect for rolling jungle vibes.

---

2. What you will build

You’ll end up with:

  • A Top Loop track (hats/ride/shaker layer) that sits above drums and bass
  • A Concrete Echo Rack that does:
  • - Ping‑pong / dub-style echo synced to tempo

    - Filtered, warm repeats (no muddy lows)

    - Sidechain pumping so the kick/snare stays clean

    - Optional tape-ish wobble + width for that nostalgic air ✨

  • A DJ-friendly “performance” layout: 4–6 macro controls you can automate in arrangement or map to a controller
  • ---

    3. Step-by-step walkthrough

    Step 0 — Session setup (quick + practical)

    1. Tempo: set to 165–172 BPM (try 170 BPM for classic jungle energy).

    2. Create 3 audio tracks (or MIDI + drum rack if you prefer):

    - DRUMS (kick/snare/break)

    - TOP LOOP (our focus)

    - BASS (optional for context)

    > If you already have a beat, great—drop this top loop system on top.

    ---

    Step 1 — Get a top loop source (simple options)

    You need steady high-frequency rhythm to “feed” the echo.

    Option A: Use a classic hat loop sample

  • Drag in a 1-bar or 2-bar hat/ride loop.
  • Warp mode: Beats
  • - Preserve: 1/16

    - Transients: On

    - Set Groove later (don’t do it yet).

    Option B: Make a top loop with Drum Rack (beginner-friendly)

    1. Create a MIDI track → Drum Rack.

    2. Load:

    - Closed hat on 1/8 or 1/16

    - Ride (light) on offbeats

    - Tiny shaker hits for constant motion

    3. Velocity: keep it human:

    - Main hats around 70–95

    - Ghost hats around 35–60

    Goal sound: crispy but not harsh—like it’s “floating” above the breaks.

    ---

    Step 2 — Clean the top loop so it behaves in a mix

    On the TOP LOOP track, add:

    1. EQ Eight

    - High-pass: 24 dB/oct at ~250–400 Hz

    - If harsh: dip 6–10 kHz by 2–4 dB (Q ~1.5)

    2. Glue Compressor (optional but helpful)

    - Attack: 10 ms

    - Release: Auto

    - Ratio: 2:1

    - Aim: 1–3 dB gain reduction on peaks

    3. Saturator (subtle warmth)

    - Mode: Soft Sine

    - Drive: 1–3 dB

    - Output: compensate so volume stays similar

    This preps the loop so the echo doesn’t turn into fizzy chaos.

    ---

    Step 3 — Build the “Concrete Echo” (core device chain)

    On the TOP LOOP track, create this chain in this order:

    #### A) Echo (the heart of it) 🔁

    Add Echo with these starter settings:

  • Mode: Sync
  • Time:
  • - Left: 1/8

    - Right: 3/16 (classic rolling offset)

  • Feedback: 25–40%
  • Dry/Wet: 15–25% (sunrise = tasteful)
  • Character:
  • - Noise: 2–6% (tiny texture)

    - Wobble: 0.10–0.30 (keep subtle)

  • Filter section (inside Echo):
  • - HP: 400–800 Hz

    - LP: 6–10 kHz

    - This is crucial: you want echoes that don’t fight kick/bass.

    Why this works for jungle: offset times create that rolling “skipping” propulsion without needing more notes.

    ---

    #### B) Auto Filter (post-echo tone control)

    Add Auto Filter after Echo:

  • Filter type: Low-pass 12 dB
  • Frequency: 8–12 kHz (start around 10k)
  • Resonance: 0.7–1.2
  • Drive: 2–4
  • Envelope: off (for now)
  • This makes the repeat tail feel smoother and “dawn-lit” rather than harsh.

    ---

    #### C) Compressor (sidechain from kick/snare) 🫧

    You want the echo to move around the drums.

    1. Add Compressor after Auto Filter.

    2. Enable Sidechain.

    3. Sidechain input: your DRUMS track (or kick/snare group).

    4. Settings:

    - Ratio: 4:1

    - Attack: 2–10 ms

    - Release: 80–180 ms

    - Threshold: lower until you get 2–6 dB gain reduction on drum hits

    This keeps the top loop echo emotional but not cluttered.

    ---

    #### D) Utility (final control)

    Add Utility:

  • If it’s too wide: Width 80–100%
  • If you want a wide “air” layer: try 110–130% (careful!)
  • Gain: trim so your top loop isn’t dominating
  • ---

    Step 4 — Turn it into a performance rack (Macros!)

    Select the devices on TOP LOOP (EQ Eight, Echo, Auto Filter, Compressor, Utility) → Cmd/Ctrl + G to Group into an Audio Effect Rack.

    Create 6 Macros (map parameters):

    1. Echo Mix → Echo Dry/Wet (0–35%)

    2. Echo Time Feel → Echo Right time (1/8 to 3/16 to 1/4)

    3. Feedback → Echo Feedback (15–55%)

    4. Darkness → Auto Filter Frequency (6k–16k)

    5. Pump → Compressor Threshold (light to stronger ducking)

    6. Width → Utility Width (80–130%)

    Now you can automate these in Arrangement or ride them live like DJ FX 🎛️.

    ---

    Step 5 — Add groove like oldskool (Live 12 groove workflow)

    1. Open the Groove Pool.

    2. Try grooves like:

    - MPC 16 Swing 55–60

    - SP 1200-style grooves if available

    3. Apply groove to TOP LOOP (not necessarily your kick/snare).

    4. Set:

    - Timing: 30–70%

    - Random: 5–15%

    - Velocity: 5–20% (if it’s MIDI)

    That “shuffling air” is a huge part of jungle feel.

    ---

    Step 6 — Arrangement ideas for sunrise-set emotion 🌅

    You want a sense of lift and space. Here’s a simple 64-bar plan:

    Bars 1–16 (Intro / blend zone):

  • Top loop only + light echo
  • Macro settings: Echo Mix 10–15%, Darkness slightly dark
  • Gradually open Auto Filter (Darkness macro rises)
  • Bars 17–32 (Energy enters):

  • Bring drums in (or more break layer)
  • Increase Pump slightly so the echo “breathes” with the kick/snare
  • Bars 33–48 (Emotional peak):

  • Echo Mix up to 20–30%
  • Feedback up slightly 35–45%
  • Darken a touch to stop harshness
  • Optional: quick 1-bar “echo push” then pull it back (DJ-style)
  • Bars 49–64 (Transition / out):

  • Reduce dry top loop, let echo carry
  • Slowly darken and lower feedback so it dissolves cleanly into the next track
  • ---

    4. Common mistakes

    1. Too much low end in the echo

    If your Echo repeats have lows, your mix will instantly feel muddy. High-pass the echo (inside Echo filter + EQ Eight).

    2. Dry/Wet too high

    Beginners often go 50%+ wet and lose the groove. Keep it 15–25% for “sunrise polish.”

    3. No sidechain = messy drums

    Even subtle ducking makes your breaks hit harder.

    4. Over-widening the top loop

    Extreme width makes hats phasey and weak in mono. Keep it controlled.

    5. Harsh 8–12 kHz buildup

    That’s where fatigue lives. Use Auto Filter and/or a gentle EQ dip.

    ---

    5. Pro tips for darker/heavier DnB (when you want it meaner) 🖤

  • Shorter, punchier echo: set Echo times to 1/16 + 1/8 and increase Feedback slightly for intensity without wash.
  • Distorted returns: add a Roar (or Saturator) after Echo, but keep it subtle:
  • - Roar Drive low, mix small; filter it so it doesn’t hiss.

  • More aggressive pumping: sidechain harder (6–10 dB GR) and shorten release (~80–120 ms) for that “breathing urgency.”
  • Gate the echo tail: add Gate after Echo so repeats cut rhythmically.
  • Mid/Side control: use EQ Eight in M/S mode:
  • - Cut some high fizz on the Sides if it’s too wide/harsh

    - Keep the center crisp so the groove stays anchored

    ---

    6. Mini practice exercise (10 minutes)

    1. Load any 1-bar hat/ride loop (or program a simple one).

    2. Build the chain: EQ Eight → Echo → Auto Filter → Compressor (SC) → Utility

    3. Map these macros: Echo Mix, Feedback, Darkness

    4. Record 16 bars of automation:

    - Bars 1–8: slowly increase Echo Mix from 10% → 22%

    - Bars 9–12: increase Feedback from 25% → 40%

    - Bars 13–16: lower Darkness (darken) to soften the peak and prep a transition

    5. Bounce/export a quick loop and listen:

    - Does it feel like forward motion?

    - Does the kick/snare still punch clearly?

    ---

    7. Recap

  • A great jungle/DnB top loop is clean, groovy, and controlled—then you let Echo make it hypnotic.
  • Your core “Concrete Echo” formula in Live 12:
  • - High-pass the source

    - Echo with offset times (1/8 + 3/16)

    - Filter the repeats

    - Sidechain to drums

    - Macro it for DJ-style performance

  • For sunrise emotion: keep it warm, airy, and breathing 🌅

If you want, tell me your BPM and whether you’re using a breakbeat or 2-step drums, and I’ll suggest a top loop pattern + exact Echo time pairings that match your groove.

Ask GPT about this lesson

Chat with the lesson tutor, get follow-up help, or use quick actions.

Bigup 👽 Ask me anything about this lesson and I’ll answer in context.

Narration script

Show spoken script
Welcome in. Today we’re building a beginner-friendly DJ tool in Ableton Live 12 called the Concrete Echo Top Loop Rack, designed for that sunrise-set emotion: rolling jungle and oldskool DnB vibes, but clean, controlled, and musical.

The big idea is simple. In a lot of classic jungle, the top loop is the thing that makes the track feel alive. Not the sub. Not even the main break. It’s the hats, rides, shakers, and that little bit of noisy air that keeps moving. And in a sunrise context, we want movement plus warmth and emotion, without turning the mix into aggressive high-frequency chaos.

By the end, you’ll have a top loop track that sits above your drums and bass, plus an echo rack that gives you dubby, tempo-synced repeats, filtered so they don’t get muddy, sidechained so your kick and snare still punch, and performance macros you can ride like DJ effects.

Let’s set up the session.

Set your tempo somewhere around 165 to 172 BPM. If you want the classic jungle “forward lean,” pick 170. Now create three tracks: one for your drums, one for the top loop, and optionally one for bass so you can hear how everything sits together. If you already have a beat going, perfect. We’re basically designing something you can drop on top of whatever you’ve got.

Now we need a source for the top loop, because the echo needs something steady to feed on.

Option A is to grab a classic hat or ride loop sample, one bar or two bars. Drop it on the Top Loop track. Turn on Warp, set the warp mode to Beats, set Preserve to one-sixteenth, and make sure transients are on. Don’t worry about groove yet. We’ll do that after the echo tool is in place.

Option B, if you want to build it from scratch and keep it beginner-simple: make a MIDI track, load a Drum Rack, and choose a closed hat, a light ride, and maybe a tiny shaker. Program a basic pattern: hats on eighths or sixteenths, ride on offbeats, and sprinkle the shaker so it’s constantly nudging the rhythm forward. Then humanize it with velocity. Keep your main hats maybe around 70 to 95, and your ghost hits around 35 to 60.

And here’s the sound goal you’re aiming for: crispy but not harsh. Like it’s floating above the break, not slicing your ears off.

Before we add any echo, we prep the top loop so it behaves in a mix. This is where beginners usually skip ahead, and then the echo gets messy. So let’s do it properly.

First device: EQ Eight on the Top Loop track. High-pass it. Go fairly steep, like 24 dB per octave, and aim somewhere around 250 to 400 Hz. The exact number depends on your sample, but the principle is non-negotiable: your top loop should not bring low-end into the echo.

Then listen for harshness. If it’s biting, dip around 6 to 10 kHz by maybe 2 to 4 dB with a medium Q, around 1.5. You’re not trying to dull it; you’re trying to avoid fatigue. Jungle can be bright, but sunrise jungle should feel like warm light, not fluorescent glare.

Optional but helpful: add Glue Compressor next. Attack around 10 milliseconds, Release on Auto, Ratio 2 to 1, and just catch the peaks. One to three dB of gain reduction is enough. This is not for loudness. It’s to keep the echo input consistent so the feedback doesn’t suddenly jump.

Then add a Saturator for subtle warmth. Set it to Soft Sine, drive it just one to three dB, and compensate the output so your volume stays about the same. Think of this as rounding the edges, so the repeats feel more “tape-ish” and less brittle.

Quick coaching note on gain staging, because it matters a lot with echo. Before the Echo device, try to have your Top Loop track peaking around minus 12 to minus 8 dBFS. If you hit the echo too hot, feedback becomes unpredictable and you’ll fight the mix the whole time.

Now we build the Concrete Echo chain. This is the core.

Right after your prep devices, add Echo.

Set Echo to Sync mode. Now choose a time pairing that rolls. Left time at one-eighth, right time at three-sixteenths. That offset is magic for jungle because it creates a skipping, forward propulsion without you needing to add extra notes.

Set Feedback around 25 to 40 percent. Set Dry/Wet to a tasteful range: 15 to 25 percent. For sunrise vibes, you’re painting space, not drowning the groove. If you’re tempted to go 50 percent wet, resist. That’s usually where the groove starts to disappear.

Now add a little character, but keep it subtle. Noise around 2 to 6 percent, just for texture. Wobble around 0.10 to 0.30. You want “nostalgic air,” not seasick pitch drift.

Now the crucial part inside Echo: the filters. High-pass the repeats somewhere around 400 to 800 Hz. Low-pass them somewhere around 6 to 10 kHz. This is what keeps the repeats from fighting your kick and bass, and it also stops the hats from building into an abrasive hiss.

After Echo, add Auto Filter for post-echo tone control. Set it to a low-pass 12 dB filter. Start the frequency around 10 kHz, and keep it in the 8 to 12 kHz zone to begin. Resonance around 0.7 to 1.2. Add a little drive, like 2 to 4, to give it that gently pushed warmth. Leave envelope off for now. We’re keeping it stable.

Next, we add sidechain so the echo breathes around the drums.

Drop a Compressor after Auto Filter. Turn on Sidechain. Choose the input from your drums track, or from your kick and snare group. Set Ratio to 4 to 1. Attack somewhere from 2 to 10 milliseconds, release around 80 to 180 milliseconds. Now lower the threshold until you’re seeing about 2 to 6 dB of gain reduction when the drums hit.

Here’s a teacher tip: sidechain input choice matters. If you sidechain from kick only, the pumping is steadier and feels more like a DJ tool. If you sidechain from kick plus snare, you get that classic jungle breathing, but it can over-duck if your snare is huge. A really clean solution is to duplicate your drums to a new track called something like SC Key, mute its output, and leave only the hits you want to trigger the ducking. That way your mix stays consistent even if you change drum layers later.

Finally, add Utility at the end of the chain. Use it to control width and overall level. If things feel too wide or phasey, pull width back to 80 to 100 percent. If you want that airy spread, you can try 110 to 130 percent, but be careful. Hats can vanish in mono if you overdo it.

And speaking of mono, do a fast mono-compatibility check. Put another Utility at the very end temporarily and toggle Mono. If your hats suddenly disappear, reduce width. Or move the widening earlier in the chain so the repeats stay stable. Then switch Mono back off when you’re done checking.

Now let’s turn this into a performance rack, so it feels like a proper DJ effect.

Select your devices on the Top Loop track, like EQ Eight, Echo, Auto Filter, Compressor, and Utility, and group them into an Audio Effect Rack.

Create six macros.

Macro one: Echo Mix. Map this to Echo Dry/Wet, and set a safe range from 0 up to around 35 percent.

Macro two: Echo Time Feel. Map it to the Echo right-side time, and give yourself a musical range like one-eighth to three-sixteenths to one-quarter. This becomes your “roll versus space” control.

Macro three: Feedback. Map Echo Feedback with a safe range like 15 up to 55 percent. Keep the top end of the range as your danger zone, because feedback can run away fast.

Macro four: Darkness. Map Auto Filter frequency from about 6k up to 16k. This is one of the most musical controls you’ll automate in a sunrise set. Opening it feels like the sky brightening.

Macro five: Pump. Map compressor threshold so you can go from light ducking to stronger breathing.

Macro six: Width. Map Utility width from about 80 to 130 percent.

Now you’ve got something you can automate in Arrangement, or map to knobs and ride live.

Next, we add groove, because oldskool jungle isn’t just straight hats; it shuffles.

Open the Groove Pool. Try an MPC 16 Swing around 55 to 60, or an SP-style groove if you have it available. Apply the groove to the Top Loop, not necessarily your kick and snare. Then set Timing somewhere between 30 and 70 percent depending on how funky you want it. Add a bit of Random, like 5 to 15 percent, and if it’s MIDI, let Groove affect Velocity a little, maybe 5 to 20 percent. That combination creates that “shuffling air” that makes the loop feel human and rolling.

Now let’s talk arrangement, because this tool is meant for sunrise emotion and blending.

Here’s an easy 64-bar plan you can follow.

Bars 1 to 16: intro and blend zone. Run mostly top loop with light echo. Keep Echo Mix around 10 to 15 percent. Keep it slightly dark. Over these 16 bars, slowly open the Darkness macro so it brightens, but don’t suddenly add volume. You want the listener to feel lift, not shock.

Bars 17 to 32: bring the drums in, or add another break layer. Increase Pump a little so the echo tail breathes with the kick and snare. This keeps your groove punchy while still floating.

Bars 33 to 48: emotional peak. Push Echo Mix to 20 to 30 percent, nudge Feedback to around 35 to 45 percent. If it starts getting harsh, darken the tail slightly. And here’s a classic DJ move: do a quick one-bar echo push, then pull it back immediately. That momentary send-to-dub feel creates tension and release without adding new drums.

Bars 49 to 64: transition out. Reduce the dry top loop level and let the filtered echo carry. Slowly darken and lower feedback so it dissolves cleanly into the next section. The goal is to make the transition feel like mist rolling off the beat.

Now, a few common mistakes to avoid.

One: too much low end in the echo. If your repeats have low frequencies, your mix will instantly get muddy. High-pass aggressively, both in the Echo filter and with EQ if needed.

Two: dry/wet too high. Beginners crank it and lose the groove. Keep it tasteful, especially for sunrise.

Three: no sidechain. Without ducking, the echo smears your drums. Even subtle pumping makes your breaks hit harder.

Four: over-widening. Too wide can mean phase issues and weak mono playback. Keep it controlled and always do the mono check.

Five: harsh buildup around 8 to 12 kHz. That’s ear fatigue territory. Use Darkness and gentle EQ dips.

Now a couple of variations, so you can grow this into a more DJ-friendly tool.

One powerful upgrade is to make this a send/return effect instead of always living on the Top Loop track. Put the whole Concrete Echo chain on a Return track named Concrete Echo, keep your Top Loop mostly dry, and automate the send amount like you’re working an FX send on a mixer. This makes transitions cleaner and keeps you from living in “always-on wash.”

Another fun trick is a two-speed echo switch for fills. Map a macro so your Echo times can jump from your normal roll feel to a “rush” feel, basically half the time values. Use it for the last bar before a drop or blend. Instant tension, zero extra samples.

And if you want rhythmic ducking without sidechain compression, try Auto Pan after Echo. Set phase to 0 degrees so it behaves like tremolo, sync the rate to one-eighth, amount around 20 to 40 percent. That gives a pulsing tail like classic gated hardware, but smoother.

Now, a quick 10-minute practice so you lock this in.

Load any one-bar hat or ride loop, or program a simple one. Build the chain: EQ Eight into Echo into Auto Filter into Compressor with sidechain into Utility. Map three macros: Echo Mix, Feedback, and Darkness.

Record 16 bars of automation. Bars 1 to 8: slowly increase Echo Mix from about 10 percent up to around 22. Bars 9 to 12: increase Feedback from 25 to 40. Bars 13 to 16: darken the tail by lowering the filter frequency, so the peak softens and sets up a transition.

Then bounce that loop and listen back. Ask yourself two questions. Do you feel forward motion, like the beat is rolling without getting louder? And does the kick and snare still punch clearly through the space?

Before we wrap, here’s one more coaching mindset that will level you up fast: think “top loop equals percussion bus,” not just hats. A sunrise top loop often works best as two or three tiny layers blended quietly, like hat plus ride plus a little noise or air. Richer texture, less harshness, and the echo has something interesting to grab.

That’s the Concrete Echo Top Loop Masterclass. Clean source, offset echo times, filtered repeats, sidechain breathing, and performance macros you can ride like DJ FX.

If you tell me your exact BPM and whether you’re using a breakbeat-heavy groove or a cleaner 2-step drum pattern, I can suggest a top loop pattern and a couple of Echo time pairings that lock perfectly with your rhythm.

mickeybeam

Go to drumbasscd.com for +100 drum and bass YouTube channels all in one place - tune in!

Generating PDF preview…