Main tutorial
Lesson Overview
This lesson is about building an oldskool DnB drop in Ableton Live 12 with a crunchy sampler texture that feels pulled from the grimy edge of jungle, early rollers, and darker amen pressure. The main goal is not just to make a loud drop — it’s to make a drop that feels sample-driven, alive, and slightly damaged in the right way.
In classic DnB, especially the oldskool side, the drop often works because the drums and bass feel like they came from the same battered sonic world. That’s where resampling becomes a huge advantage. Instead of designing everything as separate “clean” parts, you print, chop, warp, distort, and rebuild material until it has that cohesive, crunchy, one-piece character. In Ableton Live, that means turning loops, hits, bass gestures, and FX into new audio you can edit like a record.
This technique matters because it gives you:
- faster arrangement decisions
- more believable grime and texture
- a tighter relationship between drums and bass
- better movement in the drop without overcrowding the mix
- a chopped break-based drum foundation
- a subby, reese-adjacent bassline with call-and-response phrasing
- a crunchy resampled layer that glues the whole drop together
- small fills, reverses, and automation-based tension moments
- a DJ-friendly intro/outro structure so the idea feels like a real track section, not just a loop
- breakbeat energy with a modern Ableton workflow
- a gritty sampler texture sitting on top of the drum bus
- bass notes that hit clean in mono but still have movement in the midrange
- a drop that can work in a rollers or darker jungle context, not just a generic bass music loop
- Drum Break Audio
- Drum One-Shots
- Bass MIDI
- Crunch Texture Audio
- Atmos/FX
- Drum Bus
- Bass Bus
- Resample Print
- how long the intro lasts
- when the bass enters
- whether the first drop is 8 or 16 bars
- how busy the drum fills are before a switch-up
- 16 bars intro
- 16 bars pre-drop tension
- 16 bars drop A
- 16 bars drop variation
- 8 bars breakdown or impact reset
- Warp the loop if needed, but keep it natural. Complex mode usually isn’t necessary for a straight break; Beats mode can work well for preserving transients.
- Slice the break to a new MIDI track if you want more control. In Ableton, use Slice to New MIDI Track and slice by transients.
- Rebuild a 2-bar drum pattern with the original break slices.
- kick: one solid low-mid punch around 50–90 Hz
- snare: sharp crack with body around 180–220 Hz
- hats: short, dry, and slightly off-grid for movement
- Drum Buss on the break or drum group
- EQ Eight
- Glue Compressor on the drum bus
- two detuned oscillators, or one oscillator with unison
- low-pass filter slightly closed
- mild filter envelope movement
- mono mode on
- glide/portamento at a very short setting if you want sliding notes
- filter cutoff: roughly 150–500 Hz depending on brightness
- resonance: low to moderate, around 5–20%
- unison detune: subtle, not huge
- glide time: 20–60 ms for small slides, or up to 120 ms for more obvious movement
- leave space for the snare
- use short notes on the offbeats
- use one longer note at the end of the 2-bar cycle to create lift
- vary velocity slightly if the bass is percussive
- short note on beat 1
- gap on the snare
- offbeat reply
- longer note before the next bar resolves
- drums are hitting
- bass is playing
- maybe one small FX hit is active
- chop tiny transient fragments
- reverse small sections
- pitch short bits up or down
- repeat a crunchy snare tail or bass rasp as a texture
- Simpler
- Grain Delay for smeared texture
- Saturator
- Redux for digital crunch
- EQ Eight
- Auto Filter
- Utility
- high-pass at 180 Hz to keep sub clean
- low-pass at 8 kHz to stop harsh fizz
- Auto Filter resonance at 10–25% for a more nasal sample character
- Bars 1–4: full groove, but leave a few spaces for the bassline to breathe
- Bars 5–8: add one extra drum fill or a snare drag
- Bars 9–12: introduce a bass variation or octave jump
- Bars 13–16: strip one element briefly, then bring it back harder
- remove the kick for half a bar before the snare hit
- add a reverse crash into bar 9
- mute the crunch layer for one beat, then slam it back in
- automate the bass filter slightly open on the second 8 bars
- In the first 8 bars, the bass stays tight and loopable, suitable for MC space.
- In bars 9–16, the bass becomes more aggressive with a small slide or extra note, making the second half feel like a “level up” without needing a completely new sound.
- Auto Filter cutoff on the crunchy layer
- Bass filter opening slightly into transitions
- Reverb send on selected snare hits only
- Delay send on the last note of a phrase
- Drum Buss Drive for short spikes in energy
- increase bass cutoff by 5–15% over the second 8 bars
- send a snare to Reverb with a short burst only at the end of bar 8
- open a high-pass filter on the texture for the first 1–2 bars of a new section, then close it back in
- delay time: 1/8 or 1/16
- feedback: low, around 10–25%
- filter the delay so it doesn’t clutter the low end
- cut out weak moments
- add tiny reverses before fills
- duplicate a single strong hit for emphasis
- warp an audio slice to create a transition
- clip gain specific hits without changing the whole chain
- check mono compatibility on low end with Utility
- keep sub mostly centered
- shorten overly long tails before the next snare
- make sure the kick and bass don’t hit hard at the exact same time unless that’s intentional
- Overcrowding the midrange
- Making the bass too wide
- Quantizing the break too hard
- Using too much distortion on every layer
- No phrasing changes across 16 bars
- Resampling but not editing
- Put a slight bit of saturation on the bass bus, then low-pass the result so the crunch stays in the mids, not the top end.
- Use very short bass slides into strong snare hits for that tense, rolling underground feel.
- Layer a filtered noise hit under the snare for extra attack, but keep it subtle.
- Try Drum Buss on a parallel return with heavy Drive and Crunch, then blend it in lightly for weight without flattening transients.
- In the crunchy sampler layer, automate pitch by a semitone or two on selected slices for a haunted, unstable character.
- Use a very short reverb on chopped break fragments to create depth, then cut the lows with EQ Eight so it doesn’t muddy the groove.
- If the bass feels too polite, duplicate a midrange layer and distort it harder than the sub layer. Let the sub stay clean and let the attitude live above it.
- For extra oldskool darkness, leave more space in bar 1 of each 4-bar phrase, then let the second half hit harder. That contrast feels huge in a club.
- keep the sub clean and centered
- let the break do the groove work
- use resampling to create texture and cohesion
- automate only the moves that improve tension or phrasing
- arrange in 4- and 8-bar chunks so the drop evolves naturally
For intermediate producers, this is the point where you stop thinking “I need more sounds” and start thinking “I need stronger source material and better resampling decisions.” That’s a very DnB mindset ⚡
What You Will Build
You’ll build a 16-bar oldskool DnB drop with:
The result should feel like:
You’re aiming for something that sounds like it could sit under a smoky MC intro, then hit hard at the drop with chopped drums, dirty texture, and a bassline that answers itself every bar.
Step-by-Step Walkthrough
1. Set up a DnB-friendly session and reference the target energy
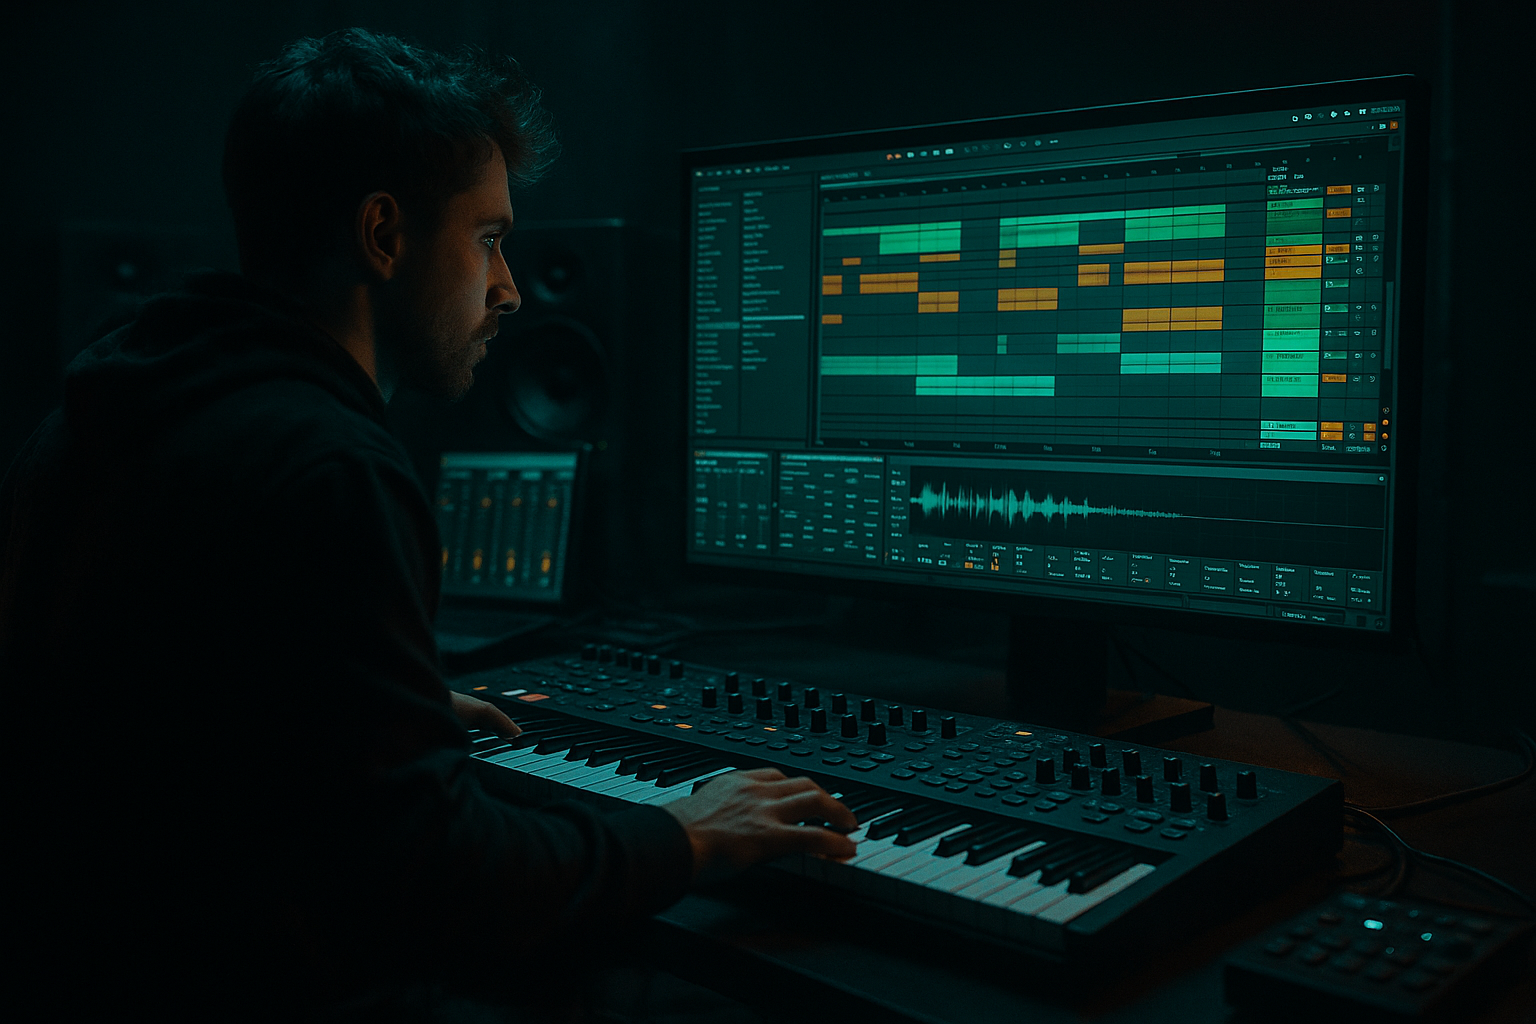
Open a fresh Ableton Live 12 set and set the tempo to 172–174 BPM. For oldskool-flavoured DnB, 174 is a strong default because it keeps the break energy moving without feeling rushed.
Create these tracks:
Load a reference track into a separate audio track so you can compare arrangement density, drum brightness, and bass weight. Don’t copy the exact sound — just listen for:
A useful oldskool DnB structure is:
Why this works in DnB: the genre depends on momentum and phrasing. Even the roughest bassline feels more powerful when the arrangement gives the listener a clear runway into the drop.
2. Build the break foundation with chopped audio, not just MIDI drums
Drag in a classic break or a break-style loop. If you’re using your own material, choose something with character: crisp hats, a snappy snare, and enough room between hits to chop.
On the Break Audio track:
Then layer one-shots underneath:
Suggested drum processing:
- Drive: 5–12%
- Crunch: 10–25%
- Boom: use sparingly, often 0–15% for oldskool material
- high-pass around 25–30 Hz on the drum group
- tame harsh cymbal peaks around 7–10 kHz if needed
- ratio 2:1
- attack 10–30 ms
- release Auto or 0.1–0.3 s
- aim for 1–2 dB of gain reduction
Use ghost notes from the break to keep it breathing. Don’t quantize everything perfectly. The little in-between hits are part of the jungle feel.
3. Design the bassline as a simple call-and-response motif
Create a MIDI bass line on the Bass MIDI track. For oldskool DnB, keep the phrase simple and punchy. A strong starting point is a 2-bar motif where bar 1 answers bar 2.
Use a bass synth like Wavetable, Operator, or Analog. Start with a basic wave — saws or a saw/square blend work well for a reese-style foundation.
Bass design starting point:
Suggested bass settings:
Phrase tips:
A very effective oldskool DnB pattern is:
This gives you the classic “drums talk, bass answers” feeling. In DnB, that call-and-response keeps the groove from becoming a flat drone.
4. Create the crunchy sampler texture by resampling your own material
Now the key move: don’t just add a texture layer from a library. Make one from your own drop elements.
Set up a new audio track called Resample Print and route audio from your Drum Bus, Bass Bus, or Master to it. In Ableton, choose Audio From: your chosen source, then arm the track and record 4–8 bars of the working drop.
Print a version where:
Once recorded, drag the resampled audio into a new Simpler or Sampler track, or slice it to a new MIDI track. Now you can:
Useful Ableton devices here:
- use Classic or One-Shot mode for chopped snippets
- shorten the sustain, or use envelopes for tight hits
- very subtle feedback
- low dry/wet if you want grit without chaos
- Drive: 2–8 dB
- Soft Clip on for more density
- use carefully, especially on upper textures
The idea is to make a “ghost layer” that sounds like the whole drop has been printed through a worn sampler. Keep it in the midrange, not the sub. This is texture, not bass replacement.
5. Shape the resampled layer so it glues the drop, not clutters it
The resampled layer should add movement and dirt, but it must stay out of the way of the kick and sub.
On the Crunch Texture Audio or Simpler track:
- high-pass around 150–250 Hz
- low-pass around 6–10 kHz depending on brightness
- try band-pass movement for robotic motion
- automate cutoff subtly across 8 bars
- reduce width or go mono if the layer feels too wide
Parameter suggestions:
You can also place the texture on a return track if you want to blend it in more flexibly. But for a deliberate oldskool crunch, printed audio on its own track often feels more decisive.
Why this works in DnB: the ear loves repeated micro-texture when the drums and bass are already moving fast. A crunchy layer gives your loop a “record-like” identity, especially when it changes in response to the arrangement.
6. Build the drop arrangement with clear 4-bar energy changes
Now arrange the 16-bar drop so it doesn’t feel like an endless loop.
Try this structure:
Good arrangement moves for oldskool DnB:
A musical context example:
This kind of phrasing matters because DnB drops often survive on small changes. You don’t need huge chord changes — you need enough motion to keep the energy climbing.
7. Automate the tension and movement with Ableton stock FX
Now make the drop feel alive with restrained automation.
Good places to automate:
Suggested automation ideas:
Use Echo if you want a dark, dubby tail on occasional hits:
Keep automations purposeful. In DnB, too much FX motion can weaken the groove if it starts competing with the break. Less but better is usually the win.
8. Resample the full drop a second time for final glue and edit control
Once the main drop loop feels strong, print the full section again to Resample Print. This is where the technique really pays off.
Now you have a “finished-ish” audio version of your own drop. You can:
This second resample is especially useful for darker DnB because it gives you control over the final energy contour. If the bassline and texture are fighting, you can flatten the problem area into a more coherent audio phrase.
Suggested final cleanup:
A good rule: if the drop feels good in resampled audio, it will usually be easier to finish.
Common Mistakes
Fix: high-pass the crunchy texture and keep it out of the sub/bass zone.
Fix: keep sub frequencies mono; let movement happen higher up, not in the foundation.
Fix: preserve some swing and ghost notes. Oldskool DnB lives in the micro-timing.
Fix: distort one or two key layers, not the entire session. Otherwise the mix turns to fog.
Fix: add a small fill, bass variation, or mute moment every 4 or 8 bars.
Fix: the real benefit of resampling is control. Chop, reverse, pitch, and mute the printed audio.
Pro Tips for Darker / Heavier DnB
Mini Practice Exercise
Spend 15 minutes making just the core drop energy.
1. Set the project to 174 BPM.
2. Load one break and chop it into a 2-bar drum loop.
3. Write a 2-bar bass motif with only 3–5 notes.
4. Print 4 bars of the combined drums and bass to audio.
5. Slice the printed audio and create a crunchy texture layer from 4–8 small slices.
6. Add EQ Eight and Saturator to the texture layer.
7. Automate one filter sweep over 8 bars.
8. Arrange a 16-bar loop with one small fill at bar 8 and one variation at bar 12.
Goal: by the end, you should have a drop that already feels like a section of a track, not just isolated parts.
Recap
The key idea is simple: build your oldskool DnB drop around strong break programming, a tight bass call-and-response, and a printed crunchy sampler layer created through resampling.
Remember the main priorities:
If you get the drum/bass relationship right and use resampling to glue the grime together, your Ableton drop will feel much closer to authentic jungle and oldskool DnB energy — gritty, functional, and ready to replay later 🔥

