Main tutorial
Lesson Overview
A great DnB breakdown is not “empty” — it’s a controlled drop in density that still feels alive. In jungle and oldskool-influenced Drum & Bass, the breakdown often carries crispy transient detail on top, dusty mids in the body, and just enough sub tension to make the drop feel inevitable. This lesson shows you how to build that kind of breakdown in Ableton Live 12 using stock devices and classic edit-thinking: chopping breaks, resampling texture, shaping space, and automating movement so the section feels intentional rather than washed out.
This sits right in the middle of a track’s arrangement workflow: after your intro has established the groove and before the drop fully lands, the breakdown is where you reset tension, showcase your sound palette, and make the return hit harder. In oldskool jungle and darker rollers, this moment often combines:
- edited breakbeats with sharp attack
- dusty midrange atmospheres
- filtered bass echoes or reese fragments
- transition FX that feel gritty, not glossy
- a chopped break loop with crisp, edited transients
- dusty midrange ambience made from resampled drums and noise texture
- a filtered bass motif or reese fragment answering the drums
- automation on filters, reverb, delay, and volume for tension building
- a breakdown that can lead cleanly into a drop, switch-up, or second half
- Making the breakdown too empty
- Overloading the mids with distortion
- Letting sub frequencies linger too long in the breakdown
- Using huge reverbs on everything
- Random filter sweeps with no arrangement purpose
- Flattening the break with too much bus compression
- Layer a filtered reese shadow under the dust
- Resample your own breakdown once it’s working
- Use reverse one-shots sparingly
- Try controlled tape-style degradation
- Let one element be ugly on purpose
- Automate delay throws on the final hit only
- Use call-and-response to imply a bigger drop
- Keep the breakdown rhythmically alive with crisp break edits.
- Build dusty mids by resampling and processing your own drums.
- Use filtered bass fragments as call-and-response, not full-on drop bass.
- Automate tension across phrases so the breakdown tells a story.
- Shape the bus lightly and protect the transient-dust contrast.
- In DnB, the best breakdowns feel gritty, controlled, and ready to explode 🔥
Why it matters: in DnB, listeners and DJs both respond to contrast. If your breakdown has no transient detail, it feels flat. If it has no midrange grime, it loses character. The sweet spot is a breakdown that sounds like it was pulled from a worn tape reel, but still punches through the mix. That’s the vibe we’re making today.
What You Will Build
You’ll build an 8-bar breakdown for an oldskool/jungle-leaning DnB track that includes:
The result should feel like a tight breakdown with character: the top-end crack of edited breaks, the midrange haze of worn texture, and a low-end presence that disappears just enough to make the return slam.
Musically, this could sit after a 16-bar intro and before a first drop, or between drop A and drop B as a switch-up. Think: four bars of drum fragments, two bars of atmosphere and bass ghosts, then a final two-bar lift that tees up the drop.
Step-by-Step Walkthrough
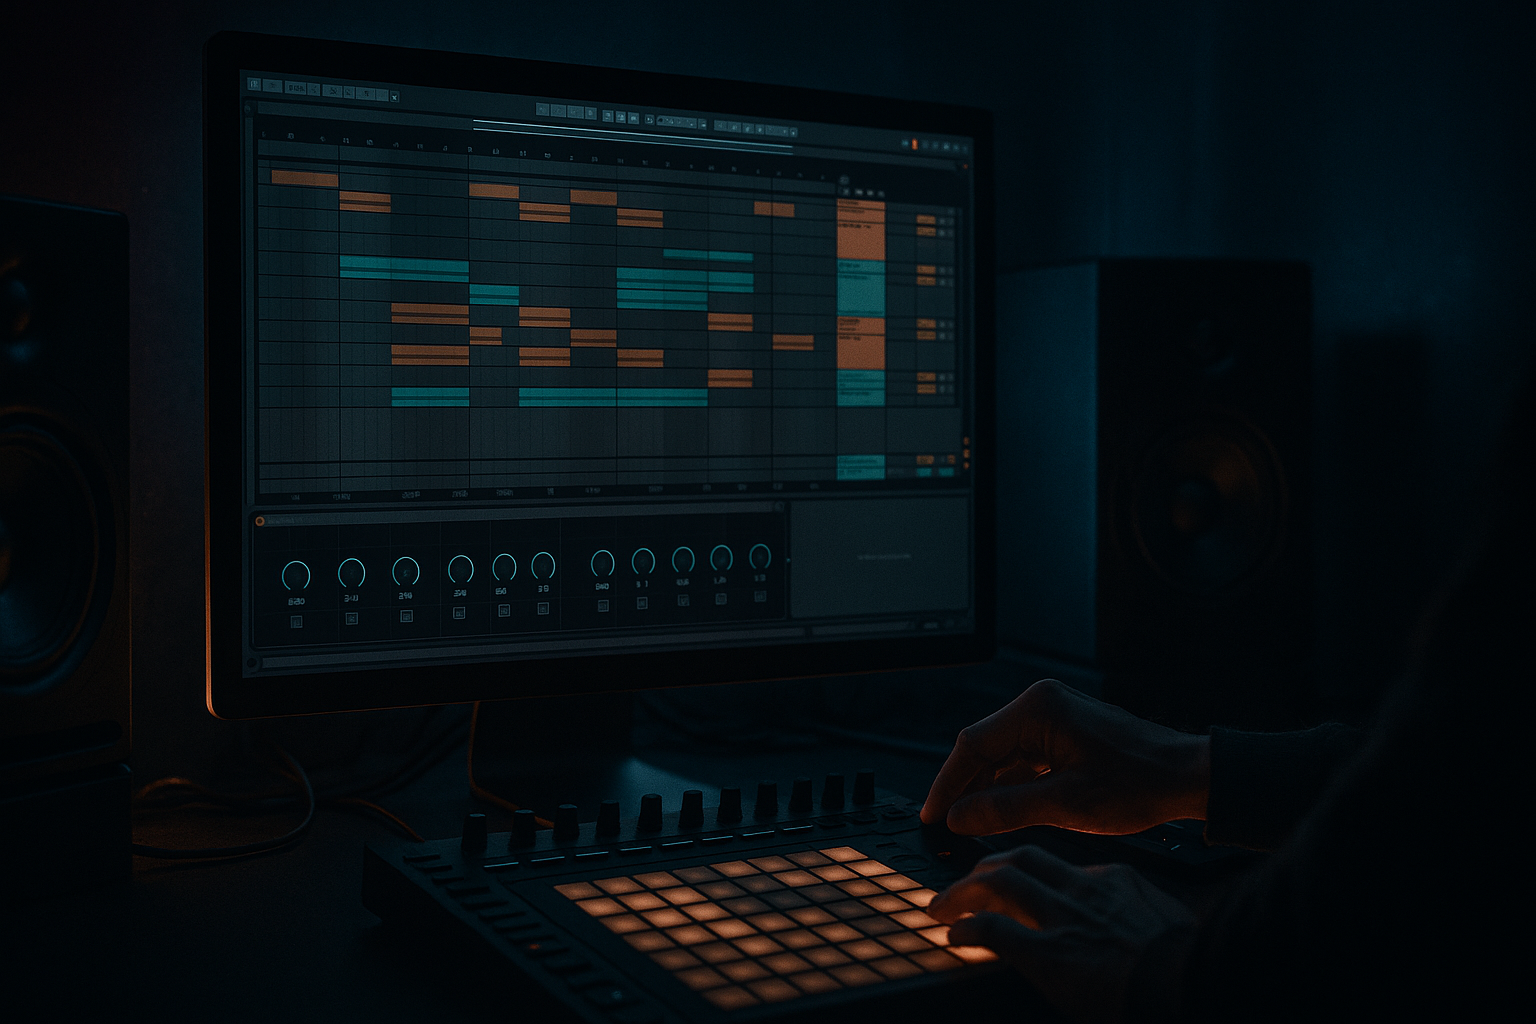
1. Set up a clean edit-based arrangement lane
Start with a fresh Audio or MIDI set in Ableton Live 12 and label your groups early: DRUMS, BASS, TEXTURE, FX. This is an edits-focused workflow, so organization matters because you’ll be slicing and rearranging material fast.
Create an 8-bar loop for the breakdown region. Put locators at:
- bar 1: breakdown start
- bar 5: texture lift / change
- bar 7: pre-drop tension
- bar 9: drop return
Keep the tempo in classic DnB territory, around 172–174 BPM for jungle/oldskool vibes. If you already have a drop, duplicate a section and strip it back instead of building from scratch. That gives you a coherent edit language across the tune.
For reference, leave some headroom on the master. Aim for peaks around -6 dB while building, so your edits can breathe and your transients don’t get crushed too early.
2. Build the crisp transient layer from a breakbeat edit
Drag in an Amen, Think, or similar classic break into an audio track. Warp it if needed, but don’t over-stretch: oldskool breaks lose snap when pushed too hard. Use Slice to New MIDI Track if you want faster edit control, or keep it as audio if you want more natural transient flow.
In the audio clip, make a tight 1-bar or 2-bar chopped loop with emphasis on:
- kick/snare accents
- a few ghost notes
- short hats or ride fragments
- one or two strategically placed break fills
Use Simpler if you resample into MIDI for more hands-on slicing, or stay with audio and use clip gain/envelopes for micro-edits. Add Drum Buss on the break group with subtle drive:
- Drive: 5–15%
- Crunch: low to moderate, around 10–20%
- Boom: usually off or very low in a breakdown unless you need extra weight
Why this works in DnB: the breakdown still needs rhythmic identity. Crisp transient edits keep momentum alive, so even when the bass drops out, the listener feels the groove moving forward.
3. Shape the dusty midrange body with resampling
Duplicate your break group to a new audio track and resample a few bars of the chopped beat. This is where the “dusty mids” come from. The goal is not a clean drum loop; it’s textured midrange glue.
On the resampled track, insert:
- EQ Eight to cut unnecessary lows below 120–180 Hz
- a gentle bell boost around 700 Hz–1.5 kHz if the body feels too thin
- a narrow cut around harsh zones if the break gets papery, often 3–5 kHz
Then add Saturator or Roar for grime. Good starting ranges:
- Saturator Drive: 2–6 dB
- Soft Clip: on if you want more density without obvious fuzz
- Roar: use subtle drive and a darker tone; keep mix moderate so it reads as texture, not distortion spray
Blend this resampled layer under the main break at a low level, often -18 to -12 dB depending on arrangement. It should feel like a dusty cloud around the hits, not another obvious drum loop.
Tip: if your breakdown is too sterile, automate this dusty layer to fade up in bars 3–6. That makes the section feel like the tape machine is warming up.
4. Add a call-and-response bass fragment, not a full bassline
In breakdowns, DnB bass should often be implied rather than fully declared. Use a filtered reese stab, sub pulse, or short bass answer that reacts to the drums. Create a MIDI clip with 1–2 notes per bar, leaving space.
Stock device options:
- Operator for a simple sub/reese source
- Wavetable for a more animated mid-bass texture
- Analog if you want a rougher, classic analog tone
Keep it restrained:
- Low-pass filter around 150–500 Hz for the breakdown
- Short amp envelope with quick attack and controlled release
- Unison or detune only if it doesn’t destabilize the mono image
A useful oldskool move is to answer the snare with a bass stab on the “and” after 2 or 4. That creates a conversational feel without crowding the break. If your drop bass is a heavy reese, use a filtered version of the same sound in the breakdown for continuity.
Route this bass fragment through Auto Filter and automate the cutoff opening slightly in the last 2 bars. That gives the listener a hint of release without revealing the full drop.
5. Create atmosphere from the drums themselves
Instead of relying on generic pads, build atmosphere from your own drum edits. This is very DnB-friendly and keeps the track unified.
Take a short break hit or two, duplicate them to a return track, and process them:
- Reverb with long decay, but high-passed around 300–600 Hz
- Echo with a dark tone and low feedback
- Hybrid Reverb if you want a more shaped, spacey wash
Try these settings as a starting point:
- Reverb Decay: 2.5–6 seconds
- Pre-delay: 10–30 ms
- High Cut: around 4–8 kHz
- Low Cut: around 300 Hz or higher
Then automate send levels so certain snare ghosts or hat ticks bloom into space. This creates depth without turning the breakdown into soup.
For extra jungle character, grab a small bit of room tone, vinyl noise, or filtered break ambience and place it very low in the mix. The ear reads this as “worn environment,” which helps the dusty midrange vibe land.
6. Design a tension curve with automation, not just FX
The breakdown should evolve bar by bar. In Ableton, use Automation Mode and draw movement across:
- break group filter cutoff
- resampled texture volume
- bass fragment cutoff
- reverb send on selected hits
- master or group delay throw on the final bar
A strong breakdown curve could look like this:
- Bars 1–2: tight break edit, bass mostly absent, texture low
- Bars 3–4: dusty resample rises, bass answers become more frequent
- Bars 5–6: more space, more reverb sends, drum transients slightly reduced
- Bars 7–8: filter opens, riser or snare roll starts, last hit cuts to silence or near-silence before the drop
Useful automation move: automate Auto Filter resonance a little higher on a few key hits, but keep it controlled. You want urgency, not a whistle.
If you use Utility, automate width carefully:
- keep sub and low-mid elements mono or narrow
- widen only the top atmosphere or delay returns
This is one of the most important breakdown skills in DnB: the ear follows automation as a story. Without a story, the breakdown is just a loop with effects.
7. Use edits to create arrangement interest and DJ-friendly phrasing
DnB breakdowns work best when they respect phrase structure. If your track is intended for DJ use, make sure the breakdown doesn’t randomly break the count. Keep an internal logic over 4-bar and 8-bar blocks.
Strong arrangement ideas:
- Bar 1: full break chop enters
- Bar 3: remove the kick, leave snare ghosts
- Bar 5: bring in filtered bass answer and a reversed drum swell
- Bar 7: increase reverb throw, then cut the drums for one beat
- Bar 8: final snare pickup or tom fill into the drop
If you want an oldskool edge, briefly mute the sub and let the midrange carry the tension for a bar or two. That contrast makes the drop feel bigger.
For a musical context example: imagine your drop is a heavy roller bassline in F minor. In the breakdown, keep a ghosted F note from the bass, filtered and unstable, while the break edit and dusty mids occupy the center. The ear keeps the tonal identity, but the energy space is reset.
8. Bus shape the breakdown so it feels glued, not overmixed
Put your break group, dusty resample, and bass fragment into a BREAKDOWN BUS. On that bus, use subtle shaping rather than heavy processing.
Good stock options:
- Glue Compressor with light gain reduction, around 1–2 dB
- EQ Eight for broad cleanup if the bus gets cloudy
- Drum Buss very lightly if you need extra transient edge
- Utility for mono checks on key elements
On the bus, avoid over-compressing the life out of the transient layer. The crispness of the breakdown depends on the contrast between hit and haze. If the bus squashes too much, the dust becomes mush.
Check in mono. The dusty mids should survive, the kick/snare transients should stay readable, and any widening should be limited to ambience and FX only.
Common Mistakes
- Fix: keep a rhythmic skeleton alive with break ghosts, hats, or snare echoes. DnB needs motion even when stripped back.
- Fix: use saturation in parallel or at low drive. If the 1–3 kHz range gets painful, cut a little with EQ Eight before adding more grit.
- Fix: high-pass the breakdown bass fragments or shorten their decay. Save true sub weight for the drop unless the arrangement specifically calls for a sub teaser.
- Fix: send selectively. Keep the transient layer mostly dry and let only certain hits bloom into space.
- Fix: automate with phrase logic. Every move should point toward the drop or a switch-up.
- Fix: leave transient peaks intact. A little glue is good; over-glue kills oldskool snap.
Pro Tips for Darker / Heavier DnB
- Keep it very low and mono, with cutoff around 180–400 Hz. This adds weight without revealing the full bassline.
- Bounce 4 bars and chop the audio again. This “second-generation” edit often sounds more authentic and gritty than pristine plugin layering.
- A reversed snare tail, ghost crash, or reversed break fragment can add tension without sounding EDM-like.
- Subtle saturation, slight EQ roll-off above 10–12 kHz, and a touch of noise can make the breakdown feel more underground. Keep the transient peaks intact.
- In darker DnB, perfection can reduce impact. Choose one layer — often a dusty mid resample — to be intentionally rough while the break transients stay sharp.
- A single throw from Echo or Delay on the last snare before the drop can create a classic tunnel effect without cluttering the whole section.
- Answer the break with a bass stab, then answer that with silence. The listener’s brain fills in the missing energy, which makes the drop feel larger.
Mini Practice Exercise
Spend 10–20 minutes building a breakdown from one break and one bass idea:
1. Choose a classic break and make a tight 4-bar chop.
2. Duplicate it and resample a dusty version with Saturator or Roar.
3. Create a short filtered bass fragment using Operator or Wavetable.
4. Add one atmospheric return with Reverb or Echo.
5. Automate the break filter, bass cutoff, and send levels over 4 bars.
6. Make bar 4 or bar 8 end with a clear pre-drop gesture: stop, snare fill, reverse hit, or delay throw.
7. Listen in mono and make sure the transient layer still reads clearly.
Goal: finish with a breakdown that sounds like a real DnB arrangement moment, not just a loop with effects.

