Main tutorial
Lesson Overview
In this lesson, you’ll build a colorful jungle mid bass that carries oldskool rave pressure inside an Ableton Live 12 project. The goal is not to make the bass huge and modern-polished — it’s to make it alive, urgent, and characterful so it sits in a DnB/jungle drop with that slightly rough, excited, warehouse energy.
This technique matters because in drum & bass, the mid bass is the emotional engine of the drop. The sub gives weight, but the mid bass gives the track its identity: the growl, buzz, reese shimmer, and forward motion that cuts through breaks and keeps the groove moving. For oldskool-inspired jungle pressure, the mid bass often feels:
- noisy but controlled
- wide in the upper mids, mono-friendly in the low end
- rhythmic, with call-and-response phrasing
- saturated enough to feel “rude,” but not so distorted that the drums disappear
- a gritty reese / buzz bass with animated movement
- a midrange layer that speaks clearly on small speakers
- enough weight and density to feel powerful with a breakbeat
- a clean low end so it can live with a separate sub
- a musical phrase that can be used in a 16-bar drop with switches and fills
- punch through a busy drum break
- respond to automation for tension and release
- work in an oldskool rave context with stabs, pads, or vocal chops
- stay mix-ready when bounced into an arrangement
- Making the bass too wide in the low end
- Soloing the bass until it sounds massive, then losing the drums
- Using too much distortion
- Not separating sub and mid bass
- Leaving harsh resonances untreated
- Making the phrase too busy
- Layer a filtered noise texture
- Use small automation moves instead of big sound changes
- Resample the bass when it starts feeling right
- Shape tension with note length
- Use a second bass layer for call-and-response
- Check the bass on small speakers
- Keep the kick clear
- Separate sub and mid bass for cleaner DnB mixing.
- Use detuned saws, filtering, saturation, and EQ Eight to create oldskool jungle character.
- Keep the bass mono-friendly in the low end and more flexible in the mids.
- Shape the groove with sidechain, note length, and phrase spacing.
- Use automation to create rave-style tension and release.
- Always judge the bass with the drums, not in solo.
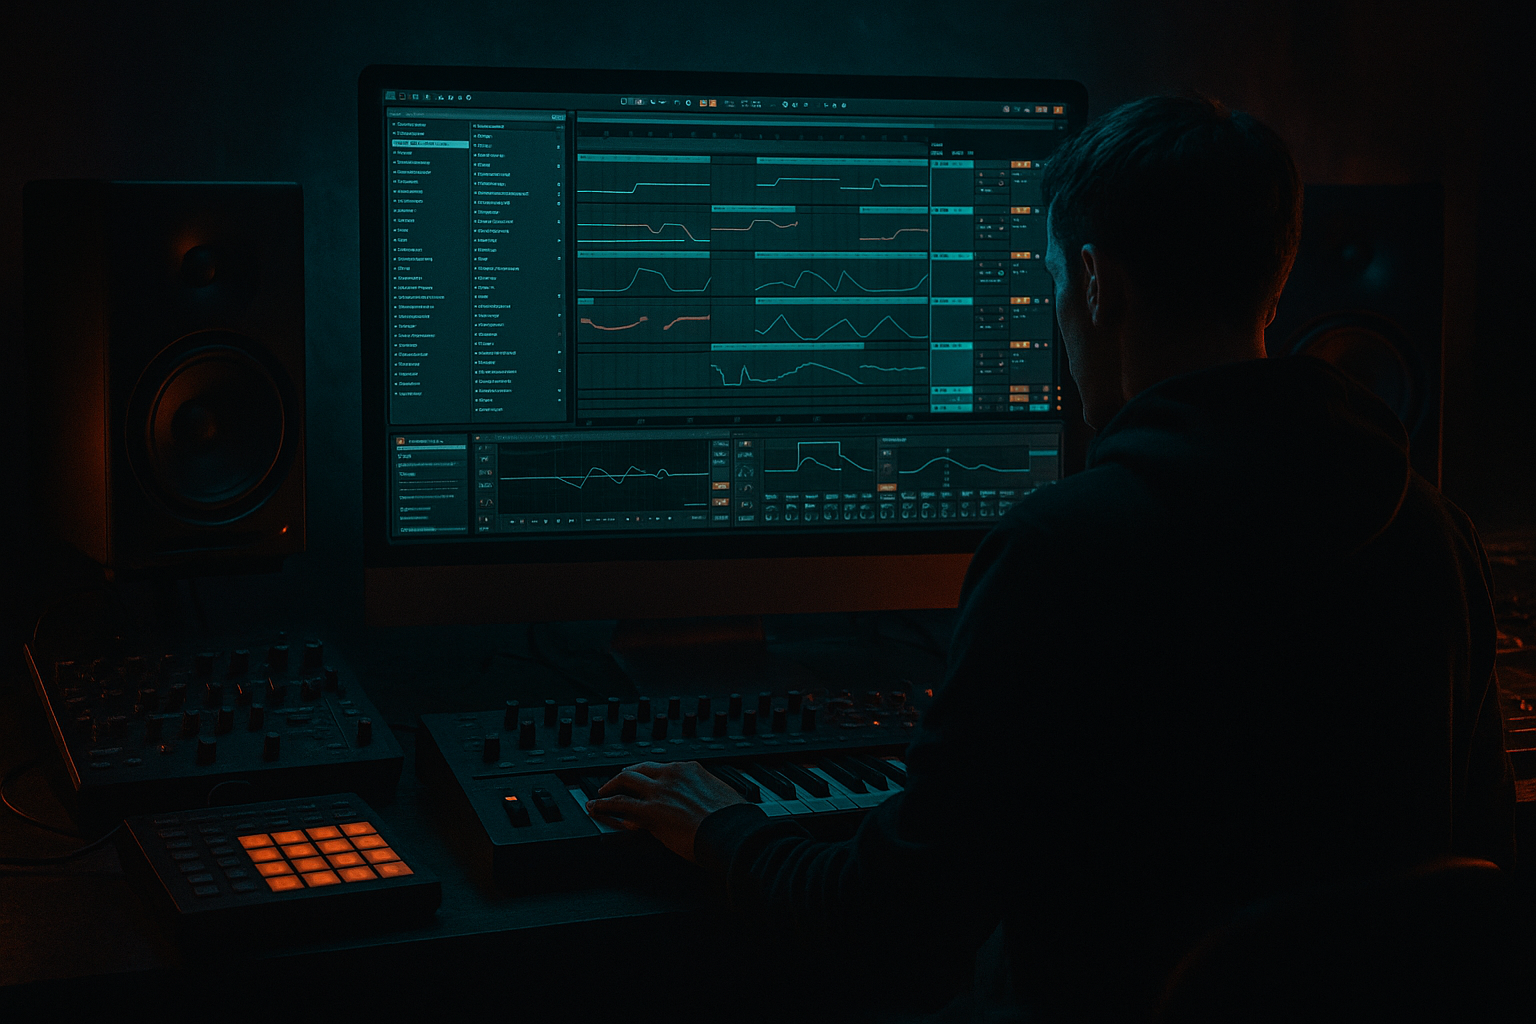
We’ll make a bass that can sit under chopped breaks, rave stabs, and a strong sub layer. You’ll use Ableton stock devices to create movement, add color, control harshness, and keep the low end clean. This is a mixing-focused workflow, so the aim is not just sound design — it’s how to make the bass work inside a DnB arrangement.
---
What You Will Build
By the end of this lesson, you’ll have a jungle-style mid bass patch that sounds like:
You’ll also set it up so it can:
Think of this as building the “character layer” of the bass section — the part that makes the drop feel dangerous and colorful 🎛️
---
Step-by-Step Walkthrough
1. Set up a simple DnB bass lane in Ableton
- Create a new MIDI track and load Wavetable, Operator, or Analog. For this lesson, start with Wavetable because it’s flexible and beginner-friendly.
- Set your project around 170–174 BPM. Oldskool jungle and rollers often live in this zone.
- Program a short MIDI clip, 1 or 2 bars long, using just 2–4 notes to start. Keep it simple:
- one root note
- one passing note
- one octave jump or fifth for tension
- For a classic jungle feel, use a phrase that answers the drums rather than playing constant notes. A simple pattern like “hit, rest, hit, answer” works well.
- Why this matters: in DnB, bass rhythm is as important as tone. A good phrase leaves space for the break, which helps the drop feel bigger.
2. Build the core bass tone with a detuned oscillator patch
- In Wavetable, choose a basic waveform such as Saw or a simple analog-style table.
- Turn on two oscillators if available:
- Osc 1: Saw
- Osc 2: Saw, detuned slightly
- Suggested settings:
- Osc 2 detune: 5–15 cents
- Unison voices: 2–4 max for beginner use
- Keep stereo spread modest at first
- Add a Filter and low-pass it lightly so the top end is controlled.
- Filter cutoff: around 200–800 Hz to start, then open later with automation
- Resonance: 5–20% if needed for bite
- If you want more oldskool edge, push the oscillator into a slightly unstable tuning feel. The movement from two close detuned voices gives that classic reese pressure.
- Why this works in DnB: reese-style detune creates tension in the midrange, where basses are most audible on club systems without fighting the sub.
3. Separate the sub from the mid bass early
- This is a key mixing habit. Don’t let one patch do everything.
- Create a separate Sub Bass track using Operator with a sine wave, or even the same MIDI pattern copied over.
- On the mid bass track, use EQ Eight or Auto Filter to remove low-end weight:
- High-pass around 90–140 Hz
- If the bass still feels muddy, try moving it up toward 150 Hz
- Keep the sub track mono and clean:
- Use a sine wave
- Avoid distortion on the sub unless it’s very controlled
- Blend the mid bass and sub together at low volume first. The sub should carry the bottom, while the mid bass adds character above it.
- Beginner rule: if the bass sounds huge soloed but weak with drums, it usually has too much low-end overlap or too much stereo blur.
4. Add grit with saturation and soft clipping
- Drop Saturator after the instrument.
- Start with:
- Drive: 2–6 dB
- Soft Clip: On
- Output adjusted so the level stays controlled
- If you want a dirtier jungle edge, place Overdrive before Saturator and keep it subtle:
- Frequency around 400–1,200 Hz
- Drive around 10–30%
- The goal is to make the bass more audible on smaller speakers and more aggressive in the drop, without turning it into fizzy mush.
- If the tone gets too harsh, lower the drive before reaching for EQ.
- Tip: saturation is often better than heavy EQ boosts for making oldskool bass feel louder.
5. Control movement with chorus-style width, but keep the low end mono
- For colorful oldskool pressure, a little stereo movement in the midrange can be powerful. Use Chorus-Ensemble lightly or the Utility device with width changes.
- Suggested approach:
- Put Utility before the saturation and keep it at 100% width or slightly less
- Add Chorus-Ensemble only if the bass needs a more liquid, moving feel
- Keep the low end mono using EQ Eight or by high-passing the width-heavy layer
- A safe beginner method is to duplicate the bass:
- one mono low-mid layer
- one wider texture layer filtered high enough not to affect the sub
- If you do not want to duplicate, just make sure the stereo effects are not pulling energy below around 150 Hz
- Why this works in DnB: club systems and mono playback punish wide low end. Keeping width in the upper mids gives you excitement without low-end collapse.
6. Shape the tone with EQ and remove nasty resonances
- Add EQ Eight after saturation.
- Listen for:
- muddy boxiness around 200–400 Hz
- nasal harshness around 800 Hz–2 kHz
- fizzy bite around 3–6 kHz
- Suggested EQ moves:
- small cut of 2–4 dB around 250–350 Hz if the bass clouds the break
- gentle cut of 1–3 dB around 2–4 kHz if it fights snares or breaks
- small boost only if the bass feels too dull — keep boosts subtle
- Use a narrow bell to find resonant spikes and reduce them by a few dB.
- Keep your EQ decisions tied to the drums. In jungle, the bass and break are one rhythm section, so they must leave space for each other.
7. Use automation to create rave-style phrasing
- Now make the bass feel like it’s breathing with the arrangement.
- Automate:
- Filter cutoff opening during the last note of a phrase
- Saturator Drive slightly up in the second half of a 4-bar phrase
- Width opening on a fill or transition
- Easy beginner move:
- In a 16-bar drop, keep the bass darker in bars 1–4
- Open the filter more in bars 5–8
- Add a short fill or pitch movement in bars 9–12
- Return to the main idea in bars 13–16
- This gives you oldskool tension/release, which is a huge part of rave pressure.
- A classic arrangement example: when a vocal stab or hoover hits, let the bass duck or narrow briefly so the listener feels the impact.
8. Sidechain the bass to the kick and shape the groove
- Use Compressor on the mid bass and set it to sidechain from the kick drum.
- Suggested starting point:
- Attack: 1–10 ms
- Release: 50–120 ms
- Ratio: 2:1 to 4:1
- Threshold: enough to create audible but not extreme ducking
- In DnB, the kick and snare usually punch hard, so the bass should tuck around them rather than fight them.
- If the sidechain feels too obvious, reduce the amount or shorten the release.
- If the bass feels too static, use Volume Automation or clip gain changes on certain notes so the groove stays lively even before sidechain is added.
- For beginner flow: start with a gentle compressor sidechain, then refine by ear once the drums are in.
9. Fit the bass against chopped breaks and check the drum/bass balance
- Bring in a breakbeat loop or your edited drums.
- Use Simpler for chopped break hits, or build drum edits from audio clips in Arrangement View.
- Listen for whether the bass masks:
- snare crack
- kick transient
- break ghost notes
- If the bass competes with the snare, lower the bass around 1–3 kHz a little.
- If the break loses its low punch, trim the bass under 120–150 Hz more aggressively and let the sub carry the foundation.
- Put Utility on the bass and test Mono periodically. If the bass falls apart in mono, reduce width effects or phasey layers.
- This is where mixing becomes real: the bass should sound exciting, but the drums must still cut through.
10. Finish with a simple arrangement switch-up
- Make the bass more musical with a small variation every 4 or 8 bars.
- Ideas:
- one bar with a higher octave note
- a short note cutoff before the snare
- a filter-open “answer” note
- a quick pause before the drop returns
- In an oldskool jungle context, a call-and-response pattern works really well:
- bars 1–2: main bass phrase
- bar 3: short answer phrase
- bar 4: drop to silence for half a beat, then return
- This creates space for breaks, stabs, and FX.
- If you’re building a full track, use the mid bass more sparingly in the intro and bring it in hard at the drop for contrast.
---
Common Mistakes
- Fix: keep low frequencies mono. Use EQ, Utility, or simpler layering so stereo effects only live in the mids and highs.
- Fix: always check the bass with the breakbeat and kick. In DnB, a bass that sounds slightly smaller soloed often works better in context.
- Fix: reduce drive and use saturation more carefully. If the bass sounds harsh or fizzy, it will blur the snare and hats.
- Fix: let the sub handle the weight, and let the mid bass handle the character. This is one of the most important low-end habits in drum & bass.
- Fix: use EQ Eight to tame spikes around 2–5 kHz if they start fighting the break or making the bass tiring.
- Fix: oldskool pressure comes from confident spacing. A few strong bass hits often hit harder than constant notes.
---
Pro Tips for Darker / Heavier DnB
- Add a quiet Operator noise layer or Wavetable noise layer above the bass, then high-pass it heavily. This can add grime without stealing low-end space.
- A tiny cutoff lift or saturator bump on the last half of a phrase can make the whole drop feel more alive.
- Bounce the bass to audio, then chop it like a break. This gives you more control over mutes, reverses, and tiny edits.
- Shorter notes can feel tighter and more oldskool. Slightly longer notes can feel rolling and menacing. Try both against the same drum loop.
- Keep one layer darker and one layer more acidic or buzzy. Alternate them across 2 or 4 bars for a stronger rave identity.
- If the mid bass disappears, add a touch more harmonic content with Saturator or Overdrive instead of boosting low mids too much.
- If your kick is punchy and short, let the bass duck quickly and recover before the next drum hit. That punch-and-space relationship is a huge part of DnB power.
---
Mini Practice Exercise
Spend 15 minutes making a jungle mid bass loop.
1. Set your project to 172 BPM.
2. Program a 2-bar MIDI bass phrase with only 3 notes.
3. Build the sound in Wavetable with two slightly detuned saw oscillators.
4. High-pass the bass around 120 Hz and add Saturator with 3–5 dB drive.
5. Add EQ Eight and remove any muddy spot around 250–350 Hz.
6. Copy the MIDI to a sub track using Operator with a sine wave.
7. Add a simple breakbeat loop and sidechain the bass to the kick.
8. Automate the filter cutoff so bar 2 opens more than bar 1.
9. Switch the bass to mono and then back to stereo to hear what changes.
10. Bounce your bass to audio and try one quick chop or mute at the end of the phrase.
Goal: make it feel like a rude, colorful jungle bassline that supports the break instead of burying it.
---
Recap
If you nail those basics, you’ll have a mid bass that feels properly jungle, weighty, and ready for a drop 🔥

