Main tutorial
Color Jungle Drop for Oldskool Rave Pressure in Ableton Live 12 🥁⚡
1. Lesson overview
In this lesson, you’ll build a colorful jungle drop using resampling in Ableton Live 12. The goal is to create that oldskool rave pressure: rolling breakbeats, chopped-up energy, animated bass stabs, and a gritty-but-fun atmosphere that feels rooted in jungle / drum and bass history.
This is a beginner-friendly workflow, but it teaches a very important pro technique:
- Make a rough idea
- Resample it into audio
- Slice, mutate, and rearrange
- Turn simple parts into a bigger, more exciting drop
- How to set up a jungle drop session in Ableton Live 12
- How to build drums, bass, and FX for a ravey DnB section
- How to resample your own loop into audio
- How to chop the audio for a more energetic, “colorful” drop
- How to arrange it like a proper jungle breakdown-to-drop transition 🎛️
- Breakbeat drums: Amen-style or chopped oldskool break energy
- Sub bass: simple, strong, rolling low end
- Reese or rave bass layer: bright enough to give color
- Resampled audio chops: the main lesson focus
- FX impacts and fills: reverse cymbals, risers, white noise
- Arrangement movement: call-and-response between drums, bass, and resampled edits
- A drop that feels fast, lively, and slightly chaotic in a controlled way
- A few audio clips you made by resampling your own mix
- A more “finished” jungle vibe instead of a static loop
- 170 BPM for classic jungle / DnB energy
- You can also use 174 BPM if you want a more modern DnB feel
- Kick
- Snare
- Closed hat
- Open hat
- A chopped break sample if you have one
- Snare on 2 and 4
- Kick around the snare for movement
- Hats between hits for forward motion
- In the clip groove pool, choose a light shuffle groove
- Or manually shift some hi-hats slightly late
- Oscillator A: sine wave
- Turn off the other oscillators
- Lower to mono if needed
- Add a short amp envelope:
- Use a few notes
- Leave space
- Try syncopation rather than constant notes
- Short note on bar 1
- Stab on the “and” of 2
- Hold note into the snare pocket
- Leave gaps so the break can breathe
- EQ Eight: low-pass everything above ~120 Hz if needed
- Saturator: subtle, just to thicken
- Utility: mono below the low end if needed
- A quick rave stab
- A Reese-like mid layer
- A noisy, filtered bass hit
- Pick a saw-based patch
- Add a little detune
- Filter it with a low-pass or band-pass
- Add a touch of drive
- Wavetable
- Auto Filter
- Saturator
- Corpus for metallic resonance if you want an odd rave texture
- Redux for grit
- Place hits before the snare
- Let some notes answer the drum fill
- Keep some bars more sparse so the drop breathes
- Your drums
- Your sub
- Your bass
- A few FX
- Instant chop material
- More creative editing options
- A more “produced” sound
- A way to freeze a cool moment before it disappears
- Slice by transients
- Or slice by 1/8 if the rhythm is very steady
- Repeat a snare tail
- Cut up a bass stab into a call-and-response pattern
- Reverse one slice for tension
- Leave one or two slices hanging for groove
- Reverse one chop before a snare
- Pitch one slice up or down by a few semitones
- Shorten a slice to create a stutter
- Automate filter movement using Auto Filter
- Use Beat Repeat on a send or insert for controlled glitch energy
- Filter cutoff opening into the drop
- Reverb send decreasing as the drop lands
- Delay feedback on the last bar before the drop
- Volume fades on chopped audio stabs
- Full drums
- Sub enters
- Minimal bass stab
- Add resampled chop rhythm
- Introduce a reverse FX hit
- Use a filter sweep
- Remove one kick or hat for space
- Bring in a stronger bass phrase
- Add a pitch-shifted chop
- Fill before repeat
- Short break in the drums
- Big resampled hit into the next section
- Foundation
- Answer
- Mutation
- Release
- Noise sweep from Operator or Wavetable
- Reverb tail on a snare hit
- Reverse cymbal
- Delay throw on a chopped stab
- Impact sample on bar 1 of the drop
- Auto Filter
- Echo
- Reverb
- Utility to control width
- Mute the bass for half a bar
- Let only a reverb tail or reverse sound fill the space
- Then slam the full drums and bass back in
- Keep sub and kick from fighting each other
- Avoid putting heavy reverb on sub
- Make sure your resampled chops are not muddying the low end
- High-pass if the chop doesn’t need low frequencies
- Cut muddy buildup around 200–500 Hz if needed
- Leave the true bass space to the sub track
- Keep low end mono
- Narrow stereo width on bass-heavy layers
- Add Saturator before resampling
- Use Redux lightly for bitcrushed edge
- Put Drum Buss on the drum group for extra smack
- Layer a harder snare with your break
- Use Transient shaping via Drum Buss
- Add a ghost snare before the main snare for tension
- Use Wavetable with more unison detune
- Add Auto Filter movement
- Try a distorted Reese with a narrow band-pass feel
- snare roll
- bass stab
- impact
- chopped break
- Record the chopped version again
- Slice that new recording
- Use just 2–3 of the best hits as your main drop accent
- Start with a tight breakbeat and a simple sub
- Add a colorful mid-bass or rave stab layer
- Use Resampling to capture the full groove
- Slice the audio into new rhythmic ideas
- Automate filters, FX, and arrangement details to keep the drop moving
- Keep the low end clean and the energy evolving
- a step-by-step Ableton Live project template
- a beginner MIDI pattern guide
- or a dark 174 BPM version with a rolling neuro-jungle twist
That’s exactly how a lot of classic jungle and DnB moments were built — not by overthinking, but by capturing a vibe and then rearranging it with intent.
What you’ll learn
---
2. What you will build
You’ll create a short 8-bar drop section with:
Final result
By the end, you should have:
---
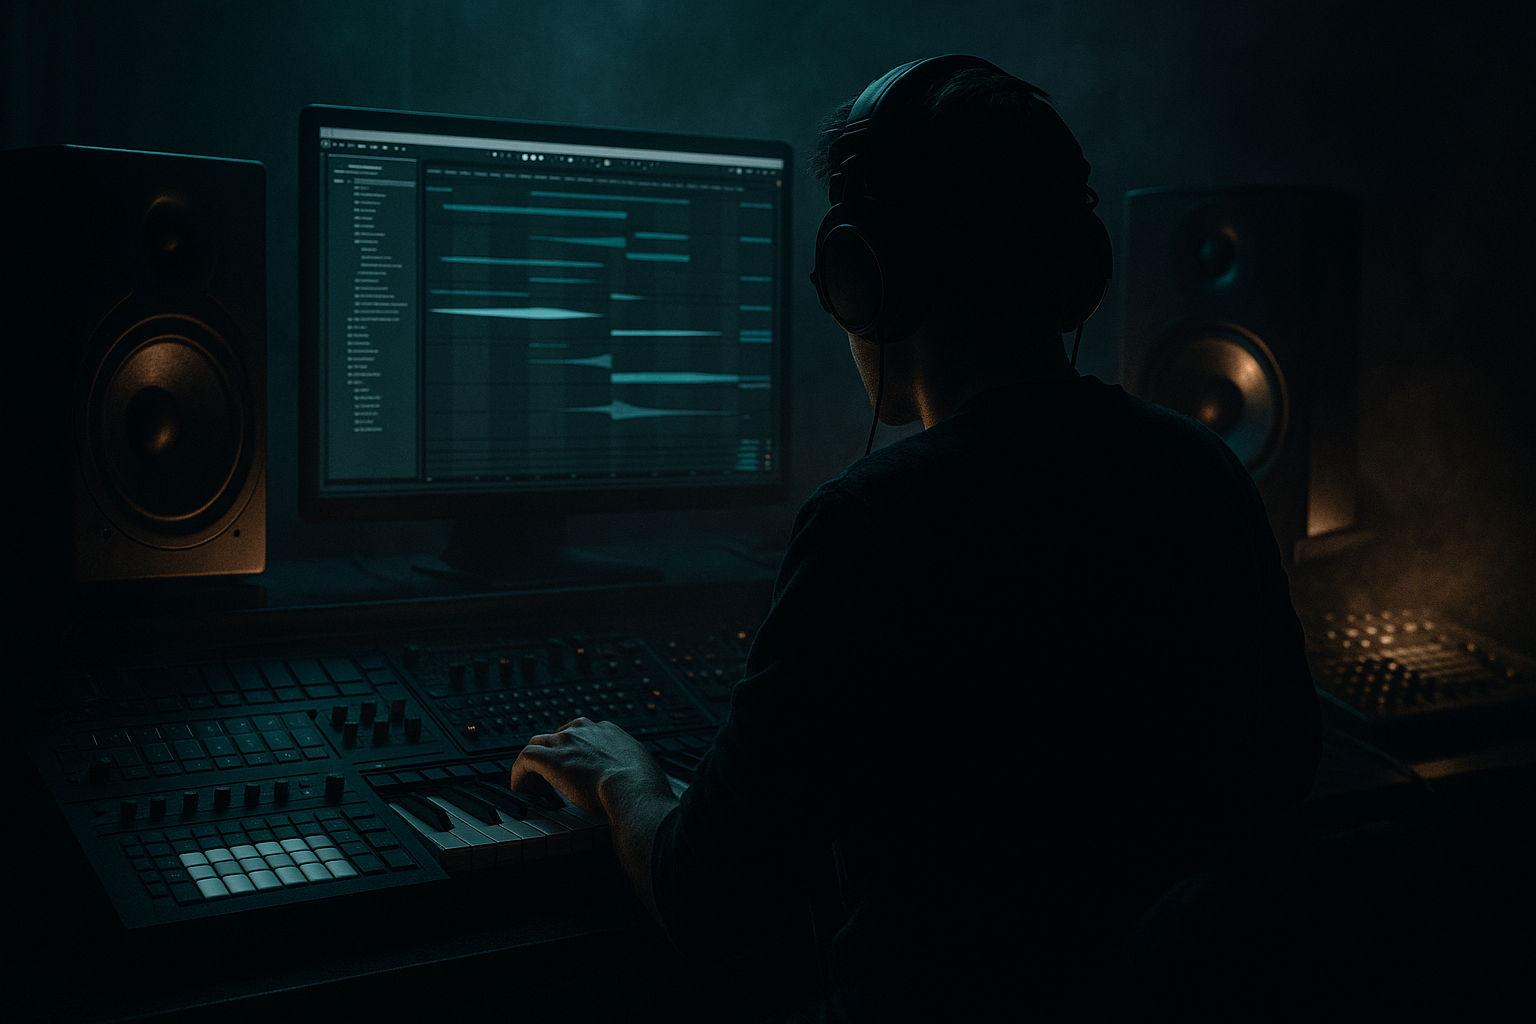
3. Step-by-step walkthrough
Step 1: Set up your project
Tempo
Set your tempo to:
Create a clean session
In Ableton Live 12:
1. Open a new set
2. Rename tracks clearly:
- DRUMS
- SUB
- BASS
- FX
- RESAMPLE
3. Color-code the tracks if you want to stay organized
Turn on the metronome
You’ll want to keep timing tight while programming the initial groove.
---
Step 2: Build the drum foundation
A jungle drop lives or dies by the breakbeat.
Option A: Use a drum rack for a programmed break
Create a Drum Rack on the DRUMS track and load:
Option B: Use a break sample directly
If you have a classic break like an Amen-style loop:
1. Drag it into an audio track
2. Warp it if needed
3. Set warp mode to:
- Beats for punchy drums
- Try preserving transients
Basic oldskool pattern
Start with a simple loop:
A classic jungle feel often comes from syncopation, not just a straight drum loop.
Add swing
Try one of these:
Don’t overdo it — you want human bounce, not sloppy timing.
---
Step 3: Add a strong sub bass
For beginner jungle, keep the sub simple.
Create a SUB track
Use Wavetable, Operator, or Analog.
Simple Operator sub setup
If using Operator:
- Attack: 0 ms
- Decay: short to medium
- Sustain: full or slightly reduced
- Release: short
Pattern
Write a bassline that supports the drums:
Example feel:
Processing chain for sub
Keep it clean:
Tip: Keep the sub mostly simple. The “color” will come from the resampled layers later.
---
Step 4: Add a colorful mid-bass or rave stab layer
This is where the drop gets character.
Create a BASS track
Use Wavetable or Analog and make something that feels like:
Good beginner sound design idea
In Wavetable:
Useful stock devices
Make it rhythmic
Try short notes or stabs that interact with the break:
---
Step 5: Prepare your first resample pass
Now we get to the main lesson: resampling.
Resampling means recording the output of your own project into audio. This is powerful because it turns a loop into something you can chop, reverse, stretch, and mutate.
Create a RESAMPLE audio track
1. Create a new audio track
2. Set its input to Resampling
3. Arm the track for recording
Now when you hit record, Ableton captures everything that is playing on your master output.
What should be playing?
Play:
Record 4 or 8 bars of the groove.
Why resample?
Because audio gives you:
---
Step 6: Chop the resample into new jungle phrases
This is where the track becomes more exciting.
Take the recorded audio clip
Once the resample is recorded:
1. Drag it into Arrangement or keep it in Session
2. Duplicate the clip if needed
3. Right-click and choose Slice to New MIDI Track if you want to turn it into playable chops
Slice settings
For beginner-friendly slicing:
Ableton will create a Drum Rack with your chopped audio.
What to do with the slices
Now create a new rhythm from your recorded material:
This is the “oldskool pressure” part: the drop starts to feel like it’s constantly pushing forward.
---
Step 7: Make it “colorful” with edits and movement
A jungle drop becomes colorful when it changes often.
Try these audio tricks
On your resampled clip or slices:
Great device chain for the resampled audio
Try this on your RESAMPLE track or sliced track:
1. EQ Eight
- Remove useless low-end if the chop is mid/high
2. Saturator
- Add warmth and bite
3. Auto Filter
- Automate cutoff for tension
4. Redux
- Use lightly for crunchy oldschool texture
5. Reverb or Echo
- Keep it subtle; too much can wash out the drop
Automation ideas
Automate:
---
Step 8: Arrange the drop like a proper jungle tune
A good jungle drop is not just a loop. It’s a sequence of small surprises.
Simple 8-bar arrangement idea
Bars 1–2
Bars 3–4
Bars 5–6
Bars 7–8
Think in layers
The drop should evolve like this:
That’s the energy of jungle.
---
Step 9: Add transition FX for impact
Use stock Ableton devices and samples to glue the drop together.
Helpful FX
Simple FX chain
On an FX track:
Small detail that helps a lot
Before the drop:
That contrast creates pressure instantly.
---
Step 10: Clean up the low end
This matters even in a rough jungle sketch.
Low-end rules
Use EQ Eight
On resampled audio:
Use Utility
---
4. Common mistakes
1. Making the resample too busy
If you record a huge mess, it becomes hard to chop and arrange.
Fix: Record 4 bars first, then build complexity from there.
2. Letting the resample fight the sub
Resampled audio often has hidden low-end.
Fix: Use EQ Eight to remove unnecessary low frequencies.
3. Overusing reverb on the drop
Too much reverb kills jungle impact fast.
Fix: Keep reverb short, or automate it only in transitions.
4. No contrast between sections
If everything is always full-on, the drop loses power.
Fix: Remove elements for a bar or half-bar before the next hit.
5. Chopping without rhythm
Random cuts can sound weak if they don’t groove with the drums.
Fix: Chop on transients or by musical divisions like 1/8 or 1/16.
6. Too many bass layers
Beginners often stack too much.
Fix: Use one sub, one mid-bass, and one resampled layer to start.
---
5. Pro tips for darker/heavier DnB
If you want the same workflow but with more darkness and weight, try these upgrades:
Make the resample dirtier
Make the drums more aggressive
Make the bass more menacing
Heavier resample processing chain
A good darker chain might be:
1. EQ Eight
2. Saturator
3. Drum Buss
4. Redux
5. Auto Filter
Arrangement trick for darker energy
Mute the drums for a split second before the drop hit, then bring them back with:
That tiny gap creates huge weight.
---
6. Mini practice exercise
Try this 20-minute exercise to lock in the lesson.
Exercise goal
Create a 4-bar jungle phrase and resample it into a new chopped variation.
Steps
1. Set tempo to 170 BPM
2. Build a simple drum loop with:
- kick
- snare
- hats
3. Add a basic sine sub in Operator
4. Add one short ravey bass stab in Wavetable
5. Record 4 bars into a Resampling audio track
6. Cut the recording into 4 or 8 slices
7. Rearrange the slices so they answer the drums differently
8. Add one reverse slice before bar 4
9. Add a filter sweep into the loop restart
Challenge version
Do a second resample pass:
This is a great way to get that “edited by hand” jungle feel.
---
7. Recap
You now have a practical Ableton workflow for building a color jungle drop with oldskool rave pressure.
Key takeaways
Most important idea
In jungle and DnB, the magic often comes from capturing a good groove and mutating it. Resampling is how you turn one solid idea into something much bigger, dirtier, and more exciting 🔥
If you want, I can also turn this into:

