Main tutorial
Lesson Overview
An Amen-style pad is one of those deceptively simple textures that can completely change the emotional language of a Drum & Bass track. In 90s-inspired darkness, it’s not just “background atmosphere” — it’s the glue between the breakbeat, the sub, and the tension in the arrangement. A good dark pad can make a roller feel haunted, make a jungle cut feel cinematic, or give a neuro-leaning tune that old-school dread without cluttering the mix.
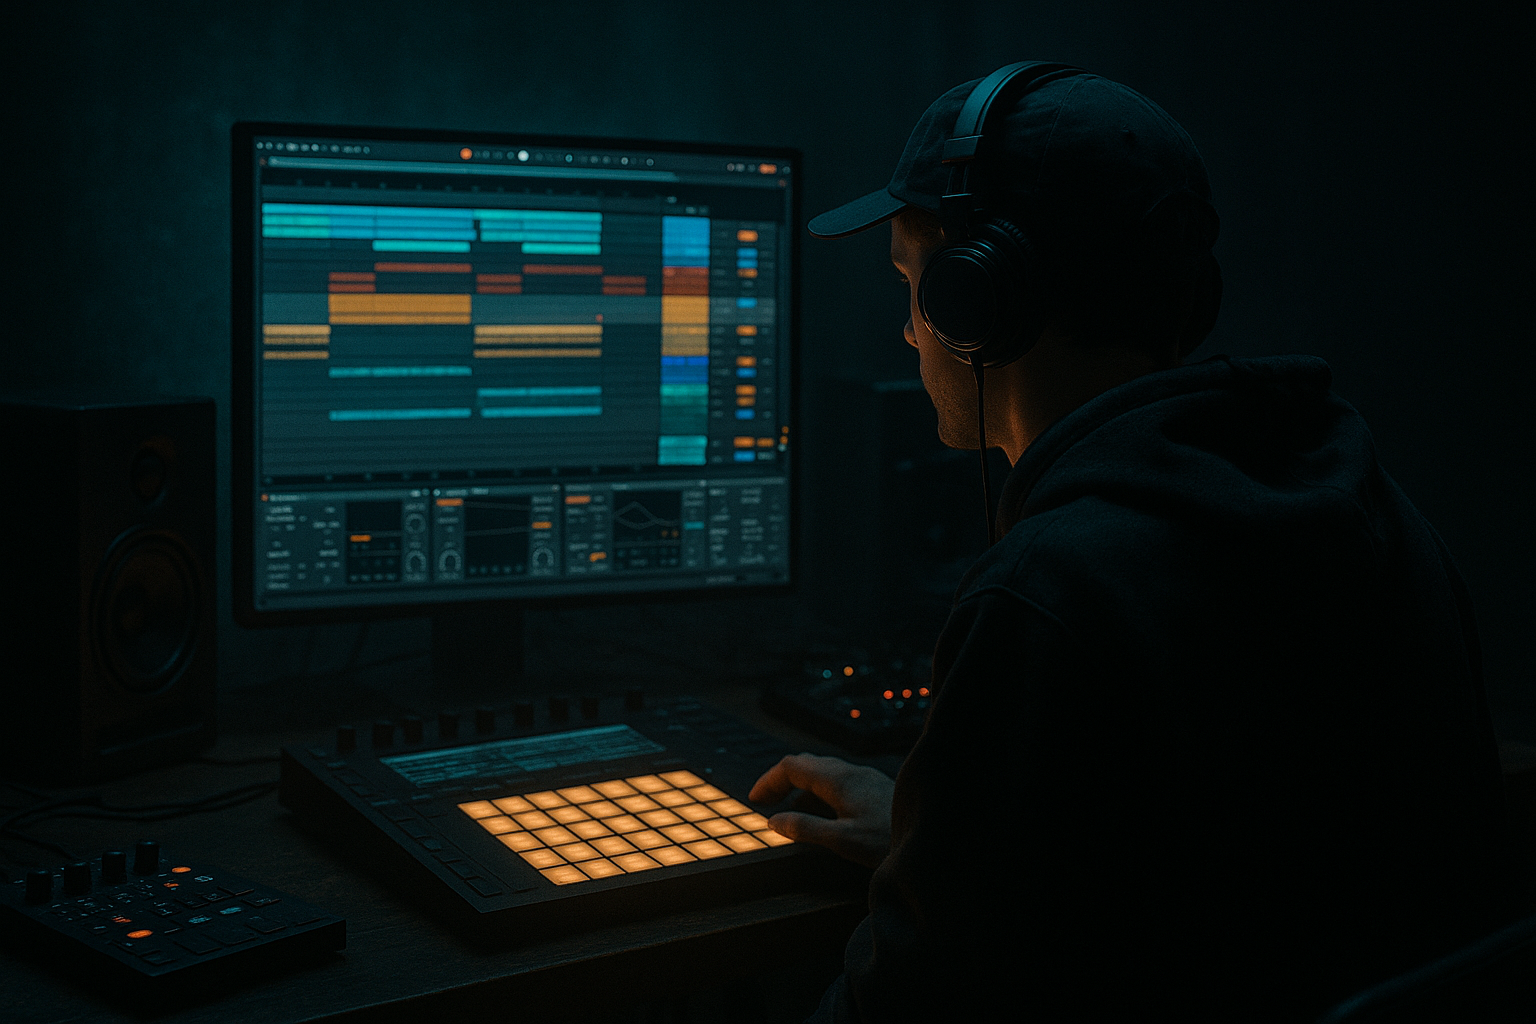
In this lesson, you’ll build a colored, gritty, moving pad in Ableton Live 12 that sits behind an Amen-style drum groove and supports the low-end story instead of fighting it. The focus is on practical DnB workflow: sampling, resampling, filtering, saturation, stereo discipline, and arrangement placement. You’ll learn how to shape a pad that feels like it came from a worn tape loop, but still works cleanly in a modern mix.
Why this matters in DnB: pads often fail because they’re either too wide and fluffy, or too static and polite. In darker DnB, the pad has a job — to create tension, provide harmonic fog, and leave room for the sub and drums. If you get that balance right, your whole tune feels more intentional and more expensive. 🎛️
What You Will Build
You’ll create a dark Amen-style pad layer that feels like a 90s jungle record filtered through a modern Ableton Live 12 workflow.
Specifically, you’ll end up with:
- A detuned, eerie pad chord or cluster with lo-fi movement
- A filtered, time-smudged texture that supports an Amen break and sub
- A midrange “colour layer” that sits behind the drums without masking the snare crack
- Controlled stereo spread with a solid mono-compatible center
- Automation-ready dynamics for breakdowns, drop transitions, and DJ-friendly intros/outros
- A reusable rack or track template you can drop into future DnB sessions
- intro sections over break edits
- breakdowns before the drop
- half-time tension bars inside a roller
- call-and-response moments with the bassline
- Letting the pad live too low
- Making it too wide
- Over-processing with reverb
- Soloing the pad until it sounds amazing, then ignoring the full mix
- Using too much movement
- Masking the Amen break
- Layer a clean pad with a resampled dirty pad for controlled menace.
- Use a very subtle Frequency Shifter or chorus on only the top layer to create unstable air.
- Print 8 bars of the pad, then chop tiny pieces and reverse a few hits for ghostly pre-echoes.
- Try automating Saturator Drive only in transitions — a small rise can make a breakdown feel like it’s burning in.
- If the bassline is a reese, keep the pad harmonically simpler so the movement in the bass remains the main event.
- For rollers, use longer pad notes and fewer harmonic changes; for jungle, use shorter chopped phrases and more decay.
- Use Utility to make the pad mono below the point where the bassline starts getting important.
- If the tune needs more underground bite, reduce polish before increasing distortion. A slightly rough sample always beats a huge clean pad in this style.
Musically, this works especially well in:
Step-by-Step Walkthrough
1. Start with a pad source that already has harmonic haze
In Ableton Live 12, create a new MIDI track and load Wavetable or Analog as your core synth. For a 90s-inspired dark pad, you want something simple and slightly imperfect, not a polished supersaw.
Try this starting point in Wavetable:
- Oscillator 1: Saw
- Oscillator 2: Saw or Triangle
- Detune: modest, around 8–18 cents
- Unison: 2 to 4 voices, not huge
- Filter: Low-pass 12 or 24 dB
- Filter cutoff: around 500 Hz to 2.5 kHz depending on how dark you want it
- Attack: 200 ms to 1.5 s
- Release: 2 to 6 s
For a more haunted jungle tone, keep the chord voicing mid-sized and slightly unresolved. Try minor 7ths, suspended voicings, or clustered notes like root, minor third, seventh, and an added 9th. Don’t overcomplicate the harmony — the colour comes from movement and processing.
Why this works in DnB: dark pads often work best when the harmony is ambiguous. In fast genres, the ear catches emotion in a few seconds, so you want a chord that immediately says “tension” without demanding too much harmonic attention.
2. Write a short loop that leaves room for the break and sub
Program a 1-bar or 2-bar MIDI clip. Keep the rhythm sparse:
- Hold notes through the bar for wash and pressure
- Leave deliberate gaps before snare hits
- Avoid constant stabs unless you’re specifically building a chopped jungle texture
For a 174 BPM track, a pad that enters on the “and” of 1 or sits under the first half of the bar can feel more human and more menacing. If you’re using an Amen break, avoid dense pad movement exactly where the snare accents land. Let the break breathe.
A useful approach:
- Bar 1: pad sustains into the phrase
- Bar 2: add a slight chord change or voicing shift
- Bar 4: remove low mids or open the filter for tension
If you’re building a roller, keep the pad as a long-bed layer. If you’re building a jungle cut, chop it rhythmically later in the chain.
3. Resample the pad to create age, texture, and control
One of the best DnB moves in Ableton is to render or resample your synth pad into audio, then process it like a sample. This gives you more control and helps the sound feel less pristine.
Do this:
- Freeze and flatten the MIDI pad, or record it to a new audio track
- Duplicate the audio track so you can keep one clean version and one dirty version
- On the dirty version, add Saturator or Drum Buss
Good starter settings:
- Saturator: Drive +2 to +6 dB, Soft Clip on
- Drum Buss: Drive 5–15%, Damp around 20–40%, Transients reduced if the pad is pokey
Then add Resonators, Echo, or Reverb carefully if you want a ghostly tail. But keep the original resampled clip intact; that becomes your “source of truth” if you need to simplify later.
This resampling step is huge in DnB because it turns a predictable synth into a sampled texture. That “sampled” feeling is part of the 90s darkness.
4. Shape the tone with EQ and filtering like a bass engineer
Now treat the pad like part of the bass hierarchy, not just a musical layer.
Add EQ Eight after the synth or on the audio clip and make these moves:
- High-pass around 120–250 Hz, depending on how much low-mid body the pad needs
- Cut muddy buildup around 250–500 Hz if the mix gets cloudy
- Soften harshness around 2.5–5 kHz if it fights the snare or break hats
- If it feels too polite, add a very gentle bell boost around 800 Hz–1.5 kHz for grit and presence
Add Auto Filter before or after saturation for movement:
- Filter type: Low-pass 12 or 24
- Cutoff automation range: roughly 300 Hz to 3 kHz
- Resonance: low to moderate, around 10–25%
For darker rollers, automate the filter slowly over 8 or 16 bars. For jungle tension, open the filter briefly before a switch-up, then drop it back down.
Parameter suggestion 1: Try an Auto Filter cutoff sweep from 450 Hz in the intro to 2.2 kHz at the build, then slam it back down on the drop.
Parameter suggestion 2: Use EQ Eight to remove 2–3 dB at 350 Hz if the pad starts masking the body of the snare and tom layers.
5. Add movement with modulation, but keep it subtle
Dark DnB pads work best when movement is felt more than heard. Use LFO in Max for Live if you have it, or use standard Ableton modulation tools like Auto Filter envelope, Chorus-Ensemble, Phaser-Flanger, or even very gentle Frequency Shifter movement.
Good stock-device options:
- Chorus-Ensemble for width and gentle drift
- Phaser-Flanger for eerie motion, used lightly
- Frequency Shifter with tiny amounts for unstable character
- Auto Pan set very subtly for slow movement
Practical settings:
- Chorus-Ensemble Dry/Wet: 8–20%
- Auto Pan Rate: very slow, 0.05–0.15 Hz
- Auto Pan Amount: 10–25%
- Frequency Shifter fine tune: a few cents or very small Hz values, not dramatic
If the pad is too static, automate the filter and reverb send rather than making the sound wildly modulated. In DnB, “movement” should support the drum groove, not steal attention from it.
A great trick: automate a tiny rise in chorus depth or stereo width during the last 2 beats before the drop, then pull it back immediately when the sub enters.
6. Build stereo width around a mono-safe center
DnB mixing lives or dies on low-end discipline. Your pad should feel wide and atmospheric, but the important information must not blur the center.
Use Utility and EQ Eight to manage width:
- Keep everything below roughly 120 Hz mono or removed entirely from the pad
- Reduce stereo width if the pad starts smearing the snare and bass transients
- Use Utility Width around 80–120% on the main pad
- If you add a super-wide layer, high-pass it harder, maybe 250–400 Hz
A strong workflow is to create:
- one main pad track with the core body
- one high-passed “air” track for width and texture
- one dirtier resampled layer with more saturation and less stereo
This lets you build a pad that feels huge without making the mix weak in mono.
In darker DnB, the sub and kick/snare relationship must stay stable. If the pad is doing too much in the low mids, your drop loses impact even if it sounds cool soloed.
7. Use sidechain and transient-aware shaping to make room for the break
This is where the pad starts behaving like a proper DnB element. Add Compressor with sidechain from the drum bus or kick/snare group if needed.
Starting point:
- Sidechain source: drum bus or kick/snare
- Attack: 1–10 ms
- Release: 80–250 ms, depending on groove
- Ratio: 2:1 to 4:1
- Gain reduction: just enough to feel the groove, not pump aggressively unless that’s the style
You can also use Gate creatively if you want the pad to breathe with the break, especially in a jungle context where chopped rhythms are part of the aesthetic.
If the pad is masking the snare crack, use Transient Shaper-like behavior via Drum Buss or a very light compressor with a fast attack to tame transient spikes in the pad layer.
Arrangement example: during the first drop, let the pad duck slightly under the Amen and sub. In the 8-bar turnaround, automate the compressor less aggressively so the pad blooms and raises tension.
8. Process the pad through a drum-oriented FX chain for darker character
This is where you can get that smoked-out 90s energy. Think like a sampler engineer, not a glossy synth programmer.
A strong Ableton chain might be:
- Auto Filter
- Saturator
- EQ Eight
- Chorus-Ensemble
- Reverb
- Utility
Or, for a rougher version:
- Redux for subtle bit depth reduction
- Saturator
- Filter Delay
- EQ Eight
Concrete ideas:
- Redux: 12-bit-ish feel with mild sample rate reduction, used gently
- Reverb: decay 1.5–4 s, low cut engaged, high cut around 6–9 kHz
- Echo: very short feedback for smeared space, filtered dark
- Filter Delay: use only on selected bars or transitions
If you want a more old-school jungle flavor, print the pad with these FX and then chop the audio manually. That gives you a sample-based feel that sits beautifully with break edits and ghost notes.
9. Automate the pad for arrangement, not just sound design
In DnB, the same pad can serve multiple roles if you automate it properly. Don’t just leave it static across the whole tune.
Useful automation moves:
- Filter cutoff rises during 8-bar builds
- Reverb send increases into breakdowns
- Width narrows in the drop, then opens in the breakdown
- Saturation drive increases slightly before a switch-up
- Delay feedback appears only on the last hit of a phrase
Good arrangement placement:
- Intro: pad low-passed, ominous, setting the key center
- Pre-drop: open the filter and widen the stereo image
- Drop: keep pad thinner, darker, and more percussive so the sub owns the low end
- Breakdown: bring back the full atmospheric version with longer tails
- Outro: strip the pad down for DJ-friendly mixing
A practical DJ-friendly choice is to make your intro and outro pad versions slightly different. For example, the intro can be more filtered and roomy, while the outro can be drier and less emotionally dense so DJs can mix out cleanly.
Common Mistakes
- Fix: high-pass harder and remove muddy low mids; keep true sub space for the bassline.
- Fix: check mono, reduce width, and keep the pad’s important body more centered.
- Fix: shorten decay, use a low cut on reverb, and automate it instead of leaving it wide open.
- Fix: judge the pad against drums and sub at all times. In DnB, solo lies.
- Fix: make one or two subtle modulators do the work. If everything moves, nothing feels intentional.
- Fix: cut 250–500 Hz if needed, sidechain lightly, and arrange the pad to avoid key snare moments.
Pro Tips for Darker / Heavier DnB
Mini Practice Exercise
Set a 15-minute timer and build a dark pad that works with a simple Amen loop.
1. Program a 1-bar Amen break and a sub bass note.
2. Create a pad in Wavetable or Analog using a minor 7th or suspended voicing.
3. Resample the pad to audio and duplicate the track.
4. On one layer, add EQ Eight and high-pass around 180–250 Hz.
5. On the second layer, add Saturator with +3 to +5 dB Drive and Soft Clip on.
6. Add Auto Filter and automate the cutoff from dark to slightly open over 8 bars.
7. Sidechain the pad lightly to the drum bus.
8. Check mono, then reduce width if the snare loses impact.
9. Bounce 8 bars and listen in context, not solo.
10. Make one arrangement change: either filter the intro more or thin the drop version.
Goal: by the end, you should have a pad that feels moody, sampled, and ready for a real DnB arrangement — not just a pretty synth loop.
Recap
A strong Amen-style pad in darker DnB is about atmosphere with discipline. Build a simple harmonic source, resample it, shape it with filtering and saturation, and keep the low end out of the way of the sub and drums. Use subtle movement, mono-safe stereo design, and arrangement automation to make the pad evolve across the track. If it can support an Amen break, a reese, and a DJ-friendly arrangement without muddying the mix, you’ve nailed the job.

