Show spoken script
Title: Clip gain before processing: for modern control with vintage tone (Advanced)
Alright, welcome back. This is one of those “not flashy, but changes everything” lessons.
Today we’re talking about clip gain before processing in Ableton Live. Ableton calls it Clip Volume or just Gain in the clip view. And in drum and bass, this is a superpower, because we live in a world where breaks, subs, and mid-bass can stack into absolute chaos in about half a bar.
The goal is simple: we still want aggression, crunch, saturation, and that vintage-style bite. But we want it on purpose. Not because some random clip is hitting your Drum Buss six dB hotter than the last one and turning your hats into static.
By the end of this, you’ll have a workflow where your saturators and compressors react consistently, your transients stay controlled, and you can swap samples without rebuilding your entire chain.
Let’s get into it.
First, we calibrate the session, because clip gain needs a target. If you don’t have a reference operating level, you’re just guessing.
Go to your Master and put a Limiter at the very end. This is temporary safety, not “the sound.” Set the ceiling to minus 0.8 dB, lookahead around 1 millisecond. You can even keep it off most of the time, but it’s nice to have a seatbelt while you’re setting things up.
Now, monitor your master while mixing and aim for peaks somewhere around minus 10 to minus 6 dBFS. That’s headroom. That’s space for the drop. In DnB, headroom disappears fast, and if you start mixing at “almost clipping,” you’ll end up compressing everything just to survive.
Now the key concept: clip gain versus track fader.
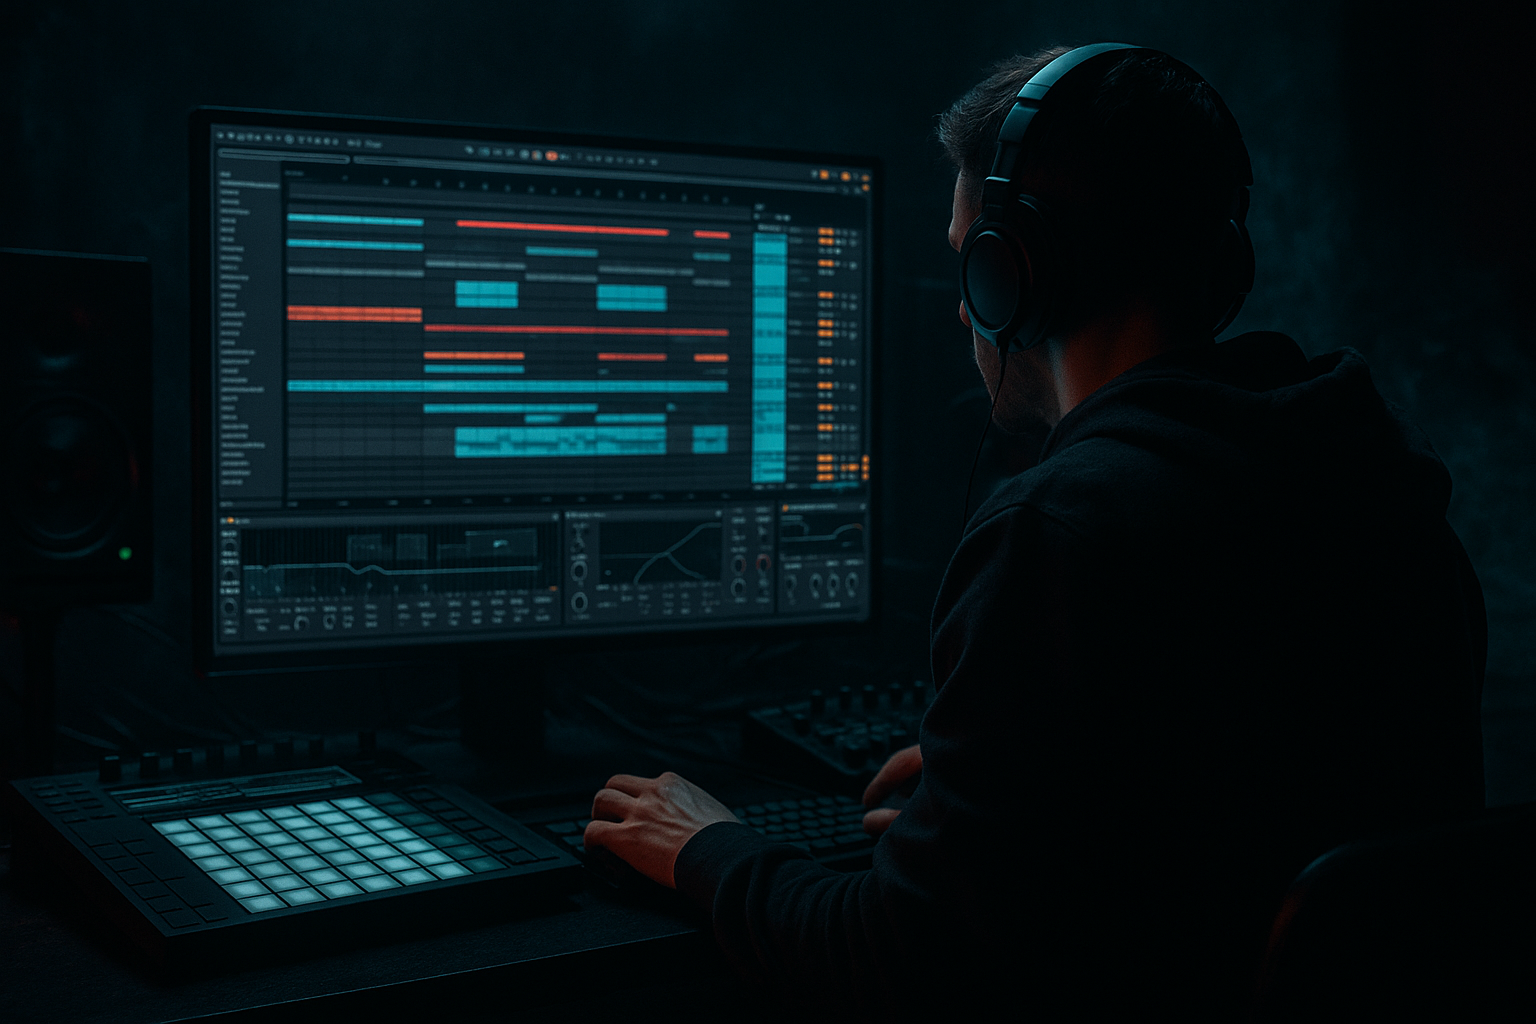
In Ableton, Clip Volume happens before the device chain. That means it’s literally your input trim. Your “console gain.” It sets how hard you hit Drum Buss, Saturator, Glue, Amp, all of that.
The track fader is for balance in the mix. It’s “how loud is this element compared to the rest.”
So here’s the mindset I want you to adopt: clip gain is tone staging. Faders are mix staging.
On audio clips, it’s easy. Click the clip, go down to Clip View, and find Gain or Volume. That’s your pre-device level.
On MIDI tracks, you can’t do clip gain the same way. So you have a few options. You can control velocity. You can put Utility first in the chain as pre-gain. Or, in classic DnB fashion, you resample to audio and now you’ve got clip gain again. Which, honestly, is one of the reasons resampling is so powerful in this genre.
One important coach note here: Ableton’s track meter is post-device by default. So if you’re looking at the meter and thinking “this is the level I’m feeding my saturator,” that might be completely wrong, because the saturator already changed it.
If you want a simple, practical solution, put a Utility first in the chain and treat it like your visible trim. If you have Suite, you can also use a pre-FX meter device before distortion and compression. The point is: judge input at the input, not after you’ve already cooked it.
Cool. Now let’s build a break chain where clip gain is doing the heavy lifting.
Create an audio track called BREAK A. On that track, we’ll put a chain that can go from clean ghost notes to full jungle-rinsed crunch.
Start with Utility, optional, at zero dB. This is not for per-clip matching; it’s for broad trimming if the whole track needs to come up or down later.
Then EQ Eight. High-pass around 30 to 40 Hz, 24 dB per octave. We’re not trying to create sub from a break. We’re making room for the actual sub. If the break is boxy, a small cut around 250 to 400 Hz, one to three dB, medium Q.
Then Drum Buss. Start with Drive around eight percent. Crunch around three percent. Boom off, or super low, because Boom will fight your sub and make the low end feel like it’s wobbling around. If the break loses snap, push Transients somewhere like plus five to plus fifteen.
Then Saturator. Soft Sine or Analog Clip. Drive maybe plus two to plus six dB. Soft Clip on.
Then Glue Compressor. Attack around 10 milliseconds so you don’t murder the transient. Release on Auto or around 0.3 seconds. Ratio two to one. Aim for one to three dB of gain reduction on peaks.
Now here’s the part that matters: don’t touch those devices yet. Loop the break in the loudest context. Not solo. In context. Kick, snare, bass, drop energy.
And now adjust the break clip gain until the chain reacts the way you want.
What are we listening for? You want the Drum Buss drive to give you texture without flattening the snare transient inside the break. And you want the Saturator to add harmonics without turning cymbals into white noise.
If you want a rough meter ballpark, break peaks often land around minus 12 to minus 6 dBFS on the track meter depending on the sample, but don’t get religious about the number. The real target is consistent “hit” into the saturation.
Here’s a pro workflow tip: make a reference clip. Literally. Duplicate a break clip and rename it REF BREAK. Get that clip hitting the chain perfectly. Then, whenever you audition a new break, don’t start tweaking Drum Buss drive like a maniac. Match the new break’s clip gain to the reference until it drives the chain the same way.
That one habit saves hours.
Also, listen for clicks when you switch clips with different gains, especially on loop boundaries. Saturation exaggerates discontinuities. If you hear a click at the start of the clip, add a tiny fade-in, like one to five milliseconds, right in clip view. That keeps your dirt smooth.
Next: kick and snare. This is where people accidentally ruin their punch chasing “more smack.”
For the kick, put it on its own track or a Drum Rack pad, whatever you like. The concept is the same: set clip gain so the kick hits the processing consistently.
A clean chain could be EQ Eight with a high-pass around 25 to 30 Hz, optional dip around 200 to 300 if it’s muddy. Then Saturator on Analog Clip, drive plus one to plus four, Soft Clip on. Optionally a Glue Compressor: attack around three milliseconds, release 0.1 to 0.3 seconds, ratio four to one, just one to two dB of reduction.
Now the snare.
EQ Eight: high-pass around 120 to 180. If it needs body, a gentle boost around 180 to 220. If it needs presence, a little bump around three to six kHz, but be careful. DnB snares can go from exciting to painful really fast.
Then Drum Buss: drive maybe three to ten percent. Transients can go plus five to plus twenty; snares love transient shaping.
Then Saturator: Soft Sine, drive plus two to plus six.
And the clip gain move is this: if your snare changes between sections, like you have layered hits or different samples, normalize them by ear using clip gain so the chain “sees” the same input.
This is where the vintage tone idea really becomes real: vintage emulations respond to level. If the input changes, the tone changes. Clip gain is how you keep that “console hit” consistent.
Now let’s talk bass, because bass is where inconsistent clip levels create that classic DnB problem: one note destroys the mix, the next note disappears, the sidechain feels random, and you swear your compressor is haunted.
Here’s the workflow. Make a track called BASS SYNTH with your instrument and whatever you use to generate the sound. Then make an audio track called BASS RESAMPLE. Set its input to Resampling, or route from the synth track. Print a few variations: a reese, a stab, a growl phrase, whatever your lane is.
Now on BASS RESAMPLE, you build a tone chain and you control it with clip gain.
Start with EQ Eight: high-pass 20 to 30 Hz, cut resonances, commonly 150 to 400 Hz if it’s honky or boxy.
Then Saturator in Analog Clip, drive anywhere from plus three to plus ten dB depending how heavy you’re going, Soft Clip on.
Then Amp or Pedal. Amp on Clean or Blues with low gain can be surprisingly good. Pedal on Overdrive or Distortion, but controlled.
Then optional Glue Compressor: attack 10 ms, release Auto, ratio two to one, one to three dB of reduction.
Optional Limiter catching spikes, one to two dB max, not as a vibe tool.
Now the clip gain principle for bass: choose one reference note. Usually the loudest, most sustained, most “problematic” note. Get its clip gain set so the saturation is perfect. Not louder. Not “more.” Just the right hair, the right grit, the right density.
Then match every other bass clip to that perceived drive level before the chain.
And here’s the advanced listening tip: don’t match only by peaks. Two bass clips can peak the same but drive distortion differently if one is more sustained. So listen to the upper harmonics. Listen to the amount of hair. Especially in neuro-style phrases where one note is a long vowel and the next is a short stab. You’re matching how the distortion engages, not just how loud it feels.
Bonus: if you’re sidechaining bass to kick, inconsistent bass clip gain equals inconsistent duck depth. That’s why sometimes the pump feels amazing on the main phrase and then totally wrong on the fill. Fix the clip gains first, then set your sidechain threshold. Suddenly the groove becomes repeatable.
Now, buses. Group your drums into a DRUMS BUS: kick, snare, breaks, hats.
On the bus, keep it musical and light. EQ Eight for gentle shaping if needed. Glue Compressor: attack 10 ms, release Auto, ratio two to one, one to two dB reduction average. Drum Buss subtle: drive two to six percent, crunch zero to five. Then Utility for final gain trim so you keep headroom.
Here’s the reason clip gain matters so much here: if your individual elements are calibrated, the drum bus compressor behaves consistently across the arrangement. Your drop doesn’t “collapse” when you add percussion. You’re not chasing thresholds every eight bars. The bus becomes an engine, not a moving target.
Now arrangement control, DnB-specific.
Rolling DnB gets dense. You’ve got the main break, a top loop, ghost snares, little percussion bits, rides, shakers. If you automate eight faders, you’ll lose your mind and your bus processing will react differently every time.
Instead, use clip gain for section-based control.
Example: in a 32-bar drop, keep the processing stable and just change density. First eight bars, set the break clip gain to minus two dB to make room for the bass establishing itself. Bars nine to sixteen, bring it back to zero. Bars seventeen to twenty-four, introduce a top loop but set its clip gain to minus four so it tucks in. Bars twenty-five to thirty-two, bring that top loop to minus two and add a ride.
Notice what’s happening: you’re not changing the tone of your main chain every time. You’re mixing the arrangement while keeping the “hit” into processing predictable.
If you want a nasty little pre-drop tension trick: pull break clip gain down three to six dB for one or two bars before the drop, then slam it back to zero at the drop. It feels like a loudness jump without you rewriting your bus settings. And if you want an even cleaner version of that, reduce clip gain on supporting layers like hats and top loops, instead of your main tone generators, so your break still hits the sweet spot.
Let’s quickly hit common mistakes so you can dodge them.
Mistake one: using the track fader to hit saturation or compression. That ties tone and balance together, so every adjustment becomes a mess. Set tone with clip gain, then balance with faders.
Mistake two: overdriving Drum Buss and Saturator because it sounds insane in solo. In the full mix, that turns into hash, steals headroom from the sub, and your snare stops feeling like a snare.
Mistake three: inconsistent bass clip levels after resampling. That’s how you get “one note makes the distortion explode and ducks the drums” syndrome.
Mistake four: setting clip gain while soloed. Always do it with kick, snare, and bass playing. The drop is the truth.
And mistake five: not realizing some devices saturate internally. Some do it in a nice way, some do it in an ugly way. Clip gain helps you choose the saturation, instead of stumbling into it.
Now, a couple advanced variations if you want to push this further.
Try a two-stage drive concept: trim, color, control. Utility first for broad trim, then your color boxes like Drum Buss, Saturator, Amp, then a very gentle controller like Glue or a limiter just catching spikes. The last controller should not be the vibe. It’s just insurance.
Another advanced one: break processing split. Duplicate the break. One track is BREAK TRANSIENT, lighter saturation, more transient emphasis. The other is BREAK BODY, heavier saturation, maybe filtered darker. Clip gain-match both before their chains, then blend with faders. You’ll get that old-record grit without shaving off the snap.
And here’s a really slick “vintage bite without harsh hats” trick: pre-emphasis into saturation. Before the saturator, do a gentle EQ tilt, tiny high shelf up and low shelf down, just a little. Then saturate. Then do another EQ to undo the tilt. The saturator reacts more to presence and detail, but you restore the overall tonal balance afterward. It’s a way to get aggression that reads on small speakers without turning cymbals into fizz.
Now let’s wrap with a quick practice exercise you can actually do in 15 to 20 minutes.
Pick two different breaks. Put each on its own track, but use the exact same device chain: EQ Eight, Drum Buss, Saturator, Glue.
Constraint: you are not allowed to touch device settings.
Match only with clip gain until they sound equally driven and equally loud in the drop.
Then add one resampled mid-bass audio clip with a simple chain like EQ Eight, Saturator, Pedal. Adjust bass clip gain until the distortion character locks in.
Bounce a 16-bar loop.
And ask yourself two questions. When the bass changes notes, do the drums stay consistent? And does the snare keep its crack without harshness?
If either answer is no, don’t immediately add more compression. First check: is one clip simply hitting the chain too hard or too soft?
Final recap.
Clip gain is your pre-processing trim. It controls how hard you hit saturation and compression while leaving faders free for balancing.
In drum and bass, that means intentional break crunch, consistent bass dirt, and bus processing that stays musical across the arrangement.
Build the habit: set clip gain in context, then shape tone, then mix balance.
And if you want to go even deeper, tell me your subgenre—rollers, jungle, neuro, dancefloor—and whether your drums are mostly breaks or one-shots. I’ll suggest a tighter reference-clip setup and a stock Ableton chain that matches that aesthetic.