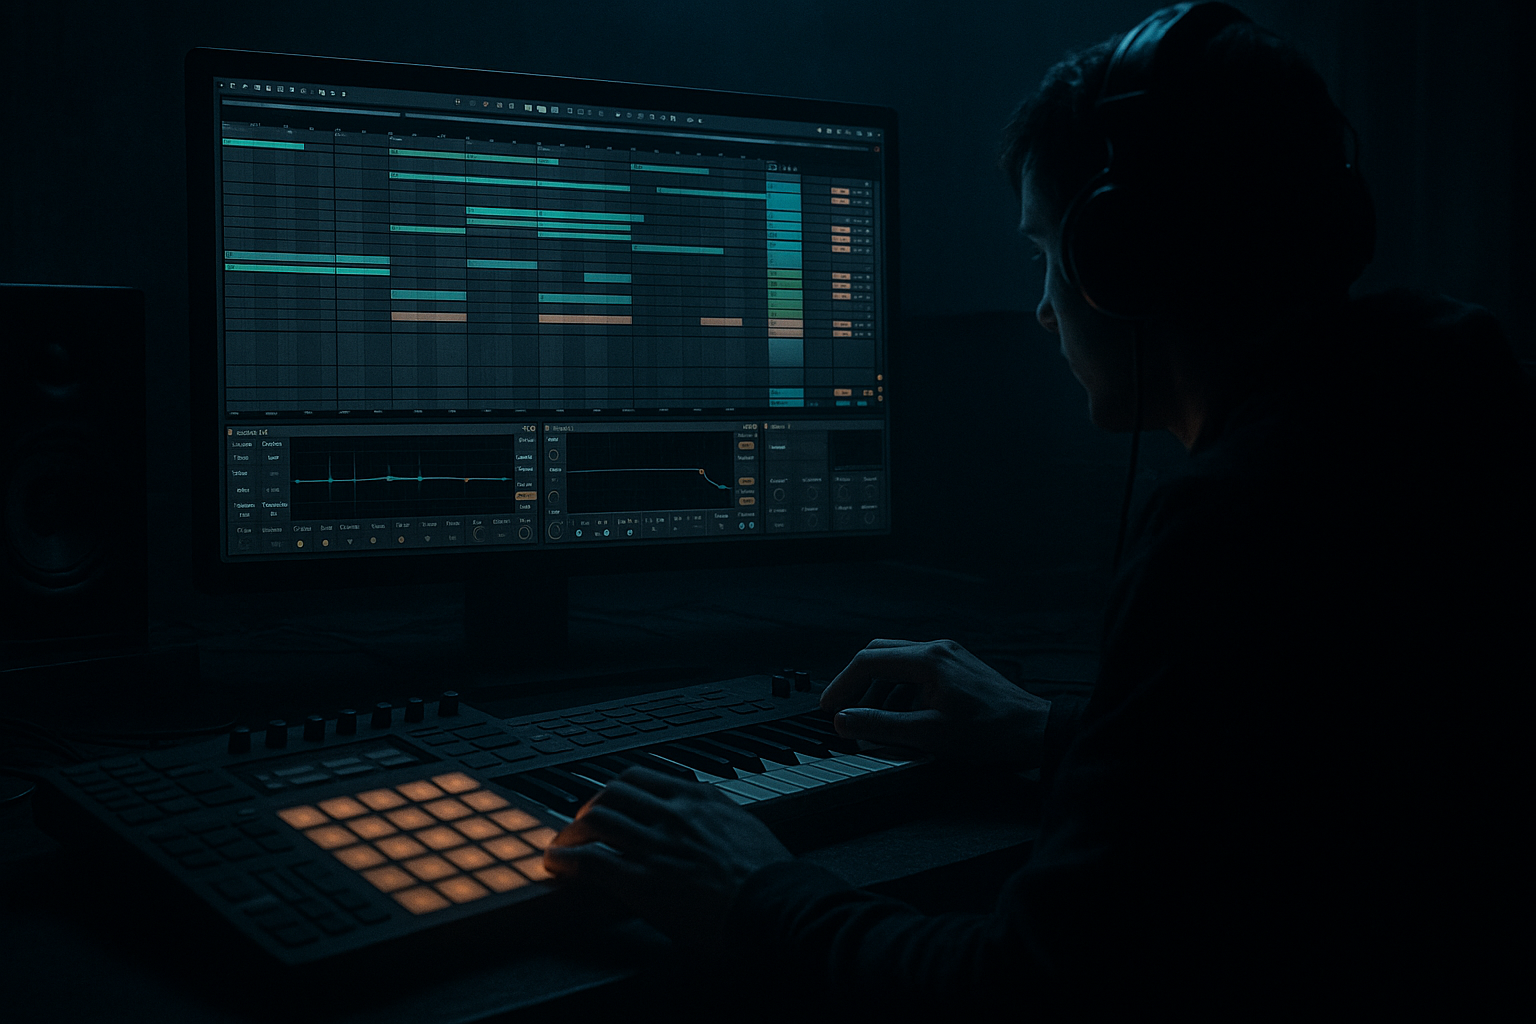
Main tutorial
Clean Oldskool DnB Vocal Texture Using Stock Devices Only in Ableton Live 12 🎙️🥁
1. Lesson overview
In this lesson, you’ll build a clean, oldskool vocal texture for drum and bass / jungle / rolling bass music using only stock Ableton Live 12 devices. The goal is not a full lead vocal. We’re making that classic atmospheric vocal wash you hear in oldskool DnB: airy, emotional, slightly grainy, spacious, and tucked into the track so it supports the groove without dominating it.
This kind of texture works brilliantly in:
- intro sections
- breakdowns
- tension-build moments
- under sparse breaks
- as a background layer behind Reese bass and pads
- clean up a vocal sample
- shape it into a texture with EQ and filtering
- add movement with modulation
- create width and space
- keep it sitting properly inside a DnB mix
- soft, nostalgic vocal tone
- wide but not washed-out
- present enough to notice
- tucked behind drums and bass
- suitable for oldskool jungle intros or moody DnB breakdowns
- a sustained note or phrase
- a spoken word with clean consonants
- a soulful “ahh”, “ohh”, or “yeah”
- a short vocal hook with space between words
- acapella snippets
- spoken radio voice
- old soul vocal sample
- your own recorded voice
- one-shots from sample packs
- Complex Pro: best for full vocal phrases, more natural tone
- Complex: good for simpler vocal textures
- High-pass filter around 120–200 Hz
- Cut a little around 250–500 Hz if the vocal sounds boxy
- If there’s harshness, dip slightly around 2.5–5 kHz
- Use a gentle high shelf if the vocal needs air, but don’t overdo it
- HPF at 160 Hz
- -2 to -4 dB cut at 350 Hz with a medium Q
- -2 dB dip at 3.5 kHz if needed
- +1 to +2 dB shelf at 10 kHz if the vocal sounds dull
- Filter type: Low-pass
- Frequency: start around 8–12 kHz
- Resonance: low to moderate, around 10–20%
- Drive: a little if needed
- Drive: 2–5 dB
- Soft Clip: On
- Output: reduce if it gets louder
- Mode: Ensemble
- Amount: low to medium
- Rate: slow
- Width: fairly wide
- Keep feedback low
- Use a slow rate
- Blend lightly into the chain
- Time: 1/8, 1/8 dotted, or 1/4
- Feedback: 20–40%
- Filter: roll off lows and some highs
- Dry/Wet: 10–25%
- darken the echo
- cut highs in the feedback path
- keep the delay short and tight
- Size: medium to large
- Decay: 2.5–6 seconds
- Pre-delay: 20–40 ms
- Low Cut: 200–400 Hz
- High Cut: 6–10 kHz
- Dry/Wet: 10–20%
- Ratio: 2:1 or 3:1
- Attack: slow-ish to preserve transients
- Release: medium
- Gain reduction: about 2–4 dB
- reduce gain if the chain is too loud
- switch to mono for checking phase
- widen or narrow the stereo image
- Breakdown: more open, around 10–14 kHz
- Drop: darker, around 6–8 kHz
- Layer 1: cleaner, narrower, more centered
- Layer 2: darker, wider, heavier reverb
- just 1–3 dB of ducking
- Version A: clean and airy
- Version B: darker, grittier, more haunted
- Clean the vocal first with EQ Eight
- Shape the tone using Auto Filter
- Add character with Saturator
- Create motion with Chorus-Ensemble or Phaser-Flanger
- Add rhythmic space with Echo
- Place it in the room with Reverb
- Control the result with Compression and Utility
- clear
- moody
- rhythmically supportive
- space-aware
- tastefully textured
- a rack preset recipe
- a MIDI/automation template
- or a dark jungle variation using the same stock devices.
You’ll learn how to:
All using stock Ableton devices only. Nice and practical. Let’s go 🚀
---
2. What you will build
By the end, you’ll have a loopable vocal atmosphere that sounds like an oldskool DnB record intro: dreamy but controlled, clean but still gritty enough to feel authentic.
The chain you’ll build
A simple starting chain:
1. Utility – gain staging / mono control
2. EQ Eight – remove mud and harshness
3. Auto Filter – create motion and tone shaping
4. Saturator – subtle warmth and density
5. Chorus-Ensemble or Phaser-Flanger – width and movement
6. Echo – dubby rhythmic space
7. Reverb – atmospheric depth
8. Compressor or Glue Compressor – keep it controlled
9. Limiter optional – safety
What it should sound like
---
3. Step-by-step walkthrough
Step 1: Pick the right vocal source
Start with a vocal sample that has one of these qualities:
For oldskool DnB atmosphere, less is more. A long vocal phrase often becomes messy once you add reverb and delay. A short phrase or single note is easier to turn into a texture.
#### Good source ideas
Step 2: Warp it properly
Drag the vocal into an audio track and switch to Complex or Complex Pro warp mode.
#### When to use:
Set the warp markers so the vocal sits in time with your project.
#### Tip:
If you want the vocal to feel more atmospheric than rhythmic, don’t over-perfect it. A tiny bit of timing drift can help it feel organic in a jungle intro.
Step 3: Clean the vocal with EQ Eight
Add EQ Eight first in the chain.
#### Basic cleanup settings
- removes rumble and unnecessary low-end
- important in DnB where kick and sub need space
#### Example starting points
Keep it clean, not overly polished. Oldskool DnB vocals often have character, but the low mids must stay out of the way of the break and bassline.
Step 4: Shape the tone with Auto Filter
Add Auto Filter after EQ Eight.
Use it to make the vocal feel more “sampled” and atmospheric.
#### Suggested settings
You can also use band-pass if you want a more narrow, radio-like texture.
#### Why this matters
Oldskool DnB often feels like it came from chopped samples, records, or broadcast material. Filtering gives the vocal that “embedded in the track” vibe.
Step 5: Add gentle saturation
Add Saturator next.
This gives the vocal a little density and helps it sit in a busy drum and bass mix.
#### Suggested starting settings
You want just enough saturation to add thickness and a slightly vintage edge. If you push too hard, the vocal will become fizzy and fake.
#### DnB note
A tiny bit of saturation helps the vocal survive when the break and bass are both aggressive. It gives the sample some harmonic presence without needing more volume.
Step 6: Add movement with Chorus-Ensemble
Add Chorus-Ensemble for width and motion.
This is a great stock device for making a vocal texture feel lush without turning it into a pop vocal effect.
#### Try this:
Keep the modulation subtle. You’re not trying to sound like a huge trance lead. You want movement that feels like tape drift or old hardware.
#### Alternative:
Use Phaser-Flanger if you want a more obviously vintage, swirling texture.
Step 7: Add rhythmic echo
Now add Echo.
This is where the vocal becomes part of the DnB atmosphere.
#### Good starting settings
#### DnB-friendly idea
If your beat is energetic, try a short ping-pong echo that bounces around the stereo field without cluttering the center.
For darker jungle vibes:
Step 8: Add space with Reverb
Add Reverb after Echo.
This is the atmosphere glue. Use it carefully so the vocal becomes a texture, not a wash that kills the drums.
#### Suggested starting settings
#### Important:
Use Pre-delay so the vocal stays slightly forward before the tail blooms. That keeps it clear inside the mix.
Step 9: Control the dynamics
Add Compressor or Glue Compressor.
This keeps the vocal texture stable, especially after reverb and delay.
#### Suggested compression
If the vocal is a sustained texture, compression helps stop the reverb and chorus from jumping around too much.
Step 10: Add Utility for width and mix control
Put Utility at the end or near the end.
Useful jobs for Utility:
#### Tip:
If your vocal gets too wide and starts feeling vague, narrow it a little. In DnB, your center must stay strong for kick, snare, and sub.
---
4. Common mistakes
1. Too much low end in the vocal
This is the biggest mistake. A vocal texture with low mids and rumble will fight the kick and bass.
Fix: high-pass more aggressively, often up to 180–250 Hz if needed.
2. Overdoing reverb
Big reverb can sound cool soloed, but in a DnB mix it can destroy clarity fast.
Fix: shorten decay, use pre-delay, and cut lows/highs in the reverb.
3. Making it too bright
A super shiny vocal can feel modern and polished, not oldskool.
Fix: soften with Auto Filter or a gentle high shelf cut.
4. Too much stereo widening
Wide effects are tempting, but if the vocal becomes too wide, it can disappear on club systems.
Fix: keep the core vocal centered or slightly narrowed. Let the effect return live in the sides.
5. No rhythmic relationship to the drums
If the vocal drifts randomly, it may sound disconnected from the tune.
Fix: chop or automate the vocal so it breathes with the groove, especially around the snare hits and break turns.
---
5. Pro tips for darker/heavier DnB
If you want this texture to fit darker jungle, neuro-leaning atmospheres, or heavy rolling bass music, try these tricks:
Use darker filtering
Automate Auto Filter so the vocal opens slightly in breakdowns and closes in drops.
This keeps energy out of the way of the bass while still feeling alive.
Add tiny bit of distortion before reverb
If you want a more haunted or gritty vibe, add a light Saturator before Echo/Reverb.
That can make the texture feel like it came from an old sampler or tape machine.
Layer a second vocal texture
Duplicate the track and process the second layer differently:
Blend them quietly for depth. This is very effective in intro builds.
Automate the delay feedback
In breakdowns, automate Echo feedback up slightly before the drop, then pull it back when the drums hit.
That creates classic tension-release movement.
Sidechain the vocal texture lightly
Use Ableton’s Compressor with sidechain from the kick or drum bus.
Keep it subtle:
This helps the vocal sit behind the rhythm without muddying the groove.
Resample your own texture
Once you like the chain, record the processed vocal to a new audio track and chop it again.
This is very jungle-friendly. You can turn a long vocal wash into a playable atmospheric sample and rearrange it like a break.
---
6. Mini practice exercise
Try this in your next project:
Exercise goal
Create a 4-bar oldskool DnB vocal atmosphere for an intro.
Steps
1. Find a short vocal phrase or “ahh” sample.
2. Warp it to tempo.
3. Add:
- EQ Eight
- Auto Filter
- Saturator
- Chorus-Ensemble
- Echo
- Reverb
4. Automate the filter cutoff over 4 bars:
- bar 1: dark
- bar 2: slightly brighter
- bar 3: brightest
- bar 4: close back down
5. Add a drum break under it and check whether the vocal sits above the snare but below the lead elements.
6. Bounce the result and listen on headphones and speakers.
Challenge variation
Make two versions:
Compare which one supports your break and bass better.
---
7. Recap
You’ve now built a clean oldskool DnB vocal texture using only stock Ableton devices 🎛️
Key takeaways
The big DnB idea
A great vocal atmosphere in drum and bass is not about being huge or obvious. It’s about being:
If you get that balance right, your vocal layer will instantly make the track feel more classic, emotional, and complete.
If you want, I can also turn this into:

