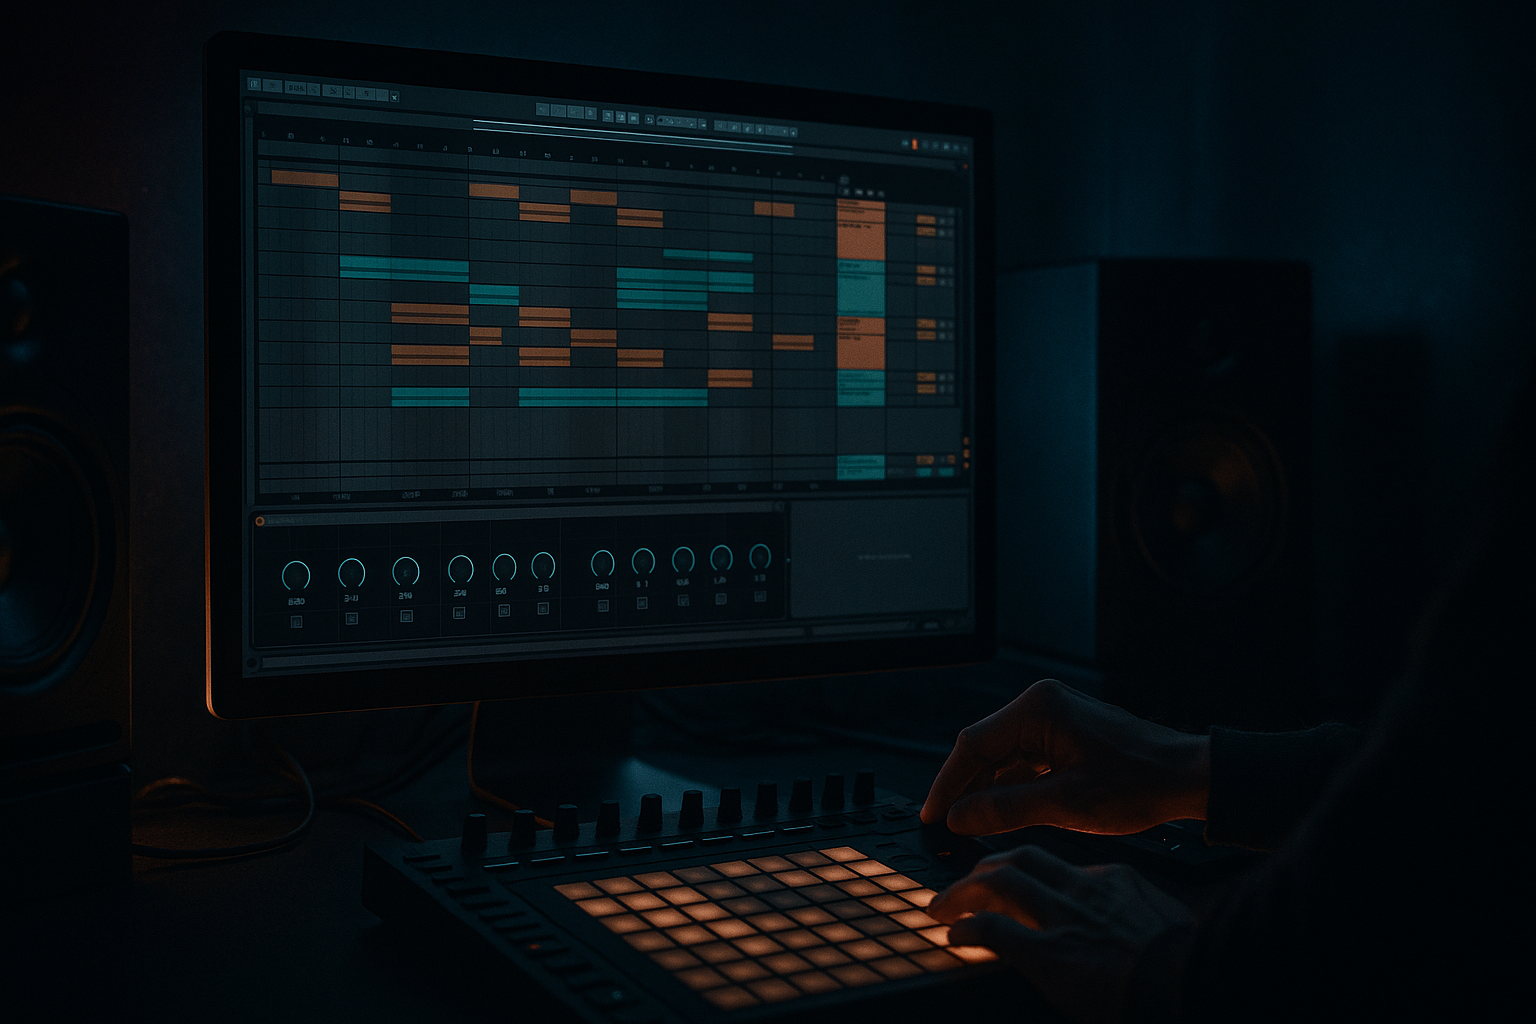
Main tutorial
Lesson Overview
A clean oldskool DnB switch-up is one of the most effective ways to inject 90s-inspired darkness into a track without wrecking the groove. The idea is simple: you keep the main roller or jump-up section tight and functional, then pivot into a colder, more eerie, more “suspense before impact” passage that feels like it could sit on a classic Metalheadz or early Prototype sleeve. In modern Ableton Live 12, this works brilliantly when you treat vocals as a rhythmic and atmospheric tool, not just a lead phrase.
In this lesson, you’ll build a switch-up that lands inside a drum & bass arrangement at the exact moment the listener expects repetition, and instead delivers tension, space, and menace. The vocal becomes the bridge between sections: chopped, pitched, filtered, delayed, and used almost like a ghost MC presence rather than a pop topline. The result is a drop transition that feels authentic to oldskool jungle and darker rollers, while still sounding clean and deliberate in a current Ableton workflow.
Why this matters in DnB: a great switch-up buys you contrast. DnB lives and dies by arrangement tension, and the best dark breakdowns don’t just remove drums — they reframe the whole record. If your vocals, drums, and bass can all change character for 4–8 bars while still sounding like the same tune, you get a much stronger narrative and a more DJ-friendly track. 🎛️
What You Will Build
You’ll build a 4-to-8 bar oldskool-style switch-up section that:
- strips the drums down into a broken, ghostly edit
- turns a vocal phrase into a chopped, haunted motif
- uses a filtered reese or sub-led bass answer phrase
- creates tension with delay throws, reverse tails, and automation
- resolves back into a main drop with a cleaner, harder impact
- Overprocessing the vocal until it becomes foggy
- Too much low end in the switch-up
- Making the breakdown too empty
- Using wide stereo effects on everything
- No clear return point
- Clipping the vocal chain
- Resample the vocal chain
- Use “negative space” phrases
- Parallel dirt on the vocal bus
- Keep the bass in two zones
- Use short delay feedback automation only on ends of phrases
- Automate break decay
- Reference classic phrasing
Musically, the section will feel like a dark mid-track reroute: imagine the first drop is a solid roller groove at 172 BPM, then the switch-up opens with half-bar vocal stabs, break edits, and a low, detuned bass response. The vocal might say something short like “come again” or “move with the shadows,” but the important part is that it gets reorganized into rhythm and atmosphere. You’re not writing a hook here — you’re designing a moment.
The final result should work in a club context: clear enough to keep the kick/sub relationship solid, gritty enough to feel underground, and arranged in a way that lets a DJ mix into or out of it without awkward dead space.
Step-by-Step Walkthrough
1. Choose a vocal source that can survive heavy treatment
Start with a short vocal phrase, ideally 1–3 words or a tight 1-bar sentence. For this style, a spoken MC-type take works better than a sung melody. Import it into an audio track and immediately warp it cleanly. In Ableton Live 12, use Complex Pro if the vocal has tonal movement, or Beats if it’s very chopped and rhythmic. Keep transposition subtle: try -2 to -5 semitones for a darker feel, or leave pitch alone and use formant-style movement through modulation later.
Duplicate the track and prepare two versions:
- one clean-ish “main phrase” track
- one chopped “switch-up texture” track
The clean track is for clarity. The chopped one will become your rhythmic weapon. Keep both routed to a Vocal Group so you can process them together later.
2. Slice the vocal into call-and-response material
Use Simpler in Slice mode or do the slicing manually on the Arrangement view. For advanced control, create a new MIDI track, drag the vocal into Simpler, and set Slice by Transients. Then play the vocal with MIDI notes so you can reorder fragments like drums. This is where the switch-up becomes DnB, not just a breakdown.
Build a 2-bar phrase with this logic:
- bar 1: short vocal hit on beat 1, another on the “&” of 2
- bar 2: response phrase on beat 3, then a delay tail into the next bar
Parameter suggestions:
- Simpler Filter: low-pass around 1.5–4 kHz for the chopped layer
- Glide/Voicing: keep very short or off unless you want a smeared, ancient tape feel
Why this works in DnB: the chopped vocal becomes a percussion layer. In darker DnB, vocal fragments often behave like snare ghosts or off-grid fill elements, giving momentum without cluttering the main drum pattern.
3. Shape the vocal with stock effects for menace and clarity
On the chopped vocal track, build a clean but nasty chain using stock Ableton devices:
- EQ Eight
- Saturator
- Filter Delay or Echo
- Reverb
- Utility
Start with EQ Eight:
- High-pass around 120–180 Hz to remove low mud
- Dip 250–500 Hz if the vocal sounds boxy
- If needed, tame harshness around 3–5 kHz with a gentle cut
Add Saturator:
- Drive: 2–6 dB
- Soft Clip: ON
- Output trimmed to match gain
Add Echo or Filter Delay:
- Sync to 1/8 or 1/8 dotted for a classic DnB bounce
- Feedback around 20–35%
- Filter the repeats darker than the dry signal so the tail doesn’t dominate
Add Reverb sparingly:
- Decay: 1.2–2.5 s
- Pre-delay: 15–30 ms
- High-cut around 5–7 kHz
Finish with Utility:
- Reduce width to 70–90% on the core vocal if it gets too wide
- Keep the important center information stable
The goal is not lushness. It’s controlled decay. In oldskool DnB, the vocal often suggests a room or corridor rather than a giant cinematic hall.
4. Build the drum switch-up around the vocal phrasing
Now the drums. You want the switch-up to feel broken, but still structurally grounded. Use a looped break and edit it with intent:
- choose a crisp break with character, not too overcompressed
- warp it to the project tempo
- slice kick/snare accents to fit around the vocal chops
Put the break through Drum Buss or Saturator on a return or group:
- Drum Buss Drive: 5–15%
- Crunch: low to moderate
- Boom: use carefully, or avoid if your sub is already strong
- Damp: slightly reduced if you want more snap
Layer a clean snare or rim shot on the 2 and 4, but don’t over-modernize it. The oldskool switch-up works because the groove loosens while the backbeat still feels functional.
Add ghost notes with tiny velocity variations:
- hat or snare ghosts at 15–45 velocity range
- small timing shifts of 5–15 ms behind the grid for human drag
- one or two break fills at the end of bar 2 or bar 4
Arrangement context example: if your first drop is 16 bars, place the switch-up in bars 9–12 or 25–28, right after a full phrase. That way it feels like a deliberate rewrite rather than an accidental collapse.
5. Design the bass answer phrase with sub discipline
This section should not be bassless. A clean oldskool switch-up usually works best with a bass that answers the vocal in short phrases. Build a reese or detuned mid-bass layer using Wavetable, Operator, or even a resampled audio bass. Keep the sub separate.
A strong method:
- one MIDI track for sub: sine in Operator or a clean mono bass sample
- one MIDI/audio track for mid-bass: reese or moving detuned tone
For the mid-bass:
- low-pass around 200–500 Hz if it’s fighting the vocal
- add subtle Chorus-Ensemble or Phaser-Flanger only on the mid layer
- add Saturator or Overdrive lightly for edge
For the sub:
- keep mono with Utility
- low-pass the mid layer if needed so the sub owns the deepest band
- avoid stereo widening below roughly 120 Hz
Phrase idea:
- bass hits on beat 1 under the first vocal chop
- long note on beat 3 that decays into silence
- answer stab in bar 2 after a delay throw from the vocal
This keeps the switch-up call-and-response coherent: vocal asks, bass replies, drums punctuate.
6. Automate filters, sends, and scene energy instead of adding more parts
The key to a premium switch-up is motion, not density. Automate the following over 4–8 bars:
- vocal low-pass opening slightly before the drop returns
- reverb send increasing on the last chopped phrase
- delay feedback rising briefly on the final word
- bass filter opening from dark to full over 1–2 bars
- drum bus saturation increasing subtly into the transition
Useful ranges:
- vocal low-pass: sweep from 2.5 kHz up to 10–14 kHz
- delay feedback throw: 35–55% for the final hit only
- bass filter cutoff: start 150–300 Hz darker, then open to full range
- Utility gain ducking: -2 to -4 dB on the busiest bar if the transition overloads
In Live 12, group related elements and automate the group macros if you’ve mapped them. This is much faster than drawing ten separate envelopes, and it keeps the decision-making focused on musical energy rather than microscopic edits.
7. Use contrast to make the drop feel bigger
A switch-up only works if the return is clearly different. Before the main drop lands, reduce the arrangement to a few essential elements:
- a ghost vocal fragment
- a stripped break pattern
- a sub swell or bass pickup
- a reverse crash or noise swell
- one short impact, not a wall of FX
Then restore the full drums and bass with a cleaner, harder mix balance than before. The contrast should be obvious:
- switch-up section: narrower, darker, more reverberant
- drop return: tighter, punchier, more centered
If the main drop is already very busy, use the switch-up to create a vacuum. In darker DnB, space can hit harder than extra elements.
8. Glue the vocal switch-up into the arrangement with DJ-friendly structure
Keep the transition usable for DJs. That means:
- 8- or 16-bar intro/outro phrasing where possible
- avoid random stop-start edits that ruin mixability
- let the vocal switch-up sit in a phrase boundary, not mid-bar chaos
Consider this structure:
- 16 bars intro
- 16 bars first drop
- 8 bars switch-up build
- 4 bars sparse dark vocal break
- 16 bars second drop with variation
If you want the track to feel more “90s tape dark,” use a short atmospheric pre-switch section with low-passed pads or vinyl-noise texture. But keep it restrained. The vocal needs room to breathe and the drums need to stay legible.
9. Final mix checks: mono, low-end, and harshness
Before printing, check the switch-up in context:
- mono the master briefly with Utility to confirm sub and vocal core remain stable
- compare vocal level against the snare; if the vocal feels louder than the backbeat, pull it down
- make sure the mid-bass isn’t masking the vocal consonants around 2–4 kHz
- if the vocal gets harsh after saturation, notch or gently de-ess with EQ Eight
Keep headroom. The switch-up should not be the loudest moment just because it’s the most dramatic. In DnB, a clean impact usually comes from arrangement contrast and transient control, not from pushing everything harder.
Common Mistakes
- Fix: keep the core phrase intelligible. Use delay and reverb as accents, not permanent smears.
- Fix: high-pass vocal layers, keep sub mono, and make sure the bass answer phrase leaves space for the kick and snare.
- Fix: even a sparse oldskool switch-up needs rhythmic life. Use ghost hats, break fragments, or short vocal chops.
- Fix: keep sub and main snare centered. Use width selectively on ambience, not fundamentals.
- Fix: automate a final delay throw or reverse tail into a definite downbeat so the drop return feels intentional.
- Fix: gain-stage between Saturator, Echo, and Reverb. Trim the Utility output if needed.
Pro Tips for Darker / Heavier DnB
- Print the processed vocal to audio, then chop it again. This gives you unique tails and gritty one-shot fragments that feel more authentic than pristine edits.
- Let one bar contain only a single vocal hit plus a snare ghost. In dark rollers, restraint often feels heavier than constant activity.
- Send the vocal group to a return with Saturator or Overdrive, then filter it down. Blend just enough to add age and grain without losing articulation.
- Sub stays clean and mono.
- Mid bass carries the movement, distortion, and aggression.
- One well-timed throw can sound bigger than a whole bar of delay.
- Lower the sustain or length of the break fragments as the switch-up progresses so the section feels like it’s dissolving into the next drop.
- Think 4-bar question, 4-bar answer, 8-bar pressure release. That oldskool logic is still one of the strongest tools in modern dark DnB.
Mini Practice Exercise
Set a timer for 15 minutes and build a miniature switch-up at 172 BPM:
1. Pick one short spoken vocal phrase, 1–3 words.
2. Slice it into 4–6 fragments and map them to MIDI notes in Simpler.
3. Create a 4-bar drum section using one break loop, one snare layer, and a few ghost hats.
4. Add a clean sub and a separate mid-bass answer phrase.
5. Put EQ Eight, Saturator, and Echo on the vocal group.
6. Automate a low-pass sweep on the vocal from dark to brighter across 4 bars.
7. Print the vocal group to audio and chop one extra fill from the result.
8. Compare the section in mono and fix any low-end blur.
Goal: by the end, you should have a usable 4-bar transition that feels like a dark oldskool reroute, not just a breakdown.
Recap
A strong clean oldskool DnB switch-up comes from contrast, not clutter. Chop the vocal into rhythm, keep the sub disciplined, let the break breathe, and automate movement instead of stacking more parts. Use Ableton stock tools like Simpler, EQ Eight, Saturator, Echo, Reverb, Drum Buss, and Utility to shape a vocal-led dark transition that feels authentic, DJ-friendly, and heavy in the right way.

