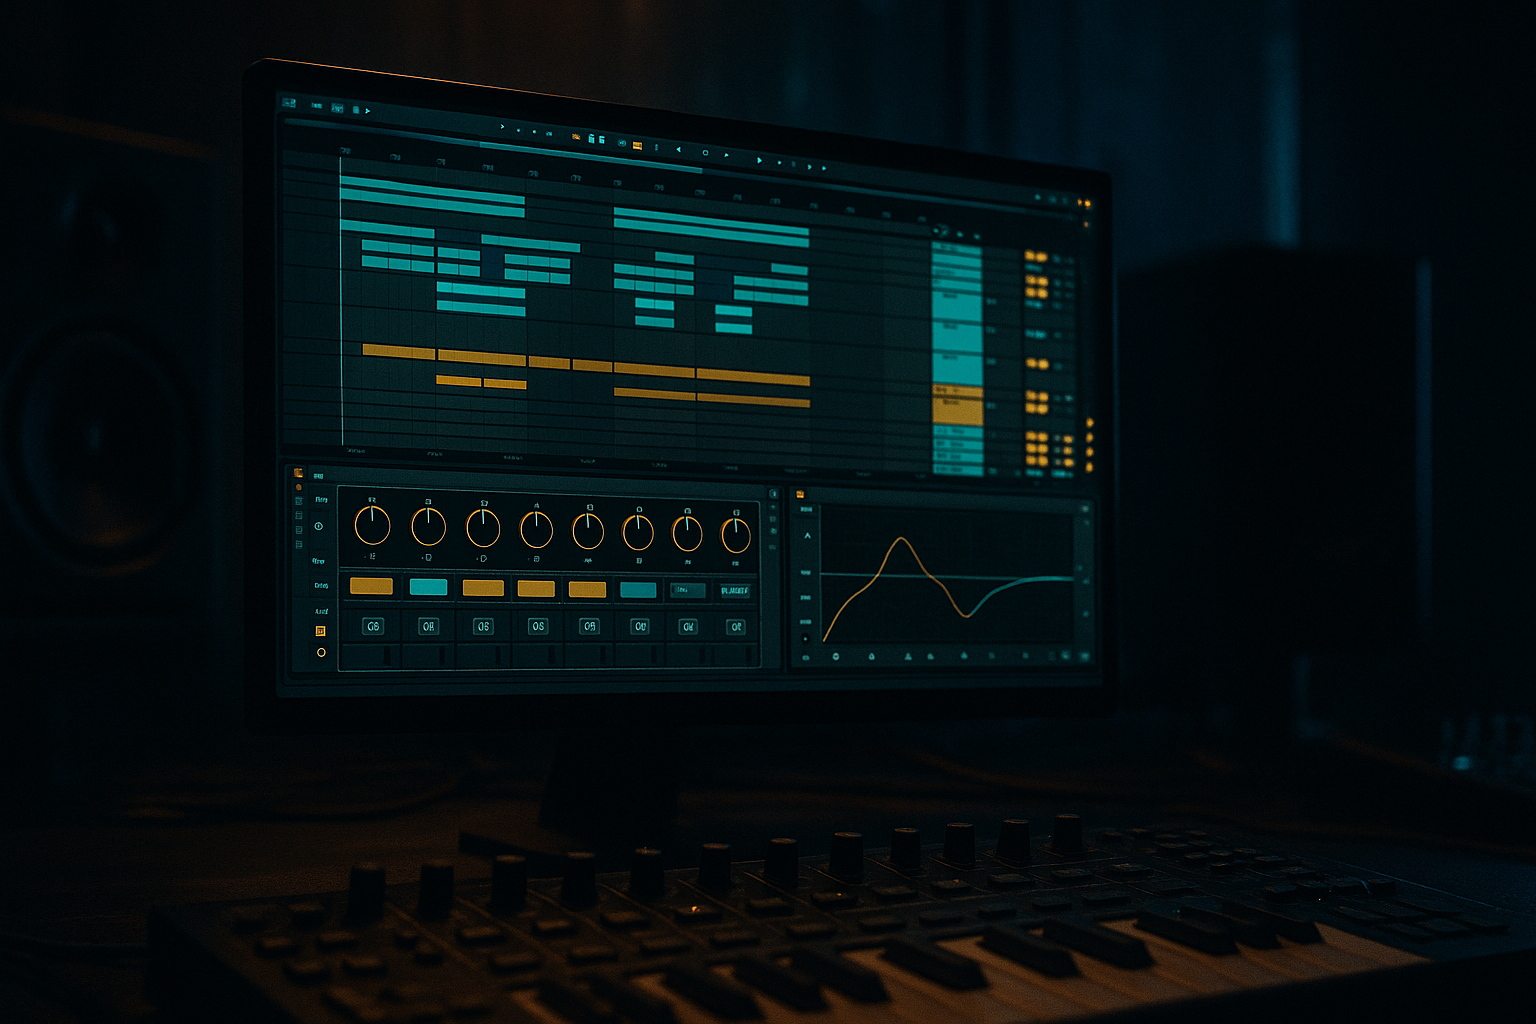
Main tutorial
Lesson Overview
This lesson is about turning a messy top loop into a clean, usable drum element for jungle and oldskool DnB inside Ableton Live 12. A “top loop” here means the high-frequency part of a break or drum loop: hats, shuffles, ghost hits, snare tails, little stick noises, and the rhythmic air that gives jungle its motion.
In a real DnB track, this lives above the kick, snare, and bass — usually as the moving layer that makes the groove feel alive without stepping on the main backbeat. It matters because jungle and oldskool DnB depend on tight break energy, but the raw sample often comes with mud, ugly resonances, weak transients, and stereo junk that makes the low end less solid. If you clean it properly, the loop keeps its attitude while sitting in the mix like it belongs there.
This technique suits jungle, oldskool rollers, darker breakbeat DnB, and any track where the drums need a bit of sampled grit instead of sterile programmed hats. By the end, you should be able to hear a top loop that feels snappy, focused, and rhythmically useful — with the noisy junk stripped away, the useful motion kept intact, and the loop ready to support a drop rather than fight it.
What You Will Build
You will build a cleaned top loop that sounds like a disciplined jungle layer: crisp enough to cut through, rough enough to feel authentic, and controlled enough to sit over a heavy sub without masking it.
Sonically, the result should have:
- tight high-end presence
- reduced low-mid rumble
- controlled stereo width
- a clear groove with ghost-note detail intact
- enough character to feel sampled, not overprocessed
- lock to the swing of your drums
- leave space for the snare and kick
- keep the sense of break momentum
- feel useful in 2- or 4-bar phrasing
- If you want more menace, leave a little roughness in the loop instead of polishing every transient. A slightly gritty top loop can make the whole drop feel more underground, as long as the low end is clean.
- Use subtle saturation before compression when you want the loop to feel denser without getting louder. This helps the hats and ghost notes read on smaller systems.
- In darker DnB, less stereo can actually feel heavier. A more centered top loop often gives the kick and snare more authority.
- Try muting the loop for the last half-bar before a drop or fill. That tiny gap can make the return hit harder than adding another effect.
- If the loop feels too static, automate a gentle filter movement on the loop only during transitional bars. Keep the actual drop version stable so the groove stays readable.
- For oldskool jungle flavour, let one or two uneven details survive the cleanup — a slightly bent hat tail or imperfect snare top can give the break personality without wrecking the mix.
- If you resample the cleaned loop, print it at the exact length you are using in the arrangement. That makes editing, chopping, and variation much faster later.
- Use only Ableton stock devices.
- Keep the loop in 2-bar length.
- Use no more than three processing devices on the loop.
- The loop must still feel like a break, not a programmed hat pattern.
- one cleaned top loop sitting over a kick, snare, and simple bass note
- one short 4-bar arrangement where the loop enters, drops out, and returns
- Can you hear the snare clearly through the loop?
- Does the bass stay solid when the loop plays?
- Does the loop still feel like jungle motion, not thin noise?
- Does the result translate in mono without collapsing?
Rhythmically, it should:
Role-wise, it should function as the “air and motion” layer in the drum stack, not the main drum kit. It should make the loop feel busier and more alive without making the groove cloudy.
A successful result sounds like this: the loop still feels like a real break, but the mud is gone, the transients are clearer, the stereo image is under control, and when you mute it, the track loses movement rather than losing clarity.
Step-by-Step Walkthrough
1. Choose the right source loop before touching effects
Start with a break or top-loop sample that already has strong rhythmic identity. In Ableton’s Browser, preview a few options and look for something with obvious hat motion, some ghosted snare detail, and a consistent pulse.
For jungle and oldskool DnB, the best starting point is usually not the cleanest loop — it’s the one with a lively top end and a bit of sampler character. But avoid loops that are overloaded with kick weight unless you specifically plan to cut that away.
What to listen for:
- a clear shuffle or forward motion
- useful high-frequency texture above the snare
- no huge low-end boom baked into the sample
If the loop already sounds thin and brittle, it may not survive much processing. If it sounds overly thick and muddy, that can be fixed, but it will need more cleanup.
2. Drop the loop into Simpler or directly into Audio and line up the phrase
Drag the sample into an Audio track or into Simpler if you want easier looping and envelope control. For a beginner workflow, Audio track is totally fine. If the break needs to be chopped later, Simpler gives you a little more control.
Warp the loop so it sits correctly with your project tempo. For jungle, a lot of top loops feel best when they are aligned tightly enough to groove, but not so corrected that they lose their drag. If the sample is a little off-grid, don’t panic. You are cleaning a rhythmic texture, not trying to make a robot hi-hat.
Set up a 2-bar or 4-bar loop and make sure the loop starts cleanly at a phrase point. A good top loop often works best when it breathes in 2-bar language, because jungle drums often answer each other across that length.
Workflow tip: immediately rename the track something useful like “Top Loop Clean” so you can find it quickly once the session gets busy.
3. High-pass the loop to remove everything it doesn’t need
Put EQ Eight first in the chain. Start with a high-pass filter around 150–300 Hz depending on how much junk is in the sample. If the loop is very busy and mostly hats/snares, you can often go higher. If it contains important body in the snare tail, go more carefully.
The goal is to remove low-end fog so the kick and sub have room. In DnB, this matters more than in many other styles because the bass line often sits very loud and very low, and even “small” low-mid junk in a top loop can cloud the drop.
What to listen for:
- the loop should lose weight, not life
- the groove should stay intact after the low cut
- the snare hit should still feel present, not hollowed out
If the loop suddenly sounds tiny, back the cutoff down. If the kick bleed is still muddying the groove, move the cutoff up a little more until the low smear stops fighting the bass.
4. Remove ugly resonances and boxiness before boosting anything
Still in EQ Eight, sweep for any annoying low-mid or harsh resonances. Common problem areas are around 250–500 Hz for boxiness and around 2.5–5 kHz for brittle bark or metallic stick noise.
Do not overdo it. Cut only the spots that are clearly sticking out. A few dB of reduction at one or two narrow points is enough in most cases.
Why this works in DnB: a top loop with too much low-mid junk eats the same space that the snare crack and bass harmonics need to occupy. Jungle can tolerate grime, but not haze. The vibe comes from rhythm and texture, not from a cloudy frequency build-up.
If the loop gets too dull after cutting:
- reduce the cut amount
- widen the EQ band slightly
- stop chasing tiny resonances that aren’t actually hurting the track
5. Use Drum Buss or Saturator to thicken the useful parts, not the noise
Add Drum Buss or Saturator after EQ Eight. For a beginner-friendly jungle clean-up, this is where you bring the loop forward without making it harsh.
Two realistic stock-device chains you can use here:
- Chain A: EQ Eight → Drum Buss
- Drive: modest, around 5–20%
- Crunch: low to moderate if you want grit
- Boom: usually off or very low on a top loop
- Damp: use carefully so the top doesn’t turn fizzy
- Chain B: EQ Eight → Saturator
- Drive: around 1–6 dB to start
- Soft Clip: on if you want control
- Output: trim back to level-match
A versus B decision:
- Choose Drum Buss if you want a more obviously breakbeat, chunky, slightly dirty jungle edge.
- Choose Saturator if you want cleaner density and more controlled harmonic lift.
What to listen for:
- the hats should feel denser, not louder in a fake way
- the loop should gain weight in perceived presence, not in low-end muddiness
- transient attack should remain readable
If the loop starts spitting unpleasant fizz, back the drive down and revisit the EQ first.
6. Tame the top if the loop gets brittle or splatty
If the loop is sharp in a bad way, use EQ Eight with a gentle high shelf reduction or a narrow dip around the harsh zone. In jungle, you want crispness, but not brittle digital pain.
A useful approach is to cut a little around 8–10 kHz if the loop is airy but noisy, or around 5–7 kHz if the snare top or hat edge is stabbing too hard. Don’t blanket-kill the highs; the top loop needs to keep its motion.
If you want a smoother result, you can also use Auto Filter in low-pass mode very subtly to roll off only the extreme top. Keep it mild. The point is to keep the loop present while making room for vocal air, rides, or bright FX later.
Stop here if the loop already sits well. A lot of beginner cleaning goes wrong because they keep processing a loop that was already good enough.
7. Tighten the timing against the main drums
Put the cleaned loop in context with your kick and snare. This is non-negotiable in DnB. A top loop that sounds good solo can still feel wrong if it lands against the backbeat in a sloppy way.
Loop 2 bars with your main drum pattern and listen to how the break interacts with the snare on 2 and 4. If the loop has a late shuffle that feels amazing, keep it. If it drags too much, nudge the clip slightly earlier or later in tiny increments until the energy locks.
In Ableton, you can simply adjust the clip start or transient position if needed. The goal is not machine precision — it’s pocket.
What to listen for:
- the snare hit should remain dominant
- the top loop should create forward motion between backbeats
- ghost notes should feel like glue, not clutter
Check it with bass too. A top loop that sounds great alone may reveal masking when the sub and mid bass enter. If the bass disappears in the groove, the loop may still be too thick in the low-mids.
8. Shape the dynamics so the loop breathes like a break, not a looped cymbal bed
Add a Compressor only if the loop is too uneven. Many top loops do not need heavy compression; they need correction. If you compress, keep it gentle.
A realistic starting point:
- Ratio around 2:1 or 3:1
- Attack around 10–30 ms to let transients through
- Release around 50–120 ms, timed to the groove
- Only a few dB of gain reduction on peaks
If the loop is spiky, compression can help it sit still. If it already has good movement, too much compression will flatten the break’s personality.
Alternate option: use Drum Buss transient shaping instead of a compressor if the loop just needs a little snap or body. That often works better for drum material because it keeps the “sampled” feel.
What to listen for:
- the loop should feel more even without losing swing
- ghost notes should not vanish
- the snare tail should not get choked
9. Decide whether to keep it stereo or narrow it down
This is a key cleanup choice. A top loop often comes in wide, but wide is not always better in DnB.
Option A: keep some stereo width if the loop contains delicate hat movement or room texture that adds atmosphere.
Option B: narrow it if the loop feels phasey, weak in mono, or distracts from the centre of the track.
For mono compatibility, use Utility to reduce width if needed. Start by testing the loop in mono. If the groove suddenly collapses or certain hats vanish, the sample probably has stereo information you don’t actually need.
Why this matters in DnB: the kick, snare, and sub need the centre. A top loop that is too wide can make the whole drop feel less focused, especially on club systems.
Successful result: the loop feels open, but the centre of the track still feels solid and deliberate.
10. Commit the cleaned loop and place it like a real arrangement element
Once the loop is clean, consolidate or resample it to audio so you are working with a committed result instead of endlessly tweaking the source. This helps you move faster and make arrangement decisions.
A practical arrangement example:
- Intro: filtered top loop only, 8 bars
- Drop 1: full cleaned loop under kick/snare, 16 bars
- Switch-up: remove every second bar for 4 bars
- Drop 2: bring the loop back with a small variation, like a reversed tail or a filtered bar-end
This is how the cleaned top loop becomes arrangement material, not just a loop on repeat. In jungle, tiny phrasing changes matter. Dropping the loop out for one bar before a snare fill, or reintroducing it with a high-pass automation sweep, can make the drop feel bigger without adding new instruments.
Commit this to audio if you are happy with the groove and tone. That frees you to build the track instead of endlessly polishing the same 2 bars.
Common Mistakes
1. Over-high-passing and stripping the groove out
Why it hurts: the loop loses its body and starts sounding like thin hiss, which kills the sampled jungle feel.
Fix: lower the high-pass cutoff in EQ Eight and compare before/after in context with the snare and bass.
2. Leaving kick bleed and low rumble in the top loop
Why it hurts: it muddies the low end and makes the bass less stable.
Fix: cut more aggressively below the useful top-loop range and remove any obvious low-mid resonance around 250–500 Hz.
3. Making it too bright in an attempt to create “energy”
Why it hurts: harsh hats and brittle snare tops fatigue the ear and fight with rides, FX, and vocal air.
Fix: reduce harsh bands around 5–10 kHz instead of boosting the highs blindly.
4. Compressing the loop until it loses swing
Why it hurts: the break stops breathing and starts feeling like a flat percussion bed.
Fix: use gentler compression, slower attack, or remove the compressor entirely and rely on EQ plus saturation.
5. Ignoring mono compatibility
Why it hurts: the loop can sound wide in headphones but weak or phasey in a club.
Fix: test with Utility in mono and reduce width if the useful detail disappears.
6. Cleaning it solo and never checking with the drums and bass
Why it hurts: what sounds neat alone may still mask the kick/snare or crowd the sub.
Fix: always audition the loop against the full drum-and-bass core before deciding it is finished.
7. Overprocessing a loop that was already doing the job
Why it hurts: you can sand off the character that made it sound like jungle in the first place.
Fix: stop after the minimum needed cleanup; if it already sits, leave it.
Pro Tips for Darker / Heavier DnB
Mini Practice Exercise
Goal: clean one top loop and make it ready for a jungle-style drop.
Time box: 15 minutes
Constraints:
Deliverable:
Quick self-check:
Recap
Clean a top loop by removing low-end junk, controlling harshness, preserving groove, and checking it against the full drum-and-bass context. In Ableton Live, EQ Eight, Drum Buss, Saturator, Compressor, and Utility are enough to do the job properly. The win is not “making it perfect” — it’s making it usable, punchy, and authentic so it supports the track instead of fighting it. If the loop keeps its rhythm, loses its mud, and leaves room for the kick, snare, and bass, you’ve done it right.

