Main tutorial
Lesson Overview
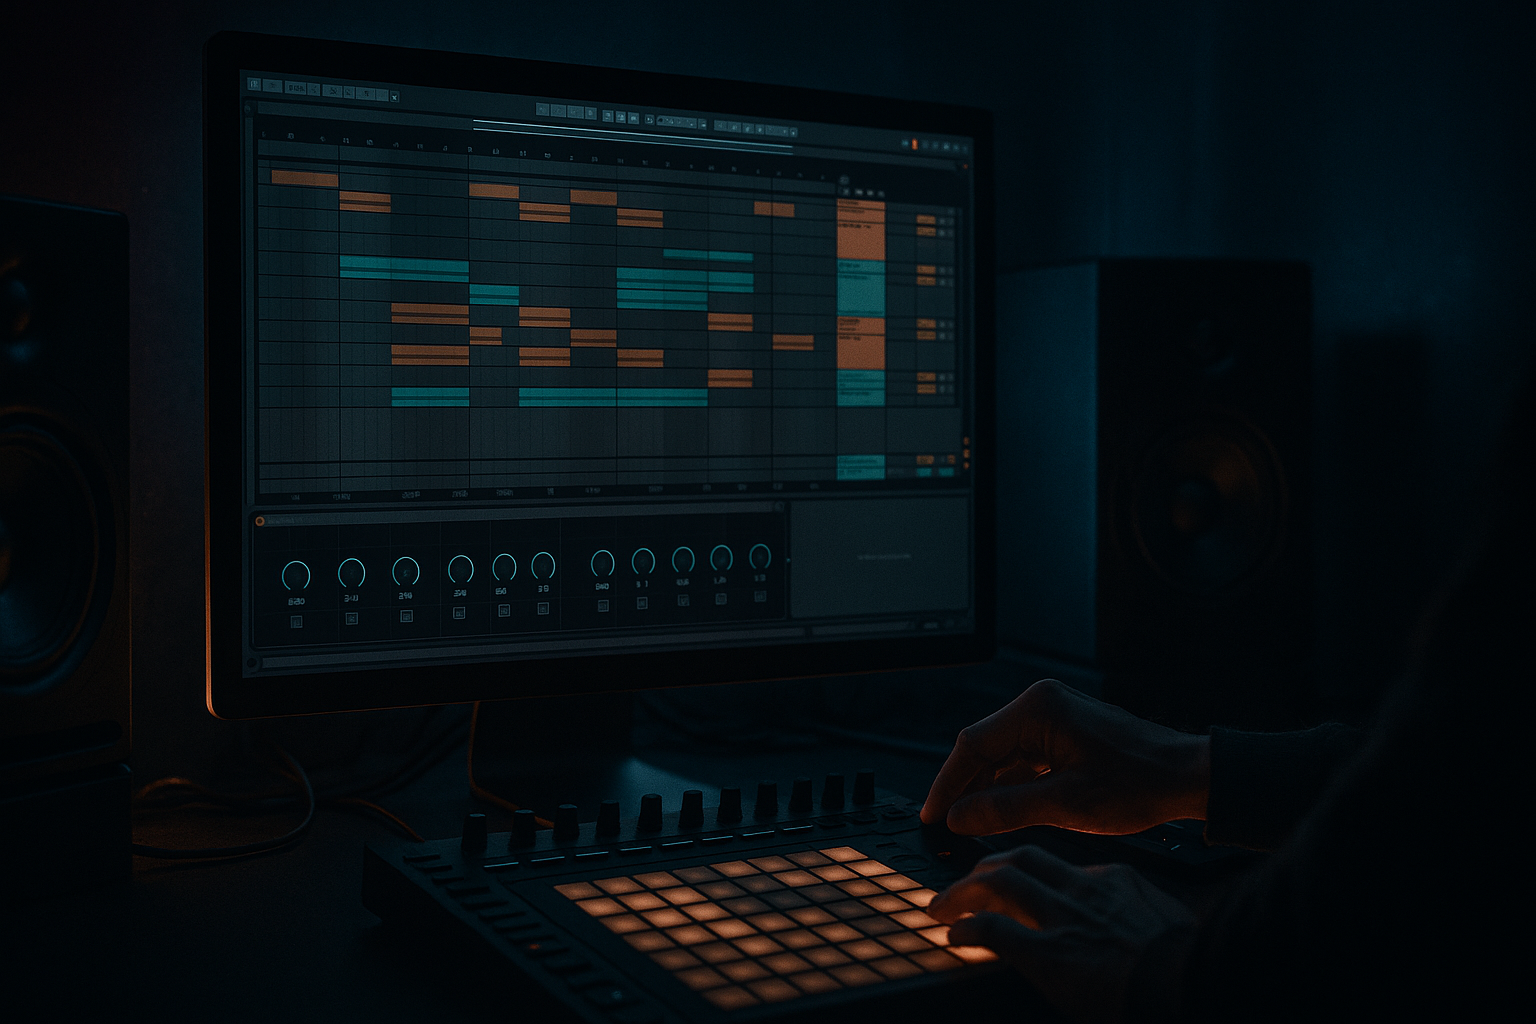
In this lesson you’re carving an oldskool DnB breakbeat inside Ableton Live 12 so it feels like it belongs in a jungle or classic rave-leaning DnB record, not just a loop with EQ on it. The goal is to turn one full break into a purposeful, performance-ready drum part: trimmed, sliced, re-ordered, punched up, and edited so it has the swing, attitude, and articulation that oldskool DnB depends on.
This technique lives at the heart of the drum identity in a track. In jungle, roller, or darker oldskool DnB, the break is often the “voice” of the rhythm section: it carries momentum, fills the gaps between snare hits, and gives the tune its human push-pull. Technically, it matters because a raw break usually arrives with too much room tone, inconsistent transients, messy low mids, and stereo information that can fight your sub. Musically, it matters because the break has to sit around the kick/snare foundation without flattening into a generic loop.
This is best suited to jungle, oldskool DnB, halftime-jungle hybrids, and darker break-led rollers. By the end, you should be able to hear a break that still sounds like a sampled drummer, but now locks to your tune, leaves space for the bass, and gives you a usable arrangement element for intros, drops, and second-drop variations. A successful result should feel like the break is “driving” the track rather than simply looping inside it.
What You Will Build
You’ll build a carved, reshaped oldskool breakbeat that has:
- a tight, punchy core
- controlled ghost-note detail
- enough grit and movement to feel classic
- cleaner low-end separation from your sub and kick
- a usable 4-, 8-, and 16-bar loop with variation points
- a version that is polished enough to drop into an arrangement without sounding like a rough sample dump
- Let the snare hit like a weapon, not a wash. If you have a room-heavy break, trim the tail just enough that the snare reads as a strike rather than an explosion. Darker DnB often needs that firm backbeat so the bass can menace underneath it.
- Use one ugly detail on purpose. A slightly distorted ghost note, a crunchy pre-snare tick, or a short noisy tail can give the break personality. The key is choosing one feature to lean into, not distorting the entire loop into mush.
- Keep sub and break psychologically separate. The break should create forward motion in the upper rhythm bands; the sub should feel like a steady pressure underneath. When those roles blur, the track loses its underground weight.
- Automate density, not just brightness. Instead of sweeping a filter wildly, try removing one slice at the end of a phrase, then restoring it on the next downbeat. That creates tension without compromising punch.
- Make your second drop mean something. On the second drop, add an extra ghost hit, switch one snare fill, or swap to a slightly more aggressive break layer. The audience should feel progression, not just repetition.
- Check mono early if the break has wide overheads. A darker track can sound huge in headphones and fall apart on a club rig if the break’s stereo information is doing too much. Utility is your friend here: keep the core rhythmic information centered and the atmosphere wider only if it survives collapse to mono.
- Resample the best 4-bar version. Once you find the groove, bounce it, then re-import it so you can treat it like a record performance. This is especially powerful when you want to reverse a tail, mute one ghost note, or create a tiny pre-drop edit without breaking the original source.
- Use only one break sample and Ableton stock devices.
- Keep one main break layer only, unless you add a second layer for top-end definition.
- Make at least one change that affects groove, not just tone.
- An 8-bar loop with:
- Can you identify the snare instantly in the loop?
- Does the break still feel like a human performance?
- Does the sub remain stable and uncluttered underneath?
- If the answer to any of these is no, remove one element before adding more processing.
Sonically, it should feel slightly rough around the edges in the right way: crunchy transients, a touch of room tail, and rhythmic lift from the break’s internal micro-timing. Rhythmically, it should bounce between the snare backbeat and the little “in-between” details that make jungle feel alive. In the track, it will act as the top/mid drum engine while the kick and sub provide the foundation.
Success looks like this: when the break plays with your bassline, the groove stays readable, the snare still owns the backbeat, the kick doesn’t disappear, and the break adds urgency instead of clutter. It should sound like a deliberate DnB drum part, not a sample that accidentally survived the mix.
Step-by-Step Walkthrough
1. Start with the right break and place it in a clean audio lane
Drag an oldskool break into an audio track and set the project tempo to your target DnB BPM, usually somewhere around 170–174 if you want that classic forward drive. If the break is already at a different tempo, warp it first only enough to make it usable; don’t over-stretch it into a lifeless grid.
In Ableton, switch to a clean loop region of 2 or 4 bars where the break repeats naturally. If the sample has strong character, keep that character. If it has a long, messy tail, trim the end so the loop closes cleanly.
Why this matters: oldskool breaks rely on feel. If you force every hit to perfectly quantized perfection before you’ve even decided the groove, you often lose the “human drag” that makes jungle work.
What to listen for: the snare should still land with intent, but the little lead-in ghost notes and hat bleed should feel like they are pulling the bar forward. If the break sounds stiff or too grid-locked, back off the warp editing.
2. Slice the break into playable chunks instead of treating it as one block
Use Simpler in Slice mode or use Ableton’s slicing workflow to chop the break into sensible pieces: kick, snare, hat/ride, and any useful ghost-note fragments. You do not need every transient as a separate slice. In fact, too many slices can make the break feel over-edited and lose its body.
For an oldskool DnB approach, focus on:
- the main snare hit
- the kick transient
- a couple of ghost note slices
- a hat or cymbal tail slice
- one short room/noise slice if the break has nice texture
Then trigger or re-sequence these slices so the snare stays in place, but you can re-shape the in-between movement.
Why this works in DnB: the break becomes playable like a drum kit. That gives you control over which details stay in front and which details become atmosphere.
A useful decision point:
- A: keep more of the original break intact if you want authentic jungle swing and a raw “sampled record” feel
- B: heavily re-order slices if you want the break to lock harder with modern bass programming and leave more room for design
For a first pass, choose A. You can always move toward B once the groove is established.
3. Set the hierarchy: snare first, kick second, ghosts last
Before you add effects, decide what the break is supposed to emphasize. In oldskool DnB, the snare is usually king. Your kick should support the groove without stepping on the sub, and the ghost notes should create motion without sounding like random noise.
In the Clip view or within Simpler, adjust the slice notes so the snare lands consistently on the intended backbeat. If the break’s original kick is too dominant in the low end, shorten or soften it by reducing the sustain of the slice or trimming the tail. If your break has a very strong kick and you already have a separate kick drum, use the break more as a top break and let the dedicated kick own the low punch.
What to listen for: when the loop repeats, the snare should immediately tell you where the bar is. If you have to “search” for the backbeat, the break is too cluttered or the snare is too buried.
4. Clean the tone with stock EQ and controlled saturation
Put EQ Eight on the break channel. A practical starting point:
- high-pass around 90–140 Hz if your kick and sub need the low end
- gentle cut around 250–500 Hz if the break sounds boxy or paper-y
- small presence lift around 2–5 kHz only if the snare needs extra snap
- tame harsh hat energy around 7–10 kHz if the top feels brittle
Follow with Saturator for controlled grit. Try a modest Drive amount, often in the 2–6 dB range, and use Soft Clip if the transients are spiky. You’re not trying to destroy the break; you’re trying to make it sound like it was pushed through a system with attitude.
Stock-device chain example 1:
- EQ Eight
- Saturator
- Drum Buss
On Drum Buss, keep it subtle. A little Drive and a small amount of Crunch can give the break density. If the low end gets mushy, reduce the low-frequency emphasis or back off the drive.
Why this works: oldskool breaks often live or die on midrange character. You need the snare crack and the hat texture to stay audible after you carve out space for the sub.
5. Shape the groove with timing, not just volume
In Ableton’s audio clip or MIDI placement, nudge certain slices slightly late or early to create pocket. A small timing offset on a ghost note can make the loop breathe. For example, let a hat or tiny snare drag slightly late so the main snare lands with more authority. Or push a pre-snare ghost note a hair early to create tension.
Don’t turn this into random humanization. You want intentional push-pull:
- early ghost notes = urgency
- late hat ticks = laid-back swing
- solid snare = anchor
If you’re using a MIDI drum rack, try groove amounts that feel authentic rather than over-quantized. If the break starts to sound like a shuffled loop from a house record, reduce the groove influence. Jungle swing usually feels more jagged and asymmetrical than smooth club shuffle.
What to listen for: the loop should feel like it is leaning forward without rushing. If the groove starts to “trip” awkwardly against your bassline, reduce the amount of micro-timing movement.
6. Add a second layer only if it serves a clear role
A common oldskool move is layering a second break or a tightly edited top loop on top of the main break. This can work brilliantly, but only if each layer has a job.
Use a second layer if:
- the main break has great character but weak top-end definition
- you want more snare smack without overwriting the original groove
- you need a higher-frequency layer to cut through a dense bassline
Use a second layer sparingly and carve it so it doesn’t fight the main break. High-pass the layer more aggressively, often somewhere around 180–300 Hz depending on the source. Keep it narrower in stereo if the main break already has width.
Stock-device chain example 2:
- EQ Eight
- Compressor
- Utility
The Compressor can help the layer sit consistently. Use a moderate ratio and aim for only a few dB of gain reduction so the layer stays tight. Utility is useful for narrowing the stereo image if needed.
Decision point:
- Option A: raw single-break energy for a more authentic sample-led jungle feel
- Option B: layered polish for a more controlled modern DnB translation
If you’re building a tune for club play and the bass is already busy, B often wins. If the break is the identity of the record, A usually feels more honest.
7. Carve the break against the kick and sub in context
Now place the break with your kick and bassline. This is where the track either starts sounding like DnB or turns into competing loops.
Check the low-end relationship:
- if your kick is the main low punch, high-pass the break a bit more
- if the break kick is part of the identity, reduce the separate kick’s overlap or choose a more minimal kick
- keep the sub clean and mostly mono so the break can live above it
Use EQ Eight on the break to make room for the sub. A gentle cut around the fundamental area of your sub or kick can help, but don’t hollow out the break so much that it loses energy. The point is separation, not disappearance.
Workflow efficiency tip: loop just the kick, sub, and break for 8 bars while you carve. Don’t keep the whole arrangement open yet. If these three elements don’t work, the tune won’t magically fix itself later.
What to listen for: the kick should read clearly even when the break is busy. The sub should feel stable rather than “breathing” every time the break hits its low-mid body.
8. Automate movement for sections, not for every bar
Use automation to make the break evolve across the arrangement. In oldskool DnB, a break that is identical for 64 bars becomes tiring fast. But constant parameter wobble can make it messy.
Good automation moves include:
- opening a filter slightly before a drop
- increasing Saturator drive by a small amount into a second drop
- adding a touch of reverb or delay only on fill bars
- reducing high-pass filtering in an intro so the break feels distant, then removing it at the drop
Keep the ranges restrained. For example:
- filter movement: modest sweeps rather than huge wipes
- reverb send: short bursts before transitions
- drive increase: small enough that the drum tone changes, but the groove does not collapse
Arrangement example: use 8-bar phrases. Let bars 1–4 of the drop play the core break, bars 5–8 introduce one extra ghost-note variation or a missing snare hit to create a second phrase. Then on the next 8-bar block, switch the fill on bar 8 so the loop feels like it is developing rather than repeating.
9. Commit the best version and edit the audio like a record
Once the break is working, stop treating it like a temporary loop. If the slice pattern and processing are giving you the sound you want, print or bounce the result so you can edit the actual audio performance more freely.
Stop here if:
- the groove is already strong
- the snare is reading clearly in context
- the break is fighting less with the bass than it was before
- you can hear a distinct “record” character rather than a loop preset
Commiting the break to audio gives you freedom to cut tiny fills, reverse a tail, duplicate a snare pickup, or mute one ghost hit before a drop. That kind of fine editing is a huge part of oldskool DnB energy.
A useful edit idea: remove one hit before the drop so the return lands harder. In jungle, a small hole in the break can be more effective than an extra fill.
10. Test the break against the full drop and make one final usability pass
Bring the bassline, lead, and any atmospheric elements back in. Now check whether the break still serves the track when the full arrangement is active.
Ask three specific questions:
- Can I still identify the backbeat immediately?
- Does the break add momentum without masking the bass?
- If I played this on a system, would the drum part still cut through?
If the answer is no, go back and reduce clutter before you add more processing. Often the fix is not more saturation or more compression. It is removing one slice, shortening one tail, or simplifying one ghost-note cluster.
Mix-clarity note: keep the break’s stereo width under control if it has roomy overheads or wide cymbals. A narrower break often translates better in club systems, especially when the sub and kick are doing the heavy lifting. If the break feels wider than the rest of the track, use Utility to reduce width slightly or keep the lower part of the break more centered.
Common Mistakes
1. Over-warpping the break until it sounds flat
- Why it hurts: heavy warping can erase the natural drag and transient shape that make oldskool breaks feel alive.
- Fix: reduce warp stretching, or choose a break that already sits closer to the project tempo. If needed, slice and re-sequence instead of forcing one stretched loop.
2. Letting the break own the low end
- Why it hurts: the break’s kick and room tone can collide with your dedicated kick and sub, making the drop feel cloudy.
- Fix: high-pass the break with EQ Eight, trim slice tails, and keep the sub mono and clean.
3. Making every slice too loud
- Why it hurts: the groove stops breathing and the break starts sounding like a rigid drum machine.
- Fix: lower ghost notes and secondary hits by a few dB, and let the snare stay dominant.
4. Using too much saturation without checking the snare
- Why it hurts: the snare can turn crunchy but lose the sharp transient that helps it cut through the mix.
- Fix: back off Saturator drive, use Soft Clip moderately, and compare the break with and without processing at matched loudness.
5. Adding a wide layer that fights the main break
- Why it hurts: excessive stereo on the break can blur the rhythm and create mono problems on club systems.
- Fix: narrow the layer with Utility, high-pass it more aggressively, and keep the main break as the core identity.
6. Filling every bar with edits
- Why it hurts: too many fills kill the loop’s propulsion and make the drop feel nervous instead of confident.
- Fix: save edits for phrase ends, usually every 4 or 8 bars, and let the main loop breathe in between.
7. Ignoring the break in context with the bassline
- Why it hurts: a break that sounds great solo can still obscure the bass or soften the drop.
- Fix: loop drums and bass together early, then carve EQ and timing around the full low-end picture.
Pro Tips for Darker / Heavier DnB
Mini Practice Exercise
Goal: carve one oldskool break into a usable 8-bar jungle/DnB loop that works with sub and kick.
Time box: 15 minutes.
Constraints:
Deliverable:
- a cleaned and carved break
- one subtle variation on bar 8
- a version that works with kick and sub playing together
Quick self-check:
Recap
Carving an oldskool break in Ableton Live is about preserving feel while making room for the rest of the tune. Keep the snare as the anchor, clean the low end so the sub can breathe, and use timing, slice choice, and controlled saturation to shape the groove. Build variation in phrases, not every bar, and always test the break in context with kick and bass. If the result feels like a living drum performance that drives the track without muddying it, you’ve nailed the jungle/DnB balance.

