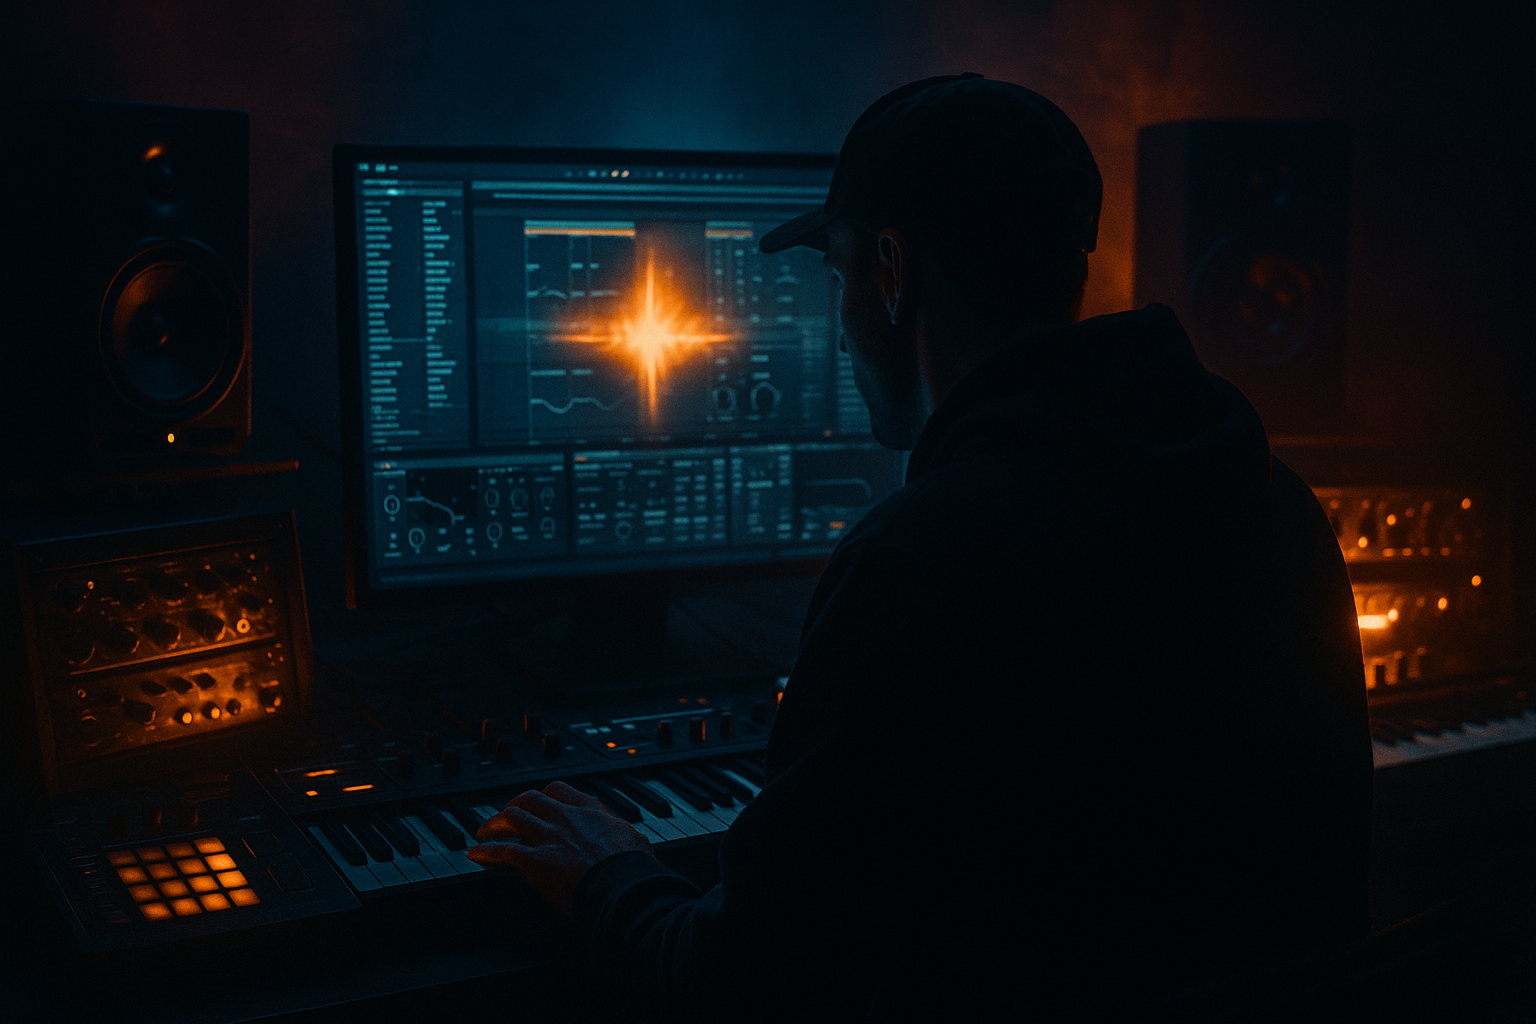
Main tutorial
Lesson Overview
An Amen-style impact is one of the quickest ways to inject 90s-inspired darkness into a DnB track without sounding like you’re just copying a break loop. In this lesson, you’ll build a short, aggressive, automated impact moment built from the Amen break, then shape it into a punchy, cinematic hit that feels at home in dark jungle, rollers, and early neuro-influenced DnB.
The goal is not just “make a big crash.” It’s to create a designed transition hit that:
- slams into a new section,
- carries breakbeat identity,
- leaves space for the bass to hit hard after,
- and feels authentic to 90s rave darkness.
- the start of a drop,
- a switch after 16 or 32 bars,
- the turn into a halftime section,
- or the moment a dark bassline returns after a breakdown.
- a chopped Amen fragment,
- heavily shaped with filtering and saturation,
- stretched into a dense hit,
- then slammed into a reverb tail and cut back clean for the drop.
- bar-end transition hit before the drop,
- break switch accent in a jungle arrangement,
- or a dark atmospheric impact leading into an 808/sub drop in a modern roller.
- sharp transient presence from the break,
- midrange grit from saturation and transient shaping,
- controlled low end so it doesn’t fight your sub,
- and automated movement that makes it feel alive.
- a snare hit,
- a small slice of kick-to-snare or snare-to-hat movement,
- and enough transient detail to survive processing.
- Warp the clip in Beats mode.
- Keep the transient preservation clear enough that the snare still cracks.
- Set the clip so the impact lands exactly on bar 1 or on the last beat before a drop.
- Attack: 0–5 ms
- Decay: 150–350 ms
- Sustain: 0%
- Release: 50–120 ms
- automate Gain or Volume for a tiny swell into the hit,
- or automate Filter Frequency if you’ve added a filter after Simpler.
- If the slice feels too long, reduce the decay toward 120–180 ms.
- If it feels too dry and blunt, increase release toward 100–140 ms so the tail breathes slightly.
- Low-pass filter if you want the impact to feel foggier and more vintage.
- Band-pass if you want a thinner, more eerie midrange punch.
- High-pass if the impact is mainly a transition accent and should leave all sub room to the bass drop.
- Low-pass cutoff: around 2.5 kHz to 6 kHz
- Resonance: 10–25%
- Then automate the cutoff to open briefly on the impact, then close back down.
- open the filter slightly over 1/8 or 1/4 bar before the hit,
- then snap it darker right after the impact,
- or do the reverse if you want the hit to bloom and then disappear.
- Drive: +2 to +8 dB
- Soft Clip: On
- Output: trim so the level stays controlled
- Drive: 5–20%
- Boom: usually off for this impact, unless you want extra chest hit
- Crunch: 5–15%
- Transient: slightly positive if you want the attack to pop
- keep Saturator Drive around +2 dB in the intro,
- automate to +6 dB for the impact,
- then pull it back down immediately after.
- Decay Time: 1.2–2.8 seconds
- Pre-Delay: 15–35 ms
- Size: medium to large
- Low Cut: around 180–300 Hz
- High Cut: around 5–8 kHz
- automate Dry/Wet from 0–12% normally,
- jump to 20–40% for the impact,
- then bring it down sharply before the drop or right after the transient.
- Decay Time up slightly during the hit for more dramatic bloom,
- then reduce it so the tail doesn’t clutter the bass entrance.
- let the reverb open during the last 1/2 bar before the drop,
- then cut the dry/wet back to near zero on the first kick of the drop.
- High-pass at 120–200 Hz if the impact is only a transition layer.
- If you want some body, keep a gentle shelf instead of removing everything below 120 Hz.
- Cut harshness around 2.5–4.5 kHz if the snares get spitty.
- If the impact feels boxy, dip 300–600 Hz by 2–4 dB.
- Keep the impact in mono if it’s mostly a punch element.
- If you want width, use a very subtle stereo spread only on the reverb return, not the core transient.
- a tiny pitch drop of -1 to -3 semitones into the hit,
- or a quick downward pitch slide over 1/8 bar.
- in the 2 bars before the drop, automate the Amen slice to pitch down slightly each repeat,
- then let the final impact land lower and dirtier than the previous ones.
- one bar of bass phrases,
- one bar of space,
- then a heavily processed Amen hit to punch into the next phrase.
- You can edit the tail precisely.
- You can reverse sections if needed.
- You can bounce the impact into a one-shot for faster arrangement.
- You can create variants: short, medium, and huge.
- trim silence,
- tighten the transient,
- add reverse lead-ins,
- and automate the final arrangement more cleanly.
- Dry hit
- Mid reverb impact
- Huge transition impact
- 16 bars of moody intro,
- filtered break and atmospheres,
- bass tease at bar 9,
- final build from bars 13–16,
- Amen-style impact at the last beat of bar 16,
- drop on bar 17 with clean sub and drums.
- at the end of a 32-bar A section,
- before a bass variation,
- or after a breakdown where you want to reset the energy without losing momentum.
- Keep the impact short enough that the drop still feels bigger.
- If the impact is too long, it steals attention from the first drum hit of the drop.
- If it is too short and dry, it won’t carry the 90s atmosphere.
- Using the full Amen loop as the impact
- Leaving too much low end in the hit
- Overdoing reverb without automation
- Making the impact too bright
- No level control after distortion
- Putting the impact on top of a busy bass phrase
- Forgetting mono compatibility
- Automate a filter close-down right after the hit to create a quick, claustrophobic feel. That “closing the room” effect works brilliantly in dark jungle.
- Layer a reversed Amen slice under the impact very quietly. It adds suction into the hit without sounding obvious.
- Use Drum Buss on the resampled hit only, not the whole drum bus, if you want extra dirt without crushing your full groove.
- Trigger the impact on phrase endings like bars 8, 16, 24, or 32 so it feels structural, not random.
- Add a short return reverb on a separate send and automate the send amount for more mix control.
- Keep your sub bass mono and untouched while the Amen impact lives higher up. That separation is what keeps the darkness clean.
- Use tiny pitch automation on repeats to make each version more unhinged. Even -0.5 to -2 semitones can add tension.
- Resample, then slice the result in Simpler if you want to make fill variations quickly.
- Start with a short Amen slice, not a full loop.
- Shape it with Simpler, Auto Filter, Saturator, Drum Buss, EQ Eight, and Reverb.
- Use automation to make the impact evolve: filter, drive, reverb, and pitch are your main controls.
- Keep the low end clean so the sub and kick can hit hard after the impact.
- Place it at phrase boundaries to strengthen the arrangement and make the drop feel earned.
This matters because in DnB, transitions are part of the groove. A strong impact can mark:
The key technique here is automation: you’ll automate filtering, reverb size, reverb decay, distortion drive, pitch, and volume so the impact evolves rather than just being a static one-shot. That evolving movement is what makes it feel like a produced DnB moment instead of a generic sample hit.
---
What You Will Build
You’ll build a custom Amen-style impact chain in Ableton Live 12 that sounds like:
Musically, the result will work as a:
The sound should have:
By the end, you’ll have a reusable rack-style idea you can drop into future DnB projects and adapt for different vibes: dusty jungle, bleak 90s roller, or heavier modern darkside energy.
---
Step-by-Step Walkthrough
1) Choose the right Amen source and place it on the grid
Start with a clean audio clip of the Amen break or a chopped Amen fragment from your own library. Drag it into an audio track in Ableton Live 12 and zoom in on the waveform.
For this technique, you want a moment with:
If your Amen sample is too busy, crop it down to a 1/8 or 1/4 bar slice around a strong snare hit. In classic jungle and darker rollers, these micro-fragments often work better than the full loop because they hit harder and leave more space for bass.
Practical move:
Why this works in DnB: the Amen break already carries rhythmic history. Even a tiny slice instantly signals jungle energy, and in darker DnB that reference creates instant character before the bass arrives.
2) Turn the slice into an impact with a controlled envelope
Insert Simpler if you want more direct control, or work directly with the audio clip if the sample already feels right. For a more intentional impact, drop the slice into Simpler in Classic mode and set:
This gives you a short hit instead of a loop.
Then use Clip Envelopes on the audio clip or Simpler’s controls to shape the movement:
If you use the audio clip directly, try a very short fade-in of just a few milliseconds to remove clicks while keeping the snap.
Concrete settings:
3) Add a filter stage to carve the 90s darkness
Now place Auto Filter after Simpler or after the audio clip chain. This is one of the most important parts of the lesson because the “carved” part comes from subtractive shaping.
Use:
For 90s-inspired darkness, start with:
A strong movement:
This gives you that “carved” feeling: the impact arrives with a shape, not just volume.
4) Distort it, but keep the hit readable
Now add Saturator or Drum Buss for grit. For DnB, especially darker styles, you want harmonic energy in the midrange without destroying transient clarity.
Try Saturator first:
If you want more bite and glue, try Drum Buss:
For a more aggressive roller or neuro edge, automate the Drive to increase only during the hit. Example:
Why automate drive? Because a static distortion setting can make the sound feel flat. Automation creates movement and makes the impact feel like it “arrives.”
5) Build the space with reverb automation, then cut it hard
This is where the impact becomes huge and cinematic. Add Reverb after the grit stage.
Recommended starting point:
Now automate the reverb so it behaves like a transition tool, not a wash:
You can also automate:
A very usable DnB move:
This creates a tension-release arc that feels modern but still rooted in old-school jungle atmosphere.
6) Use EQ to carve the impact into the mix
Add EQ Eight after the core processing. This is where you make room for sub and keep the impact from sounding messy.
Useful EQ moves:
For darker DnB, the impact should feel powerful but not overly bright. You want it to occupy the upper-mid impact zone, not fight the sub or dominate the entire mix.
Important workflow choice:
7) Automate pitch and timing for extra menace
This is a great intermediate move and very effective in darker DnB. Add Simpler, Clip Transpose, or use an Audio Effect Rack with macro-controlled pitch shifting if you’re resampling.
Try automating:
This adds that ominous falling sensation associated with horror-tinged jungle and darker drop design.
Arrangement idea:
This works especially well if your arrangement has a call-and-response structure:
8) Resample the chain for tighter control
Once the processing feels good, record or freeze-resample the chain into a new audio track. This is where you turn the effect into a real production asset.
Why resample?
In Ableton Live, resampling makes it easier to:
After resampling, create 2–3 versions:
That gives you flexibility when building intros, drops, and switch-ups.
9) Place it in a real DnB arrangement
Now use the impact where it matters musically.
A strong placement example:
For a darker roller, you might use it:
Arrangement tip:
---
Common Mistakes
Fix: trim to a small slice or one decisive moment. Impacts need focus.
Fix: high-pass with EQ Eight around 120–200 Hz if the bassline needs the space.
Fix: automate the wet amount or decay so the tail blooms only when needed.
Fix: use Auto Filter or EQ Eight to keep it dark and tense, not harsh.
Fix: trim output after Saturator/Drum Buss so your arrangement headroom stays intact.
Fix: place it where the arrangement opens up, or use it to mark a phrase change.
Fix: keep the core transient centered; let any width live in the FX tail.
---
Pro Tips for Darker / Heavier DnB
---
Mini Practice Exercise
Set aside 10–20 minutes and build three Amen-style impact variations in one Ableton Live set:
1. Choose one Amen slice and make a short hit.
2. Create three chains:
- Version A: dry and punchy
- Version B: darker with low-pass filtering
- Version C: huge with reverb automation
3. Automate at least two parameters per version:
- filter cutoff,
- reverb dry/wet,
- distortion drive,
- or pitch.
4. Place each version at the end of a different 8-bar phrase in your arrangement.
5. Compare which one best supports the drop without cluttering the bass.
Bonus challenge: resample the best version and make a reverse lead-in for the following bar.
---
Recap
An Amen-style impact works in DnB because it combines breakbeat identity, tension, and transition energy.
The big takeaways:
If you get the automation right, the impact stops being just an effect and becomes part of the track’s dark DnB storytelling.

