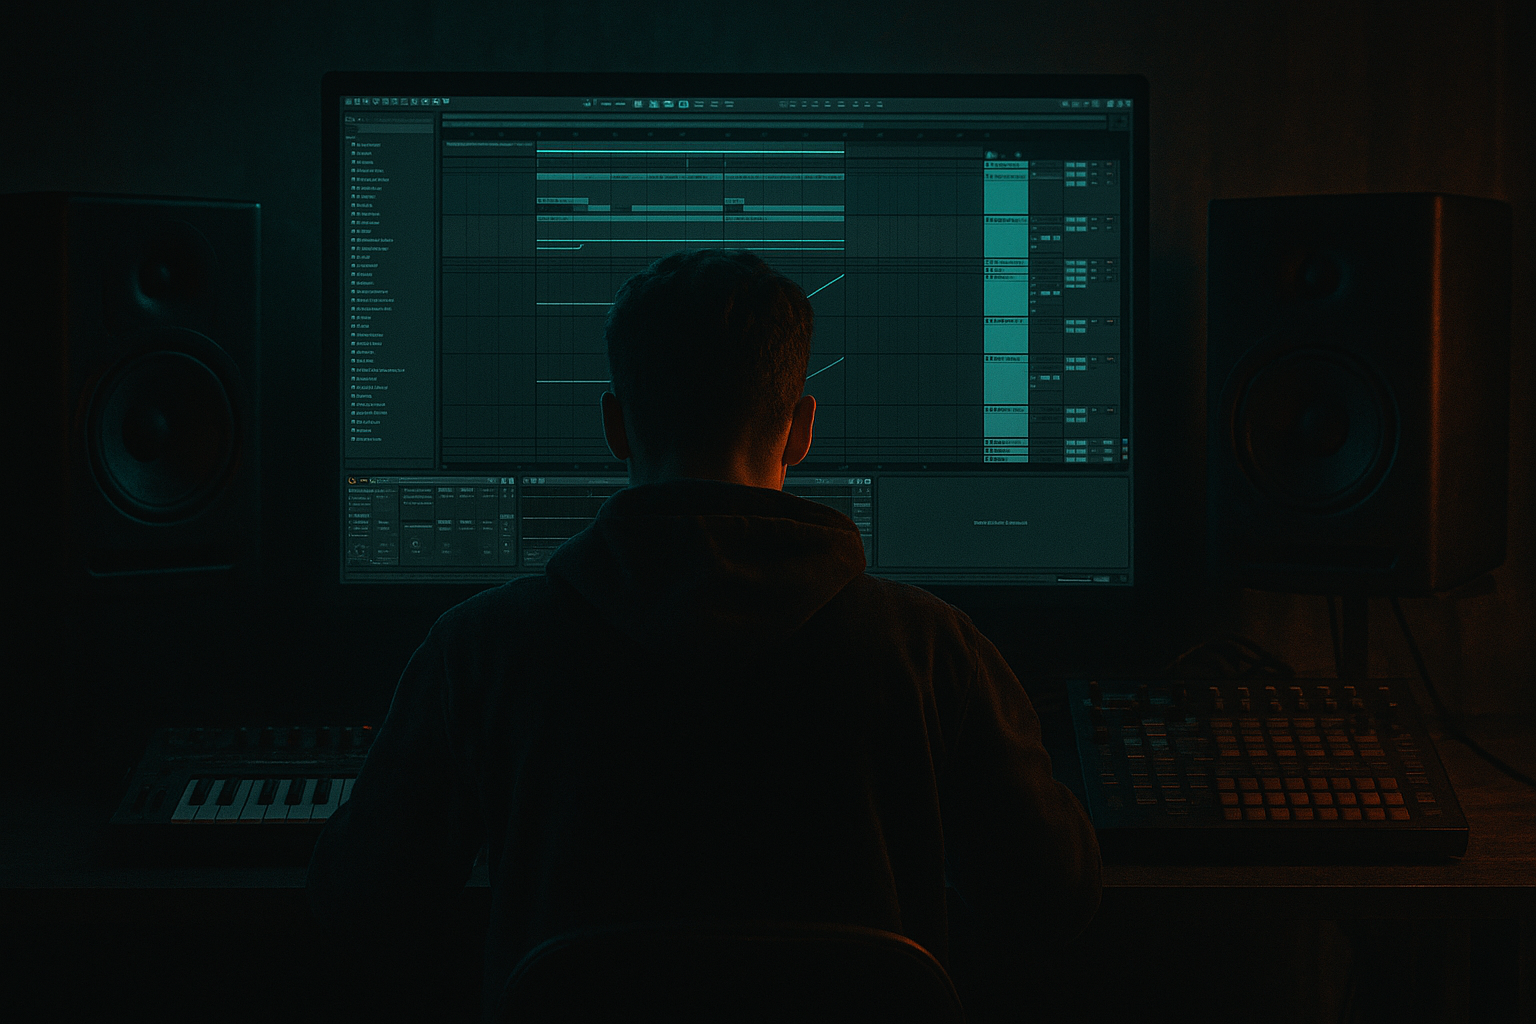
Main tutorial
1. Lesson Overview
This intermediate Automation lesson shows you a practical Camo & Krooked Ableton Live 12 bell pluck blueprint using Session View to Arrangement View. You will design a DnB-style bell/pluck patch with Live’s stock devices, create musical clip-based modulation and performance variations in Session View, and then record those performance automation lanes into Arrangement View so you can edit, arrange and polish them for a track.
2. What You Will Build
- A tight, percussive bell-pluck Instrument Rack (Wavetable + envelopes + filter) that sits in the mid/high range for Drum & Bass.
- Several clip-based performance variations (short pluck, slightly detuned bell, long tail) built in Session View using clip envelopes and mapped Macros.
- A clean, editable result in Arrangement View where device parameters and automation lanes are recorded and fine-tuned.
- Not enabling Automation Arm or global Record: the parameter moves won’t be written to Arrangement, so you’ll still only have Session clip envelopes.
- Expecting clip envelopes to automatically convert: clip envelopes are Session-only. You must perform or re-draw automation (or record it) into Arrangement.
- Mapping macros to multiple parameters without adjusting ranges: small unintended changes across multiple mapped parameters can produce jumps or thin sound.
- Overlong release in a pluck: creates mud in DnB mix. Keep tails controlled with gating/reverb pre-delay and EQ.
- Recording with high-CPU autos (oversized delay/reverb) without freezing: may cause dropouts when recording automation.
- Forgetting to quantize clip launches when you want tight timing. Use quantization or global quantization while launching.
- Use a short pre-delay on Reverb to preserve transient snap while giving a sense of space.
- Use a separate Return track for reverb and delay; automate the Send amounts with macros to keep FX automation separate and easier to edit in Arrangement.
- When mapping one macro to multiple parameters, use the Rack’s min/max mapping to control the contribution of each mapped parameter so the macro remains musical.
- For more dynamic pluck textures, automate Wavetable’s Warp/Position rather than just cutoff — it changes harmonic content more musically.
- To convert clip envelope modulation to editable Arrangement automation without playing it live: play the clip while recording and use your mouse to move the macro as the clip plays (you can “play” the macro automation by nudging it with a controller or manually with the mouse during record).
- Use small smoothing on automation breakpoints to remove zipper noise (right-click > Set Value/Curve for smoothed curves).
- Freeze/Flatten a track if CPU becomes an issue after heavy FX during recording.
All devices used are Ableton Live 12 stock devices: Wavetable, Instrument Rack, Auto Filter, EQ Eight, Reverb, Ping Pong Delay, Compressor/Saturator, and Utility.
3. Step-by-Step Walkthrough
Note: The exact phrase below is used intentionally to match the lesson topic:
Camo & Krooked Ableton Live 12 bell pluck blueprint using Session View to Arrangement View
Step A — Patch: Create the bell pluck Instrument
1. Create a new MIDI track (Cmd/Ctrl+Shift+T) and load Wavetable.
2. Oscillators:
- Osc 1: Select a sine-ish partial (e.g., “Sine” or “Bell” wavetable position), set Unison = 1, Detune 0.0. Pitch -12 to taste for body.
- Osc 2: Add a second oscillator an octave up or slightly detuned (+7 to +12 semitones) for bell overtone. Reduce level to taste.
3. Filter & envelope:
- In Wavetable, set Filter type to Lowpass (24 dB) or Bandpass if you want more bite. Lower Cutoff ~2–4 kHz to start.
- Set Filter Envelope (Env 2) with fast Attack (0–5 ms), high Decay (50–150 ms), Sustain low (0–10%), Release short (50–200 ms). Increase Envelope Amount to taste so the filter opens quickly then closes — this creates the pluck shape.
4. Amp envelope (Env 1): Fast Attack, short Decay (50–120 ms), low Sustain (0–10%), short Release (20–80 ms) for the pluck click.
5. Add gentle FM or ring if desired: slightly modulate Osc 2 pitch via the Wavetable’s oscillator FM amount for metallic tone.
6. Reduce low frequencies with the Filter or later with an EQ Eight.
Step B — Rack and FX chain with Macros
1. Drop an Instrument Rack around the Wavetable (Cmd/Ctrl+G).
2. Add devices after the rack in this order: Auto Filter → Saturator → EQ Eight → Ping Pong Delay → Reverb → Compressor/Glue. Use Utility before the chain if you want gain staging control.
3. Map 4 useful Macro knobs:
- Macro 1 → Filter Cutoff (Auto Filter cutoff)
- Macro 2 → Wavetable Position or Osc 2 level (for bright/darker bell)
- Macro 3 → Reverb Dry/Wet (for tail control)
- Macro 4 → Amp Release (map to Wavetable Env 1 Release or create rack macro to scale it)
4. Name macros: Cutoff, Brightness, Reverb, Release. Set ranges: Cutoff limited to key range (e.g., 1–8 kHz) to avoid too much low end.
Step C — MIDI clip: melody and note articulation
1. In Session View create a 1-bar or 2-bar MIDI clip (double-click an empty clip slot).
2. Create a simple bell-ish arpeggio in 16th or 8th notes typical for DnB. Use higher register notes (e.g., G4–D6).
3. For pluck articulation shorten note lengths (gate) to emphasize the envelope. Use velocities to add variation.
Step D — Clip-based automation & Session variations
1. Select the clip and open the Envelopes box in the Clip View.
2. Envelope target: choose “Device” → “Instrument Rack” → Macro 1 (Cutoff). Draw a fast downward curve that opens slightly on the first 16th then closes — this creates the pluck sweep per note.
3. Create another envelope lane: Device → Instrument Rack → Macro 2 (Brightness). Make small dips/rises for variation.
4. Optionally use clip envelopes to modulate Reverb Macro for one scene (dry for verse, wet for chorus).
5. Create three separate clip slots (scenes) with variations:
- Clip A: Short pluck — short release, low reverb.
- Clip B: Bellier — higher wavetable position, slightly longer release, more reverb.
- Clip C: Detuned/chorus feel — increase Osc 2 level and add subtle Auto Filter LFO or macro modulation.
Step E — Performance automation in Session and mapping for hands-on control
1. Assign a MIDI controller (or use mouse) to the four Macros so you can perform live changes when launching clips.
2. If you want LFO-like motion use Auto Filter’s internal LFO (rate synced) and automate its amount via Macro. Auto Filter is stock.
Step F — Record automation from Session to Arrangement
1. Prepare Arrangement for recording:
- Switch to Arrangement View (Tab).
- In the Control Bar enable “Automation Arm” (the Automation Arm toggle) so parameter movements will be written into Arrangement. Then enable the main Record button (Global Record).
- Alternatively, enable the Arrangement Record button (red circle) to begin recording into Arrangement.
2. Start recording, return to Session View, and launch the clip(s) and perform your Macro moves (or let clip envelopes play). Live will record the parameter changes and clip performance as automation lanes in Arrangement on the corresponding track(s).
- Tip: If you only want device parameter automation written, launch the clip while recording and perform the Macro moves. Clip envelope modulation itself won’t automatically convert; performing macros will write device automation into Arrangement.
3. Stop recording after 8–16 bars. Switch back to Arrangement (Tab). You’ll find automation lanes for the mapped device parameters (e.g., Cutoff, Reverb) recorded on the MIDI track. Clip note information is also recorded if you launched clips while recording.
4. Tidy up: show/hide automation lanes, consolidate (Cmd/Ctrl+J) if you want a single continuous clip, clip-loop and cut variations into the arrangement.
Step G — Polish in Arrangement
1. Fine-tune automation curves: use the Draw tool (B) for freehand, or click and create breakpoints for precise values. Smooth sharp jumps by adding short ramps.
2. Add sidechain compression: send the pluck to a bus or use Compressor sidechain to the kick for DnB pumping.
3. Use EQ Eight to remove sub frequencies; boost 2–6 kHz for presence.
4. Duplicate automation lanes for pre-chorus → chorus transitions and offset values to taste.
4. Common Mistakes
5. Pro Tips
6. Mini Practice Exercise
Objective: Use the blueprint to create 3 arrangement sections (Intro, Drop, Breakdown).
1. Create three 1-bar MIDI clips in Session View with different envelopes: A (short pluck), B (bright bell), C (long tail).
2. Map Cutoff and Reverb to two macros.
3. Arm Automation and record 8 bars into Arrangement: launch A x2 bars, then switch to B for 2 bars while performing Cutoff sweep, then C for 4 bars with Reverb automation rising.
4. In Arrangement, edit the Cutoff automation into a smooth ramp and shorten the reverb tail in the intro with an automation fade. Add a sidechain compressor to the pluck on the drop section.
7. Recap
You now have a complete Camo & Krooked Ableton Live 12 bell pluck blueprint using Session View to Arrangement View: a Wavetable-based pluck, an Instrument Rack with mapped macros, musical clip envelopes and live performance in Session, and the method to record those parameter moves into Arrangement for precise editing. Key takeaways: design a focused patch, use macros for performance-friendly modulation, remember to enable Automation Arm/global record to capture parameter moves, and clean up automation in Arrangement for production-ready results. Use the Mini Practice Exercise to solidify the workflow.

