Main tutorial
Build Oldskool DnB Bass Wobble Without Losing Headroom in Ableton Live 12
1. Lesson overview
Oldskool drum and bass bass wobble is all about movement, attitude, and control. The classic sound is usually:
- a sub layer holding the low end steady
- a mid-bass layer doing the wobble and character
- careful gain staging so the bass hits hard without smashing the master bus
- a two-layer bass patch
- a wobble rhythm synced to the track
- a low-end-safe device chain
- a basic 8-bar loop that works in a rolling DnB / jungle context
- a headroom-conscious mix approach so your master doesn’t clip
- 90s jungle bass
- oldskool “Reese-ish” DnB movement
- rolling DJ-tool bass phrases for mixing and mixing-in transitions
- No chorus
- No distortion
- No stereo widening
- Keep it mono
- Wavetable
- Analog
- Operator with a richer wave
- 1/4 note for a slow, heavy wobble
- 1/8 note for a classic rolling wobble
- 1/16 note for faster agitation in fills
- Increase or decrease LFO amount until it feels expressive
- Slightly adjust filter resonance
- Automate the filter cutoff between sections for variation
- LFO on amplitude very subtly
- LFO on oscillator pitch very lightly for a “talking” effect
- Saturation adds harmonics
- Harmonics help the bass be heard on smaller systems
- But too much will crush headroom fast
- Add Redux
- Use it very lightly
- Keep it subtle, especially on the low end
- Set to Lowpass
- Automate cutoff in the arrangement
- Try an envelope follower for a more animated feel if desired
- Sub track = clean low end only
- Wobble track = midrange character, filtered low end removed
- Keep the sub as the true low end
- Let the wobble live mostly in the 120 Hz to 1 kHz area
- Note 1: held note on the downbeat
- Note 2: short note after the snare
- Note 3: syncopated note before the next kick
- Add rests so the groove breathes
- leaves space for the breakbeat
- responds to the snare
- doesn’t play constantly
- Use short notes for rhythmic movement
- Use long notes for tension
- Copy the bass rhythm across 2 or 4 bars
- Slightly change the last bar to create a loop
- Keep individual tracks peaking roughly around -12 dB to -6 dB
- Keep your master output with room to spare, ideally peaking around -6 dB while producing
- Do not aim for loudness on the master yet
- Reduce input gain
- Reduce Saturator drive
- Lower oscillator levels
- Trim the Utility gain
- Breakbeat: chopped Amen or classic funk break
- Kick: punchy and short
- Snare: crisp on 2 and 4, or break-derived
- Hats: rolling 16ths or shuffled hats
- Does the bass overwhelm the snare?
- Does the kick disappear?
- Is the sub masking the break’s low body?
- Lower bass level
- Shorten bass notes
- High-pass the wobble layer more aggressively
- Carve tiny EQ space if needed
- Intro: 16 bars
- Drop 1: 16 bars
- Break: 8 bars
- Drop 2: 16 bars
- Outro: 16 bars
- filter cutoff
- reverb send
- delay throw
- bass note density
- bass layer mute/unmute
- Operator: sine wave only
- EQ Eight: low-cut very low rumble only
- Utility: width 0%
- Wavetable: saw/square, mono, LFO to filter
- Saturator: soft clip on, light drive
- EQ Eight: high-pass at 80–120 Hz
- Utility: trim output to avoid clipping
- Drive lightly
- Boom very cautiously on bass, or avoid it on the sub
- Great for mid-bass attitude, not for uncontrolled low end
- F minor
- G minor
- A minor
- simple riffs
- limited note range
- tension through rhythm, not melody overload
- filter cutoff
- LFO amount
- Saturator drive
- note lengths
- reverb sends on transitions
- Mono low-end = power
- Mid-bass grit = character
- Version A: clean and rolling
- Version B: darker and dirtier with more saturation
- Clean sub
- Modulated mid-bass
- High-pass the wobble layer
- Use light saturation
- Leave room for drums
- Keep the master unclipped ✅
- a specific Ableton Live 12 device chain preset recipe
- a MIDI bassline example in 170 BPM
- or a Roland/90s jungle-style reese bass version 🎛️
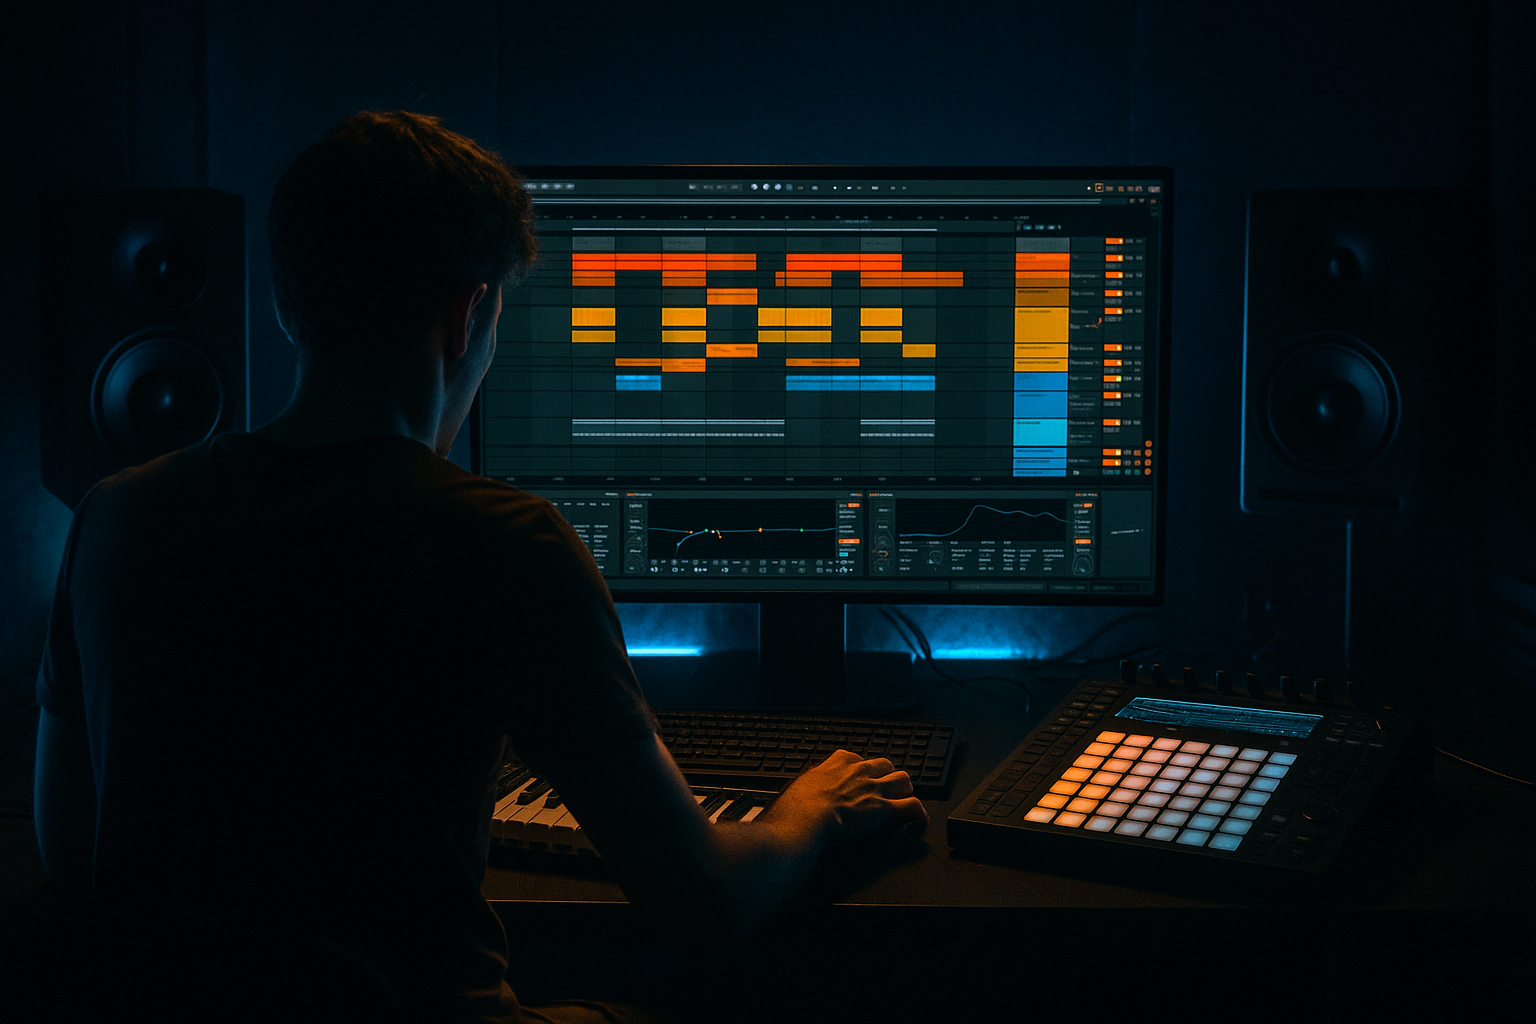
In Ableton Live 12, you can build this using stock devices only, and keep your headroom clean enough for a proper club-style mix. The key idea is:
> Make the wobble feel big by using modulation and layering, not by overdriving the bass into clipping. 🔥
This lesson will show you a beginner-friendly workflow for creating an oldskool DnB wobble that sits nicely under drums, leaves room for the kick/snare, and still sounds nasty.
---
2. What you will build
By the end of this tutorial, you’ll have:
- Sub layer: clean sine or triangle-style low end
- Mid wobble layer: filtered, modulated bass movement
We’ll aim for a sound that fits somewhere between:
---
3. Step-by-step walkthrough
Step 1: Set up your project for DnB
1. Open Ableton Live 12.
2. Set your tempo to 170 BPM as a good starting point.
- Oldskool DnB often sits between 165–175 BPM.
3. Create:
- 1 MIDI track for bass
- 1 Drum rack / drum group for your breakbeat and kick/snare
4. Keep your project organized early:
- `DRUMS`
- `SUB`
- `WOBBLE BASS`
- `FX`
This matters because DnB arrangements get busy fast.
---
Step 2: Build the sub layer
The sub should be simple, stable, and nearly invisible as a “sound design” element. If the wobble layer is the personality, the sub is the foundation.
#### Option A: Wavetable
1. Load Wavetable on a MIDI track.
2. Set Oscillator 1 to a sine or near-sine waveform.
3. Turn off Oscillator 2 for now.
4. Lower Unison to 1 voice.
5. Play a note around F1, G1, or A1 depending on your tune.
#### Option B: Operator
Operator is excellent for clean sub.
1. Load Operator.
2. Use only Oscillator A.
3. Set it to sine.
4. Turn off the other oscillators.
5. Keep the output modest.
#### Helpful settings for the sub:
#### Add EQ Eight
On the sub track:
1. Add EQ Eight
2. Enable a high-pass filter very gently only if needed
- Usually 20–30 Hz
- Use a 24 dB/oct slope if your sub is too rumble-heavy
3. Do not scoop out the fundamental too much
#### Add Utility
1. Add Utility
2. Turn Width to 0% or use Bass Mono behavior through careful routing
3. Keep the sub centered
> Goal: a clean sub that peaks safely and doesn’t eat your headroom.
---
Step 3: Build the wobble bass layer
Now the fun part: the oldskool wobble movement.
#### Load a second instrument
Use either:
A great beginner choice is Wavetable because it gives you clean filter movement and modulation control.
#### Basic starting patch in Wavetable
1. Choose a saw or square/saw mix as the source.
2. Use 2 oscillators:
- Osc 1: Saw
- Osc 2: Slightly detuned saw or square
3. Detune lightly:
- keep it subtle, around 5–15 cents
4. Set voices to mono or legato
- This gives you that classic connected bass movement.
#### Add a filter
1. Set the filter to Lowpass 12 or Lowpass 24
2. Lower cutoff until the sound becomes darker and more controlled
3. Add a little resonance, but don’t overdo it
This gives you the classic “closed” wobble shape.
---
Step 4: Create the wobble movement with LFO
This is the core of the sound.
#### In Wavetable:
1. Find an LFO
2. Assign it to the filter cutoff
3. Set the LFO shape to a smooth sine or triangle
4. Sync the LFO to tempo
#### Suggested rates:
For oldskool DnB, start with 1/8. That usually gives a strong, musical pulse.
#### Make the wobble more musical
If you want more oldskool movement, try:
Keep this tasteful. In DnB, too much wobble can make the bass lose power.
---
Step 5: Add character without wrecking the mix
Oldskool bass has grit, but headroom is precious. Use controlled saturation, not brute force.
#### Add Saturator
On the wobble bass track:
1. Add Saturator
2. Start with:
- Drive: 2 to 6 dB
- Soft Clip: On
3. Adjust Output so volume matches before/after
This is important:
#### Add Redux only if needed
If you want a slightly rougher, more retro texture:
#### Optional: Auto Filter for dynamic tone control
Use Auto Filter if you want an external filter move instead of or alongside Wavetable modulation.
---
Step 6: Split sub and wobble for cleaner headroom
This is a big beginner win.
#### Best practice:
To do this:
1. On the wobble layer, add EQ Eight
2. Set a high-pass filter
3. Start around 80–120 Hz
4. Adjust by ear so the wobble doesn’t fight the sub
For classic DnB:
This is how you keep the bass sounding huge without overloading the master.
---
Step 7: Add a simple MIDI pattern
Use a bassline that supports the drums.
#### Starter 8-bar idea
Try a rhythm that answers the snare and kick.
Example feel:
In oldskool DnB, bass often works best when it:
#### Basic MIDI tips:
If you want a classic vibe, let the bass hit between drum accents rather than constantly on top of them.
---
Step 8: Manage headroom properly
This is the part many beginners skip, then wonder why the mix is distorted.
#### Follow these gain-staging targets:
#### Use Utility for volume control
Instead of pushing the instrument into red:
1. Add Utility
2. Lower Gain if needed
3. Keep the sound strong but not clipped
#### Watch the clip indicators
If any device or track is clipping:
A bass that sounds “big” in solo but kills the master is not a win.
---
Step 9: Add drum context so you mix the bass properly
DnB bass should always be judged with drums.
#### Build a simple drum loop:
Then check:
If yes:
---
Step 10: Arrange it like a DJ tool
Because this lesson is in the DJ Tools category, think in functional sections.
A good DnB DJ tool arrangement might be:
- drums only
- filtered bass hints
- full wobble bass
- remove sub
- add FX or filtered movement
- bring back full bass
- variation in the last 4 bars
- strip elements for mixing out
#### Arrangement trick
Automate:
This makes the track useful for DJs and keeps the energy moving.
---
Step 11: Optional Ableton stock device chain examples
Here are two practical chains you can use.
#### Clean sub chain
`Operator → EQ Eight → Utility`
Settings:
#### Wobble bass chain
`Wavetable → Saturator → EQ Eight → Utility`
Settings:
#### Dirtier oldskool chain
`Analog/Wavetable → Auto Filter → Saturator → Drum Buss → EQ Eight`
Use Drum Buss carefully:
---
4. Common mistakes
1. Making the wobble too wide
Oldskool DnB bass should usually stay centered and controlled.
Too much stereo width in the low end causes phase issues and weakens the club impact.
2. Distorting the sub
A bit of harmonic color is fine, but if the sub is heavily distorted, your headroom disappears quickly.
3. Letting the wobble cover the sub range
If both layers are fighting below 100 Hz, the mix gets muddy and loses punch.
4. Using too much LFO depth
If the filter is opening too far, the bass starts sounding uncontrolled instead of punchy.
5. Over-compressing on the master too early
Don’t “finish” the track while writing. Keep the master clean and headroom open.
6. Ignoring the drums
DnB bass is not a solo instrument. It must lock with the break and snare.
---
5. Pro tips for darker/heavier DnB
Use minor keys and low-register riffs
Try notes around:
Darker DnB often benefits from:
Add movement with automation, not just loudness
Automate:
Use resampling for character
Once your bass sounds good:
1. Record it to audio
2. Chop it
3. Reverse small hits
4. Re-layer it with the original
This is very useful for jungle and oldskool rolling bass styles.
Keep a mono sub and a dirty mid layer
This is the classic approach:
Use short ghost notes
Very short extra notes can make the bassline feel more alive without taking up too much space.
Check your mix at low volume
If the bass groove still works quietly, it will usually translate better on systems.
---
6. Mini practice exercise
Exercise: Build a 4-bar wobble bass loop
#### Goal
Create a bassline that sounds like a DJ-friendly oldskool DnB loop and leaves headroom.
#### Steps
1. Set tempo to 170 BPM
2. Program a simple drum loop with:
- breakbeat
- snare
- kick
- hats
3. Build:
- one sub layer
- one wobble layer
4. On the wobble layer:
- high-pass at 100 Hz
- LFO the filter at 1/8
- add mild Saturator
5. Write a 4-bar MIDI bassline with:
- 2 sustained notes
- 2 short syncopated notes
- 1 variation in the last bar
6. Export or bounce the loop and check:
- Does the master stay below clipping?
- Can you hear the bass clearly under the drums?
- Does the wobble feel rhythmic, not messy?
#### Stretch goal
Make two versions:
Compare them and choose the one that keeps the best low-end balance.
---
7. Recap
You’ve now built an oldskool DnB bass wobble in Ableton Live 12 while protecting headroom.
Remember the core formula:
If you focus on layering and gain staging, your wobble bass will hit hard without collapsing the mix. That’s the difference between a beginner patch and a proper DnB tool for real use on a system.
If you want, I can also give you:

