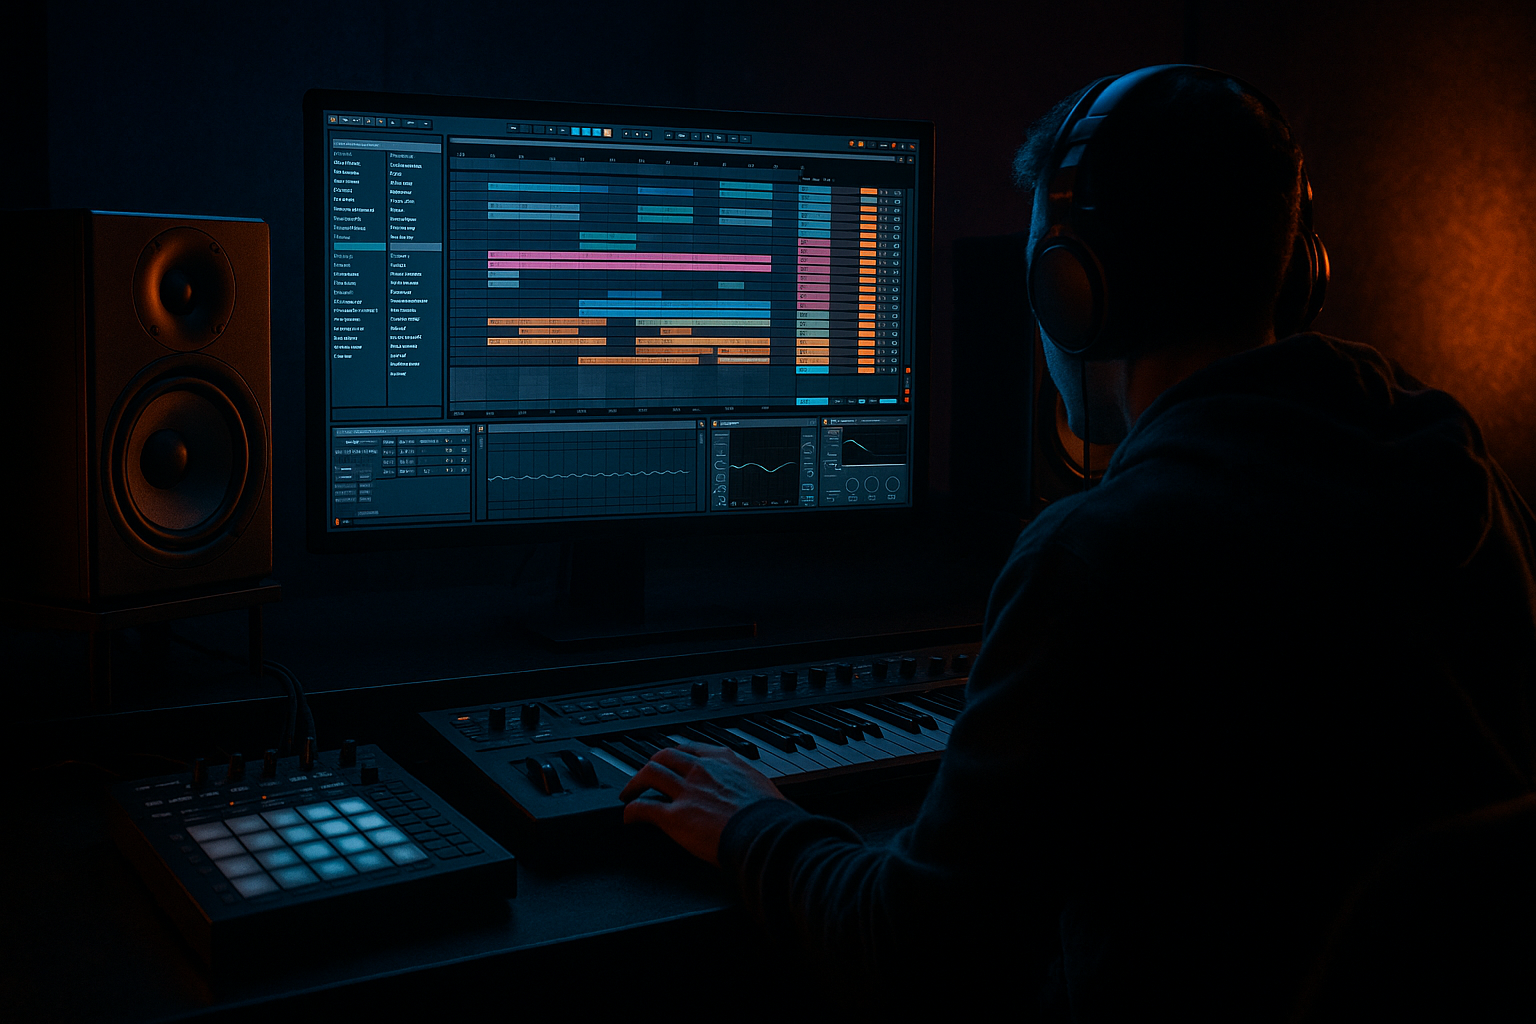
Main tutorial
Lesson Overview
In this lesson, you’ll build a warm, tape-style jungle breakbeat in Ableton Live 12 that feels authentic, musical, and ready for a DnB arrangement. The goal is not just to make a drum loop—it’s to make a foundation for a full tune: something that can sit under a sub, support a roller groove, or lead into a darker drop.
This matters because in Drum & Bass, the breakbeat is often the identity of the track. A strong break gives you:
- forward motion at fast tempos,
- character through groove and ghost notes,
- and enough texture to sound alive without overcrowding the mix.
- choosing the right source break,
- editing it into a loop with swing,
- adding warm saturation and gentle compression,
- and arranging it so it works in a real DnB context, not just as a loop.
- punchy kick and snare placement,
- chopped ghost notes and offbeat hats,
- warm, slightly worn tape-like grit,
- controlled low end for pairing with a sub bass,
- and simple variation that makes it feel like a real section of a track.
- a rolled jungle drum loop for 165–174 BPM,
- with enough swing to feel human,
- enough crunch to sound old-school,
- and enough clarity to work in a modern DnB arrangement.
- Audio track for your break sample
- Drum Rack or Audio track for extra drum layers
- Bass track
- Return tracks for reverb and delay if needed later
- Rename the track “Break”
- Color it something obvious
- Set your loop length to 1 bar
- Turn on the metronome while editing
- a strong snare backbeat,
- hi-hat chatter,
- and some natural room sound.
- If the break feels too busy, choose a loop where the snare is obvious and the ghost notes are audible.
- If the break feels too thin, choose one with more room tone and lower mids.
- Transients: choose a setting that preserves the attack
- Preserve: leave at default or reduce if the sample gets too choppy
- Try a warp marker only if the loop drifts
- right-click and use Slice to New MIDI Track if you want a Drum Rack workflow,
- or manually split clips in Arrangement View if you want a simpler audio-edit approach.
- Keep the main snare hits on beats 2 and 4
- Pull out a few ghost notes before and after the snare
- Leave the kick pattern intact unless it feels awkward
- Keep the main snare hit strong
- Add a tiny kick pickup before beat 2
- Add a ghost snare or hat just before beat 4
- Use one or two extra slices per bar, not ten
- Swing amount: 54–58%
- Timing: subtle, not extreme
- Random: low or off
- Keep the snare on-grid or almost on-grid
- Push some hats slightly late for laid-back grit
- Place one or two ghost hits slightly before the snare for tension
- Drum Buss
- Saturator
- optional EQ Eight
- Drive: around 5–15%
- Transients: small boost if the break is too soft, or reduce if it’s too sharp
- Boom: very light, or off for now
- Damp: adjust to tame harsh top end
- Drive: 1–4 dB to start
- Soft Clip: on if you want a rounded edge
- Use Analog Clip if the break needs more old-school bite
- High-pass only if needed, usually very gently
- Small cut around 3–6 kHz if the snare gets harsh
- Small dip around 200–400 Hz if the loop gets muddy
- Ratio: 2:1 to 4:1
- Attack: 10–30 ms for more punch
- Release: 50–120 ms
- Gain reduction: aim for only 2–4 dB
- Attack: 10 ms
- Release: Auto or around 0.3 s
- Keep gain reduction gentle
- a clean snare layer on beats 2 and 4,
- a subtle closed hat on offbeats,
- or a low, roomy kick layer for extra body.
- Low-pass the extra layer to avoid clashing with the main break
- Keep layered kicks mono
- Trim the tail of the layer so it doesn’t muddy the groove
- Automate a high-pass filter opening slightly over 8 bars
- Or add short hat fills at the end of every 4 bars
- Bars 1–4: stripped break, mostly kick/snare
- Bars 5–8: add ghost notes and hat detail
- Bars 9–12: add a fill or snare pickup
- Bars 13–16: full version with grit and variation
- Remove one kick on the last beat of bar 4 for tension
- Add a snare flam or quick ghost roll before bar 9
- Drop out the hats for half a bar before the bass enters
- Add a reverse cymbal or noise swell using Wavetable noise, Operator noise, or a sampled riser if you want a transition
- Keep the kick from dominating the sub region
- Avoid too much low-mid buildup in the break
- Check the loop in mono sometimes
- Make sure the snare remains clear without excessive brightness
- cut some low end from the break with EQ Eight
- shorten the kick tail
- reduce boom in Drum Buss
- Making the break too busy
- Over-saturating the drums
- Losing the groove by quantizing everything perfectly
- Too much low end in the break
- Adding too many layers too early
- Harsh snare after distortion
- Use call-and-response between break and bass
- Automate Drum Buss for variation
- Use filtered reverb sends, not huge wash
- Try short resampled fills
- Keep the kick and sub disciplined
- Use gentle stereo width carefully
- Tape-style grit should feel aged, not broken
- Version A: clean and sparse
- Version B: grittier with more ghost notes and saturation
- start with a break that already has character,
- chop it lightly for groove and identity,
- use swing and tiny timing shifts for movement,
- add stock Ableton warmth with Drum Buss, Saturator, and EQ,
- and arrange it in 4- or 8-bar phrases so it feels like a real DnB section.
We’ll focus on a beginner-friendly workflow using stock Ableton devices and composition choices that make the break feel like it has been sampled from tape, chopped, and played with intention. That means:
Why this technique matters: in jungle and darker DnB, the drums often carry the emotion and energy more than the melody does. A gritty, well-structured break can create tension, drive, and nostalgia all at once. If you get this right, the rest of the tune becomes much easier to build around.
What You Will Build
You will create a 1-bar or 2-bar jungle breakbeat loop in Ableton Live 12 with:
Musically, the result should feel like:
Think of it as the drum bed for a dark intro, a mid-track switch-up, or the first 8 bars of a drop before bass energy comes in.
Step-by-Step Walkthrough
1. Set the project up for DnB speed and workflow
Open a new Live set and set the tempo to 170 BPM as a good middle-ground for jungle and rollers. If you prefer slightly slower, 168 BPM works well for darker, heavier tunes.
Create these tracks:
For beginners, keep it simple: start with just one break sample track and build the loop first before adding extras.
Good loop-building starts with organization:
Why this works in DnB: fast tempos leave less room for loose timing. A clean setup helps you make decisions quickly and keeps the groove tight.
2. Choose a break that already has character
Drag in a classic-style break sample or any drum loop with clear kick, snare, and ghost note detail. You want something with:
For jungle and warm rollers, a break with a little dirt is better than a perfectly polished loop. If it sounds too clean, you can still make it work, but it will need more shaping.
Useful beginner filter:
Drag the loop into Arrangement View or Session View, then warp it if needed. For breaks, Beats mode is often a good starting point in Ableton Live:
Keep it musical, not perfect. Jungle thrives on a little instability.
3. Chop the break into pieces you can control
Duplicate the loop onto a new audio track or consolidate it after warping. Then start slicing.
In Ableton, you can:
For beginners, manual splitting is easiest:
Try this musical idea:
This gives you the “edited break” feeling without turning it into chaos.
Why this works in DnB: the listener hears the main backbeat first, then the tiny cuts and ghost notes create propulsion. That forward motion is a huge part of jungle energy.
4. Build the groove with swing, nudging, and note placement
Once your basic chopped loop is in place, focus on groove. In Ableton Live 12, use the Groove Pool with a light swing if needed.
Beginner-friendly groove settings:
If you’re editing audio clips, manually nudge some ghost notes slightly late. If you’re using MIDI in a Drum Rack, move certain hats or percussion notes a tiny bit off-grid.
Good timing choices:
This is where the break starts feeling like a performance instead of a loop.
Arrangement example: if your tune has a dark intro that leads into a drop, you can make the break start sparse for 4 bars, then increase the ghost-note density in bars 5–8. That gives the listener a clear lift before the drop.
5. Add warm tape-style grit with stock Ableton devices
Now we shape the tone. Put these on the break track or group:
Start with Drum Buss:
Then use Saturator:
If the break is too bright or brittle, use EQ Eight:
A warm tape-style effect is not about destroying the drums. It’s about shaving the edges, thickening the mids, and adding a bit of glue so the break feels sampled rather than sterile.
Why this works in DnB: jungle and darker DnB often need drums to feel aggressive but not digital-sounding. Saturation adds density that helps the break sit above the sub without needing excessive volume.
6. Control dynamics so the break feels glued, not crushed
Add Compressor after Saturator or Drum Buss if the break is uneven. Use it lightly.
Starter settings:
If the break pumps too hard, back off the ratio or slow the release. If it feels too flat, reduce compression and let the transients breathe.
You can also use Glue Compressor on a group if you layer multiple drum sounds together:
This step is important because jungle breaks can get messy fast. The goal is to keep the snare authoritative while letting the ghost notes move naturally.
7. Create a second layer for weight and character
To make the break hit harder, layer it with one extra element instead of overprocessing the original.
Good beginner options:
Use a separate Drum Rack pad or audio track and keep the layer quiet. You only need enough to support the break, not replace it.
Useful layering moves:
If you want a more modern neuro-adjacent feel, use a tiny bit of filtered percussion movement:
That gives your jungle break a more intentional arrangement arc.
8. Shape the arrangement like a real DnB section
Now turn the loop into a musical phrase.
A simple beginner arrangement for a jungle intro or first drop:
Use these arrangement ideas:
For DnB, this kind of phrasing matters because the drums often carry the listener through the structure before the bass drop lands. A small change every 4 or 8 bars keeps the section alive.
9. Make room for the bass
Even though this lesson is about the break, your drums need to leave space for the sub and reese later.
Quick bass-space rules:
If you already have a bass idea, bounce the break and bass together. If the low end feels crowded:
This is especially important for rollers and darker DnB, where the bassline and drums often trade space in a call-and-response relationship.
Common Mistakes
- Fix: keep the main snare anchors and use only a few ghost notes per bar.
- Fix: reduce Drive on Saturator or Drum Buss. You want warmth, not fizz.
- Fix: leave some slight timing imperfections, especially on hats and ghost notes.
- Fix: use EQ Eight to trim mud and keep the sub region clear for the bass.
- Fix: build from one strong break first, then add one support layer at a time.
- Fix: tame 3–6 kHz with a small EQ cut or reduce saturation drive.
Pro Tips for Darker / Heavier DnB
- Let the break fill the gaps while the bassline leaves space, then swap in a bass stab or reese hit on the empty beat. That creates movement without clutter.
- On the last 2 bars before a drop, slightly increase Drive or Transients, then pull them back at the drop for contrast.
- Send snare ghosts or fill hits to a reverb return with Reverb or Hybrid Reverb, then low-cut the return so it stays atmospheric, not muddy.
- Resample a 1-bar break into audio, then reverse or cut one hit for a quick transition. This works well in darker tunes where small edits feel more underground.
- If the bass is heavy, avoid a huge kick tail. Tight low-end separation is part of what makes modern DnB sound powerful.
- Keep the main break fairly centered. If you want width, use it on hats, ambience, or a parallel texture layer—not the low end.
- Think “slightly worn warehouse vinyl” rather than “distorted for the sake of it.” Subtlety often sounds more expensive in DnB.
Mini Practice Exercise
Spend 10–20 minutes making a jungle break that can sit in a drop:
1. Find one break sample and loop it at 170 BPM.
2. Chop out 2–4 ghost notes and place them before or after the snare.
3. Add Drum Buss and Saturator with light settings.
4. Use EQ Eight to remove harshness or mud.
5. Duplicate the loop and make one small variation in bar 2.
6. Mute the break and listen to only the bass space in your head: does the loop leave room for a sub?
7. Save the result as a new audio clip or rack preset.
Goal: make two versions of the same break:
This will train your ear for arrangement and texture, not just loop-making.
Recap
The key to a warm tape-style jungle break is:
Most importantly, keep it musical, controlled, and supportive of the bass. In Drum & Bass, the break is not just percussion—it’s part of the track’s personality.

