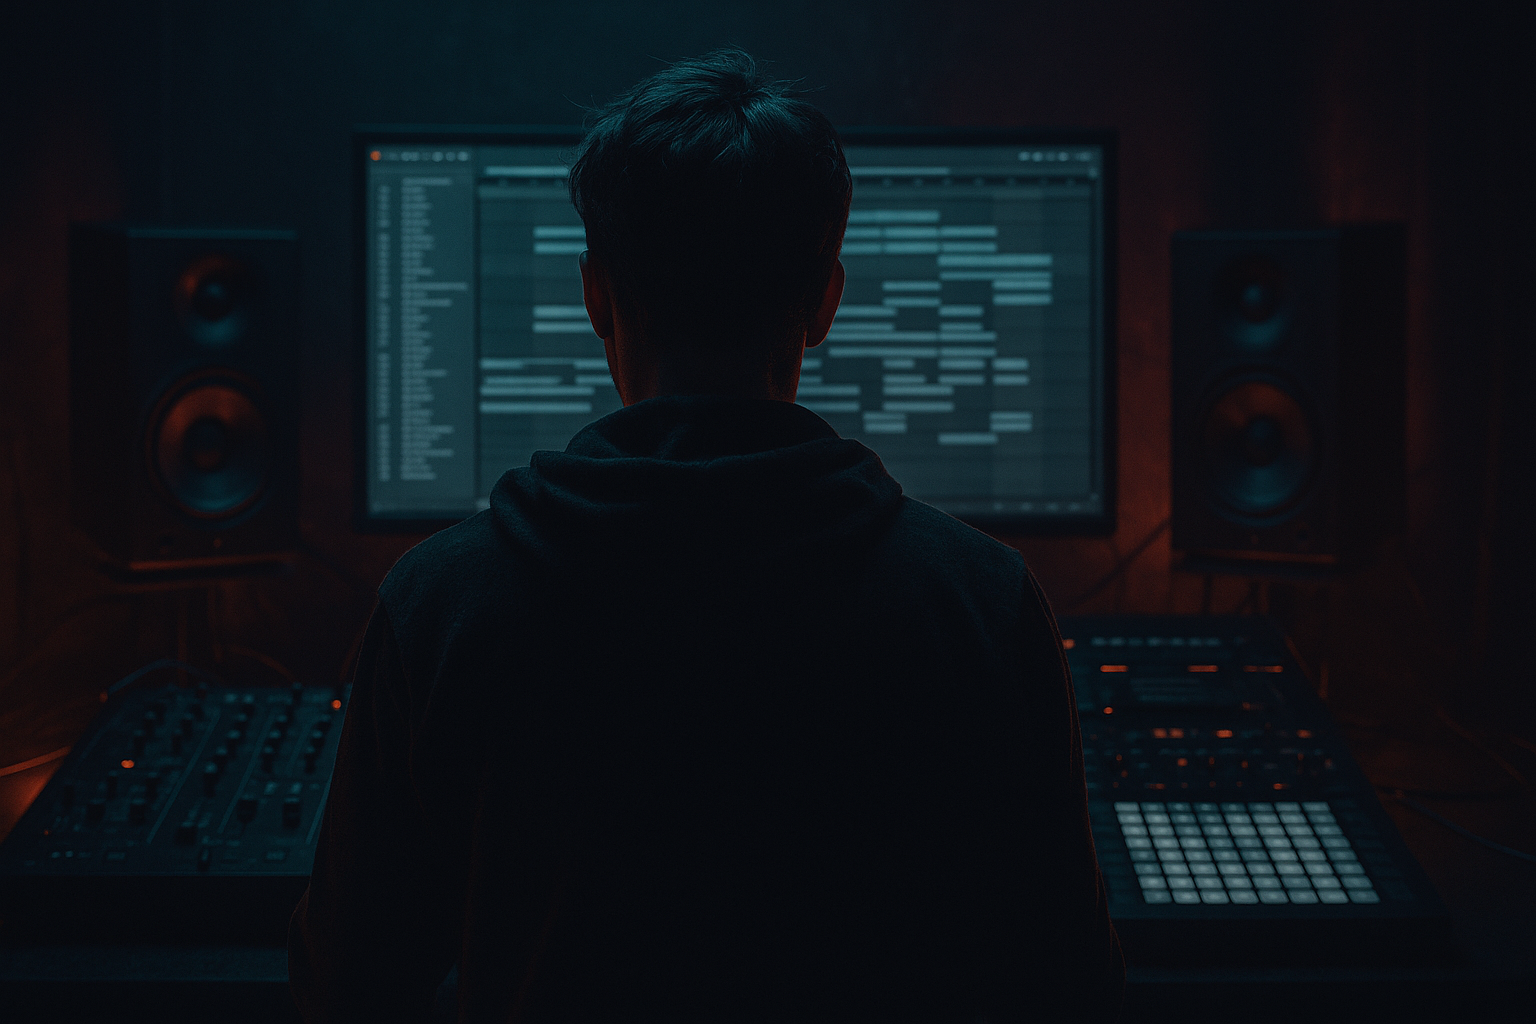
Main tutorial
Lesson Overview
In this lesson you’ll build a modern Amen-style chop in Ableton Live 12 and control it with macro mappings so the break can evolve across a DnB arrangement without constantly hand-editing MIDI. This is a classic jungle-to-neuro workflow: take an Amen or Amen-like break, slice it into playable pieces, then turn a simple drum rack into a performance-ready FX instrument that can go from tight roller groove to frantic switch-up to breakdown texture with a few macro moves. 🔥
Why this matters in Drum & Bass: the Amen is still one of the fastest ways to inject human swing, urgency, and historical weight into a track. But in modern DnB, you usually don’t want a raw loop repeating unchanged. You want controlled chaos: a chop that can be reshaped for build sections, 16-bar drops, fill bars, and half-time moments. Macro control is the key because it lets you automate the feeling of the break instead of editing every hit by hand.
This technique sits especially well in:
- Rollers: for subtle variation every 4 or 8 bars
- Jungle / breakbeat DnB: for classic chopped energy and ghost-note movement
- Darker / neuro-leaning DnB: for glitchy transitions, distortion throws, and tension
- FX role in a track: as a fill layer, transition chop, or ear-candy drum hook
- Slice selection / variation feel via note programming and rack layers
- Transient bite for hard drop energy
- Saturation and crunch for jungle grit
- Filter movement for tension and build-up
- Reverb/delay throws for fills and transition FX
- Stereo width / mono discipline for mix-safe placement
- Stutter / stop-start behavior for switch-ups and drum fills
- a tight 1-bar loop with ghost notes and shuffled hats for a roller,
- a 2-bar fill with rising filter tension into a drop,
- or a call-and-response drum hook where the Amen answers your bass phrase.
- Set your project to 172–176 BPM for modern DnB
- If using a full break sample, audition in Complex Pro or Beats mode depending on how much transient integrity you need
- Trim the clip so the main loop is clean and rhythmic
- Consolidate the best 1- or 2-bar section
- Transient slicing for performance-style edits
- 1/8 or 1/16 if you want more predictable rearrangement
- Warp markers only if absolutely needed; preserve the feel first
- Keep the kick/snare-heavy slices on adjacent pads for faster writing
- Rename important pads like “Amen Kick,” “Amen Snare,” “Ghost Hat,” “Tail,” so you can navigate faster later
- Main Amen slice
- Short clean transient layer from the same slice
- Optional foley tick or vinyl crack for top texture
- A low thump layer if the original kick lacks weight
- Drum Buss for weight and smack
- Saturator for harmonic grit
- EQ Eight for cleanup
- Utility for stereo control
- Drum Buss Drive: 5–15%
- Drum Buss Boom: keep subtle, around 10–25% if the break needs body
- Saturator Drive: 2–6 dB for medium grit; more if you’re doing a dirty jungle moment
- EQ Eight: high-pass unnecessary sub-rumble below 25–35 Hz; tame harshness around 4–7 kHz if the break gets brittle
- Auto Filter cutoff: 150 Hz to 14 kHz
- Reverb dry/wet: 0% to 18% for controlled FX
- Delay dry/wet: 0% to 12% for throws
- Utility width: 80% to 120% on top texture only; keep the core mostly mono
- Redux Downsample: use gently, or automate only in fills
- main rack = dry punch
- second chain = FX copy with reverb/delay/high-pass
- macro controls = blend the FX layer in when needed
- Auto Filter high-pass sweeping from 120 Hz up to 1.5 kHz
- Echo with 1/8 or dotted 1/8 feedback for tail movement
- Reverb with short decay for metallic smear
- Overdrive or Saturator before the filter for grit
- Echo feedback: 15–35%
- Echo filter: roll off lows below 250 Hz and highs above 8–10 kHz
- Reverb decay: 0.8–1.8 s for drum space, not a wash
- Auto Filter resonance: moderate, around 0.3–0.6, to keep the sweep audible but not whistle-like
- 1-bar groove for the main loop
- 2-bar variation for movement and conversation with the bass
- Kick on the downbeat slice
- Snare on the backbeat slice
- Ghost hits around the off-beats
- A fill or pickup in the last 1/4 bar
- Bars 1–4: straightforward roller version with subtle movement
- Bars 5–8: introduce a higher-passed FX layer or slight stutter
- Bars 9–12: add a snare drag or extra ghost note before the drop repeat
- Bars 13–16: filter open, then strip back for the next section
- Intro: low macro values, filtered, minimal width
- Pre-drop: increasing tension, delay throws, and transient snap
- Drop: dry and punchy, with only occasional fill moments
- Switch-up: sudden crush or space spike for 1 bar
- Breakdown: wider, more filtered, more atmospheric
- Automate Tension from 20% to 80% over 4 or 8 bars
- Push Crush only on the last beat of a fill
- Open Tone slowly in the last 2 bars before the drop
- Snap Width back to narrower values during the heaviest sections for mix safety
- Mono check the low end and main drum body
- High-pass the FX copy so low frequencies don’t stack up with the sub
- Make sure the snare transient still cuts through the bass layer
- Keep anything below about 120–150 Hz out of the FX layer
- If the break is clashing with the snare, cut a little around 180–250 Hz or 2–4 kHz depending on the problem
- Use Utility to check mono compatibility on the main chop
- Leave headroom if the rack gets saturated; the goal is impact, not accidental limiting
- Over-processing the main chop
- Too much stereo width on the break body
- Using every slice
- Letting reverb wash out the backbeat
- Ignoring bass interaction
- Flattening the break with too much grid alignment
- Use saturation before filtering
- Drive the transients, not the whole loop
- Automate a one-bar “panic” fill
- High-pass the FX throw aggressively
- Use subtle pitch or sample offset variation
- Keep the core backbeat stable
- Resample the best macro move
- Slice an Amen-style break into a Drum Rack and treat it like an instrument.
- Use macros to control the most important FX and tone changes.
- Keep the core chop dry, punchy, and mostly mono.
- Use a parallel or secondary FX layer for space, delay, distortion, and tension.
- Automate macro movement across phrases so the chop supports arrangement energy in a DnB track.
- Prioritize groove, contrast, and bass compatibility over busy editing.
We’ll use stock Ableton Live 12 devices only, with emphasis on practical routing, macro mapping, and mix-safe processing.
What You Will Build
By the end, you’ll have a Drum Rack-based Amen chop instrument with macro controls that can shape:
Musically, this can sound like:
The goal is not just “make breakbeat.” The goal is to make a break that behaves like a produced instrument in a DnB arrangement.
Step-by-Step Walkthrough
1) Choose and prep your Amen source
Start with a clean Amen-style source: an actual Amen break, a similar 160–175 BPM break, or a well-sampled vintage break with strong ghost-note detail. Drag it into an audio track in Ableton Live 12 and warp it only enough to fit the project tempo. For a 174 BPM DnB session, keep the source as natural as possible and avoid over-stretching if the break already sits close.
Practical setup:
Good workflow choice: if the break sounds too flat, duplicate the clip and process one copy lightly for body, another for top-end texture. You can later layer them in a rack.
Why this works in DnB: a break with real ghost-note detail gives you the micro-timing and internal swing that MIDI drum programming often misses. That’s the “human glue” behind jungle and rolling DnB.
2) Slice the break into a Drum Rack
Right-click the audio clip and choose Slice to New MIDI Track. For a chop workflow, use:
Ableton will create a Drum Rack with each slice mapped to pads. Now you can program new patterns from the original break pieces instead of looping the audio as-is.
Suggested move:
Intermediate tip: don’t aim to use every slice. The strongest Amen edits usually come from just a few core pieces plus selective ghost notes. Too many slices can make the rhythm feel busy without feeling better.
3) Build a “control-first” Drum Rack with layers
Now make the rack behave like an instrument. In the Drum Rack, layer a few useful sounds onto the same trigger lane or across adjacent pads:
On the pad chain, add Simpler or keep the sliced sample chain, then process with:
Concrete settings to try:
This stage is about creating a rack that already sounds like a record before macro motion even begins.
4) Map the macros to the most useful FX moves
Now comes the core of the lesson: use Instrument Rack macros to control the most musical and practical changes in the chop. Group your Drum Rack into an Instrument Rack if needed, then map these to macros:
1. Tone → EQ Eight filter frequency
2. Crush → Saturator drive or Redux amount
3. Space → Reverb dry/wet
4. Throw → Delay dry/wet
5. Snap → Drum Buss transient / drive
6. Width → Utility width, or a subtle Auto Pan for top texture
7. Tension → Auto Filter cutoff
8. Motion → Auto Pan rate/depth or beat repeat-style stutter elsewhere in the chain
Concrete macro ranges:
Important routing choice: keep your core drum chop dry and centered, then feed your effects from parallel layers or send chains. If you put too much reverb directly on the main chop, the groove can lose punch. A cleaner method is:
This is where the instrument starts becoming a performance tool instead of just a loop.
5) Create a reusable FX layer for fills and transitions
For DnB, the Amen chop often works best when it becomes an FX moment only at the right times. Create a second chain inside the rack or duplicate the track and process it as a “throw” version.
Useful FX chain:
Suggested settings:
Map one macro to switch this chain from almost invisible to obvious. For example, set Space so that 0–50% barely adds ambience, and 50–100% becomes a clear fill effect.
Why this works in DnB: the drop needs contrast. A drum fill that opens up into a filtered, echoed Amen edit creates a strong pre-drop tension/release arc without needing a huge riser.
6) Program a 1-bar and 2-bar version of the chop
Open the MIDI clip and program two states of the pattern:
A strong pattern might include:
Try this arrangement logic:
Musical context example: if your bassline is a sub-heavy call-and-response roller, let the Amen chop answer the bass phrase at the end of every 2 bars. If the bass is aggressive and syncopated, keep the chop simpler so the groove doesn’t turn into rhythmic clutter.
7) Automate macros like a performer, not a technician
Now automate the rack macros across the arrangement. Think in phrases:
Practical automation moves:
If you’re working in Session View, map macros to a controller and record the movement live. This is especially effective for jungle-style arrangement decisions because you can perform tension in real time and keep the edits musical.
8) Blend the chop with your bass and drums
Now test the chop against the rest of the track. In DnB, the Amen chop should not fight the kick/sub relationship. The most useful checking points:
Concrete mix guidance:
Why this works in DnB: fast tempos make clutter obvious. A break chop that’s macro-controlled but mix-disciplined can stay energetic without masking the sub or flattening the drop.
Common Mistakes
- Fix: keep the core dry, and put dramatic FX on a parallel chain or automation layer.
- Fix: keep the main kick/snare/ghost foundation mostly mono. Use width only on top texture, shakers, or FX returns.
- Fix: choose fewer slices and repeat with intention. The Amen is about groove and feel, not constant complexity.
- Fix: shorten decay, high-pass the reverb return, or automate wetness only at fills.
- Fix: test the chop against the sub and reese immediately. If the groove feels impressive solo but messy with bass, simplify the chop.
- Fix: keep some natural offsets and ghost-note swing. Quantize lightly, not aggressively.
Pro Tips for Darker / Heavier DnB
- A little Saturator or Overdrive before an Auto Filter makes the movement more audible and aggressive.
- Use Drum Buss on the core hits and leave ghost notes more natural so the break still breathes.
- At the end of 8 or 16 bars, spike Crush and Space together for a single bar, then snap back to dry. That contrast hits hard in dark rollers.
- If you’re using delay/reverb as a tension layer, remove low-end so it doesn’t smear the sub. This keeps the track heavy instead of muddy.
- Slightly different Amen slice layers can create the unstable, torn texture that suits neuro and darker jungle without sounding random.
- Heavy DnB works because the listener can feel the anchor. Let the top layer move while the main snare/kick stays reliable.
- Once you find a great fill or switch-up, resample it to audio. That lets you chop it further and treat it like an original transition asset.
Mini Practice Exercise
Spend 10–20 minutes building a mini performance-ready chop:
1. Find a 1-bar Amen-style break and slice it into a Drum Rack.
2. Build a rack with at least 4 macros: Tone, Crush, Space, Tension.
3. Program a basic 1-bar loop with kick, snare, and 2–3 ghost hits.
4. Automate the macros over 4 bars:
- Bar 1: dry and tight
- Bar 2: slightly more tone movement
- Bar 3: increase crush and tension
- Bar 4: add a short reverb/delay throw for a fill
5. Add a bassline or sub pulse underneath and check the groove in mono.
6. Resample the 4-bar result and listen back. Decide whether the chop feels better as:
- a main groove layer,
- a fill tool,
- or a transition FX asset.
Goal: by the end, you should have one chop that can evolve in arrangement without rewiring the whole beat.
Recap
If you can make the Amen feel alive with just a few well-chosen macros, you’re already thinking like a proper Drum & Bass producer.

