Main tutorial
Breakbeat in Ableton Live 12: Stack It with Crunchy Sampler Texture 🥁🔥
1. Lesson overview
In this lesson, you’ll learn how to take a breakbeat in Ableton Live 12 and make it feel bigger, dirtier, and more alive by stacking it with crunchy sampler texture.
This is a classic drum and bass / jungle production move:
- keep the original break’s energy and swing
- layer in a second “texture” layer for grit, body, and movement
- use automation to make the texture evolve across the arrangement
- Drum Rack
- Simpler or Sampler
- EQ Eight
- Saturator
- Auto Filter
- Redux
- Compressor
- Utility
- Reverb or Hybrid Reverb
- automation lanes in Arrangement View
- a main breakbeat loop with punch and groove
- a crunchy texture layer underneath or on top
- controlled automation that opens and closes the texture
- a loop that feels more like modern DnB / jungle / rolling bass music rather than a plain drum loop
- dusty Amen-style energy
- chopped break with grit
- crispy top layer that brings excitement
- dark, pressured drum pressure for a bass track
- Amen break
- Think break
- any old-school funk break
- a modern DnB break loop with clear transients
- High-pass gently around 30–40 Hz
- Cut a little mud around 200–400 Hz if needed
- If the hats are harsh, tame slightly around 7–10 kHz
- Ratio: 2:1 or 3:1
- Attack: 10–30 ms
- Release: Auto or around 100 ms
- Aim for just a few dB of gain reduction
- Turn on Soft Clip
- Drive: 2–6 dB
- Keep an eye on output level
- vinyl crackle
- noise
- tiny percussion hits
- resampled hats
- a chopped ghost break
- Bits: 8–12
- Sample Rate: lower it until you hear grit, but don’t destroy the rhythm
- Dry/Wet: 20–50%
- Drive: 3–8 dB
- Soft Clip: On
- Curve: default is fine to start
- Filter type: Low-pass or Band-pass
- Resonance: slight to moderate
- Frequency: start around 2–6 kHz for a top texture, or lower for a murkier layer
- High-pass around 150–300 Hz
- Cut harsh resonances if needed
- If the texture is too loud in the sibilant area, reduce a bit around 8–12 kHz
- Copy the break’s MIDI or audio rhythm
- Slice the break into hits using Slice to New MIDI Track
- Trigger only selected slices:
- keep the main break loop running
- add texture hits on top at specific points
- leave gaps so the groove breathes
- Auto Filter frequency
- Redux sample rate
- Saturator drive
- Track volume
- Reverb dry/wet
- Utility width
- Send amount to a return track
- Bar 1: filter around 500 Hz
- Bar 5: filter opens to 8 kHz
- During the first 3 beats of a bar: moderate crunch
- On beat 4: more drive and bite
- Then pull it back for the next bar
- the last half of a bar before the snare
- the last beat before a drop
- every 4th bar to keep motion
- Reverb Dry/Wet: 100%
- Decay: 1.2–2.5 s
- High-pass the return with EQ Eight
- Low-pass around 6–10 kHz if needed
- chopped top breaks
- reversed fragments
- metallic hits
- snare ghosts
- Bars 1–4: main break only, filtered texture barely audible
- Bars 5–8: bring texture in, open filter slightly
- Bars 9–12: increase crunch and add a few extra chops
- Bars 13–16: automate a stronger filter opening or reverb throw into the drop
- subtle in verses
- stronger before fills
- widest and crunchiest before drops
- reduced again when the bass comes in hard
- start with a strong break
- clean it up with EQ, compression, and saturation
- build a second texture layer using Simpler, Redux, Saturator, and Auto Filter
- automate filter, drive, volume, and send effects to keep it moving
- keep the low end clear for the bass
We’ll stay beginner-friendly, but the result will sound properly DnB-ready if you follow the steps carefully.
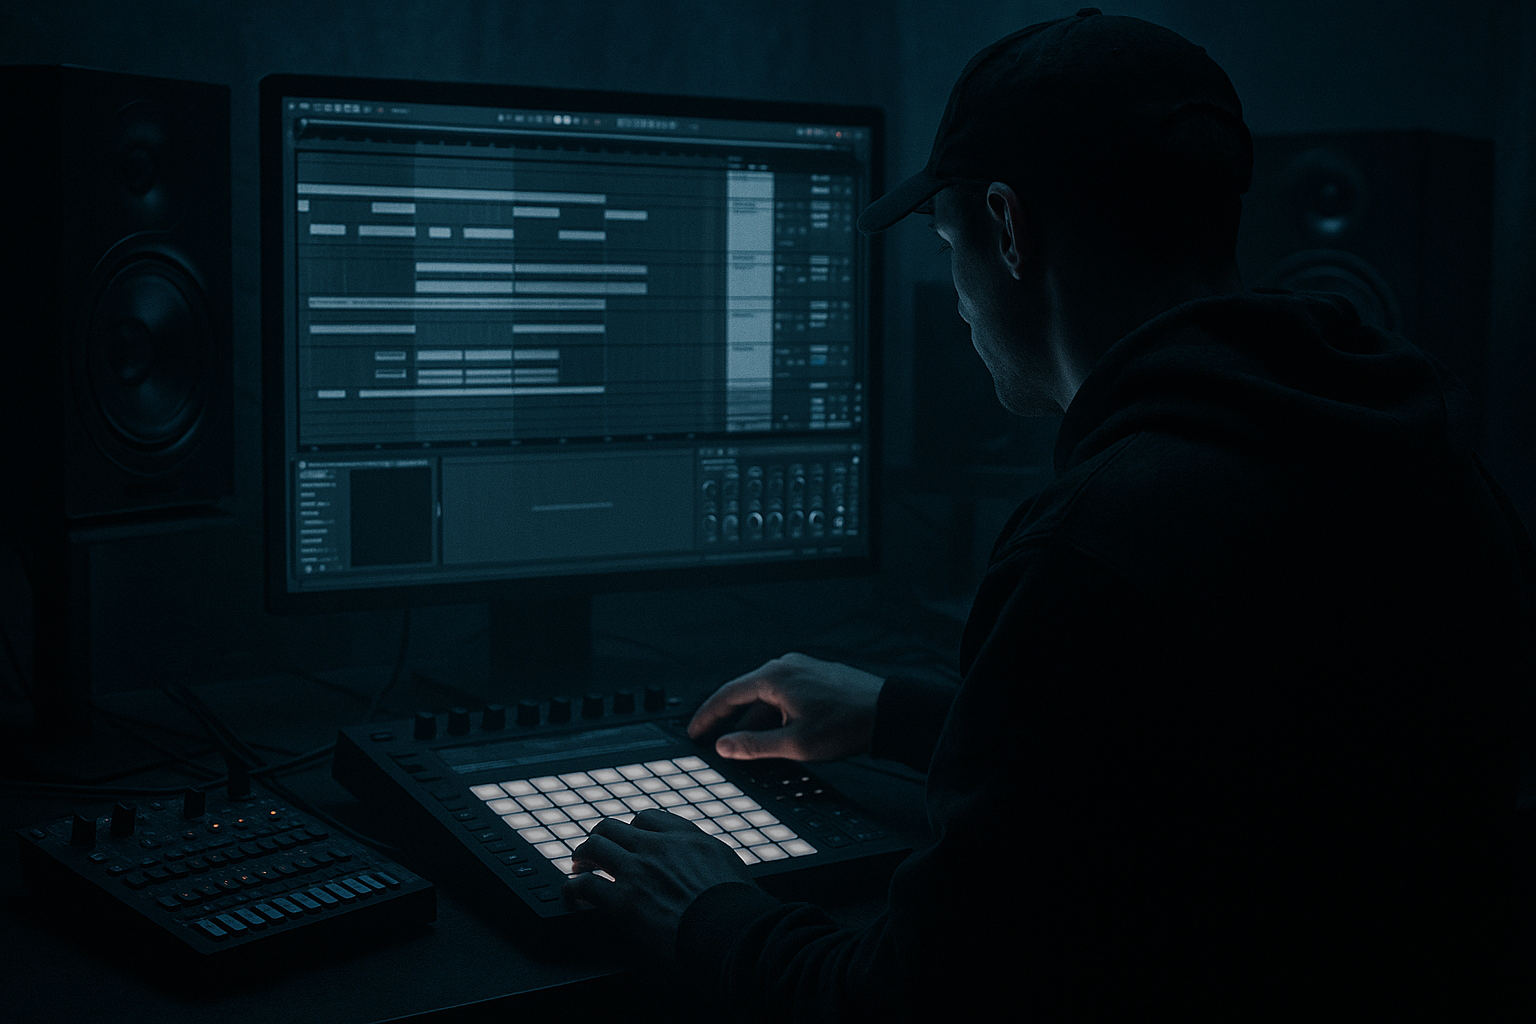
You’ll use stock Ableton devices like:
---
2. What you will build
By the end, you’ll have:
Sound goal
Think:
---
3. Step-by-step walkthrough
Step 1: Find or create your breakbeat
Start with a breakbeat that already has good groove.
Good choices:
In Ableton:
1. Drag your break sample into an Audio Track.
2. Set the project tempo to something like 170 BPM for drum and bass.
3. Warp the break so it sits tightly in time.
4. Use Complex Pro or Beats warp mode depending on the sample:
- Beats for punchy drum loops
- Complex Pro if the break sounds more natural and you want smoother stretching
Beginner tip:
If the break starts sounding too smudged, simplify it. A solid 1-bar or 2-bar loop is enough.
---
Step 2: Make the break hit harder with basic cleanup
Before stacking anything, make the main break clean and punchy.
Add these devices to the break track:
EQ Eight → Compressor → Saturator
#### EQ Eight
#### Compressor
Use light compression:
This helps the break feel more glued before you layer texture.
#### Saturator
This gives the break more density and makes it sit better in a DnB mix.
---
Step 3: Build the crunchy sampler texture layer
Now for the fun part 😈
You are going to create a second layer using a sampler device and process it so it adds grit, dust, and excitement.
Option A: Use the same break, resampled
This is often the best method for jungle-style texture.
1. Duplicate the break track.
2. On the duplicate, keep only a short slice of the break or even the full loop.
3. Put Simpler on the duplicate track if needed, or just work with the audio clip.
4. Make it sound more degraded and textural.
Option B: Use a separate one-shot or chopped noise layer
You can also use:
This works if you want a more modern layered DnB top texture.
---
Step 4: Turn the layer crunchy with stock devices
Add this device chain to the texture track:
Simpler/Audio Clip → Redux → Saturator → Auto Filter → EQ Eight
Recommended settings:
#### Redux
This is the main “crunch” device.
This adds digital edge and a classic broken-up texture.
#### Saturator
This thickens the texture and helps it poke through.
#### Auto Filter
Use this to shape the texture and automate movement.
#### EQ Eight
Important:
This texture layer should usually not compete with the main break’s kick/snare fundamentals. It should enhance the feel, not replace the core.
---
Step 5: Layer the texture rhythmically
Now make the layer groove with the break.
Practical methods:
- hats
- ghost snares
- chopped transient bits
- little glitch fragments
Beginner-friendly approach:
1. Right-click the break clip.
2. Choose Slice to New MIDI Track.
3. Slice by:
- transients
- warp markers
- 1/8 notes if needed
4. Use the resulting Drum Rack to trigger selected pieces.
Now you can:
That breathing room is very important in drum and bass.
---
Step 6: Use automation to make the texture evolve
This is the main lesson focus: automation.
A static texture layer is okay, but an automated one sounds much more alive.
Best automation targets:
---
Automation move 1: Filter opening on transitions
This is perfect for build-ups or 8-bar sections.
#### How to do it:
1. In Arrangement View, press A to show automation.
2. Select the texture track.
3. Automate Auto Filter Frequency.
4. Start with a lower frequency, then open it over 4 or 8 bars.
#### Example:
This creates a rising sense of energy without needing extra sounds.
---
Automation move 2: Crunch increase into the snare
For a heavier impact, automate Redux sample rate or Saturator Drive to rise just before a snare hit.
#### Example:
This gives the drop a “push” without cluttering the whole arrangement.
---
Automation move 3: Volume swells for ghost textures
If your texture is noisy or busy, automate the track volume so it appears in short moments.
#### Good spots:
This is a strong DnB technique because it keeps the mix tight but exciting.
---
Automation move 4: Reverb throws on select hits
Create a Return Track with Reverb or Hybrid Reverb.
#### Suggested return setup:
Then automate send amount from the texture layer on only a few hits.
This works great on:
Just don’t drown the break in reverb. DnB needs punch.
---
Step 7: Arrange the stack like a real DnB track
A good arrangement makes even a simple loop feel like a full track.
Example 16-bar structure:
Useful arrangement idea:
Use the texture layer as a transition enhancer:
That keeps the low end clear for your reese, sub, or rolling bass.
---
4. Common mistakes
1. Making the texture too loud
If the crunchy layer is louder than the main break, the groove gets messy.
Fix: lower the texture track and use automation to highlight moments instead of leaving it full blast.
---
2. Letting the texture clash with the kick and snare
A gritty layer can mask the transients if it overlaps too much in the low mids.
Fix: use EQ Eight to high-pass the texture and cut muddy frequencies.
---
3. Overdoing Redux
Too much bit reduction can make the drums feel weak instead of gritty.
Fix: use smaller amounts and automate it. Subtle often sounds more professional.
---
4. Not leaving space for the bass
DnB depends on a strong low end. If your break stack is too thick down low, the bass will disappear.
Fix: high-pass both the texture and sometimes the break if needed. Keep the sub region clean.
---
5. No automation
A static texture loop can work, but it won’t feel like modern DnB production.
Fix: automate filter, drive, or volume so the texture moves with the arrangement.
---
5. Pro tips for darker/heavier DnB
Tip 1: Layer a dark noise texture
Add a very low-volume noise layer under the break and automate a band-pass filter. This creates tension and atmosphere for darker jungle sections.
Tip 2: Use short reverb, not huge wash
For heavier DnB, keep the reverb tight and controlled. Think room texture, not cinematic cloud.
Tip 3: Crush only the top layer
If you want the drums to stay punchy, keep your main break relatively clean and apply more destruction to the texture layer only.
Tip 4: Resample the result
Once your stack sounds good, record it to audio and then chop it again. This is a classic jungle workflow and can produce great accidental fills.
Tip 5: Try parallel distortion
Use a Return Track with Saturator or Overdrive, then send the break texture to it. This gives you aggression without ruining the dry punch.
Tip 6: Automate the texture on fills only
For darker tracks, a texture that appears mainly in fills can feel much more powerful than a constantly busy top layer.
---
6. Mini practice exercise
Try this quick exercise in Ableton Live 12:
Goal:
Build an 8-bar breakbeat loop with one automated crunchy texture layer.
Steps:
1. Load a breakbeat at 170 BPM.
2. Duplicate it or create a chopped texture layer.
3. Add this chain to the texture:
- EQ Eight
- Redux
- Saturator
- Auto Filter
4. High-pass the texture at 200 Hz.
5. Set Redux to around 10 bits and 30% wet.
6. Automate the Auto Filter frequency from 1 kHz to 8 kHz over 8 bars.
7. Automate the texture volume so it is:
- quiet in bars 1–2
- medium in bars 3–6
- loudest in bars 7–8
8. Add a short Reverb send to only the last snare of the loop.
Challenge:
Make it feel like the texture is “waking up” as the loop progresses.
If it sounds too busy, reduce the layer by 30% and cut more low mids.
---
7. Recap
You’ve just learned how to stack a breakbeat with crunchy sampler texture in Ableton Live 12 for a proper drum and bass / jungle feel.
Key takeaways:
This technique is simple, powerful, and very usable in real DnB production. Once you master it, your breakbeats will sound more detailed, more aggressive, and more like a finished record 🎛️🥁
If you want, I can also turn this into:
1. a visual Ableton device-chain cheat sheet, or
2. a follow-along mini project for a 16-bar DnB loop.

