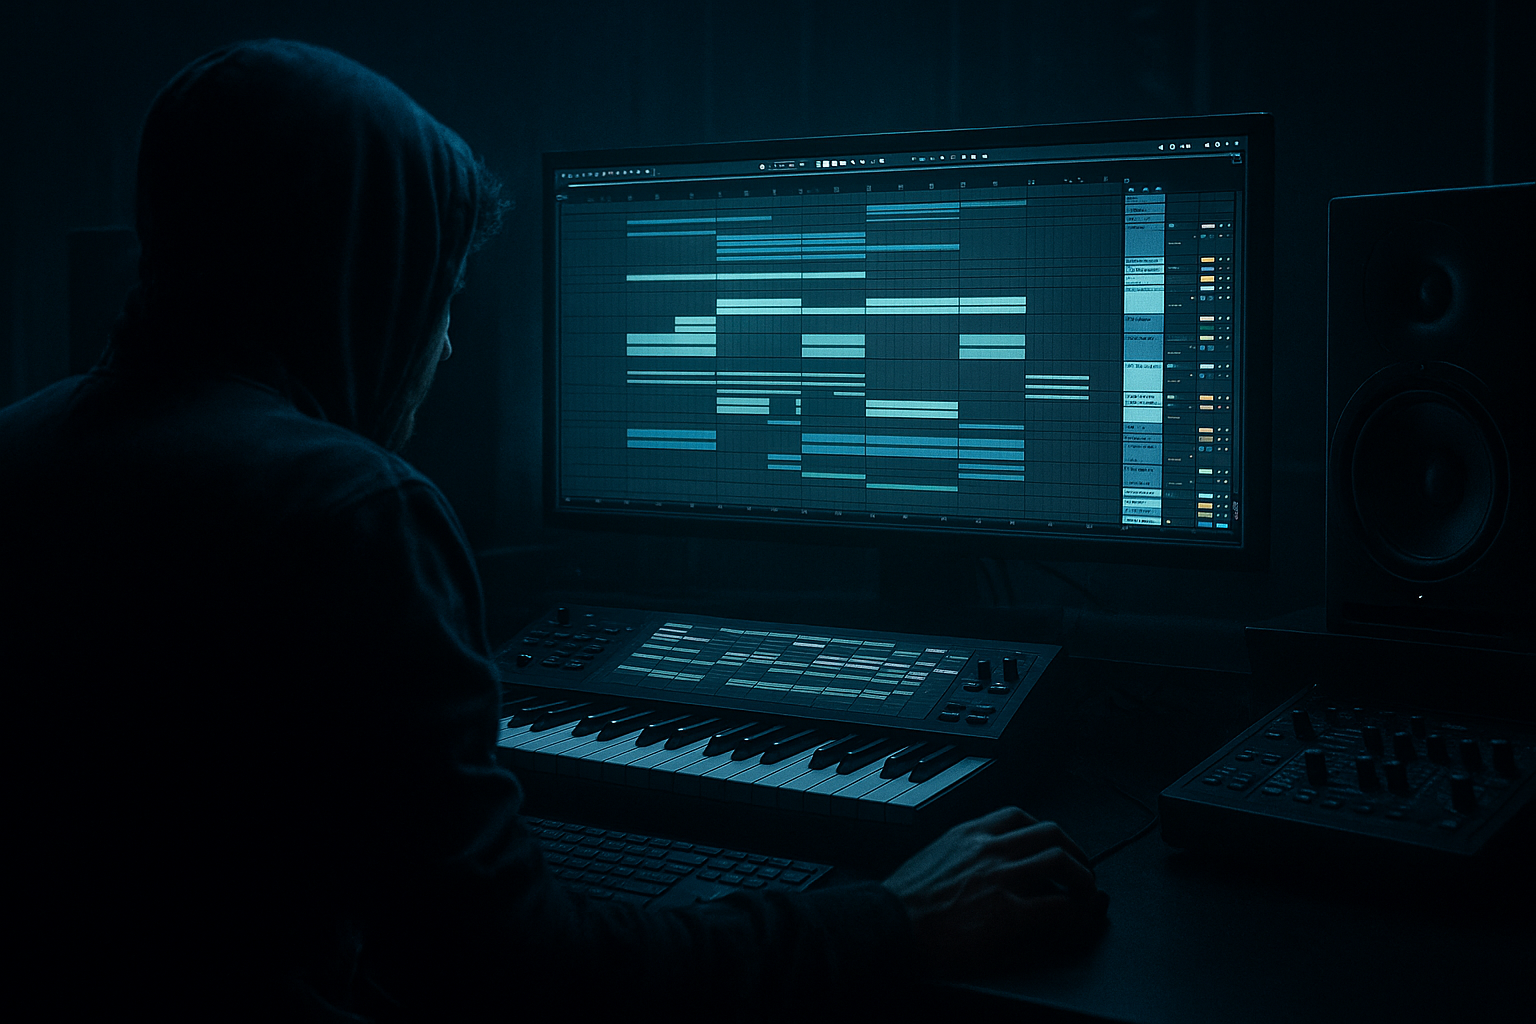
DNB COLLEGE

Drum & Bass Ableton Live 12 Tutorials

LESSON DETAIL

Breakbeat color breakdown with minimal CPU load in Ableton Live 12 (Intermediate)

An AI-generated intermediate Ableton lesson focused on Breakbeat color breakdown with minimal CPU load in Ableton Live 12 in the Automation area of drum and bass production.

Back to lessons
Breakbeat color breakdown with minimal CPU load in Ableton Live 12 (Intermediate) cover image

Narrated lesson audio

The voice track includes the tutorial plus extra teacher commentary.

Open audio file

Main tutorial

```markdown

Breakbeat Color Breakdown with Minimal CPU Load (Ableton Live 12) 🎛️🥁

Skill level: Intermediate

Category: Automation

Context: Drum & Bass / Jungle / Rolling Breakbeat music

---

1) Lesson overview

A “color breakdown” is a breakdown where the drums don’t just stop—they morph: filtering, space, texture, bit reduction, ghost hits swelling in, and the break getting “washed” then snapping back into the drop.

In DnB, this is gold because you keep momentum while creating contrast. In Ableton Live 12, you can do this with almost no CPU hit by:

  • Using Return tracks for heavy effects (instead of inserting on every channel)
  • Automating one macro (or one Utility gain) instead of a dozen devices
  • Freezing/flattening at the right time
  • Using stock devices efficiently
  • ---

    2) What you will build

    A breakdown section (8–16 bars) where your breakbeat transitions through three distinct “colors”:

    1. Tight + filtered (energy controlled)

    2. Wide + washed (space + movement)

    3. Crunch + tension (grit + “old tape/rave” vibe)

    Then it snaps back clean into the drop with a tight transient and restored low-end.

    You’ll create:

  • A Break Bus (group)
  • 2 Return tracks: Space Wash and Crunch Parallel
  • A single automation lane that drives most of the drama
  • Minimal CPU, maximum vibe.

    ---

    3) Step-by-step walkthrough

    Step 0 — Prep your break like a DnB producer

    1. Load a break (Amen, Think, Hot Pants, or your own chop) onto an Audio Track.

    2. Set warp:

    - Warp Mode: `Complex Pro` is often too CPU heavy for drums. Use:

    - `Beats` mode (best for breaks)

    - Transient Loop Mode: `Transient`

    - Preserve: `Transients`

    - Adjust Envelope (in Beats mode): start around `20–40` for a crisp but not clicky tone.

    3. Group your drums: select break + any top loops → `Cmd/Ctrl + G` → name it BREAK BUS.

    ✅ CPU note: Beats warp is light and punchy—perfect for jungle-style breaks.

    ---

    Step 1 — Build minimal-CPU “Color Engine” using Returns

    We’ll keep the BREAK BUS mostly clean and do the heavy lifting in Returns.

    #### Create Return A: “SPACE WASH” 🌌

    On Return A, load (in this order):

    1. EQ Eight

    - HP filter at `200–350 Hz` (12 or 24 dB slope)

    - Optional dip around `2.5–4 kHz` if the reverb gets harsh

    2. Hybrid Reverb (stock, sounds huge)

    - Mode: `Convolution + Algorithm` (or only Algorithm if CPU is tight)

    - Size: `Medium/Large`

    - Decay: `2.5–5.5 s` (depending on tempo/space)

    - Predelay: `15–35 ms` (keeps transients from smearing)

    - High Cut: `7–10 kHz` for dark DnB space

    - Low Cut: `250–450 Hz`

    3. Delay (stock “Delay” device)

    - Set to Ping Pong

    - Time: `1/8` or `3/16` (try dotted feels for jungle swing)

    - Feedback: `15–30%`

    - Filter: roll off lows below `300 Hz`

    4. Utility

    - Width: `120–160%` (only on the return, not the dry break)

    Return A stays at 0 dB (default). You’ll automate send amounts, not return faders.

    ---

    #### Create Return B: “CRUNCH PARALLEL” 🔥

    On Return B, load:

    1. Redux

    - Bit Reduction: `8–12` bits (start at 10)

    - Downsample: `2–6` (start at 3)

    - Soft Clip: `On` (if available in device options; otherwise clip later)

    2. Saturator

    - Mode: `Analog Clip` or `Soft Sine`

    - Drive: `2–6 dB`

    - Soft Clip: `On`

    - Output: reduce to match level

    3. EQ Eight

    - HP at `120–200 Hz` (keep sub clean)

    - Slight boost around `1.5–3 kHz` if you want snare crack to bite

    4. Compressor (optional, light)

    - Ratio: `2:1`

    - Attack: `10–30 ms`

    - Release: `80–150 ms`

    - Gain Reduction: aim `2–4 dB`

    ---

    Step 2 — Set up macro-style control with minimal automation lanes

    You’ll automate mostly one thing: the send(s) on the BREAK BUS.

    #### On your BREAK BUS track:

  • Turn up Send A (Space Wash) slightly: `-20 to -14 dB` as a starting point.
  • Turn up Send B (Crunch) slightly: `-24 to -18 dB`.
  • Now, in the breakdown you will automate:

  • Send A rising (more wash)
  • Send B rising near the peak (more crunch)
  • Optionally one filter on the BREAK BUS
  • ✅ Minimal CPU & clean workflow: automating sends is cheap and fast.

    ---

    Step 3 — Add a single “DJ-style” filter on the BREAK BUS

    On BREAK BUS, insert:

    Auto Filter

  • Filter Type: `OSR 12` or `Clean` (CPU-friendly)
  • Mode: `Lowpass`
  • Resonance: `10–25%` (don’t go too high unless you want whistle)
  • Drive: `0–15%` depending on aggression
  • You’ll automate Frequency (and maybe Resonance slightly).

    ---

    Step 4 — Arrangement: a proven 16-bar DnB color breakdown blueprint 🧱

    Assume your drop is coming at bar 49 (just as an example). Build a 16-bar breakdown:

    #### Bars 33–37 (Color 1: Tight + filtered)

  • Auto Filter Frequency: from ~`18 kHz → 2.5–4 kHz` over 4 bars
  • Send A (Space): keep low, around `-22 dB`
  • Send B (Crunch): off/very low
  • Goal: pull energy back but keep groove.

    #### Bars 37–41 (Color 2: Wide + washed)

  • Send A: ramp up from `-22 dB → -8 dB`
  • Auto Filter: open slightly then close again (small “breathing” motion)
  • Add a short drum fill (1 bar) using a break slice or a snare rush.
  • Goal: the break becomes atmospheric, wider, more cinematic.

    #### Bars 41–45 (Color 3: Crunch + tension peak)

  • Send B (Crunch): ramp from `-inf → -10 dB` over 2–4 bars
  • Send A: keep high but stable (`-10 to -6 dB`)
  • Auto Filter: sweep down further (`~3 kHz → 800 Hz`)
  • Optional: automate Redux Downsample slightly up (e.g., `3 → 5`) for increasing grit.
  • Goal: intensity rises without adding new tracks.

    #### Bars 45–49 (Drop prep: vacuum + snap back)

  • In the last 1 bar:
  • - Kill sends quickly: Send A & B down to `-inf` right before the drop (last 1/4 or 1/8 note)

    - Auto Filter: open fast back to `18 kHz`

    - Optional: add 1/4 bar of silence or only reverb tail (classic jungle tease)

    Goal: contrast. The drop feels heavier because breakdown was “colored.”

    ---

    Step 5 — Make it feel like jungle: ghost hits + micro-edits (low CPU) ✂️

    Instead of adding new instruments, do tiny edits:

    1. Duplicate your break clip for the breakdown.

    2. Use Clip Gain Envelope or Utility automation to push ghost notes:

    - Bring up small hits by `+1 to +3 dB`

    3. Use Beat Repeat sparingly on a send or on a duplicated fill track:

    - Interval: `1 Bar`

    - Grid: `1/16`

    - Chance: `10–25%`

    - Filter: high-pass to avoid low-end chaos

    ✅ CPU tip: Keep Beat Repeat off except during fills (automate Device Activator).

    ---

    Step 6 — CPU discipline checklist (Live 12) 🧠

  • Prefer Returns for reverb/delay instead of inserts on multiple drum tracks.
  • Use EQ Eight instead of heavier spectral tools during writing.
  • Use Beats warp for breaks.
  • Freeze the BREAK BUS once your breakdown sound is locked:
  • - Right-click group → Freeze Track

    - If you need edits: duplicate before freezing.

  • Keep Hybrid Reverb in check: Convolution is heavier. If CPU spikes, switch to Algorithm only.
  • ---

    4) Common mistakes

    1. Reverb mud in the low mids

    - Fix: HP the reverb return at `250–450 Hz`, and keep break low-end dry.

    2. Over-automating everything

    - Fix: automate sends + one filter. Let the groove do the work.

    3. Resonance too high = “cheap whistle”

    - Fix: keep Auto Filter resonance modest; add grit via Crunch return instead.

    4. Parallel crunch killing punch

    - Fix: HP the Crunch return (`120–200 Hz`) and keep it parallel, not replacing dry.

    5. CPU death by “just one more device”

    - Fix: commit. Freeze. Or resample the breakdown to audio and continue.

    ---

    5) Pro tips for darker/heavier DnB 🌑

  • Make space dark, not bright:
  • On Space Wash return, set Hybrid Reverb high-cut around `7–9 kHz` and slightly dip `3–5 kHz`.

  • “Steel” snare presence without harshness:
  • On Crunch return, boost gently around `2 kHz`, but cut a touch around `5–7 kHz` if it spits.

  • Tension through narrowing (then drop = wide):
  • Automate Utility Width on BREAK BUS:

    - Breakdown: `100% → 60–80%` (narrow)

    - Drop: snap back to `100%`

    Big psychoacoustic payoff, nearly zero CPU.

  • Sub discipline:
  • Keep sub clean: don’t send subby elements to reverb/crunch. If your break has low end, HP it slightly in breakdown moments (Auto Filter or EQ Eight).

  • Risers without synths:
  • Automate Redux Downsample + Filter sweep + reverb send = instant “riser” from the break itself.

    ---

    6) Mini practice exercise (15 minutes) ⏱️

    1. Pick a break and make a 16-bar loop at your project tempo (170–176 BPM).

    2. Create the two returns exactly as above.

    3. Write automation for ONLY:

    - BREAK BUS Send A

    - BREAK BUS Send B

    - BREAK BUS Auto Filter Frequency

    4. Bounce/resample the 16-bar breakdown to audio:

    - Create new Audio Track → set input to Resampling → record the breakdown.

    5. Mute the original and listen: does it still tell the story? If not, adjust automation curves.

    Goal: one breakbeat, three colors, one clean snap into the drop.

    ---

    7) Recap ✅

  • You built a DnB-ready color breakdown using Return-track processing (space + crunch) to keep CPU low.
  • You relied on send automation + a single filter sweep instead of a heavy insert chain.
  • You arranged it like real rolling/jungle music: tight → washed → gritty tension → clean snapback.
  • You kept the low-end controlled and used stock Ableton tools: Auto Filter, Hybrid Reverb, Delay, Redux, Saturator, EQ Eight, Utility.

If you want, tell me your tempo and which break you’re using (Amen/Think/etc.), and I’ll suggest exact automation curves and bar-by-bar values for a 32-bar intro-to-drop DnB arrangement.

```

Ask GPT about this lesson

Chat with the lesson tutor, get follow-up help, or use quick actions.

Bigup 👽 Ask me anything about this lesson and I’ll answer in context.

Narration script

Show spoken script
Title: Breakbeat color breakdown with minimal CPU load in Ableton Live 12 (Intermediate)

Alright, let’s build one of the most useful Drum and Bass breakdown moves: a color breakdown. Not the kind where the drums just stop and you wait for the drop… but the kind where the same breakbeat keeps moving, keeps momentum, and morphs through different “colors” like it’s being DJ’d and re-sampled in real time.

And the key constraint today is: minimal CPU load in Ableton Live 12. So we’re going to be smart about routing, automate the fewest things possible, and still get that big cinematic wash, nasty crunch tension, and then a clean snap back into the drop.

By the end, you’ll have an 8 to 16 bar breakdown where your break goes through three phases:
First, tight and filtered, like controlled energy.
Second, wide and washed, like the room opens up.
Third, crunchy and tense, like it’s getting mangled on old hardware.
Then, right before the drop, we kill the effects and snap back clean with punch and low end restored.

Let’s go.

Step zero: prep your break like a DnB producer.

Load a breakbeat onto an audio track. Amen, Think, Hot Pants, whatever you’ve got. Now check your warping, because this is one of those hidden CPU traps.

For drums, avoid Complex Pro most of the time. It can sound fine, but it’s overkill and it burns CPU. Set Warp Mode to Beats. Then set the transient loop mode to Transient, and Preserve to Transients.

Now in the Beats settings, there’s that Envelope control. Start around 20 to 40. Lower values get crisp, higher values get softer. If you hear annoying clicks, bring it up a bit. If it feels dull, bring it down slightly.

Now group your drum elements. Select your break and any top loops you’re using, then group them, and name that group BREAK BUS. This group is going to be our command center.

Quick mindset check: we want the BREAK BUS mostly clean. The heavy “color” will happen on Return tracks, so one reverb, one delay, one crunch chain, shared across everything. That’s the CPU win.

Step one: build the minimal-CPU color engine using returns.

Create Return A. Name it SPACE WASH.

On SPACE WASH, first add EQ Eight. High-pass it around 200 to 350 Hz. This is non-negotiable in DnB. Low-mid reverb mud will wreck your groove and make the drop feel small. If the reverb gets harsh, you can also dip a little around 2.5 to 4 kHz.

Next, add Hybrid Reverb. Stock device, huge sound. If your CPU is fine, you can use Convolution plus Algorithm. If you’re trying to stay extra lean, use Algorithm only.

Set the size to medium or large, decay somewhere like 2.5 to 5.5 seconds depending on how dramatic you want it. Add pre-delay, around 15 to 35 milliseconds. That pre-delay is what lets your snare transient still punch while the reverb blooms behind it.

Then darken the space. High cut around 7 to 10 kHz, low cut around 250 to 450 Hz. Dark space is very DnB. Bright reverb often sounds like “EDM room” instead of “warehouse pressure.”

After that, add the stock Delay device. Put it in ping pong mode. Try 1/8 or 3/16 for that jungle swing. Feedback 15 to 30 percent. And filter the delay so lows under about 300 Hz are rolled off. Again: keep the low end dry and tight.

Finally, put Utility at the end of the return and set Width to something like 120 to 160 percent. Important detail: widen the return, not the dry break. That gives you width without messing up your punch.

Leave the Return A fader at default. We’re going to automate sends, not the return fader. That’s a cleaner workflow and it keeps your mix behavior consistent.

Now create Return B. Name it CRUNCH PARALLEL.

On CRUNCH PARALLEL, load Redux first. Start with bit reduction around 10, in the 8 to 12 range, and downsample around 3, in the 2 to 6 range. We’re not trying to destroy it instantly. We want a tension ramp.

Then add Saturator. Set it to Analog Clip or Soft Sine. Drive around 2 to 6 dB, and turn on soft clip. Then trim the output so you’re not fooling yourself with loudness.

Next, EQ Eight. High-pass around 120 to 200 Hz. This is how you keep your punch and your sub clean while still getting nasty texture on top. If you want more snare bite, add a gentle boost around 1.5 to 3 kHz.

Optionally add a Compressor, lightly. Ratio 2 to 1, attack 10 to 30 milliseconds, release 80 to 150 milliseconds, and aim for 2 to 4 dB of gain reduction at most. This is just to stabilize the crunch so it feels like a “layer,” not random spikes.

Cool. Now we’ve got two returns: space and crunch. That’s the core of the color breakdown.

Step two: set up macro-style control with minimal automation lanes.

Go to your BREAK BUS track and bring up Send A to a starting position, something like minus 20 to minus 14 dB. Then Send B to maybe minus 24 to minus 18 dB.

Here’s the coaching note: before you draw any automation, calibrate your range.

Loop the section you want to become Color 2, the washed part, and set your starting point so the break is only slightly effected. Then set a target peak where the wash is clearly audible but you can still count the snare hits through it. Same for crunch: it should add edge, not flatten the transient.

This range-setting step is what makes your automation feel dramatic without unexpected level jumps.

Step three: add one DJ-style filter on the BREAK BUS.

On the BREAK BUS, insert Auto Filter. Choose a CPU-friendly mode like OSR 12 or Clean. Set it to low-pass. Resonance around 10 to 25 percent. Don’t get too excited with resonance unless you specifically want that whistle. Drive can be anywhere from 0 to 15 percent depending on how aggressive you want the sweep to feel.

We’re mainly going to automate frequency, and maybe a tiny touch of resonance if we want the peak to talk a little more.

Now step four: arrange the breakdown using a proven 16-bar blueprint.

Let’s assume your drop is at bar 49, just for a reference point. Your breakdown is bars 33 to 49.

Bars 33 to 37: Color 1, tight and filtered.

Over these four bars, automate the Auto Filter frequency from basically open, like 18 kHz, down to somewhere around 2.5 to 4 kHz. Keep Send A low, like minus 22 dB-ish, so the space is barely there. Keep Send B basically off.

The goal here is to pull energy back without killing momentum. You should still feel the rolling groove. It’s like you’re zooming out, but the wheels are still turning.

And here’s an upgrade that costs basically zero CPU: narrow the breakdown slightly. You can add a Utility on the BREAK BUS and automate width from 100 percent down to maybe 60 to 80 percent during the breakdown. Then at the drop, snap it back to 100. That psychoacoustic contrast makes the drop feel wider and louder without you touching volume.

Bars 37 to 41: Color 2, wide and washed.

Now ramp up Send A. Move it from around minus 22 dB up to around minus 8 dB over these bars.

Instead of drawing a straight line, use a curve. In DnB, straight ramps can feel like EDM automation. Do a slow-to-fast rise, like exponential. In Ableton, draw the line, then hold Alt or Option and bend it.

On the Auto Filter, do a small “breathing” motion. Open slightly, then close a little again. That subtle movement keeps the groove alive. It feels like the drums are swimming, not just disappearing.

Add a short fill if you want, even just a one-bar edit using the same break. You don’t need new instruments for this. You can slice out a couple hits, add a snare rush, or repeat a tiny fragment. The point is to signal: we are traveling somewhere.

Bars 41 to 45: Color 3, crunch and tension peak.

Here’s where it gets nasty.

Send B ramps up from off to around minus 10 dB over 2 to 4 bars. Keep Send A high and stable, around minus 10 to minus 6 dB.

Now sweep the Auto Filter further down, from around 3 kHz toward maybe 800 Hz. You’re basically squeezing the life out of the break in a controlled way while the returns are screaming in the background.

If you want extra tension, automate Redux downsample a little, like 3 up to 5. That creates a rising “sampler stress” vibe. It’s a riser without adding any new tracks.

Optional sound design spice that’s still stock and CPU-friendly: on the Crunch return after Saturator, add Auto Filter in band-pass mode and gently wander the frequency near the peak. Small range. It mimics tape or old sampler tone shifts, and it makes the crunch feel alive.

Bars 45 to 49: drop prep, vacuum and snap back.

This is the moment that separates “cool breakdown” from “drop hits like a truck.”

In the last bar, kill both sends quickly, right before the drop. Like last quarter note or last eighth note, both Send A and Send B go down to minus infinity. Make it a fast drop, almost instant.

At the same time, open the Auto Filter back up fast to 18 kHz so the dry is ready to slam.

Here’s a super clean trick: automate a Utility gain on the BREAK BUS down by about 1 to 3 dB for just the last eighth or quarter note, then snap back on the drop. It creates a tiny suction effect, like the track inhales right before impact. No extra plugins, no risers, just psychology.

And if you want that classic jungle tease: cut the dry break for an eighth to a quarter note and let only the reverb tail and delay play, then slam the dry back on the drop. It keeps the timing reference but creates a clean hole.

Step five: jungle feel with ghost hits and micro-edits, low CPU.

Duplicate your break clip for the breakdown. Now you can do tiny changes without affecting the drop.

Use clip gain envelope, or automate a Utility, to bring up ghost notes by 1 to 3 dB. Little taps, not huge accents. That’s what makes the loop feel performed rather than looped.

If you want micro-stutters, use Beat Repeat sparingly. Ideally on a send or on a duplicated fill track. Set interval to one bar, grid to sixteenth notes, chance 10 to 25 percent, and high-pass it so it doesn’t mess up the low end.

And major CPU discipline tip: keep Beat Repeat off unless it’s doing something. Automate the device activator so it only turns on for the fill bars.

Step six: CPU discipline checklist that actually matters in Live 12.

Returns are your best friend. One reverb and one delay shared across drums beats five separate instances every time.

Use EQ Eight during writing instead of heavier spectral tools.

Use Beats warp for breaks.

If Hybrid Reverb convolution spikes your CPU, switch to algorithm only, or automate the device activator so it only turns on during the breakdown.

And when your breakdown sound is locked, freeze the BREAK BUS. If you still want flexibility, duplicate the group first, then freeze the version you’re committing to. Commitment is a CPU strategy.

A couple quick common mistakes to dodge.

If the breakdown feels muddy, it’s almost always low mids in the reverb. High-pass the Space Wash return at 250 to 450 Hz.

If your automation feels messy, you’re probably over-automating. Stick to sends plus one filter sweep. Let the groove do the work.

If the filter resonance sounds cheap and whistly, lower it and use the Crunch return for aggression instead.

If the crunch parallel kills punch, high-pass it and lower its send. Crunch should be a layer behind the dry, not a replacement.

Now a quick mono check, because wide returns can lie to you.

Put a Utility at the end of each return and temporarily set width to 0 percent. If your vibe disappears in mono, reduce width, reduce ping pong delay, or keep the return more centered. You want width that translates, not width that collapses.

Mini practice exercise.

Set your project to 170 to 176 BPM. Pick one break. Build a 16-bar breakdown.

Create the two returns exactly like we did.

Then write automation for only three things:
Send A on the BREAK BUS, Send B on the BREAK BUS, and Auto Filter frequency on the BREAK BUS.

Then resample the whole 16 bars to audio. Create a new audio track, set input to resampling, and record it.

Mute the original and listen to the bounced version. Does it tell a story? Do you clearly hear tight to washed to crunchy to clean snap? If not, adjust your automation curves and your send ranges, not your plugin count.

And if you want an extra challenge: build a 24-bar breakdown using only one automation lane total. Pick just one parameter, like Send A, or Auto Filter frequency, or Redux downsample. Everything else must be fixed, or toggled on and off without continuous automation. That will force you to think like an arranger, not just an effects driver.

Let’s recap.

You built a DnB-ready color breakdown using return-track processing for space and crunch, keeping CPU low.

You relied on send automation and one filter sweep instead of stacking devices on the bus.

You arranged it in a real rolling structure: tight and filtered, then wide and washed, then gritty tension, then a clean snapback.

And you kept low end disciplined so the drop hits harder.

If you tell me your tempo and which break you’re using, I can suggest exact bar-by-bar automation values and curve shapes for a 32-bar intro into a drop, tuned to your specific groove.

mickeybeam

Go to drumbasscd.com for +100 drum and bass YouTube channels all in one place - tune in!

Generating PDF preview…