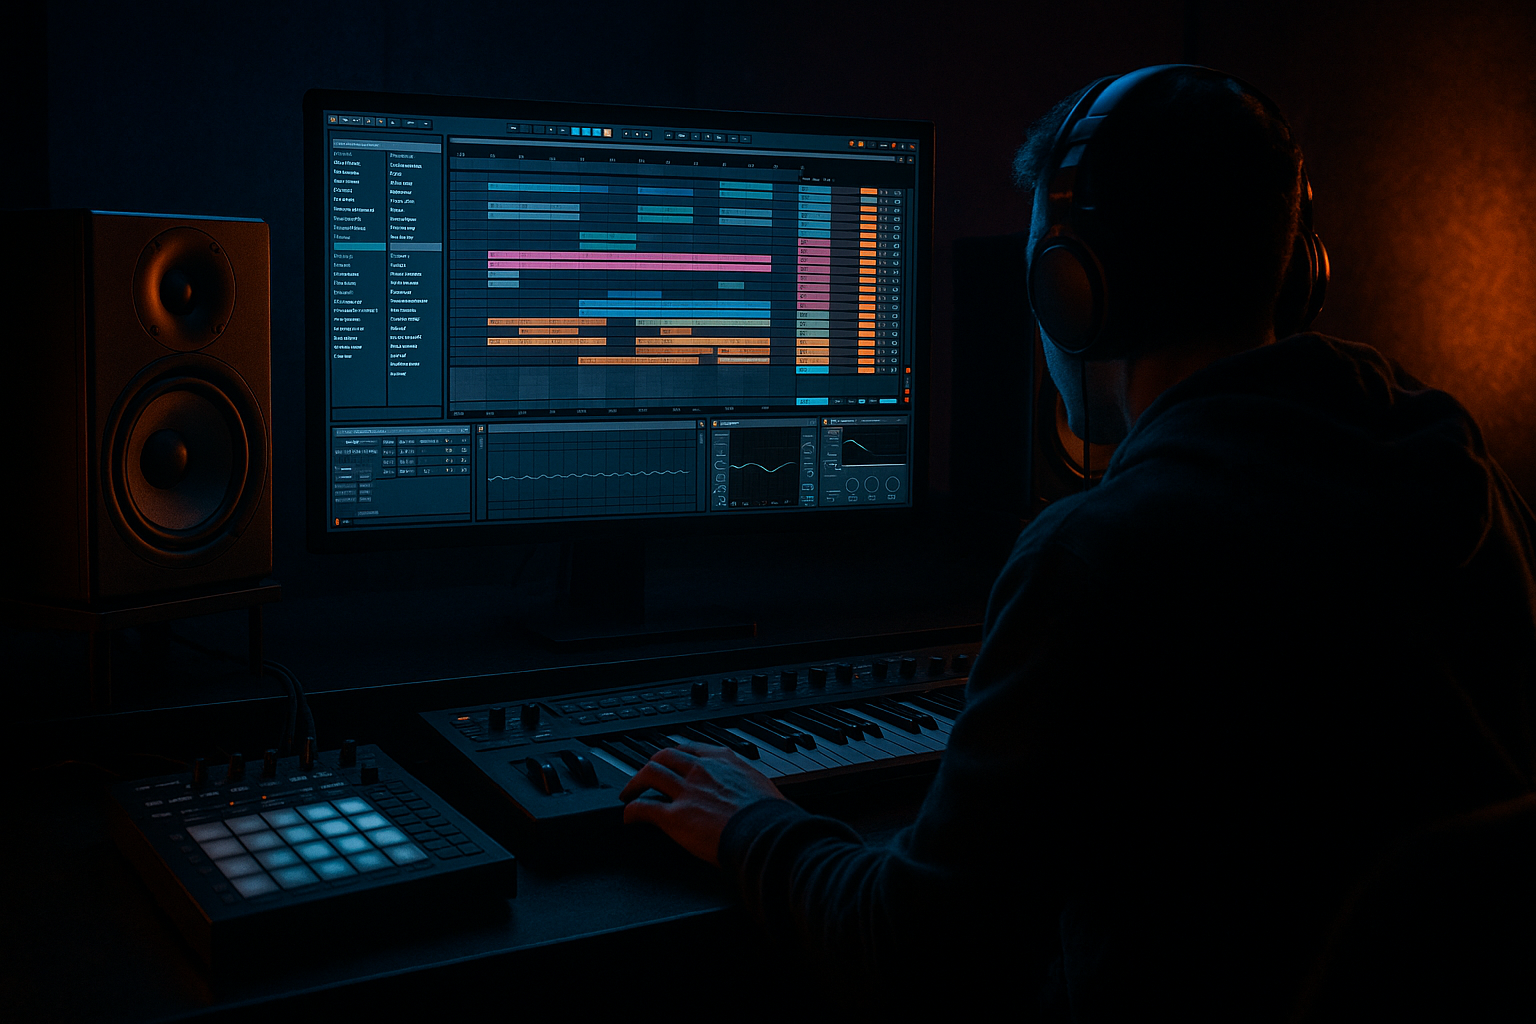
Main tutorial
1. Lesson Overview
This lesson teaches an intermediate Drum & Bass arrangement technique: Breakage edit: arrange a comb-filter bass from scratch in Ableton Live 12 using Session View to Arrangement View. You will design a chunky sub + mid bass in Wavetable/Operator, create a comb-filter effect using Live’s stock delay-based technique, build an effect Rack with macro control for performance, play/record variations in Session View, and then capture those performances into Arrangement View while preserving automation to form a Breakage-style edit — tight stutters, evolving comb resonances, and musical sweeps.
2. What You Will Build
- A two-layer bass patch (clean sub + harmonically rich mid) made in Wavetable (or Operator).
- A comb-filter effect chain (short delay feedback technique) routed as an insert and as a send-return for parallel control.
- An Audio Effect Rack with macros to control comb intensity, filter cutoff, modulation depth, and wet/dry for quick live edits.
- A set of Session clips/scenes with multiple variations (full, half, stuttered, filtered) that you’ll launch and record into Arrangement to create an edit inspired by Breakage’s arrangement style.
- Too much feedback: Setting Delay Feedback too high produces runaway resonance and masking. Keep an eye on levels and clip meters.
- Using sync instead of ms: Synced short delay times won’t create useful comb peaks; use milliseconds for comb behavior.
- Forgetting to protect the sub: The comb chain can add peaks that affect perception of the sub; always HP the comb chain below 30–40 Hz or keep the sub layer dry.
- Not routing for parallel control: Putting the comb only as an insert makes it hard to maintain clean low-end. Use a parallel chain or return to blend.
- Over-automation clutter: Recording every minor macro movement can lead to messy automation. Plan your major moves (intensity, cutoff, delay time) and keep small tweaks to clips.
- Ignoring phase: When duplicating the bass for parallel processing, phase cancellation can thin the low-end. Use Utility/Stereo Width/Invert Phase to check.
- Comb Time vs Musical Pitch: Shorter delay times produce wider spaced comb peaks (higher perceived pitch). Use Macro 2 to map a scaled range (e.g., 2–12 ms) and set Macro min/max values so a single macro movement produces musical motion.
- Use two comb chains in parallel with slightly different ms values (e.g., 4.2 ms and 5.1 ms) to create richer moving resonances — map each to different macros for interplay.
- Resample trick: If you like a particular live performance, record a stem (Resampling or Freeze/Flatten) and then slice/warp that audio to create stutters without re-triggering heavy plugin CPU usage.
- Automation smoothing: Use the Arrangement automation grid at 1/16 or 1/32 to pick up rhythmic comb moves; for smooth sweeps, click the automation curve tool (Bézier) to avoid harsh jumps.
- Use transient sidechain: On your comb chain, a subtle compressor with sidechain from the kick can keep hits tight without losing comb character.
- Save as a Preset: Save your Audio Effect Rack as a preset labeled “Comb Bass Rack — Breakage Edit” so you can reuse the macro mapping and delay settings in future tracks.
- Create a 2-bar bass loop in Wavetable at 174 BPM.
- Build the comb Audio Effect Rack using Simple Delay as described, map four macros (Intensity, Time, Feedback, Cutoff).
- Make three Session clips: Full, Filtered Sweep (automate Macro 4 down over 2 bars), and Stutter (create 1/16 gating).
- Launch the three clips in a row while recording to Arrangement (arm recording). Perform one macro sweep (Macro 2 — Comb Time) during the second clip to create a pitch-y comb sweep.
- Stop recording. In Arrangement, trim and consolidate the three sections into a 6-bar edit, then render that region to audio (Export/Freeze & Flatten) and compare the printed audio to the live performance.
3. Step-by-Step Walkthrough
Note: Keep a small Drum & Bass drum loop (breakbeat) and a tempo around 170–176 BPM to audition the bass in context. Name tracks so you don’t lose them.
A. Create the Bass Source
1. Create a new MIDI track, load Wavetable (or Operator).
- Sub layer: Use a sine or low-band-limited waveform (Wavetable: sine partials or basic sine), set one oscillator an octave down, filter off, amp envelope fast attack, medium decay, slight sustain for fullness.
- Mid layer: Use a second oscillator with a rich wavetable (e.g., “Basic Shapes” saw with light wavetable position) or white-noise table, add subtle FM or filter modulation for harmonics. Slight detune and lowpass filter around 2–5 kHz with drive.
2. Split layers if you prefer two MIDI tracks (one for sub, one for mids) or use a single Instrument Rack with two chains: Sub chain and Mid chain. Map Chain Volume and a Low Cut on the mid chain to macros.
B. Tighten & Glue for DnB
1. Add a Saturator (Light) on the mid chain to taste, use “Soft Sine” or “Analog Clip” with drive 2–5 dB.
2. Add EQ Eight after the source:
- High-pass the mids around 30–40 Hz if you have a separate sub.
- Boost a narrow band around 200–700 Hz for presence (if needed).
- Cut any nasty resonances.
3. Add a Compressor (Glue) as the last insert on the bass track. Use ~4:1 ratio, medium attack, fast release to glue mids to the groove. Use sidechain from the kick to duck the bass where necessary.
C. Make the Comb-Filter Effect (Delay-based comb)
1. Rationale: Ableton Live doesn’t include a dedicated “Comb” audio effect as a stock insert in some setups, but you can produce comb-filter resonances by creating a short delay with feedback. The delay's short time + feedback creates frequency combing (series of peaks/notches). We’ll make a flexible Rack that can be performed.
2. Create an Audio Effect Rack on the bass track (or on a return for parallel control). Inside the rack:
- Chain A (Dry): Utility (to control parallel balance).
- Chain B (Comb): Simple Delay (or Echo if you prefer) -> EQ Eight -> Saturator -> Return to Rack.
3. Configure Simple Delay for a comb:
- Set Delay Time to a short fixed ms value: start at 2–12 ms (try 3.5 ms for the vocal range, 6–12 ms for lower combs). Use Sync OFF (ms mode).
- Set Feedback to 60–85% — higher feedback increases comb resonance sharpness but be careful with runaway levels.
- Set Dry/Wet to 100% for the chain (we’ll control balance via chain volumes/macros).
- If using Echo, use short delay times and increase feedback; set Diffusion low for clearer combs.
4. EQ the comb chain:
- Use EQ Eight to shape the resonant peaks: narrow boosts around the frequencies you like, and high-pass under 40 Hz (to protect the sub).
- Optionally add a band-pass or Auto Filter after the delay to sweep the resonant peaks musically.
5. Map the Rack:
- Map Chain B Volume to Macro 1 (“Comb Intensity”).
- Map Simple Delay Time to Macro 2 (“Comb Pitch / Shift”).
- Map Simple Delay Feedback to Macro 3 (“Comb Feedback”).
- Map EQ or Auto Filter cutoff to Macro 4 (“Comb Filter Cutoff”).
D. Create Performance Variations in Session View
1. Duplicate the bass track so you can have multiple variations without losing the original.
2. On Track A create a 1–4 bar looped MIDI clip with your bassline (standard DnB half-time feel or 16th-note gallop). Name it “Bass - Full”.
3. Create multiple scene clips beneath:
- “Bass - Filtered”: Automate the Rack Macro to lower Macro 4 (cutoff) and raise Macro 1 slightly.
- “Bass - Stutter”: Use a MIDI clip with repeated short notes / or apply clip envelope for volume gating (e.g., 1/16 triplet stutter).
- “Bass - Peak Comb”: Map Macro 3 high and Macro 2 slightly shifted to emphasize different comb resonances.
- “Bass - Sparse”: Shorten notes and reduce comb intensity for breath.
4. Use Clip Envelopes or Macro Envelope Modulation within each clip to record parameter moves in Session clip slots:
- In the Clip view, under Envelopes, choose “Mixer > Hot-Swap Macro X” or “Audio Effect Parameter > Macro X” and draw automation for filter sweeps, comb time modulation, etc.
E. Performance and Live Arrangement Capture
1. Build Scenes:
- Organize your scenes vertically: Intro (sparse), Build (rising comb & mids), Drop (full bass), Breakdown (filtered + stutter), Return (full).
2. Practice launching scenes in time with the master tempo. Use Follow Actions for quick automated variations if desired.
3. Record to Arrangement:
- Arm Arrangement Record (top transport). Press Session Record Button (the big Arrangement Record button) and then launch Scenes/clips in real-time. Live will record audio/MIDI and automation into Arrangement View.
- Alternative: Use “Capture into Arrangement” by selecting the clips in Session and dragging them to Arrangement (this captures clip content but not clip automation unless you have recorded macro changes into the clip).
4. While recording, perform macro moves (comb intensity, delay time sweeps, cutoff) and capture them. Also perform scene-to-scene transitions and stutters.
5. After recording, switch to Arrangement View (Tab), tidy clip edges, and consolidate (Cmd/Ctrl+J) to clean up. Edit automation lanes: smooth or quantize macro automation as needed.
F. Finalize: Bounce & Glue
1. In Arrangement, solo the bass region you recorded, render in place or freeze/flatten if you want to create a printed audio file with the comb effect baked in (useful for resampling stutters).
2. Add final EQ/Emergency Low Shelf: Use Utility to mono the sub under 120 Hz, use EQ Eight to tighten lows.
3. Add transient shaping if needed (Transient Shaper device if you have it, or use Compressor fast attack to soften transient).
4. Common Mistakes
5. Pro Tips
6. Mini Practice Exercise
Time required: ~30 minutes.
7. Recap
You built a Breakage-style comb-filter bass from scratch in Ableton Live 12 by designing a two-layer bass source, creating a delay-based comb-filter Audio Effect Rack, mapping expressive macros, and using Session View scenes to perform variations which you recorded into Arrangement View. Key takeaways: short ms delays with feedback create comb resonances; parallel routing and HP filtering protect the low end; macro mapping + Session performance is a fast, musical way to craft edits for Drum & Bass; and recording into Arrangement captures those live edits for further polish. Use the practice exercise to lock the workflow and save the Rack as a preset for future Breakage edit-style arrangements.

