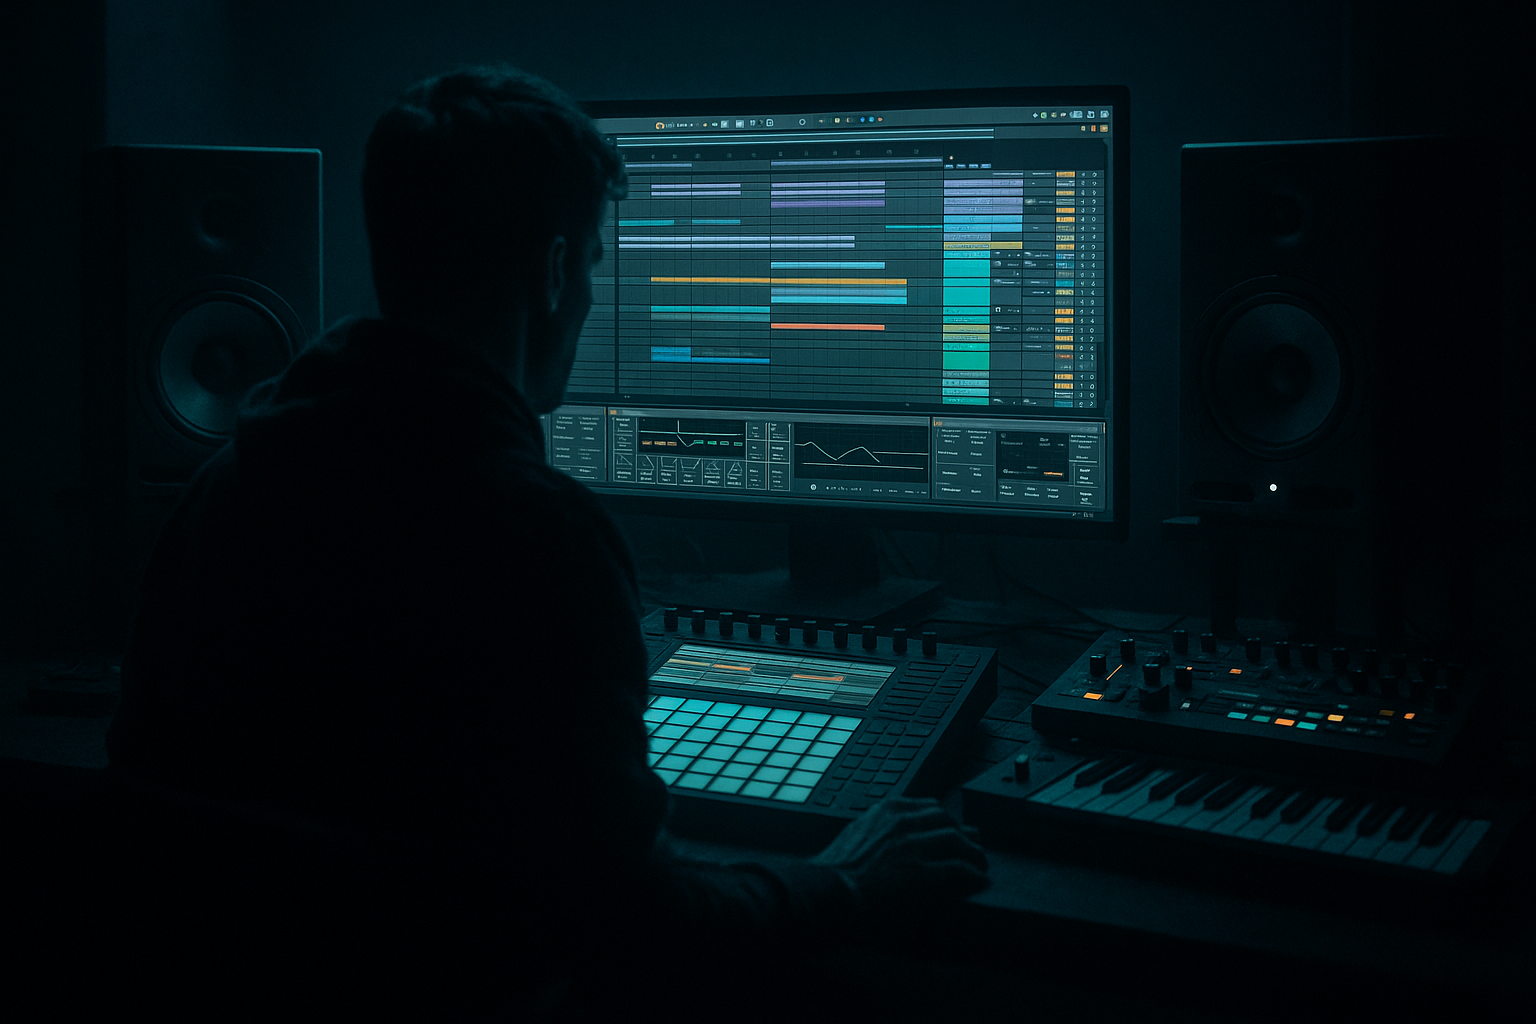
Main tutorial
Lesson Overview
This lesson is about building a Break Lab pad swing formula in Ableton Live 12 that makes your sub hit harder, feel wider in time, and land with oldskool jungle pressure without muddying the mix. In DNB, especially in jungle, rollers, and darker atmospheric bass music, the relationship between your breakbeat groove, pad movement, and sub phrasing is everything. If the pad is too rigid, the whole drop can feel static. If it’s too loose or too loud, it smears the kick/snare/break impact and weakens the low-end punch.
The goal here is to use a swinged atmospheric pad layer as a timing and emotional device: it creates forward motion before the snare hits, leaves room for the sub to “speak,” and gives the drop that weighty, rolling, late-night tension that oldskool DnB is known for. Think of it as a groove engine for atmosphere — not just a background texture.
Why this matters in DnB: the genre lives in the pocket between drum swing, sub placement, and negative space. A well-designed pad can make your bassline feel more aggressive by contrast. It can also make a simple sub pattern feel larger by adding rhythmic anticipation around it. This lesson focuses on a practical Ableton Live workflow using stock tools like Simpler, Sampler, Drum Rack, Wavetable, Auto Filter, Utility, Saturator, Echo, Roar, and Envelope Follower-style modulation through standard automation and racks, all tailored to atmospheric bass music production.
What You Will Build
By the end, you’ll have a four-to-eight bar atmospheric pad loop that:
- swings against the breakbeat in a controlled way
- ducks around the sub to preserve impact
- uses ghosted pad hits and filtered chords to create jungle-era tension
- supports a heavyweight bass drop without masking the low end
- can be resampled into a reusable break lab atmosphere loop for intro, drop, or switch-up sections
- an intro atmosphere before the drums enter
- a pre-drop tension layer
- a mid-drop switch-up that adds emotional pressure
- a breakdown bed for MC space or DJ mixability
- Letting the pad live too low
- Making the pad too rhythmic
- Using too much reverb
- Ignoring the break’s pocket
- Over-widening the atmosphere
- Not sidechaining or ducking the pad
- Leaving harsh mids in the texture
- Layer a noisy top with a warm mid pad
- Automate pad density by section
- Use subtle pitch movement
- Resample through saturation
- Make the pad answer the sub
- Use automation as groove
- Keep your break and pad in the same emotional world
Musically, it’ll feel like a dark pad pulse with shuffle, sitting above a heavy break and sub, with enough movement to suggest melody without turning into a full chord progression. In arrangement terms, it can work as:
The result should sound like oldskool jungle atmosphere fused with modern low-end discipline: gritty, moving, and purpose-built for sub impact.
Step-by-Step Walkthrough
1. Set up a dedicated Break Lab atmosphere group
Create a Group Track called Break Lab ATM and place your pad source inside it. Advanced workflow tip: keep your atmosphere chain separate from your drum and bass groups so you can process the rhythmic feel without affecting transient-heavy elements.
Use one of these stock starting points:
- Wavetable for a synthetic, evolving pad
- Sampler or Simpler for a chopped oldskool sample or vinyl-texture chord stab
- a resampled texture from your own break edits, reversed tails, or noise layers
For jungle flavour, pick a source that already has character: dusty chord, detuned synth, vocal fragment, string hit, or filtered film-like pad. The cleaner the source, the more you’ll need to dirty it later.
2. Design the pad so it leaves space for the sub
Before you add swing, shape the raw tone. The key is to build a pad that lives in the upper-mid and low-mid atmosphere, not the sub band.
On Wavetable:
- Start with a saw-based or square-based source
- Unison: 2–4 voices
- Detune: 6–15%
- Filter: low-pass around 180–500 Hz, depending on how dense your drop is
- Envelope attack: 30–120 ms for a soft onset
- Release: 400 ms to 2.5 s depending on whether you want a wash or a pulse
On Sampler/Simpler:
- Use Fade or Classic mode for chopped texture
- Loop a short slice if it contains movement
- Pitch it down 3–7 semitones for darker tension, then high-pass later
Then insert EQ Eight:
- High-pass around 120–200 Hz
- If the pad has boxiness, dip 250–450 Hz
- If it’s harsh, cut 2.5–5 kHz gently
Why this works in DnB: your sub needs a clean lane. The pad’s job is to intensify the groove and tension, not compete with the fundamental.
3. Program the rhythm with the “pad swing formula”
The formula is simple: straight grid plus delayed offbeats plus shortened tails. In oldskool jungle terms, you want the pad to feel like it is “leaning” into the break, not sitting on top of it.
Create a 1- or 2-bar MIDI pattern with these ideas:
- Put longer notes on the downbeat
- Add offbeat stabs slightly behind the grid
- Leave gaps where the snare or kick needs to punch through
- Use repeated notes on the “and” of the beat for movement
A practical starting shape in 4/4:
- Bar 1 beat 1: long chord or note
- Bar 1 beat 1.3: short repeat
- Bar 1 beat 2.2 or 2.3: delayed hit
- Bar 1 beat 3: sustain or filtered swell
- Bar 1 beat 4: short anticipation into bar 2
For advanced swing feel, nudge specific notes manually:
- Move some offbeat notes 10–30 ms late
- Keep one or two notes slightly early for tension
- Avoid perfect quantization on every hit
You can also use Ableton’s groove:
- Apply a MPC-style or drum break groove at 10–25% amount
- If needed, extract groove from your break and apply it to the pad MIDI clip
This makes the pad breathe with the drums instead of fighting them.
4. Shape the pad envelope for heavyweight sub impact
This is the core of the lesson: the pad must “duck itself” in musical time so the sub feels bigger.
Use Auto Filter or the instrument envelope to create a pad that opens and closes around bass moments:
- Filter cutoff automation: open to 800 Hz–2 kHz on movement peaks
- Close it back to 150–400 Hz before the sub note lands
- Resonance: keep moderate, around 10–25%, unless you want a sharper oldskool whistle effect
Then add Utility:
- Automate Gain down by 1–3 dB on pad peaks if the bass needs dominance
- Use Width 80–120% for atmospheric spread, but check mono compatibility
For more control, put Compressor on the pad and use the sub or kick as sidechain input:
- Attack: 1–10 ms
- Release: 80–180 ms
- Ratio: 2:1 to 4:1
- Aim for only 1–4 dB gain reduction
This is not about pumping for effect — it’s about clearing a corridor for the sub and kick so the low end feels heavier.
5. Add swing through clip envelopes and note length
The “break lab” part comes alive when the pad starts reacting like a chopped sample. In Ableton, use MIDI note lengths and clip envelopes to create groove.
Tactics:
- Shorten some notes to 1/8 or 1/16 lengths for rhythmic stabs
- Let other notes ring for 3/8 to 1 bar as tension beds
- Use velocity variation: low velocities for ghost pulses, higher ones for featured pushes
- Automate Filter Cutoff or Macro values per note group
If using Sampler, map:
- Filter cutoff to Macro 1
- Attack to Macro 2
- Saturation/drive to Macro 3
- Stereo width or reverb send to Macro 4
Then draw automation so the pad “swells” slightly before key drum hits, and narrows when the sub enters. The swing is not only timing — it’s also dynamic contour.
6. Dirty it like a proper jungle atmosphere
Now make it feel like it belongs in a warehouse, pirate radio set, or deep roller drop.
Recommended stock chain:
- Saturator: Drive 2–8 dB, Soft Clip on if needed
- Roar: use subtle mid-band grit or parallel texture; keep output controlled
- Redux: very light bit reduction if you want gritty oldskool edges, but don’t obliterate the tone
- Echo: low feedback, filtered repeats, sync in dotted values if the pad needs movement
For Echo:
- Time: 1/8D or 1/4
- Feedback: 15–35%
- Filter out lows below 200 Hz
- Add subtle modulation for stereo drift
If you want more classic jungle haze, resample the pad after processing, then chop the tail and reverse small pieces. The combination of swing, dirt, and reverse ambience gives you that lifted, haunted texture without needing a big chord progression.
7. Place the pad against the drum arrangement, not just the melody
Advanced DnB arrangement is about drum/bass conversation. Your pad should support the break pattern, not ignore it.
Example context:
- Intro (bars 1–16): filtered pad with swing, no sub yet, break elements teased
- Drop A (bars 17–32): pad becomes shorter, more percussive, riding around the sub line
- Switch-up (bars 33–40): pad opens up, reverb widens, sub briefly simplifies
- Drop B (bars 41–56): pad becomes darker and more clipped, adding tension while drums get busier
A strong move is to automate the pad into the answer phrase of the bassline:
- When the sub plays a strong phrase, the pad uses shorter hits
- When the bass leaves space, the pad fills the gap with a delayed swell
This call-and-response keeps the drop alive and helps the sub feel intentional, not endless.
8. Resample the atmosphere and tighten the groove
Once the pad motion feels right, resample it to audio. This is one of the fastest ways to lock in the character.
Steps:
- Solo the atmosphere group
- Record to a new audio track
- Trim the audio to a tight loop
- Warp carefully if needed, but avoid over-flexing the groove
- Slice the recording into new variations using Slice to New MIDI Track if it gives you useful rearranged hits
After resampling, you can:
- reverse selected hits
- fade tails into the break
- add Utility automation for stereo narrowing on sub-heavy sections
- use EQ Eight to notch any honky build-up that appeared in the print
This workflow is especially useful in DnB because it turns a “live” pad idea into a repeatable, mixable atmosphere asset that can sit cleanly in the arrangement.
9. Balance the pad in the mix so it strengthens the sub instead of masking it
This step separates a cool texture from a professional DnB layer.
Do this in context with drums and bass:
- Set pad level low enough that you feel it more than hear it
- Check mono compatibility with Utility
- Keep low frequencies out of the pad using EQ Eight
- If the pad feels too wide, narrow it to 70–90% in drop sections
- If the drop loses punch, reduce pad send to reverb and delay first, not just volume
A strong DnB mix habit:
- compare the drop with pad on/off
- if the bass suddenly feels smaller when the pad enters, the atmosphere is too present
- if the drop feels empty without the pad, your sub and drums are probably too dry or too static
The pad should amplify contrast. Contrast equals perceived weight.
Common Mistakes
- Fix: high-pass more aggressively, often 120–200 Hz or even higher in dense drops.
- Fix: keep only a few swinged hits per bar. If every note grooves equally, the drums lose authority.
- Fix: shorten decay, filter the return, or automate less wetness in the drop.
- Fix: nudge pad hits to support the snare and ghost notes, not collide with them.
- Fix: use stereo width tastefully. Wider is not always heavier. Mono low-end and controlled sides win.
- Fix: even subtle gain reduction can dramatically increase sub impact.
- Fix: cut resonant peaks around 2.5–5 kHz and check for painful filtered harmonics.
Pro Tips for Darker / Heavier DnB
- Use one layer for grit and another for tone. Keep the noisy layer high-passed much more aggressively.
- Intro: longer, wider, more atmospheric
- Drop: shorter, darker, more percussive
- Switch-up: open filter and wider spread for tension release
- In Wavetable or Sampler, add slight pitch drift or manual note detune for haunted instability.
- Print the pad after Saturator or Roar so the harmonics become part of the audio. This often sounds more authentic than endlessly tweaking the live device.
- If the sub phrase ends, let the pad swell into the gap. If the sub is busy, trim the pad to short pulses.
- Filter cutoff, reverb send, and stereo width are all rhythmic tools in atmospheric DnB — not just tone-shapers.
- If the break is dusty and oldskool, don’t pair it with a glossy, bright pad. Match texture, not just key.
Mini Practice Exercise
Spend 10–20 minutes creating one 8-bar Break Lab atmosphere loop:
1. Load a pad into Wavetable, Sampler, or Simpler.
2. Write a 2-bar MIDI idea with only 3–5 note events.
3. Apply manual swing by nudging offbeat notes 10–30 ms late.
4. Add EQ Eight and remove everything below 150 Hz.
5. Put Saturator after the EQ and drive it lightly.
6. Add Auto Filter and automate the cutoff to open before the snare and close before the sub hit.
7. Sidechain the pad lightly from the kick or bass with Compressor.
8. Resample the result and chop one bar into a variation.
9. Make a second version with more reverb for the intro and a drier version for the drop.
10. Compare both against your break and sub. Keep the one that makes the low end feel bigger.
Goal: by the end, you should have one atmosphere loop that can work in an intro, drop, or switch-up without needing extra instruments.
Recap
The Break Lab pad swing formula is about timed atmosphere that supports sub impact. Build a pad with controlled low end, add swing through note placement and groove, duck it around the bass, dirty it with stock Ableton tools, and arrange it so it interacts with the break rather than floating above it. In DnB, the heaviest moments often come from what you remove and where you place the tension. Keep the atmosphere moving, keep the sub clear, and let the groove do the heavy lifting.

