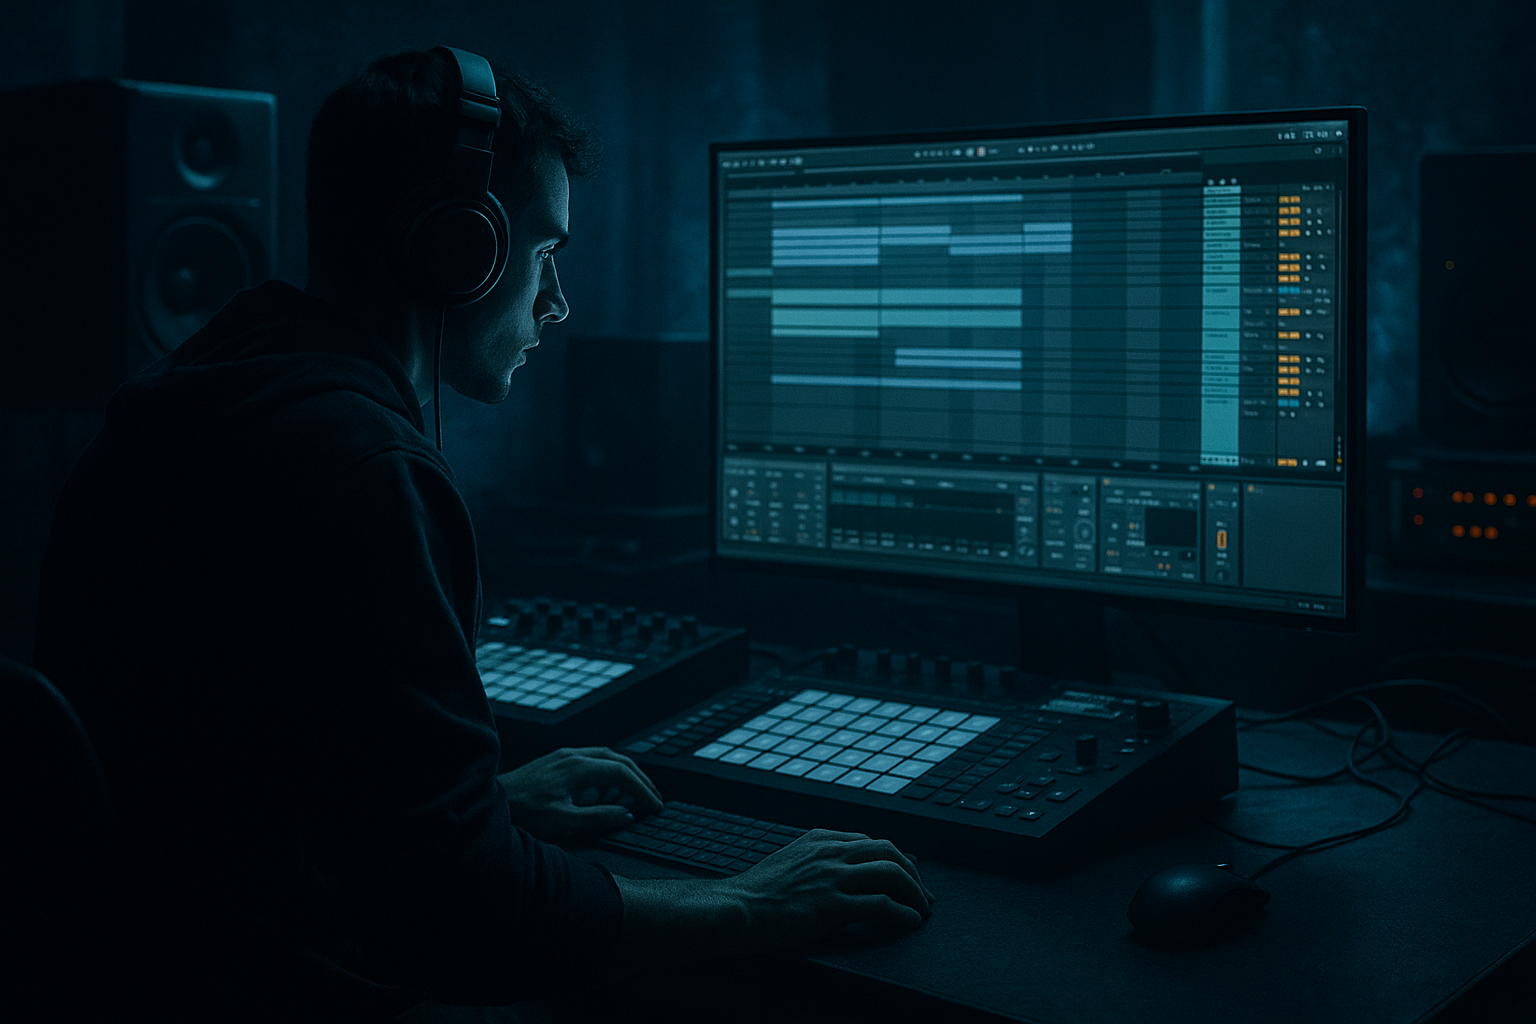
Main tutorial
```markdown
Break Lab: Breakbeat Shape Session — Creative Macro Control in Ableton Live 12 (DnB Atmospheres) 🎛️🔥
1. Lesson overview
In this session you’ll design a Break Lab in Ableton Live 12: a drum & bass/jungle breakbeat chain where Macros do real musical work—not just “more reverb.”
We’ll build a macro-driven break shaper that can morph a clean break into rolling, dark, atmospheric pressure with a few performance controls.
You’ll learn:
- How to set up a macro performance rack around a break
- How to shape groove, density, dirt, space, and movement with purposeful macro mapping
- How to arrange macro automation for DnB tension/release and vibe changes 🎚️
- Pre-shape (tighten + transient control)
- Tone/dirt (saturation + filtering + texture)
- Space (dark room/plate + controlled verb throw)
- Motion (autopan/chorus micro-movement)
- Parallel crunch (NY-style + resampling grit)
- Tempo: 172–176 BPM
- Create an Audio Track: `BREAK`
- Drop in a classic break (Amen, Think, Hot Pants, etc.) or your own loop
- Warp mode: Complex Pro (or Beats if you want crisp slices)
- Right-click clip → Consolidate (Cmd/Ctrl+J)
- Enable HP filter (band 1) at 30–80 Hz depending on break
- Set slope to 24 or 48 dB/oct
- Transient: start at +5
- Boom: Off (or keep very subtle; breaks usually don’t need it)
- EQ Eight HP frequency: 30 → 110 Hz
- Drum Buss Transient: 0 → +20
- Attack: 3 ms
- Release: Auto
- Ratio: 2:1
- Threshold: set for 1–3 dB GR normally
- Map Threshold to Macro PUMP
- Optionally map Dry/Wet if you want parallel glue:
- Add Compressor (not Glue) after Beat chain OR near end
- Enable Sidechain, choose `KICK (ghost)`
- Ratio 4:1, Attack 1–10 ms, Release 60–140 ms
- Map Threshold to PUMP too for a combined “macro pump”
- Mode: Analog Clip (great for breaks)
- Drive: start 2–6 dB
- Soft Clip: On
- Downsample: keep conservative
- Bit reduction: tiny doses
- Saturator Drive: 0 → 10 dB
- Saturator Output: 0 → -6 dB (to compensate)
- Redux Downsample: 1.00 → ~2.50
- Redux Dry/Wet: 0% → 20%
- Filter type: Lowpass (12 or 24 dB)
- Resonance: 0.40–0.90 (careful!)
- Envelope amount: optional small negative if you want softer hits
- Set to a dark plate/room hybrid:
- High Cut/Damping: 6–10 kHz
- Low Cut: 200–500 Hz (to avoid muddy verb)
- Auto Filter Frequency: 18 kHz → 2.5 kHz
- Hybrid Reverb High Cut (or damping): 10 kHz → 4.5 kHz
- Optional: map Filter Resonance 0.20 → 1.10 (small range!)
- Predelay: 10–35 ms (keeps transients forward)
- Decay: 0.8–2.8 s (depending on section)
- Dry/Wet: keep moderate
- Hybrid Reverb Dry/Wet: 6% → 30%
- Decay: 0.8 s → 3.5 s
- Predelay: 10 ms → 45 ms
- Width: start 100%
- Consider Bass Mono technique: keep lows centered with EQ/utility elsewhere
- Utility Width: 85% → 140%
- Create 2 chains:
- Compressor (or Glue) with heavier compression:
- EQ Eight after comp:
- Optional: tiny Chorus-Ensemble or Phaser-Flanger (very subtle)
- Range: -inf → -12 dB (or -18 dB depending on taste)
- Interval: 1 Bar (or 2 bars for subtle)
- Grid: 1/16 or 1/32
- Chance: 0–25% (macro controls)
- Variation: 0–20
- Gate: 20–60%
- Pitch: optional small range for old-school flavor
- Beat Repeat Chance: 0% → 35%
- Gate: 35% → 70%
- Variation: 0 → 25
- Mix (Dry/Wet): 0% → 25%
- DARK: high (closed filter)
- SPACE: medium-high
- GHOSTS: up (adds texture and movement)
- TIGHT: moderate
- Slowly open DARK
- Increase PUMP slightly
- Add small BREAK UP bursts every 4 bars (automation spikes)
- TIGHT: higher (clean low end)
- PUMP: medium (don’t crush transients)
- DIRT: tastefully up (club weight)
- SPACE: down (keep groove sharp)
- WIDEN: moderate (don’t overdo; let synths do width)
- SPACE up + DARK down (darker/filtered)
- GHOSTS up for atmosphere
- Sprinkle BREAK UP with automation “ticks” on fills
- Over-widening the break: makes it sound cool solo, weak in mono and fights your pads/synths.
- Too much constant reverb: destroys the rolling feel; DnB needs definition.
- Saturating without gain compensation: you think it’s better, but it’s just louder. Map output reductions.
- Beat Repeat always-on: ruins groove predictability. Use it as a transition weapon.
- HP too high on TIGHT: breaks lose chest/weight and start sounding papery.
- Pre-emphasis into saturation: Before Saturator, boost a touch at 180–250 Hz with EQ Eight, then saturate, then cut slightly after. This makes “meat” without mud.
- Micro-movement only: On atmospheric rollers, tiny modulation beats big modulation. If you add Chorus/Phaser, keep Mix under 10–15%.
- Resample macro performances: Record yourself riding macros for 2–4 minutes, resample to audio, then chop the best 8–16 bar phrases.
- Use a ghost kick for consistent pump: A muted kick pattern sidechaining the break helps keep the roll stable while you do wild fills.
- Dark reverb discipline: In Hybrid Reverb, always low cut the reverb (200–500 Hz) so your sub/bass owns the floor.
- You built a Break Lab Shaper designed for DnB atmospheres with meaningful performance macros.
- You mapped macros to: tightness, pump, dirt, darkness, space, width, ghosts, and controlled chaos.
- You learned arrangement automation moves that translate directly into jungle/DnB tension and release.
- Next step: resample your macro passes and treat them like a break library you authored.
---
2. What you will build
A single Audio Effect Rack (or Drum Rack if you prefer slicing) called:
“Break Lab Shaper (Atmos)”
Signal flow concept:
Macros (example set)
1. TIGHT – transient & low-cut tightening
2. PUMP – rhythmic pumping (DnB-style)
3. DIRT – saturation + bit reduction blend
4. DARK – lowpass tilt + high damping
5. SPACE – reverb send/size + predelay
6. WIDEN – stereo width (without killing mono)
7. GHOSTS – bring out tails/ghost notes (parallel sustain)
8. BREAK UP – “jungle chaos” (beat repeat probability + micro-stutters)
---
3. Step-by-step walkthrough
Step 0 — Session setup (DnB-ready)
- If using Beats: set Transient Loop Mode and adjust Preserve (try 1/16)
Pro workflow: Consolidate to clean loop boundaries:
---
Step 1 — Build the Break Lab rack (core chain)
On the `BREAK` track, add an Audio Effect Rack and name it:
Break Lab Shaper (Atmos)
Inside the rack, add devices in this order (stock only):
1) EQ Eight
2) Drum Buss
3) Glue Compressor
4) Saturator
5) Auto Filter
6) Redux (subtle, mapped)
7) Hybrid Reverb
8) Utility
9) Beat Repeat
10) Compressor (for parallel/NY later if desired)
You’ll map parameters to macros in a minute.
---
Step 2 — Macro 1: TIGHT (tighten lows + transient control) 🥁
Goal: Make breaks sit in a rolling DnB mix without low-end mess.
EQ Eight
Drum Buss
Map to Macro “TIGHT”
DnB note: For deep rollers, you typically want the break high-passed enough to leave room for sub, but still thick in low mids.
---
Step 3 — Macro 2: PUMP (DnB breathing + groove lock) 💨
Goal: Make the break “nod” with the bass and create movement without destroying transients.
Glue Compressor
To “pump” on command:
- Range: about -10 dB → +5 dB (tune to taste)
- Dry/Wet 30% → 100%
Extra advanced move: If you have a kick track or ghost trigger, sidechain using a Compressor after Glue:
---
Step 4 — Macro 3: DIRT (weight + aggression without brittle tops) 🧨
Saturator
Redux (subtle!)
Map to Macro “DIRT”
Why: This gives you that “tape-to-sampler-to-club” vibe—more DnB heritage, less harsh digital fizz.
---
Step 5 — Macro 4: DARK (atmospheric top control + mood) 🌑
Auto Filter
Hybrid Reverb
- Algorithm: Plate or Hall (dark)
- IR: small room or gritty chamber
Map to Macro “DARK”
DnB arrangement use: Automate DARK down during intros for atmosphere, open it up for drop clarity.
---
Step 6 — Macro 5: SPACE (controlled depth + “throws”) 🏚️
Hybrid Reverb
Map to Macro “SPACE”
Tip: For DnB, too much constant verb smears groove. Use SPACE like a performance throw—more on fills, less on main loop.
---
Step 7 — Macro 6: WIDEN (stereo energy without mono collapse) 📡
Utility
Map to Macro “WIDEN”
Keep it safe: If your break has heavy low mids, widening can hollow the mix. Use the macro, but check in mono.
---
Step 8 — Macro 7: GHOSTS (bring out tails + room tone + “air”) 👻
We’ll do this with parallel sustain using the rack chains.
Inside the Audio Effect Rack:
- `DRY PUNCH`
- `GHOST BUS` (parallel)
On `GHOST BUS` chain, add:
- Ratio 6:1
- Attack 10–30 ms
- Release 80–200 ms
- Threshold to get 6–12 dB GR
- HP at 200–400 Hz
- Optional dip around 2–4 kHz if harsh
Now map Chain Volume of `GHOST BUS` to Macro GHOSTS
Result: You can “fade in” the ghost-note sustain and room tone—great for atmospheric rollers and breakdowns.
---
Step 9 — Macro 8: BREAK UP (controlled jungle chaos) ⚡
Beat Repeat
Map to Macro “BREAK UP”
DnB-safe chaos: Keep it subtle on the drop; push it harder in transitions/fills.
---
Step 10 — Arrangement ideas (macro automation that sounds like real DnB)
In Arrangement View, automate the macros across sections:
Intro (16–32 bars)
Build (8–16 bars)
Drop (16–64 bars)
Breakdown
---
4. Common mistakes
---
5. Pro tips for darker/heavier DnB 🖤
---
6. Mini practice exercise (15 minutes) ⏱️
1) Load a break and build the rack with the 8 macros.
2) Set tempo to 174 BPM.
3) Make a 32-bar loop and automate:
- Bars 1–16: DARK from 70% → 30%, SPACE from 25% → 10%
- Bars 13–16: add 3 short spikes of BREAK UP (like 1/2 bar each)
- Bar 17 (drop): slam TIGHT up + SPACE down
- Bar 24: quick DIRT push for 1 bar, then back
4) Resample the output to a new track and pick the best 8 bars.
Deliverable: one 8-bar “drop-ready” break and one 8-bar atmospheric intro break using the same rack.
---
7. Recap ✅
If you want, tell me what kind of DnB you’re making (deep roller, jungle, techstep, neuro-adjacent) and I’ll suggest a tailored macro set and exact value ranges for your style.
```

