Main tutorial
Lesson Overview
A think-break switchup stretch is one of the most useful FX moves in Drum & Bass arranging: it’s the moment where the track feels like it holds its breath, reshapes the groove, and then launches back into the drop with extra pressure. In a Break Lab context, this means taking a core breakbeat idea, stretching it into a longer transition phrase, and using FX, edits, and automation to make the listener feel the switch before it lands.
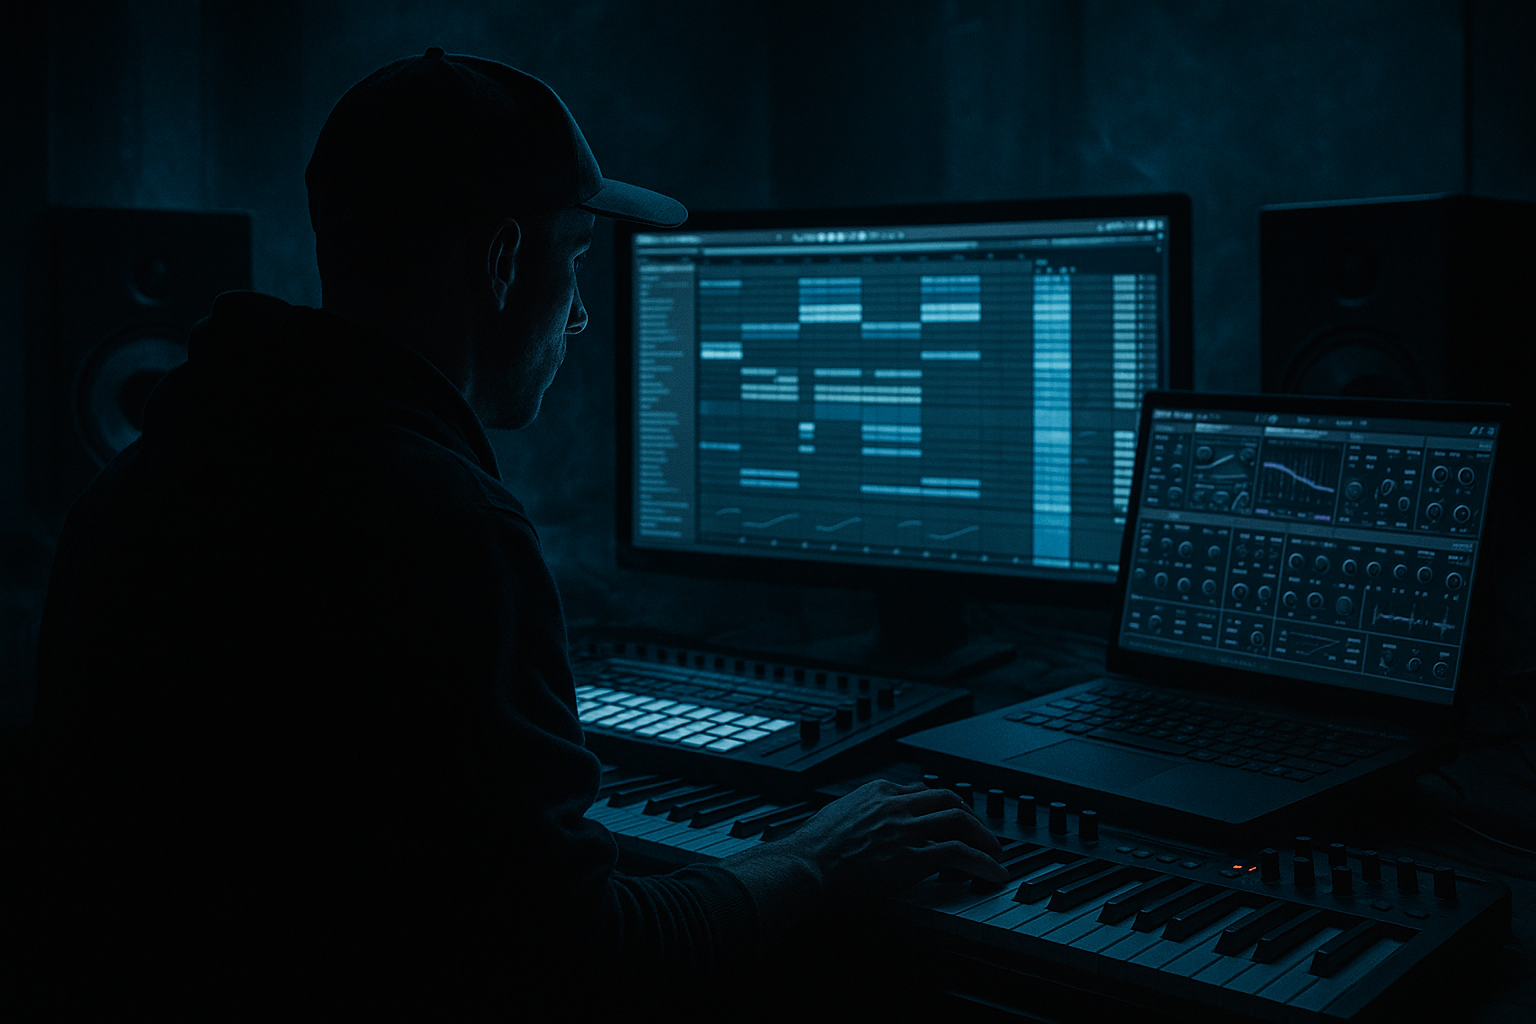
In Ableton Live 12, this is especially powerful because you can combine Warp, resampling, follow actions, stock delays/reverbs, and automation to turn a simple 1- or 2-bar break into a full tension-building section. For DnB, that matters because the genre relies on contrast: dense drums vs. space, sub weight vs. filtered tension, roll vs. pause, swing vs. straight energy. A switchup stretch gives you that contrast without changing the identity of the tune.
This lesson is aimed at intermediate producers who already know their way around clips, arrangement view, and basic effects. We’re going to build a practical, reusable transition technique that works in rollers, darker liquid, jungle-leaning edits, neuro-influenced breaks, and heavier dancefloor DnB.
What You Will Build
By the end, you’ll have a 4- to 8-bar switchup stretch built from a breakbeat idea that does all of the following:
- starts as a tight, forward-moving break phrase
- gradually “opens up” into a stretched, half-frozen tension section
- uses automation on filters, delay feedback, and reverb size
- includes micro-edits and fills that keep the groove alive
- creates a clean handoff into the next drop or breakdown
- stays musically coherent for DnB, not just “effecty” 🎯
- Over-warping the break until it loses snap
- Too much reverb on the whole drum bus
- Bass staying too loud during the switchup
- FX fills masking the actual rhythm
- No contrast between the “think” moment and the drop
- Darken the space, not just the sound: use Reverb high cut around 6–8 kHz and keep the decay controlled so the transition feels moody, not glossy.
- Use filtered saturation on the break tail: a little Saturator before the FX send can make the break feel more aggressive without needing extra layers.
- Resample the nastiest moment and pitch it down a few semitones for a grimy texture bed.
- Keep sub mono, but allow the mid-bass to breathe: a narrow sub with a wider reese top gives the transition weight without low-end chaos.
- Let ghost notes survive the stretch: tiny snare taps and hat pickups make the break feel alive even when the main groove is thinning out.
- Automate small changes, not giant ones: a 10–20% increase in Echo feedback or a slow 300 Hz filter dip can sound more menacing than a huge sweep.
- Use a fake-out stop before the final impact: one beat of near-silence can be darker than a big riser because it feels unpredictable.
Think of it like this: a 2-bar break loop becomes a longer transition phrase where the drums stop behaving like a loop and start behaving like a scene change. The result feels suitable for a DJ-friendly switch, a pre-drop fakeout, or a mid-track energy pivot.
Step-by-Step Walkthrough
1. Choose a break phrase with movement, not just density
Start with a break that already has a strong internal rhythm. In DnB, good candidates are:
- a classic Amen-style slice
- a chopped jungle break
- a funkier modern break with ghost notes
- a tight loop with a clear snare backbeat and syncopated hats
In Arrangement View, place a 2-bar loop and listen for where the groove naturally “leans forward.” You want a phrase that has:
- a clear kick/snare anchor
- at least one small fill or turnaround
- enough empty space for FX to breathe
If the break is too busy, reduce it first. A switchup stretch works better when you can hear the edits. For intermediate workflow, try resampling the break to audio if it’s currently a drum rack MIDI pattern. That makes warp edits, reverse bits, and tiny stretch moves easier later.
Why this works in DnB: the break is the narrative engine. If the source groove has character, the stretch section feels intentional instead of random.
2. Build a “Break Lab” rack with parallel drum and FX paths
Put your break on an audio track and group it with a few supporting channels:
- Break main
- Break ghost layer
- FX throws
- Atmosphere/noise
- Impact/reverse layer
On the break group, use Drum Buss lightly:
- Drive: 5–15%
- Boom: off or very subtle unless you want extra low-mid thump
- Transients: +5 to +20 for snap
- Crunch: small amounts if the break needs attitude
Add EQ Eight after Drum Buss:
- high-pass only if the break is fighting the sub
- gently cut 200–400 Hz if the break feels boxy
- tame harshness around 5–8 kHz if hats get brittle
For the FX return, create:
- Reverb
- Echo
- optional Delay or a second Echo for more rhythmic throws
Keep the return channels ready, because the stretch section is going to lean on them. Stock Ableton returns are enough here. The key is clean routing and controlled send automation.
3. Warp the break so you can “stretch” the phrase without losing impact
Open the break clip and set Warp properly. For a DnB break stretch, you want musical control rather than sloppy time-smear.
Try these starting points:
- Warp mode: Beats for punchy drum slices
- Preserve transients: keep it tight for snares and kicks
- Start with transient grid values that respect the rhythm, then adjust
If you want a more dissolved transition, switch a copy of the break to:
- Complex Pro for smoother time-stretching on a washier section
- or keep the main break in Beats and use a stretched duplicate just for the tail end
A very effective intermediate trick: duplicate the break to a second track, stretch the duplicate by a bar or two, then filter it heavily and automate it under the main break. That gives you a “ghost stretch” without destroying the punch of the original.
Useful parameter idea:
- Main break: crisp, transient-heavy
- Stretched copy: low-pass around 700 Hz to 2.5 kHz, wet reverb, wide but quieter
4. Create the actual switchup by breaking the loop into phrases
The “think-break” part comes from the edit strategy. Take your 2-bar break and turn it into a 4- or 8-bar storyline:
- Bar 1–2: normal groove, maybe with one small variation
- Bar 3: remove the first kick or snare to create a hole
- Bar 4: add a reverse slice or fill
- Bar 5–6: stretch the tail, filter down, increase FX send
- Bar 7: full tension pause or mini-stop
- Bar 8: impact, fill, or pickup into the next section
In Ableton, slice the break into small clips and rearrange them. Use:
- Reverse on one ghost hit or snare tail
- tiny fades to avoid clicks
- clip gain changes to shape accent patterns
Good DnB switchup editing often uses one unexpected silence more than ten effects. A 1/8 or 1/4 beat gap before the next crash can hit harder than another layer of noise.
Arrangement example:
- In a rolling tune, use this stretch at the end of a 16-bar drop phrase to reset energy before the second drop.
- In a darker tune, place it after 32 bars to create a “breath” before the next bass sequence enters.
5. Automate the FX so the listener feels the tension rising
This is where the lesson becomes properly FX-focused. Automate the send levels and device parameters across the stretch section.
Start with Reverb on a send:
- Dry/Wet on the return at 100%
- Size: medium to large
- Decay: about 1.8–4.5 s depending on how spacious you want it
- High Cut: around 5–9 kHz to keep it dark and not too glossy
Then automate the break’s send amount:
- Bar 1–2: very little reverb
- Bar 3–4: gradual rise
- Bar 5–6: push the throw on selected hits
- Bar 7: maximum or near-maximum for the “freeze” moment
Do the same with Echo:
- Time synced to 1/8 or 1/4 for rhythmic tailing
- Feedback around 20–45% for controlled repeats
- Filter the Echo to stop it clouding the low end
One strong move in DnB is to automate filter cutoff before delay feedback. That way the sound gets thinner as it gets more spatial, which keeps the mix clearer while the tension rises.
6. Add a “think” moment with a temporary low-information section
The switchup stretch needs a brief moment where the track seems to think before the drop. This can be done with subtraction, not addition.
Try one of these:
- mute the kick for half a bar
- strip the break down to hats and snare ghost notes
- leave only a filtered room hit, vinyl noise, or reverb tail
- use a single crash + delay tail into silence
In Ableton, use Auto Filter:
- low-pass at around 300–1,000 Hz for the stripped moment
- resonance modest, around 0.7–1.5, if you want a sharper sweep
- automate cutoff from dark to bright over 1–2 bars
A useful heavier approach is to keep only the snare top and a tiny kick ghost while the bass is completely removed. This sets up the next drop because the ear wants the sub to return. That absence is the tension.
Why this works in DnB: the genre is built on the return of low-end force. If you briefly remove that force, the next impact feels bigger without needing louder mastering tricks.
7. Use resampling to create custom fills and texture tails
Once the main stretch exists, resample a bar or two of it. Record the break plus FX into a new audio track. Then treat that audio like design material.
From the resampled clip, extract:
- a reversed crash tail
- a filtered snare wash
- a pitched-down ghost hit
- a noisy end-of-bar fill
Process the resample with:
- Saturator for edge and density
- Redux very lightly if you want gritty texture
- Hybrid Reverb or standard Reverb for a darker space
- Auto Filter to carve it into a transition layer
Suggested settings:
- Saturator Drive: 2–6 dB
- Soft Clip: on if the transient gets too spiky
- Redux: subtle bit reduction only, if used at all
- Filter sweep: start around 3–6 kHz and move downward for a falling tail
This is where the “Break Lab” concept becomes real: you’re not just editing a break, you’re manufacturing transition material from it.
8. Control the low end so the stretch doesn’t wreck the drop
In DnB, the biggest mistake with FX-heavy stretches is letting the bass and the break compete. If your sub or reese stays too full during the stretch, the transition loses impact.
During the switchup:
- automate the bass off early, or reduce it to a filtered hint
- keep sub mono and clean
- use Utility on bass groups to narrow width toward the transition
- avoid wide low-frequency reverb
On the bass bus:
- use EQ Eight to high-pass FX layers above the sub region
- keep the sub centered with Utility’s Width at 0% if needed
- let mid-bass movement survive, but do not let stereo smear hit below about 120 Hz
A practical move: cut the bass 1/2 bar before the break stretch peak, then let only a short bass stab or noise layer return on the downbeat. That contrast makes the drop feel engineered rather than brute-forced.
9. Finish the phrase with a DJ-friendly pickup or impact
The final bar of the stretch should tell the listener exactly where the next section begins. In DnB, the cleanest endings usually have one of these:
- a crash + sub drop
- a short silence + full drop
- a snare pickup into a new groove
- a reverse cymbal leading into the one
Use Simpler or a basic audio clip for a short impact if needed. Layer it with:
- a reversed version of the same impact
- a filtered noise burst
- a short reverb tail that gets cut right before the drop
If you want a more underground feel, don’t overdo the downlifter. Often the best move is a tight, ugly little snare flam into silence, then the drop. That keeps the energy raw.
Arrange the switchup so it lands cleanly on bar 1 of the next section. This is especially important if you want the tune to work in DJ mixes. Leave enough headroom and structure so the transition doesn’t become a blur.
10. Check the whole switchup in context and trim anything that overstates itself
Soloing is not enough. Play the stretch with:
- the bass
- the next drop
- at least one atmosphere layer
- and your master chain, if you have one
Listen for:
- whether the break still feels rhythmic after the stretching
- whether the FX support the groove instead of masking it
- whether the tension rises in a straight line or spikes too early
- whether the drop hits harder after the silence or less hard because the transition was overcooked
Make one pass where you mute 20–30% of the FX you think you need. In DnB, restraint often sounds bigger. If the listener can still clearly hear the phrase and the switch, you’re in the right zone.
Common Mistakes
Fix: keep the main break in a punchy Warp mode like Beats, and use a separate stretched layer for atmosphere.
Fix: use sends for throws, not constant wash. Keep the main break punchy and let only selected hits bloom.
Fix: automate bass down earlier than you think. The drop needs room to feel huge.
Fix: if the listener can’t tell where the snare is, remove layers. The groove must survive the transition.
Fix: insert a brief strip-down or near-silence. DnB tension depends on the gap.
Pro Tips for Darker / Heavier DnB
Mini Practice Exercise
Set a timer for 15 minutes and build one switchup stretch from a 2-bar break loop.
1. Pick one break and loop it for 2 bars.
2. Duplicate it into a 4-bar section.
3. In bars 3–4, remove one kick and one snare hit to create space.
4. Add Auto Filter and automate a slow low-pass move across the section.
5. Create one Echo return and automate a small throw on the last snare of bar 4.
6. Resample the last bar into a new audio track.
7. Reverse one short slice from the resample and place it before the final impact.
8. Mute the bass for half a bar before the drop point.
9. Play the full phrase with the next drop and ask: does the switchup feel like a breath, or just an effect pile?
If it feels cluttered, remove one layer and try again. The goal is not “more FX” — it’s better tension design.
Recap
A good Break Lab switchup stretch in Ableton Live 12 is built from tight break editing, controlled stretching, and disciplined FX automation. Keep the break rhythmic, use sends for reverb and echo, create a brief “think” moment by subtracting elements, and protect the low end so the drop lands hard. In DnB, the transition is part of the groove — if you shape it well, the entire track feels more powerful.

