Main tutorial
Break Lab: Ableton Live 12 Mid Bass Method Using Session View to Arrangement View for Jungle / Oldskool DnB
1. Lesson overview
In this lesson, you’re building a mid-bass performance system in Ableton Live 12 that starts in Session View and gets arranged into a full oldskool jungle / drum & bass track. The goal is to create a dirty, moving, character-rich mid bass that works like a break-driven weapon: it supports the drums, adds tension, and brings that ragged, energetic 90s vibe ⚡
This approach is especially useful if you want:
- a live-feeling bass groove instead of a static loop
- a bass sound that can mutate across sections
- a workflow that makes it easy to jam ideas in Session View and then commit them into Arrangement View
- a sound palette that feels at home in:
- 1 MIDI bass rack with a gritty midrange tone
- 3–5 MIDI clips in Session View:
- a performance-ready FX chain for movement and aggression
- a Scene-based arrangement strategy that translates into Arrangement View
- an intro, drop, variation, and breakdown structure
- chopped break loops
- sub-heavy jungle energy
- dark atmospheres
- gritty warehouse system playback
- Tempo: `160–174 BPM`
- Time signature: `4/4`
- Warp: on for break loops
- Global quantization: `1 Bar` for clip launching
- Launch mode: use Follow Action if you want evolving variations later
- Wavetable or Operator
- Saturator
- Auto Filter
- Roar or Overdrive
- EQ Eight
- Glue Compressor or Compressor
- optional Utility
- Osc 1: Saw
- Osc 2: Square or Saw
- Unison: `2–4 voices`
- Detune: subtle, around `5–12%`
- Filter: Low-pass, but keep it fairly open
- Envelope: short decay, little or no sustain
- LFO: assign to filter or wavetable position for motion
- Algorithm: simple FM routing
- Carrier: sine or triangle
- Modulator: add just enough FM bite
- Use slight pitch envelope for aggression
- Add distortion afterward
- midrangey
- slightly nasty
- not too sub-heavy
- able to cut through breaks
- Mode: `Analog Clip`
- Drive: `3–8 dB`
- Soft Clip: `On`
- Use this to thicken harmonics
- Mode: `Low-pass 24` or `Band-pass` for movement
- Add a little resonance
- Map cutoff to an LFO or automate it in clips
- For jungle vibes, short filter sweeps work beautifully
- Keep drive moderate at first
- Try different color/saturation modes
- Use parallel-style multiband feel if available in your setup
- Drive: `15–30%`
- Tone: adjust until the mid feels focused
- Frequency: place emphasis around the bass’ character range
- High-pass at `30–40 Hz` if there’s accidental sub buildup
- Cut muddy low-mids around `180–350 Hz` if needed
- Slight boost around `700 Hz–1.5 kHz` for growl
- Tame harshness around `2.5–5 kHz` if the bass gets fizzy
- Attack: `10–30 ms`
- Release: `Auto` or `0.1–0.3 s`
- Aim for gentle control, not over-squash
- This helps the bass sit with break transients
- Use Width = 0% for anything below the mid range if the sound gets too wide
- If the bass is stereo, consider keeping it narrower for club translation
- Use notes from the root, b3, 4, 5, or b7 if you want darker minor energy
- Keep some notes short and staccato
- Leave gaps so the break can breathe
- D
- F
- G
- A
- C
- Hit on the offbeat
- Leave space after snare hits
- Syncopate around kick patterns in the break
- Use short 1/8 and 1/16 notes for bounce
- Don’t fill every sixteenth note
- Use velocity variation
- Nudge certain notes slightly for human feel if needed
- Consider note length differences to create groove
- Filter cutoff
- Resonance
- Device on/off
- Saturator drive
- Wavetable position
- Operator frequency offset if applicable
- Bar 1: filter slightly closed
- Bar 2: filter opens gradually
- End of bar 2: resonance peak for tension
- Add a quick pick-up note before the snare
- Use octave jumps
- Create a call-and-response every 2 bars
- Insert a short chromatic passing tone for tension
- Use a pitch bend or short glide on one note
- Pitch MIDI effect for fast octave shifts
- Arpeggiator for short stutter fills
- Chord if you want synthetic stacked movement, but use lightly
- Note Length for controlled gate-style rhythm
- Resample the bass to audio
- Chop the best bits
- Reverse a tiny phrase for tension
- Drop the resampled layer into Arrangement View for impact edits
- Loop the breakbeat
- Launch the main bass clip
- Trigger variation clips every 4 or 8 bars
- Mute and unmute layers
- Use automation to ride filter and distortion
- Record the session performance into Arrangement View
- bass clip launches
- filter sweeps
- effect changes
- mutes/unmutes
- fill transitions
- breakdown moments
- zoom into the Arrangement View
- clean up awkward clip launches
- duplicate the best phrases
- create the intro / drop / breakdown structure
- break loop only
- filtered bass hints
- atmosphere
- short bass teaser every 8 bars
- full drum break
- main bass groove
- minimal variation
- keep it punchy
- introduce a second bass phrase
- automate filter opening
- add fill every 8 bars
- strip bass to a filtered texture
- use echoes, reverb tails, and chopped bits
- create tension with resonant filter sweeps
- bring back the full bass
- add variation clip or octave jump
- make this section heavier or more chaotic
- remove bass gradually
- leave drums and atmos
- Reverb
- Delay
- Echo
- Redux
- groove
- answer
- fill
- breakdown texture
- minor keys
- modal movement
- tritones
- chromatic approach notes
- reverse tiny sections
- slice transients
- re-pitch phrases
- add warp-based instability
- one clean
- one distorted and filtered
- bit reduction very lightly
- saturated tape-style drive
- short room reverb on specific fills
- sample-like textures instead of polished synth perfection
- bass hits after the snare
- short response before the next kick
- small pitch drop at the end of a bar
- Use only notes from a minor scale
- Keep the bass mostly below the upper midrange
- Leave at least 25% of the bars with intentional space
- design a strong mid-bass patch with stock devices
- write short, rhythmically smart clips in Session View
- use clip envelopes for motion and tension
- launch variations like a live performance
- record the best take into Arrangement View
- shape the track with breakdowns, fills, and contrast
- a downloadable Ableton device chain recipe
- a bar-by-bar MIDI example
- or a full jungle drop arrangement template.
- jungle
- oldskool DnB
- rolling breakbeat
- darker halftime-inflected DnB
We’ll use Ableton stock tools and focus on practical chain building, clip design, and arrangement control.
---
2. What you will build
You’ll create:
- root note bass
- moving call-and-response phrase
- tension phrase
- fill / turnaround
Final result
A bassline that sounds like it was made for:
---
3. Step-by-step walkthrough
---
Step 1: Set up your project for DnB workflow
Before sound design, get your template right.
#### Recommended settings
- For classic jungle feel, try `162–168 BPM`
- For more modern DnB, go `172–174 BPM`
#### Track layout
Create these tracks:
1. Drums / break loop
2. Sub bass
3. Mid bass
4. Atmos / FX
5. Risers / hits
For this lesson, focus on the Mid bass track, but keep the drum loop playing so you can hear the bass against the break.
---
Step 2: Build the mid bass instrument chain
We want a mid bass that has body, bite, and movement without stepping on the sub.
#### Use this stock device chain:
Instrument Rack
---
Step 3: Create the core bass sound
#### Option A: Wavetable mid bass
This is a great choice for a reese-ish oldskool tone.
Wavetable settings:
#### Option B: Operator mid bass
This gives a more raw, FM-leaning character.
Operator settings:
#### Quick tonal target
You want the bass to sound:
---
Step 4: Shape the tone with stock FX
Here’s a strong practical chain.
#### 1) Saturator
#### 2) Auto Filter
#### 3) Roar or Overdrive
If you have Roar in Live 12, it’s excellent for aggressive tonal shaping.
If using Overdrive:
#### 4) EQ Eight
Use EQ to carve space.
Suggested starting points:
#### 5) Glue Compressor
#### 6) Utility
---
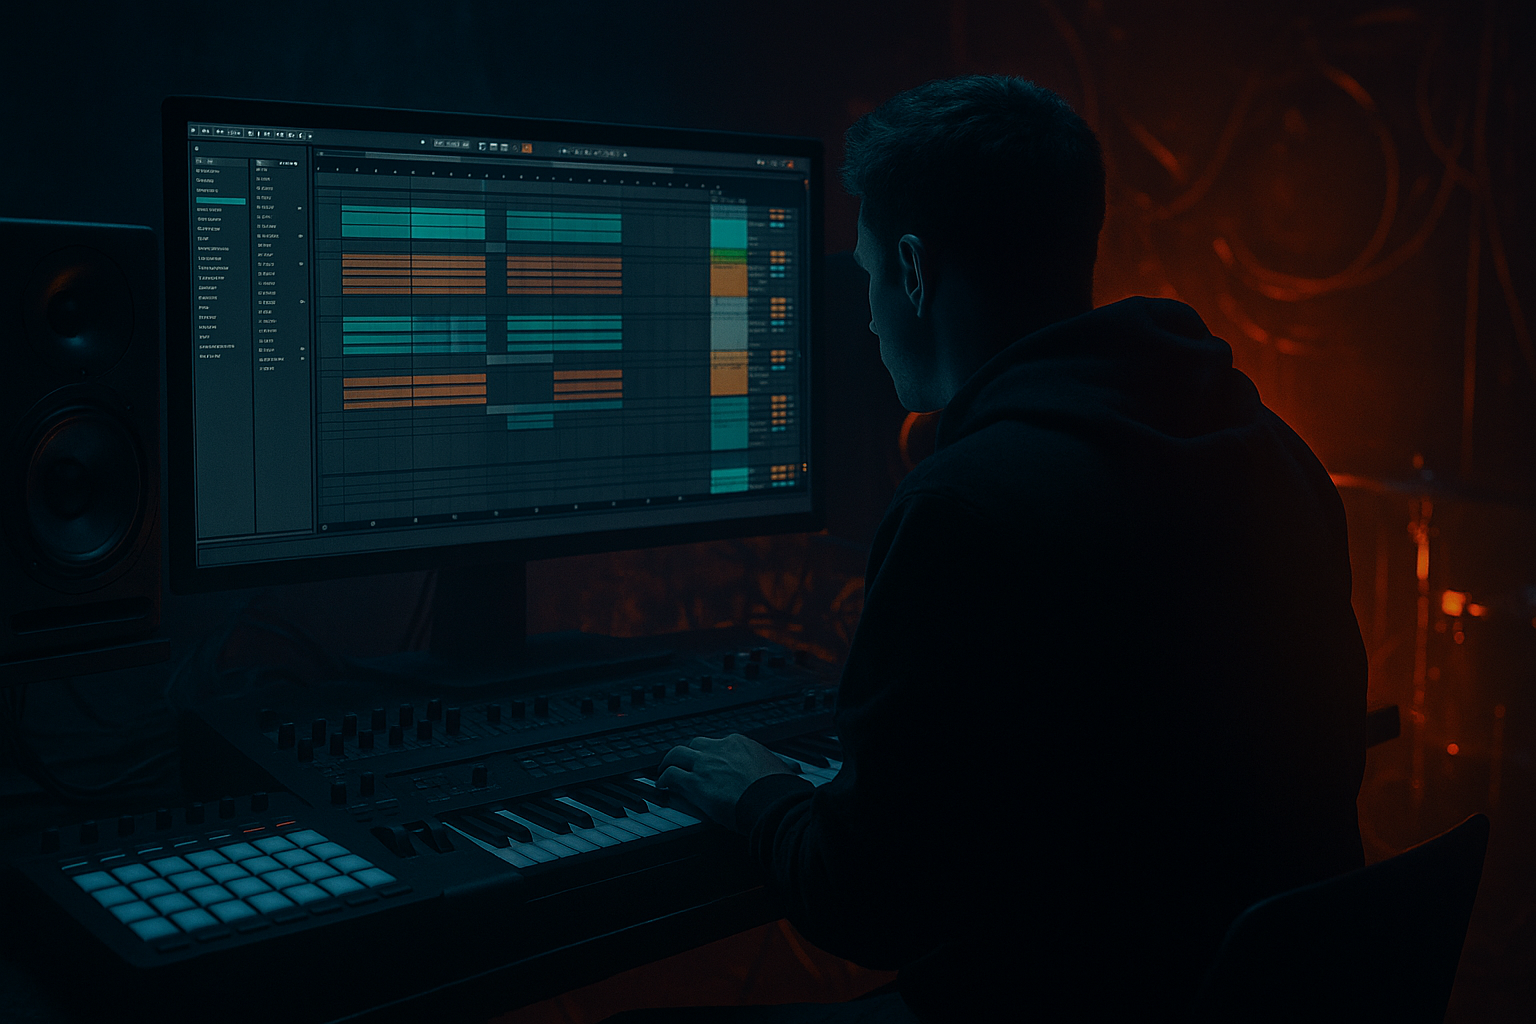
Step 5: Write the bass in Session View
This is where the method becomes powerful. Instead of building a linear bassline first, you’ll create loopable bass phrases that can be launched and tested against your break.
#### Create 4 MIDI clips
Make clips in 1-bar or 2-bar lengths:
1. Main groove
2. Answer phrase
3. Variation
4. Fill / turnaround
---
Step 6: Write the first bass clip
Start simple. Jungle and oldskool DnB bass often works best when it’s rhythmically tight and harmonically minimal.
#### Example approach:
#### Example in D minor:
#### Rhythm idea:
#### Practical MIDI advice:
---
Step 7: Add movement with clip envelopes
In Session View, each MIDI clip can have its own automation envelopes. This is crucial for evolving bass.
#### In the clip envelope:
Automate:
#### Example:
This creates that classic “it’s alive” bassline feeling without needing a huge arrangement.
---
Step 8: Use variation clips for jungle energy
Oldskool DnB and jungle work because phrases respond to the drums.
#### Variation ideas:
#### Helpful Live devices:
---
Step 9: Make it heavier with resampling and layering
To get authentic jungle grit, resample your mid bass or layer a textured top.
#### Layer ideas:
1. Clean mid layer
- Gives note definition
2. Dirty resampled layer
- Print the bass with distortion
- Warp it slightly if needed
- Use it quietly underneath
3. Noise/top layer
- Add a subtle noise burst
- Use filtered vinyl-like grit
- Great for attack and oldskool texture
#### In Ableton:
---
Step 10: Jam in Session View like a performer
Now treat Session View like an instrument.
#### Workflow:
This is one of the fastest ways to capture a natural DnB arrangement. You’re making decisions in real time, which often leads to better energy than drawing everything manually.
---
Step 11: Record into Arrangement View
Once the groove feels right, hit Global Record and perform your scene launches.
#### What to capture:
After recording:
---
Step 12: Arrange the track like a jungle / DnB tune
A practical structure:
#### Intro
#### Drop 1
#### Development
#### Breakdown
#### Drop 2
#### Outro
---
Step 13: Use FX sends for classic space and impact
For DnB, the bass usually stays focused, but short FX moments help the arrangement breathe.
#### Recommended sends:
- short decay
- pre-delay to keep clarity
- ping-pong on selected fill notes only
- for dubby jungle tails
- for occasional lo-fi destruction, not on the main bass constantly
#### Pro move:
Automate send levels only on fill clips or the last note of a phrase.
---
4. Common mistakes
1) Making the bass too sub-heavy
Mid bass should live above the sub, not fight it.
If the bass sounds huge in headphones but collapses on a system, you may have too much low end in the mid layer.
2) Overfilling the rhythm
Oldskool DnB feels powerful because of space.
If your bass plays on every subdivision, the break loses impact.
3) Too much distortion without EQ
Distortion creates harmonics, but it also creates mud and harshness.
Always follow distortion with EQ shaping.
4) No contrast between clips
If every clip does the same thing, the arrangement will feel flat.
Make distinct roles:
5) Ignoring drum interaction
The bass should lock with the break, not just exist beside it.
Listen for how it reacts to snares, ghost notes, and kick placements.
6) Stereo bass problems
Wide bass can sound impressive but weak in a club.
Keep the low-mid core controlled and mono-friendly.
---
5. Pro tips for darker/heavier DnB
Use note choice for mood
For darker jungle vibes, lean into:
Push movement with automation, not more notes
A simple bassline with automated filter, distortion, and wavetable motion often feels heavier than a complicated MIDI pattern.
Resample aggressively
Print your bass to audio and manipulate it:
Try parallel dirt
Duplicate the bass track:
Blend them subtly for controlled aggression.
Add oldskool character
Use:
Make the bass “answer” the break
A classic jungle trick:
That call-and-response relationship is pure movement.
---
6. Mini practice exercise
Exercise: 8-bar jungle bass sketch
Build an 8-bar session using just one mid bass patch.
#### Task
1. Create 3 MIDI clips
- Clip A: main groove
- Clip B: variation
- Clip C: fill
2. In the bass sound, automate:
- filter cutoff
- saturation drive
- one delay throw on the last note
3. Arrange the performance into:
- 4 bars groove
- 2 bars variation
- 1 bar fill
- 1 bar empty or stripped-down break
#### Constraints
#### Goal
Make it feel like the bass is dancing with the break, not fighting it.
---
7. Recap
You now have a practical Ableton Live 12 workflow for building a mid bass system for jungle and oldskool DnB:
The big idea
In drum and bass, the bass doesn’t need to be busy to be powerful.
It needs to be rhythmically precise, harmonically focused, and constantly evolving 🔥
If you want, I can turn this into:

