Main tutorial
Lesson Overview
This lesson is about building a jungle-style arp system in Ableton Live 12 that sits on top of your breaks and works like a DJ tool: something you can use to create tension, movement, and transition energy without rewriting the whole track. The core idea is simple but powerful — take a chopped break, turn it into a playable arp layer, then use Groove Pool timing tricks to make it feel like it was pulled straight from an old-school rave record while still hitting with modern DnB precision.
In a real Drum & Bass tune, this kind of system is useful in a few places:
- Intro builder: to make 16 or 32 bars feel alive before the drop
- Drop support: to add a restless top-line that dances around the drums
- Breakdown transition: to create a “DJ mix” style bridge between sections
- Roller variation: to add motion without overcrowding the sub and main bass
- a tight break-derived rhythmic layer
- a midrange synth or sampler arp layer
- groove-controlled timing that leans slightly behind or ahead of the grid
- a DJ-friendly intro/outro version plus a more aggressive drop version
- automation for filter, width, and send effects so it can evolve across arrangement sections
- a choppy 1/16 to 1/32 rhythmic shimmer
- with breakbeat-derived syncopation
- sitting above a sub-safe bass foundation
- and able to switch between:
- Making the arp too melodic
- Using the same groove amount on every layer
- Letting the arp fight the bass
- Over-warping the break
- Too much reverb or delay
- No arrangement purpose
- Detune the arp layer slightly
- Use Saturator before filtering for grimier movement
- Try rhythmic sidechain-style ducking on the arp
- Resample and pitch a variation down
- Keep the stereo image controlled
- Layer a ghost percussion chain
- Use automation to imply phrase changes
- keep the sub separate and mono
- use different groove depths across layers
- let the arp serve intro, transition, and drop support
- automate filter and space for arrangement energy
- resample once it feels right so you can finish faster
Why this matters in DnB: the genre lives and dies by timing feel, drum momentum, and controlled intensity. A straight MIDI arp can sound too clean or too trancey. But if you push the groove from chopped breaks, then bend it with Ableton’s Groove Pool, you get that jungle swing and forward pressure that makes the track feel dangerous and human at the same time.
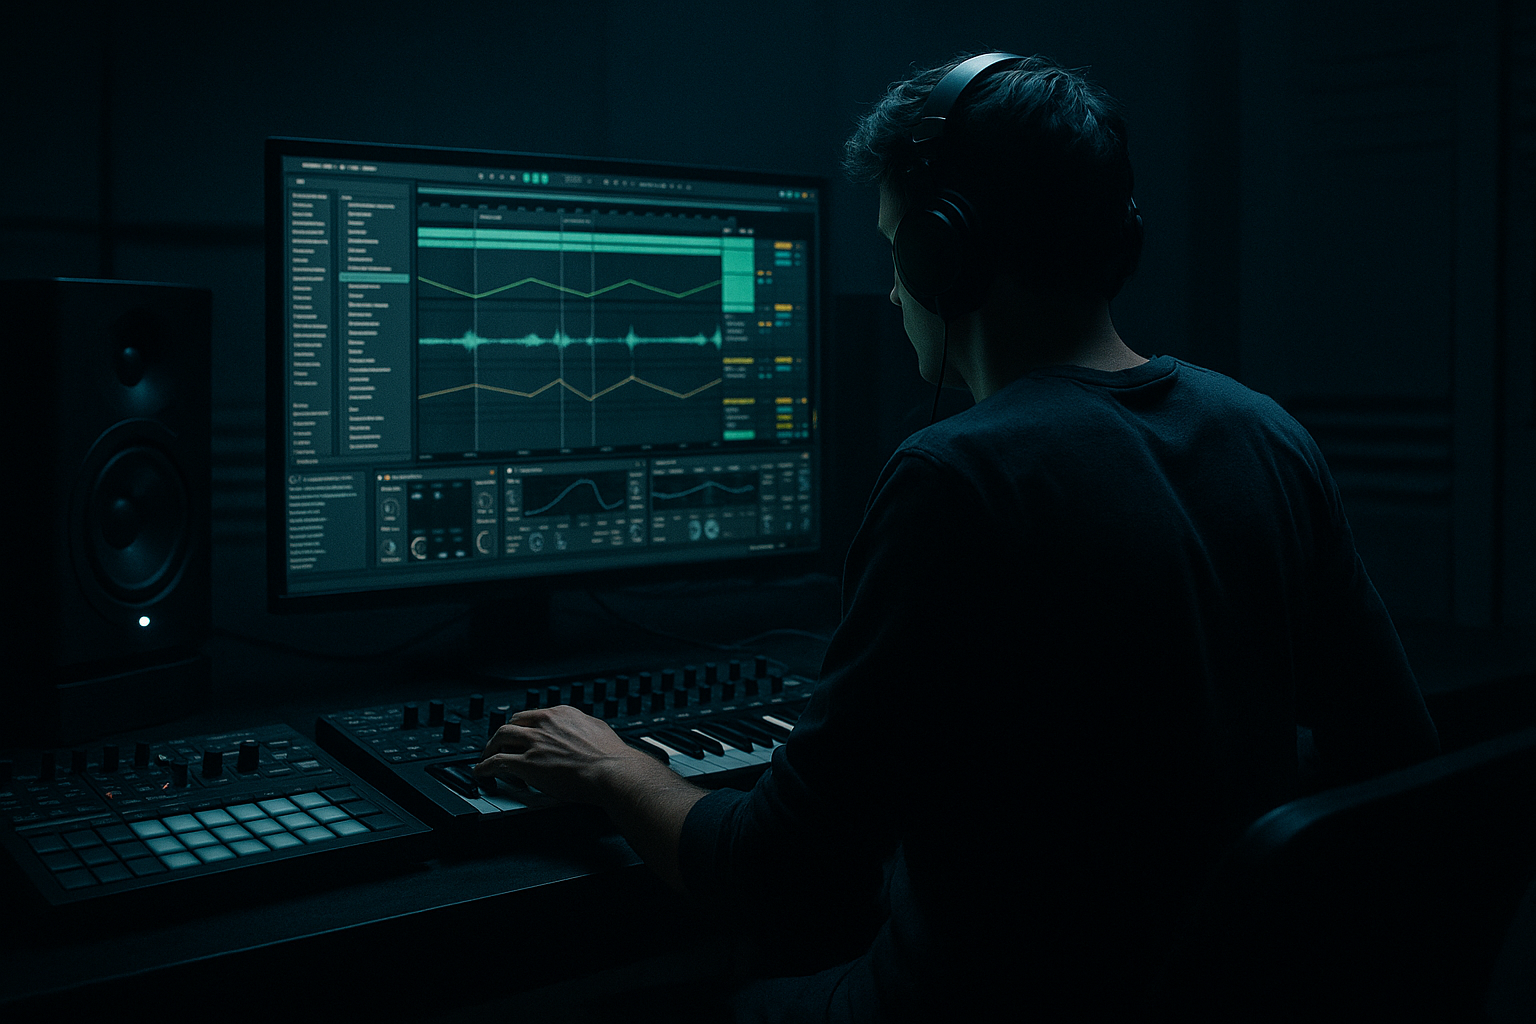
You’ll be using stock Ableton tools like Simpler, Arpeggiator, Groove Pool, Drum Rack, Auto Filter, Saturator, Echo, Utility, and Compressor to build something you can reuse in multiple projects.
What You Will Build
By the end of this lesson, you’ll have a 2-layer jungle arp system made from:
Musically, the result should feel like:
- atmospheric tension
- jungle rave energy
- darker roller support
- transition FX / tool track energy
Think of it like a hybrid between a chopped break fill, a synthetic arp, and a DJ intro loop that keeps the floor moving while your main drums or bass do the heavy lifting.
Step-by-Step Walkthrough
1. Choose a break that already has attitude
Start with a classic jungle-friendly loop or a short break phrase with a clear groove. If you have your own break edit, even better. The important part is that it has ghost notes, offbeat hats, and some transient contrast. You want something that feels alive when sliced.
In Ableton Live, drag the break into an audio track and loop a clean 1–2 bar section. If the loop is messy, use Warp and align the downbeat carefully, but don’t over-quantize the life out of it.
Good target material:
- Amen-style break fragments
- Think-style break hits
- Funky 2-step break edits for rollers
- stripped percussion loops with swing
Why this works in DnB: break-heavy rhythm gives you natural micro-timing that immediately reads as jungle or classic drum & bass. The arp system will feel more “played” and less programmed.
2. Slice the break into a playable Drum Rack
Right-click the break and choose Slice to New MIDI Track. Use a sensible slicing method like transients or fixed subdivision depending on how busy the break is. For an intermediate workflow, transient slicing usually gives the best results because it preserves the best hits and ghost details.
In the new Drum Rack:
- Keep the most usable slices on the first 8–12 pads
- Group similar hits:
- kick-ish slices
- snare hits
- ghost/snare pickups
- hat/shuffle fragments
- Delete unusable slices if they clutter the rack
Then program a simple MIDI clip that triggers the slices in a repeating phrase. Don’t try to make it sound finished yet — the point is to build a rhythmic engine.
Suggested note pattern:
- use 1/16 grid as the base
- add occasional 1/32 pickup notes
- leave small gaps so the groove breathes
If you want more jungle flavor, place a ghost hit just before the main snare slice. That tiny anticipation creates forward momentum.
3. Build a second layer with a simple arp voice
Create a new MIDI track with Wavetable, Analog, or even Simpler playing a short stab/tonal sample. This is your actual “arp voice.” Keep it lean. You are not building a big melodic lead — you are making a movement layer that behaves like a DJ tool.
A solid starting sound:
- oscillator or sample with a slightly nasal midrange
- short amp envelope
- little or no sustained release
- optional noise layer for edge
Suggested settings:
- Attack: 0–5 ms
- Decay: 120–300 ms
- Sustain: low to medium, around 20–50%
- Release: 40–120 ms
Insert Arpeggiator before the instrument if you want the line to auto-generate movement from a small held chord or dyad. For DnB, keep it short and punchy:
- Rate: 1/16 or 1/32
- Gate: 45–75%
- Style: mostly straight at first; add slight swing later
- Steps: 8 or 16 if you want a repeating motif
If you want a darker result, use a minor 2-note shape or a tight cluster like root + flat 5, then let the arp do the rhythmic work.
4. Create the groove feel in Groove Pool, not just the MIDI grid
Now comes the key trick. Open Groove Pool and drag in a groove from Ableton’s library — start with something in the MPC-style swing or a break-derived groove that has noticeable timing character.
Apply the groove to both:
- your sliced break MIDI clip
- your arp MIDI clip
Important: don’t use the exact same amount on both tracks. That makes everything feel welded together in a way that can flatten the rhythm. Instead, try different groove intensities:
- break layer: 35–55% groove amount
- arp layer: 15–35% groove amount
Then adjust:
- Timing first, subtle values are best
- Random only a little if needed
- Velocity if you want more bounce in the chopped break
Use the Commit function only after you’re happy. Before that, treat groove as performance shaping, not permanent surgery.
Why this works in DnB: the genre often uses tightly quantized subs and kick drums, but the energy on top comes from swing, push/pull, and microscopic timing differences. Groove Pool lets the arp sit like a live layer over a machine-tight low end.
5. Shape the arp into a DJ tool with filtering and space control
Add Auto Filter after the arp instrument. This is where the system becomes useful in arrangement and mixing.
Start with:
- Mode: Low-Pass 12 or 24 dB
- Cutoff: around 300 Hz to 2.5 kHz, depending on how exposed the layer should be
- Resonance: 10–25%
- Envelope amount: subtle, if the arp needs extra bite
For intro sections, keep the filter lower and automate it open as the drop approaches. For drop sections, let the arp open wider, but don’t let it compete with the bass fundamental.
Add Utility after Auto Filter:
- use Width = 0% for lower, punchier sections if the arp has any stereo spread
- or keep width narrow and automate slight widening in transitions
- use Bass Mono discipline by keeping the arp itself out of sub territory
Optional but useful:
- Echo on a send or insert for dubby movement
- Reverb very lightly for atmosphere, but high-pass it aggressively
Keep the arp mostly out of the low end. If the arp is muddy, use EQ Eight and cut around 200–400 Hz where break clutter often builds up.
6. Resample the full movement into a single performance clip
Once the break slices, arp notes, and groove are working together, route them to a resampling track or record the output to audio. This is where the system turns from “MIDI idea” into a usable DJ tool element.
Record 4–8 bars of:
- the break slice loop
- the arp layer
- filter automation
- any echo throws or hits
Then chop the resulting audio into sections:
- intro loop
- rising loop
- drop support loop
- fill / transition bar
This is excellent for DnB because audio clips let you:
- lock groove
- simplify CPU load
- automate arrangement fast
- create a more sample-driven, old-school feel
If the resampled clip feels too rigid, lightly nudge the clip gain or use warp markers sparingly. Don’t overcorrect the swing out of it.
7. Add bass-safe call-and-response underneath
The arp system should not fight your bassline. Instead, it should leave space for a sub + midbass relationship. Build or audition a bass part that is more rhythmic than melodic.
Good DnB approach:
- Sub: clean sine or triangle-like support, mono, simple note holds
- Mid bass/reese: short phrases, automation, call-and-response with the arp
- leave gaps when the arp gets busy
A practical pairing:
- arp hits on offbeats and pickups
- bass answers on downbeats or longer syncopated notes
Use Compressor or Glue Compressor lightly on the bass bus if needed, but don’t squeeze all the movement out of it. If the arp and bass clash, carve with EQ before reaching for more compression.
Musical context example: in a 174 BPM roller, the arp can act as the “shimmer” during the last 8 bars of the intro, then thin out during the first half of the drop while the reese and drums take over. That creates a proper DJ-style handoff.
8. Automate arrangement like a real club record
This system should serve structure, not just sound cool in isolation. Build arrangement sections that make sense for a DJ or for energy progression:
- Bars 1–8: filtered arp + break fragments, low energy
- Bars 9–16: slightly more open filter, more groove depth
- Bars 17–24: add bass hints, echo throws, tension increase
- Bars 25–32: drop or transition into main groove
- Outro: remove low-end elements, keep arp + break shell for DJ mix-out
Automation ideas:
- Filter cutoff rising 300 Hz → 3 kHz across 8 bars
- Echo send up on the last note of a phrase
- Utility width narrowed in intro, opened slightly in the transition
- Saturator drive increased by 1–3 dB for peak sections
This is especially useful in DJ Tools contexts because the arp can function like a mixing bridge for transitions between heavier parts. It gives DJs something to ride while you change the drum density.
Common Mistakes
- Fix: reduce note count, simplify intervals, and let rhythm do the talking.
- Fix: vary groove depth between break, arp, and bass. Too much matching can make the track feel stiff instead of alive.
- Fix: high-pass the arp, narrow the low mids, and keep the sub mono and clean.
- Fix: preserve natural transient feel. A little looseness is good in jungle/DnB; perfect timing often sounds fake.
- Fix: treat ambience like seasoning. Use sends, high-pass the returns, and automate throws instead of leaving effects on full-time.
- Fix: if the arp doesn’t help the intro, tension, or transition, simplify it or remove it. In DnB, every layer should earn its space.
Pro Tips for Darker / Heavier DnB
- If you’re using Wavetable or Analog, a small detune or unison spread can create menace. Keep it subtle so the center stays strong.
- A little Drive: 1–4 dB before Auto Filter can make the arp respond more aggressively to cutoff automation.
- Use Compressor keyed from the kick or main drum bus so the arp tucks under the drums. This keeps the groove intense without cluttering the transients.
- A down-pitched version of the same arp system can become a darker B section or breakdown layer.
- Use Utility or EQ Eight to avoid wide low mids. Save width for upper harmonics and transitions only.
- Add a very quiet shaker, rim, or hat fragment from the same break and route it through the same groove. This reinforces the jungle feel without needing a louder drum bus.
- A 1-bar filter dip, a quick echo push, or a brief note repeat can create “switch-up” energy without adding new musical material.
Mini Practice Exercise
Spend 10–20 minutes making a one-section DJ tool from scratch:
1. Pick a 1-bar break loop and slice it to Drum Rack.
2. Program a short rhythmic phrase using 4–6 slices only.
3. Add a second MIDI track with a tight arp sound from Wavetable, Analog, or Simpler.
4. Apply a Groove Pool groove to both clips, but use different groove amounts.
5. Insert Auto Filter and automate the cutoff over 8 bars.
6. Add a touch of Saturator and one Echo send for the last note of each phrase.
7. Resample 4 bars of the result to audio.
8. Make two versions:
- one filtered, intro-friendly
- one open and heavier for drop support
Goal: in under 20 minutes, create a loop that could realistically sit in a DJ intro or transition between two brutal sections of a DnB tune.
Recap
The key idea is to turn a chopped break into a groove-driven arp system that feels like a real DnB performance tool. Use Drum Rack slicing, Arpeggiator, Groove Pool, Auto Filter, Utility, and resampling to build a layer that adds movement without destroying your low end.
Remember:
If you get the timing and groove right, this kind of system can make even a simple loop feel like a proper jungle/DnB record 🔥

