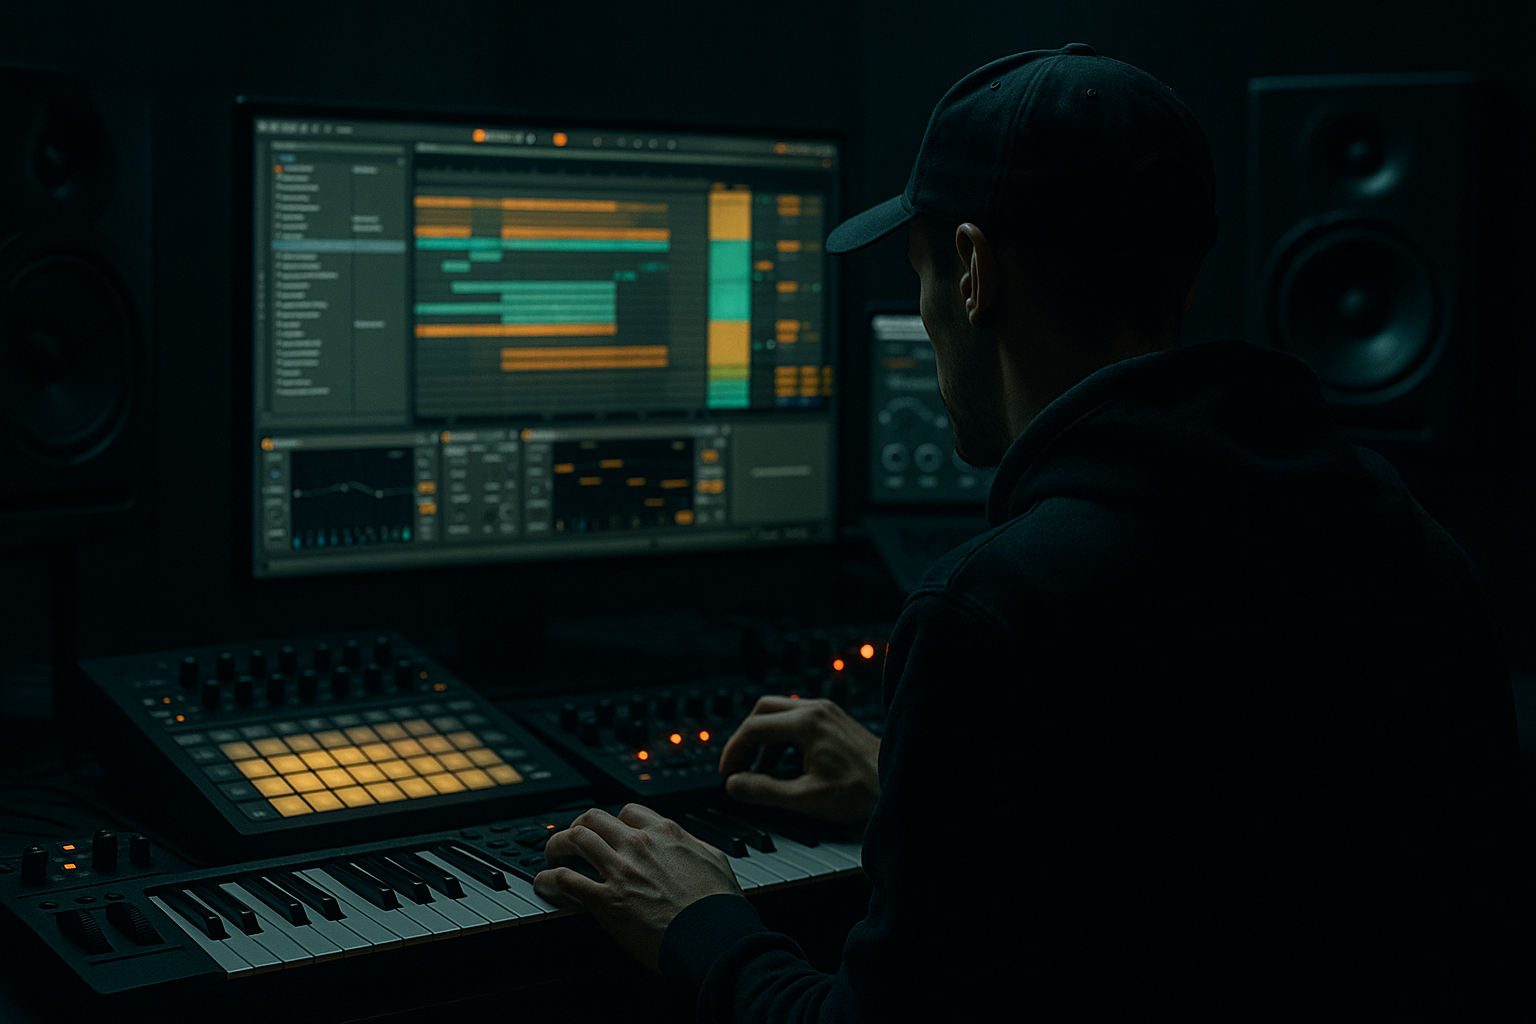
Main tutorial
Break Lab Ableton Live 12 FX Chain Course with Jungle Swing
Category: Automation | Skill level: Intermediate
Welcome to the Break Lab—where we take a clean drum loop and turn it into a moving, evolving, jungle-inflected DnB break using automation in Ableton Live 12. This lesson is all about making your drums feel alive: unstable, gritty, forward-driving, and full of swing without losing the punch. 🥁⚡
---
1. Lesson overview
In drum and bass, especially jungle and darker rolling styles, the break is often more than just a loop—it’s a performance. The classic feel comes from:
- micro-timing changes
- filter movement
- reverb throws
- delay flicks
- bit-crushed transitions
- drum bus energy shaping
- controlled swing and ghost-note motion
- push and pull intensity
- make transitions hit harder
- create jungle-style motion
- keep the groove hypnotic and rolling
- filter cutoff
- drive amount
- dry/wet on delay and reverb
- beat repeat-style stutter moments
- device on/off states
- utility width
- saturator output
- reverb pre-delay or decay
- drum bus transient drive
- a stable groove in the main sections
- evolving FX on transitions
- swing feel preserved
- heavier energy in drops
- controlled chaos in fills and turnarounds
- Amen-style breaks
- Funky drum loops with ghost notes
- Clean acoustic break samples
- Layered break + one-shot top loop
- Warp the loop carefully.
- Set the loop to 1 bar or 2 bars if possible.
- Make sure it locks tightly to your project tempo, usually 170–174 BPM for modern DnB or 160–172 BPM for more halftime-adjacent jungle feel.
- shakers
- rides
- rim shots
- top loops
- ghost percussion
- Filter type: Low-pass 12 or 24 dB
- Cutoff: start around `12–18 kHz`
- Resonance: `0.5–1.5`
- In the intro or fill: gradually close the filter to around `2–6 kHz`
- In the drop: open it back up fully
- For transition bars: move cutoff in small arcs, not huge sweeps
- Mode: Noise
- Frequency: `2–6 kHz`
- Amount: `0.5–3.0`
- pre-drop bars
- fill bars
- last beat of a phrase
- Time: `1/8`, `1/8 dotted`, or `1/16` depending on groove
- Feedback: `15–35%`
- Dry/Wet: `0–20%` normally
- Filter: roll off some lows
- Noise: subtle or off
- Modulation: subtle for movement
- `0%` in the main groove
- `15–35%` on the final snare or ghost fill
- Decay Time: `0.4–1.2 s`
- Predelay: `10–25 ms`
- Dry/Wet: `0–10%` normally
- Low Cut: `200–500 Hz`
- High Cut: `6–10 kHz`
- the last snare of a phrase
- drum pickup into a drop
- sparse intro sections
- Width at `100%` during the main loop
- Narrow to `70–90%` in dense sections
- Mono the break slightly during the build-up for focus
- Return to full width on drop impact
- slightly delayed ghost notes
- filter movement on off-beat hits
- echo/reverb only on final hits
- brief erosion bursts on snare rolls
- bars 1–4: steady
- bars 5–8: more movement
- bars 9–12: tension build
- bars 13–16: impact and release
- Auto Filter cutoff
- Saturator drive
- Drum Buss drive or crunch
- Echo dry/wet
- Reverb dry/wet
- Utility width
- Erosion amount
- Track volume for fills
- Auto Filter cutoff open
- Echo/Reverb mostly off
- Drive stable
- Width full or slightly reduced
- Slight filter close
- Small rise in Saturator drive
- Erosion amount rises on the last half of bar 6
- Echo wet rises on final snare
- Reverb throws on last hit
- Filter closes briefly, then snaps open
- Drum Buss drive increases for impact
- Increase Saturator Drive by `2–4 dB`
- Increase Erosion Amount slightly
- Increase Echo feedback for one hit
- Narrow Utility Width briefly
- Close Auto Filter slightly, then open it fast on the drop
- Track Mute or clip start position
- Beat Repeat on a return track
- Echo Freeze moments
- Utility Gain dips for a moment of silence
- Reverb throw into the gap
- Interval: `1 bar` or `1/2`
- Grid: `1/16`
- Chance: `10–35%`
- Gate: `70–100%`
- Mix: automate only on the fill section
- record the performance into audio
- consolidate the best sections
- bounce the break if the chain is CPU-heavy
- Drive up on bar 8 or 16
- Pull it back on the drop for contrast
- Low-cut: yes
- High-cut: lower than you think
- Feedback: moderate
- Wet only on the last hit
- halftime switches
- darker intro bars
- build-up noise accents
- final-bar snare damage
- fast attack only if you want to tame peaks
- medium attack if you want more punch
- keep the break explosive, not flat
- drum break gets more filtered
- bass opens at the same time
- echo tails fade out just before the sub comes in
- Does the break still groove?
- Do the automation changes feel musical?
- Is the transition stronger than the loop itself?
- Did the break stay punchy?
- In DnB and jungle, a break becomes exciting through automation-driven motion
- Use Ableton Live stock devices like Auto Filter, Saturator, Drum Buss, Erosion, Echo, Reverb, Utility, and Beat Repeat
- Automate in phrases, not constantly
- Keep the break punchy, controlled, and rhythmically alive
- Use filter movement, texture changes, and timed throws to make the arrangement evolve
- For darker/heavier DnB, focus on contrast, tension, and restraint
- a lesson plan with timings
- a device preset template
- or a bar-by-bar automation map for a 16-bar DnB drop
In this tutorial, you’ll learn how to build an FX chain on a break loop in Ableton Live 12 and automate it so your loop evolves over 8 or 16 bars. The goal is to create a break that feels programmed like a performance, not a static loop.
We’ll focus on using stock Ableton devices and practical automation moves that work in real DnB tracks.
Core idea
Take a breakbeat and use automation to:
---
2. What you will build
You’ll build a Break Lab FX chain on a drum group or break track with these elements:
Device chain
1. Drum Bus or Glue Compressor – glue the break together
2. Saturator – add grit and density
3. Auto Filter – automate tone and tension
4. Erosion or Redux – controlled edge and texture
5. Echo or Delay – throws and dub-style movement
6. Reverb – short atmosphere, automated for fills
7. Utility – manage width and mono control
8. Optional: Drum Buss – for low-end punch and smack
Automation targets
You’ll automate:
End result
A 16-bar jungle/DnB break arrangement with:
---
3. Step-by-step walkthrough
Step 1: Choose the right break source
Start with a solid breakbeat loop in Arrangement View or Session View. Good candidates:
Practical tip
If your break is too clean, it can still work—but the point is to shape it into a more jungle-feeling performance.
Basic prep
---
Step 2: Route the break into a drum group
Group the break and any supporting percussion:
This is important because DnB breaks often sound better when processed together as a drum bus, rather than individually over-treated.
Suggested group chain
On the Drum Group:
1. Drum Buss
- Drive: `5–15%`
- Boom: `0–10%` depending on sub overlap
- Crunch: `5–20%`
2. Glue Compressor
- Attack: `10–30 ms`
- Release: `Auto` or `0.1–0.3 s`
- Ratio: `2:1` to `4:1`
- Aim for `1–3 dB` of gain reduction
3. Saturator
- Soft Clip: `On`
- Drive: `2–6 dB`
- Output adjusted to match level
This gives you a controlled, forward punch before you start automating.
---
Step 3: Build the FX chain for movement
Now add your Break Lab effects after the drum bus processing.
Suggested FX chain order
Auto Filter → Erosion → Echo → Reverb → Utility
You can also place Redux or Beat Repeat depending on the style you want.
---
3A. Auto Filter for jungle tension
Use Auto Filter to create movement across bars.
#### Suggested settings
#### Automation idea
Why it works
Jungle breaks often feel exciting because the top end opens and closes against the rhythm. This creates tension without needing a lot of new drum programming.
---
3B. Erosion for grit and movement
Erosion is a powerful stock device for adding texture to drums.
#### Suggested settings
Automation idea
Automate the Amount only during:
This creates a slightly damaged, broken-up break texture that suits darker jungle really well.
---
3C. Echo for throw moments
Use Echo to create timed hits on specific drum accents.
#### Suggested starting settings
Automation idea
Automate Dry/Wet to jump up at the end of a phrase:
This is classic DnB arrangement energy: keep the loop clean until the moment you need a tail or echo to lead into the next section. 🔥
---
3D. Reverb for short atmospheric throws
In DnB, reverb should usually be short, controlled, and deliberate on breaks. Too much reverb smears the groove.
#### Suggested settings
Automation idea
Use reverb only in:
Automate Dry/Wet or send amount instead of leaving it constantly on.
---
3E. Utility for width control
Utility is excellent for arrangement automation.
#### Suggested uses
This is a subtle way to make the drop feel bigger without changing the actual rhythm.
---
Step 4: Add jungle swing using arrangement timing and automation
The word “jungle swing” in practice means the break feels loose, off-grid, and human, but still locked to the tempo.
In Ableton Live 12, do this:
1. Keep the main break loop mostly tight
2. Use clip gain, warp markers, or duplicate slices
3. Automate effects in a way that emphasizes phrase-based movement
4. Avoid over-quantizing every detail
Practical swing strategy
Use a combination of:
#### Good DnB groove rule
Don’t automate everything constantly.
Automate in phrases:
That’s how you keep the groove from sounding like a demo loop.
---
Step 5: Use automation lanes like a drummer
In Arrangement View, open automation lanes and treat them like performance controls.
Useful automation targets
Example 8-bar automation plan
#### Bars 1–4: Main groove
#### Bars 5–6: Early tension
#### Bars 7–8: Fill and transition
This makes the break feel like it is breathing with the arrangement.
---
Step 6: Create a “drop lift” with device automation
One of the most effective DnB tricks is the drop lift—making the last bar before the drop feel unstable and overdriven, then restoring clarity on the drop.
How to do it
On the last bar before the drop:
Result
The drop lands harder because the ear hears a brief tension spike before release.
---
Step 7: Add fills with stutters or mutes
If you want more jungle intensity, create a fill by automating:
Stock device option: Beat Repeat
This can be very effective in DnB, but use it carefully.
#### Suggested settings
Use Beat Repeat only on a transition or fill bar so the main groove doesn’t lose drive.
---
Step 8: Print or bounce if needed
Once your automation works:
This is very practical in DnB because automation-heavy chains can become messy fast. Printing keeps the arrangement manageable and lets you edit the energy more accurately.
---
4. Common mistakes
1. Over-automating every parameter
If everything is moving all the time, nothing feels important.
Fix: Automate in phrases. Make clear moments of change.
---
2. Too much reverb on breaks
This washes out the drum groove and kills the jungle punch.
Fix: Keep reverb short and selective. Use throws, not constant wash.
---
3. Losing transient impact with too much saturation
DnB breaks need bite and snap.
Fix: Use saturation in moderation and compensate with output gain.
---
4. Over-tight quantization
If every hit is locked hard to the grid, the break loses its jungle feel.
Fix: Preserve a little looseness. Use swing and micro-timing intentionally.
---
5. Too much low-end processing on the break
The break should not fight the sub.
Fix: High-pass or reduce low rumble if needed. Let the sub-bass own the bottom.
---
6. Automation that conflicts with arrangement energy
For example, closing the filter while trying to create a lift.
Fix: Make sure each automation move has a clear role: tension, release, fill, or impact.
---
5. Pro tips for darker/heavier DnB
Tip 1: Automate distortion only on transition bars
For darker rollers, automate Saturator Drive or Redux briefly before the drop.
That contrast is powerful. Heavy music needs dynamic control.
---
Tip 2: Use filtered drum echoes
Set Echo to repeat the snare or rim with a dark, filtered tone.
This gives you grimy warehouse-style atmosphere without cluttering the mix.
---
Tip 3: Make fills darker with Erosion
A small amount of Erosion can make a break feel corroded and aggressive.
Great for:
---
Tip 4: Automate Utility width for impact
Narrow the break in the build, then return full width on the drop.
This makes the drop feel wider and more expensive without changing the actual sample.
---
Tip 5: Use short, brutal drum bus compression
Don’t over-compress the break.
For heavier DnB:
---
Tip 6: Pair automation with bass arrangement
If your bass drops hard, your drums should support that movement.
Example:
That separation helps the drop feel huge. 💥
---
6. Mini practice exercise
Goal
Create an 8-bar jungle/DnB break evolution using only stock Ableton devices and automation.
Exercise steps
1. Load a 1-bar break loop at 174 BPM
2. Group it with any top percussion
3. Add this chain:
- Drum Buss
- Saturator
- Auto Filter
- Erosion
- Echo
- Utility
4. Automate the following:
- Auto Filter cutoff: open in bars 1–4, slightly close in bars 5–6, then reopen in bars 7–8
- Saturator Drive: small rise in bars 6–8
- Erosion Amount: only on the last half of bar 8
- Echo Dry/Wet: one throw on the final snare
- Utility Width: narrow slightly before the final transition
5. Render the section and listen back
What to listen for
If not, reduce the amount of automation and try again.
---
7. Recap
Here’s the key takeaway from this Break Lab lesson:
If you apply this workflow, your breaks will stop sounding like static loops and start sounding like living drum performances—exactly what jungle swing is all about. 🥁🔥
If you want, I can also turn this into:

